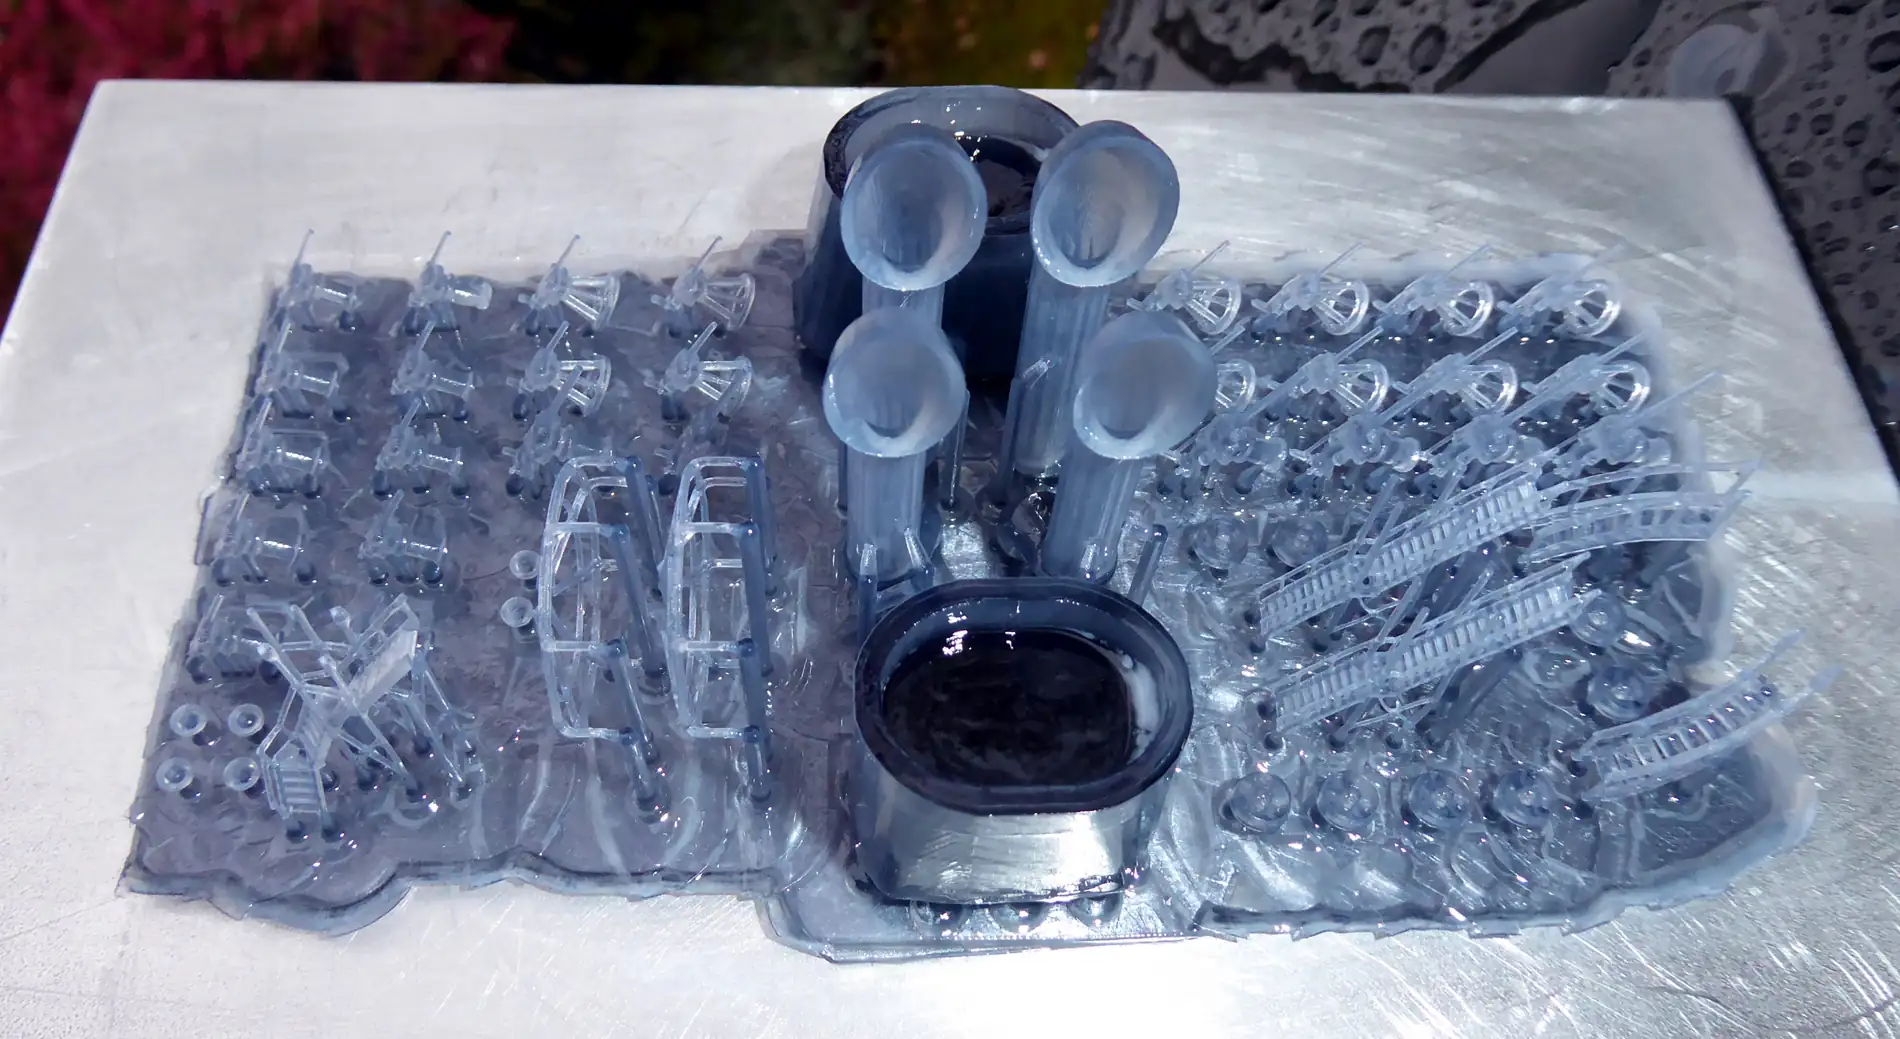
What Screen Death Looks Like On My Elegoo Saturn

Results from tank clean command on my Elegoo Saturn’s dying LCD screen.

Oct. 9, 2025

A sad day, confirming my long held belief that there was something off with my Elegoo Saturn. I knew it had a dead spot at 12:00 and that failures were frequent below it too. I mention this as early as my Revell Arizona 1917 conversion project with the box of failure picture. I’d come to avoid the vertical center of the Saturn’s build area for all of my recent German Recognition ship prints. With their completion I finally drained the vat and took a look at what was going on.

What an odd death pattern. I get and expected the 12:00 patch of darkness but the brightness around it is odd, as is the dim area just under the brightness. I’m guessing the left and right flanks are normal? I’d still had good luck printing in those areas. Or is the brightest area around the 12:00 dead zone the only part still functioning at 100%? The underlying grid pattern is also unexpected and seems like it could cause issues. I wish I’d done this test when I first got the printer to establish a base line. Also wish I knew what could cause these types of failure. Think I’ll post this on Redit and see if anyone can enlighten me.

While I’ve had the Saturn for about 3 years it had only run for approximately 200 hours before the first Arizona print failures, not much by any standard. I did do all my printing in an unheated/un-cooled shed so it did see temps in the range of 40-100 degrees Fahrenheit, but the same is true for my Creality LD-002r resin printer and it’s still fine with much more print time on it.

I’ve looked into replacement screens and they are no longer available from Elegoo. The only option I’ve seen is from Chitu box, they don’t look identical to the Elegoo part but are likely fine, if I wanted to spend $119 USD on Amazon. Currently the Saturn 2 & 3 are still selling new for $279 with slightly larger build areas and much higher resolutions, though I do hate rewarding such poor durability and support with repeat business.

I suppose I can keep using it “as is” for a while longer, maybe prices will drop or a new killer resin printer will be released. With winter coming there’s no rush for me to buy new right now.
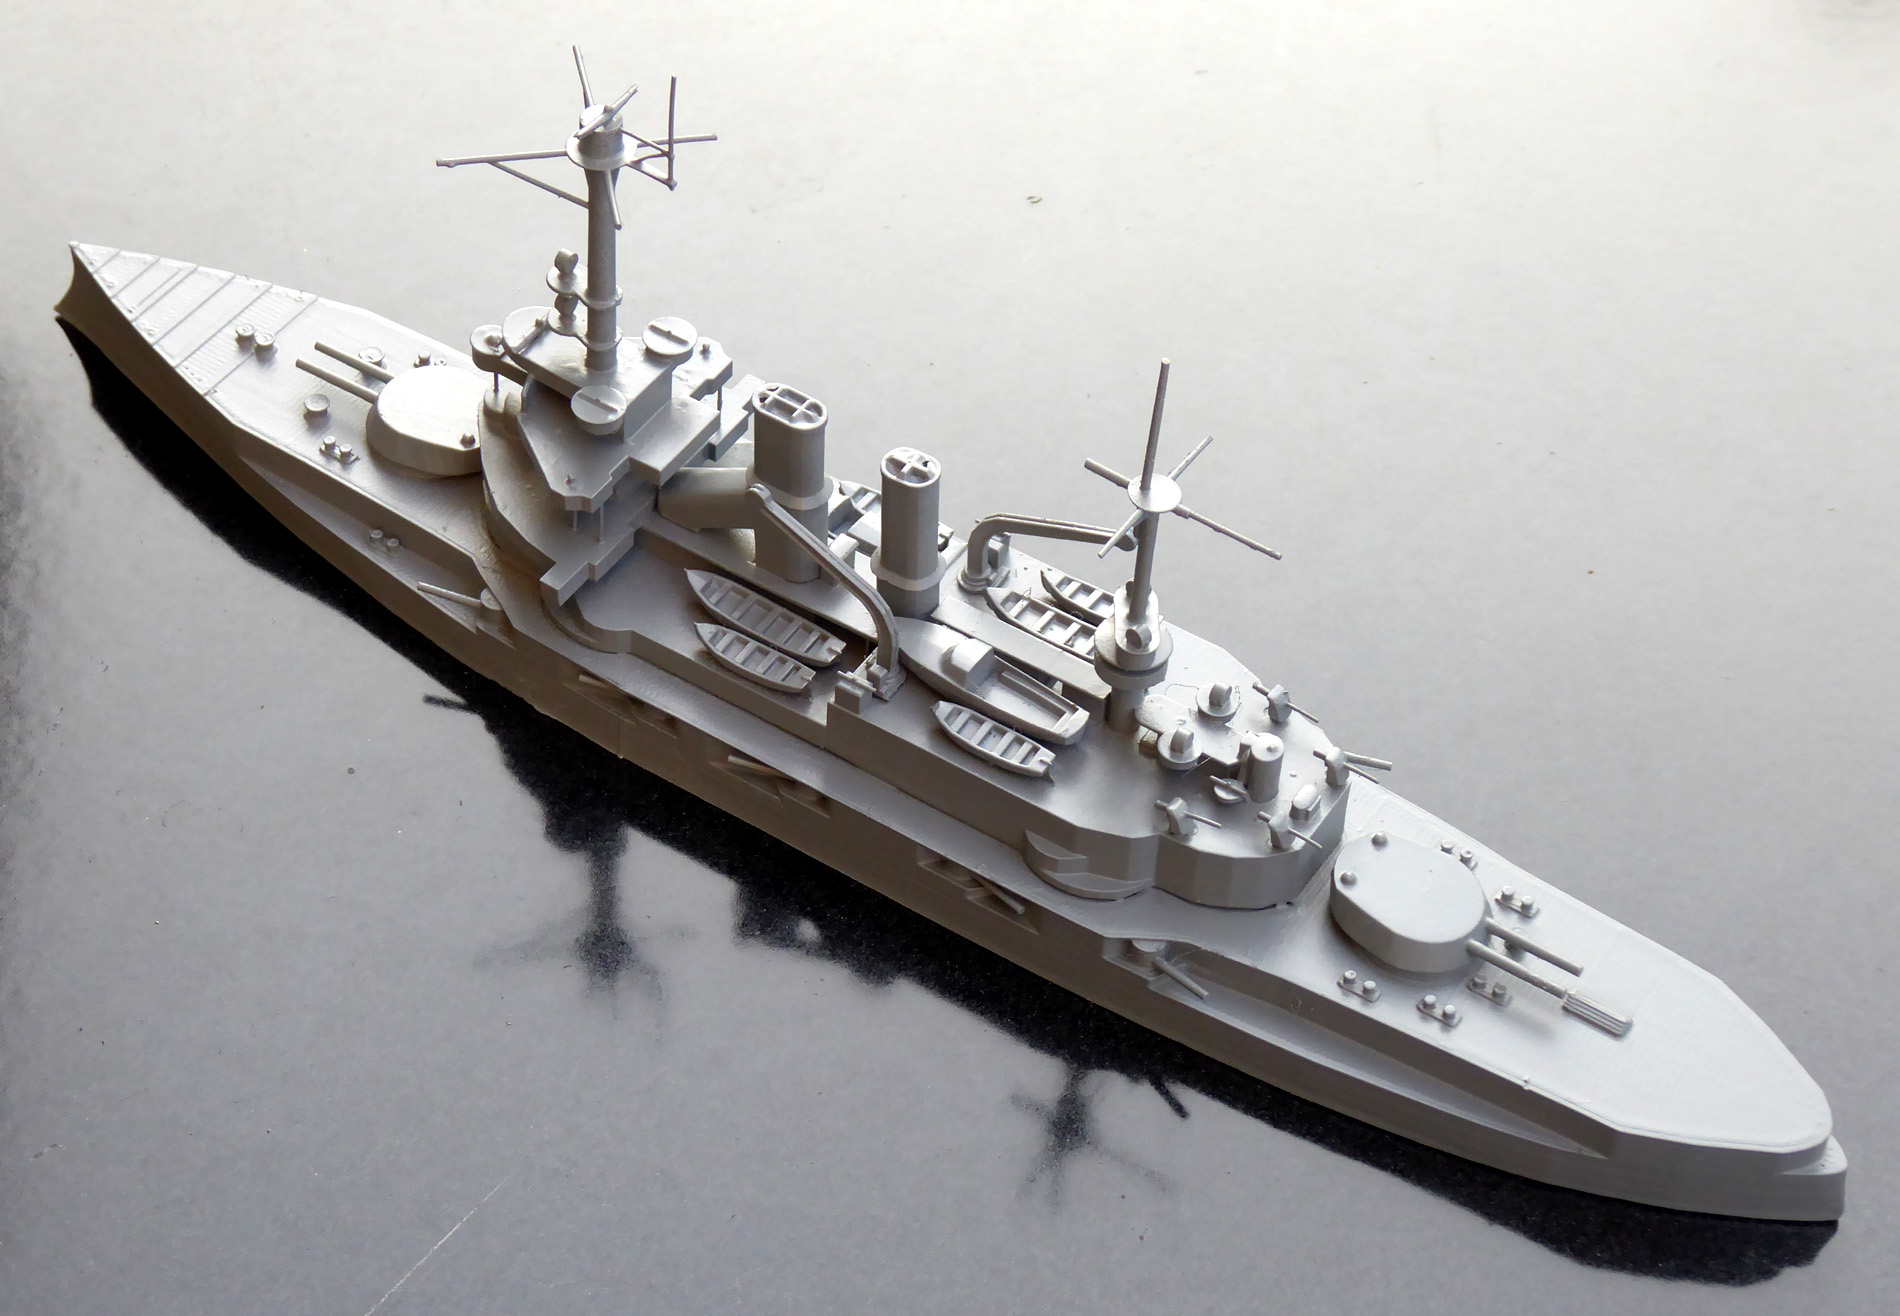
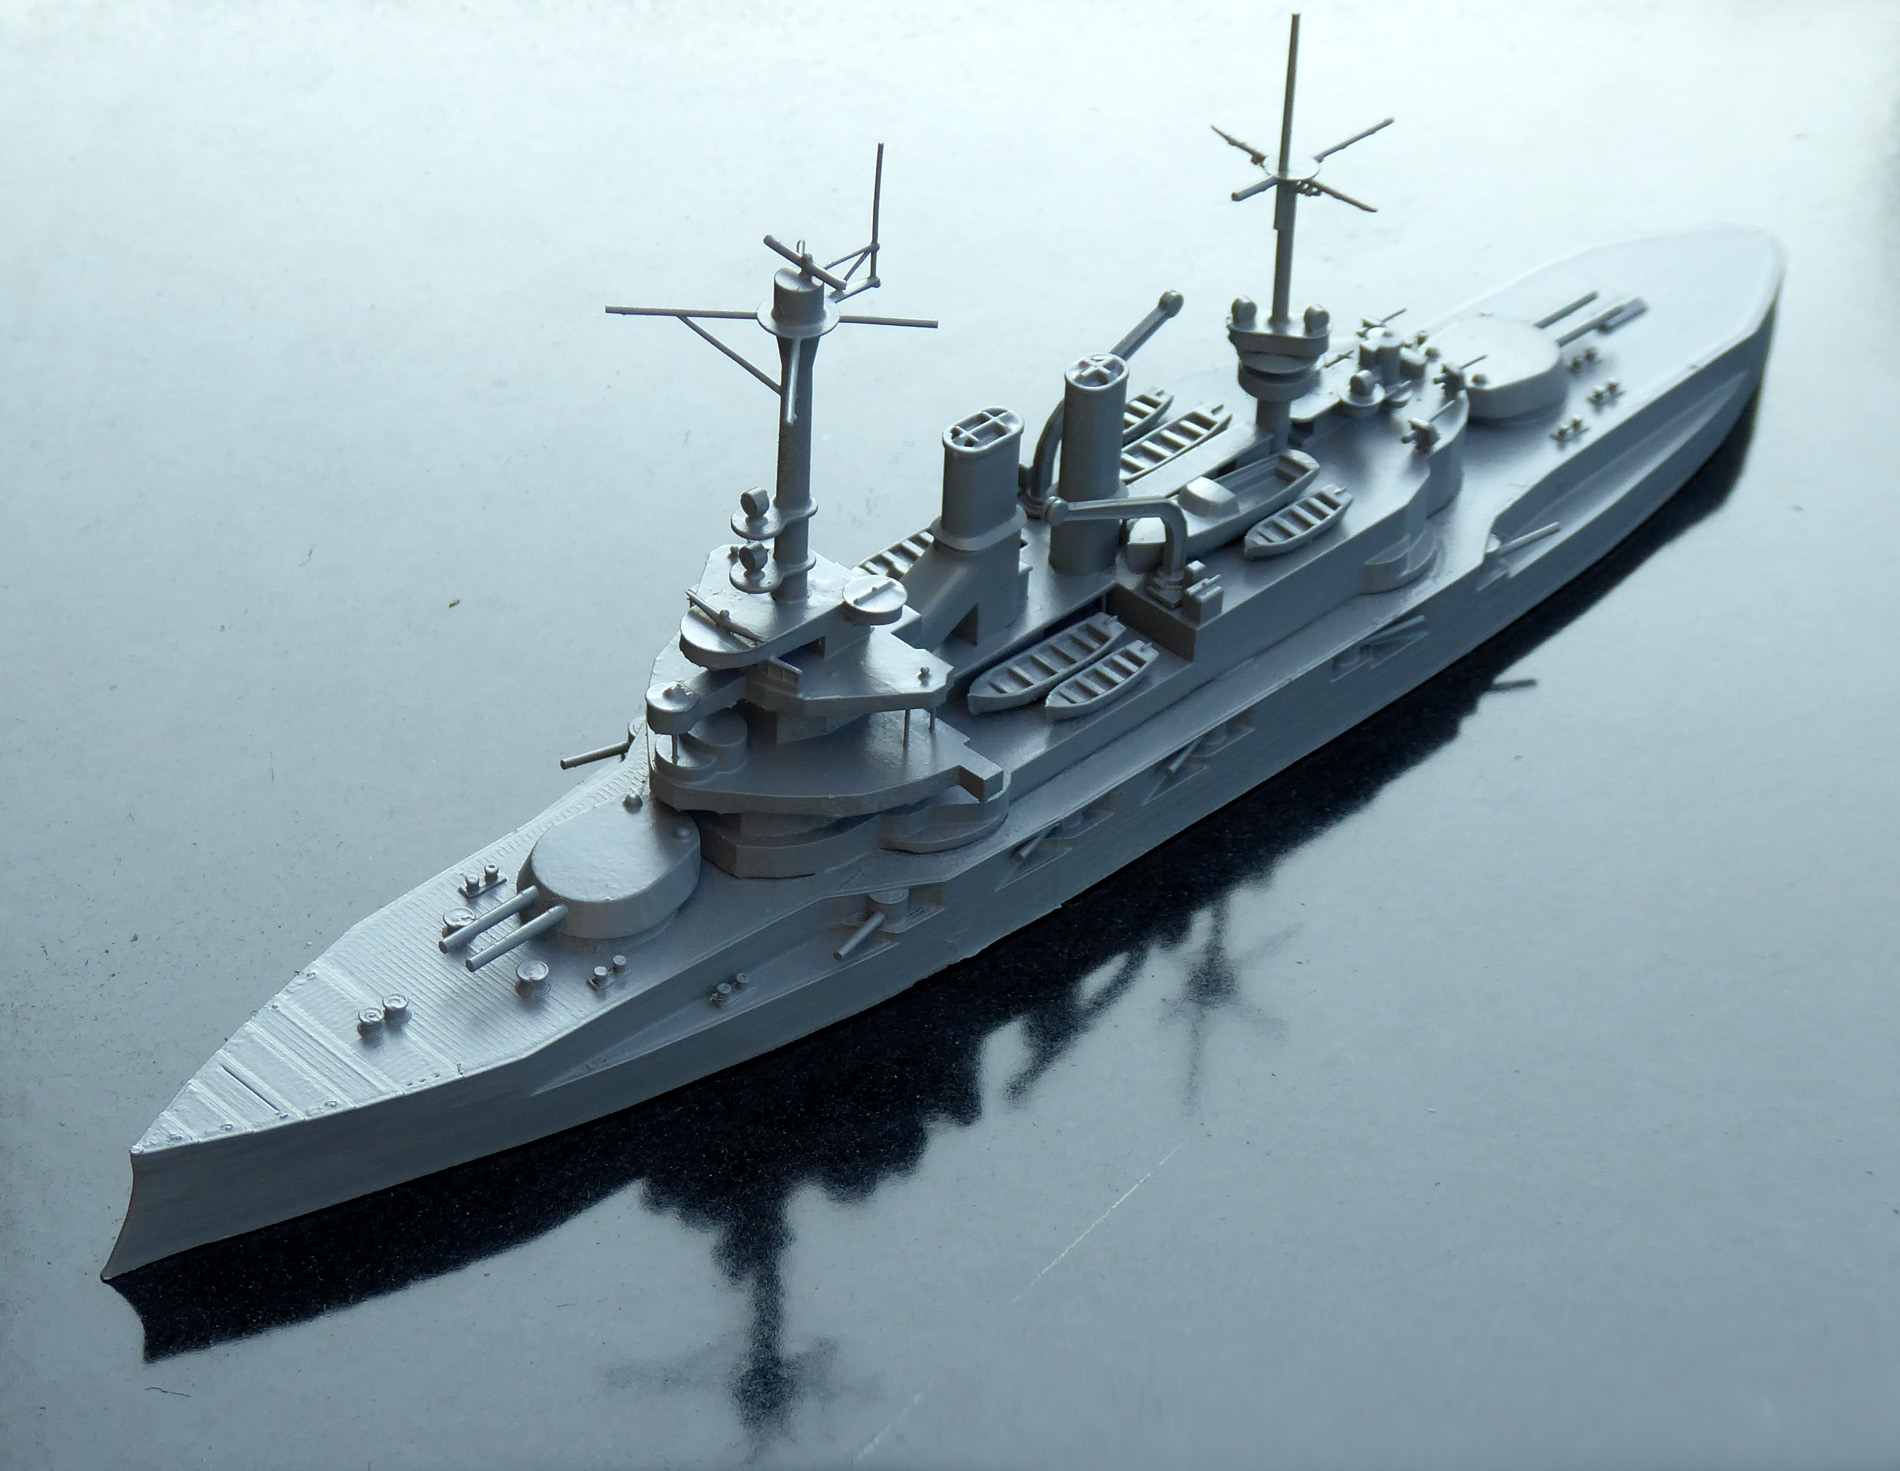
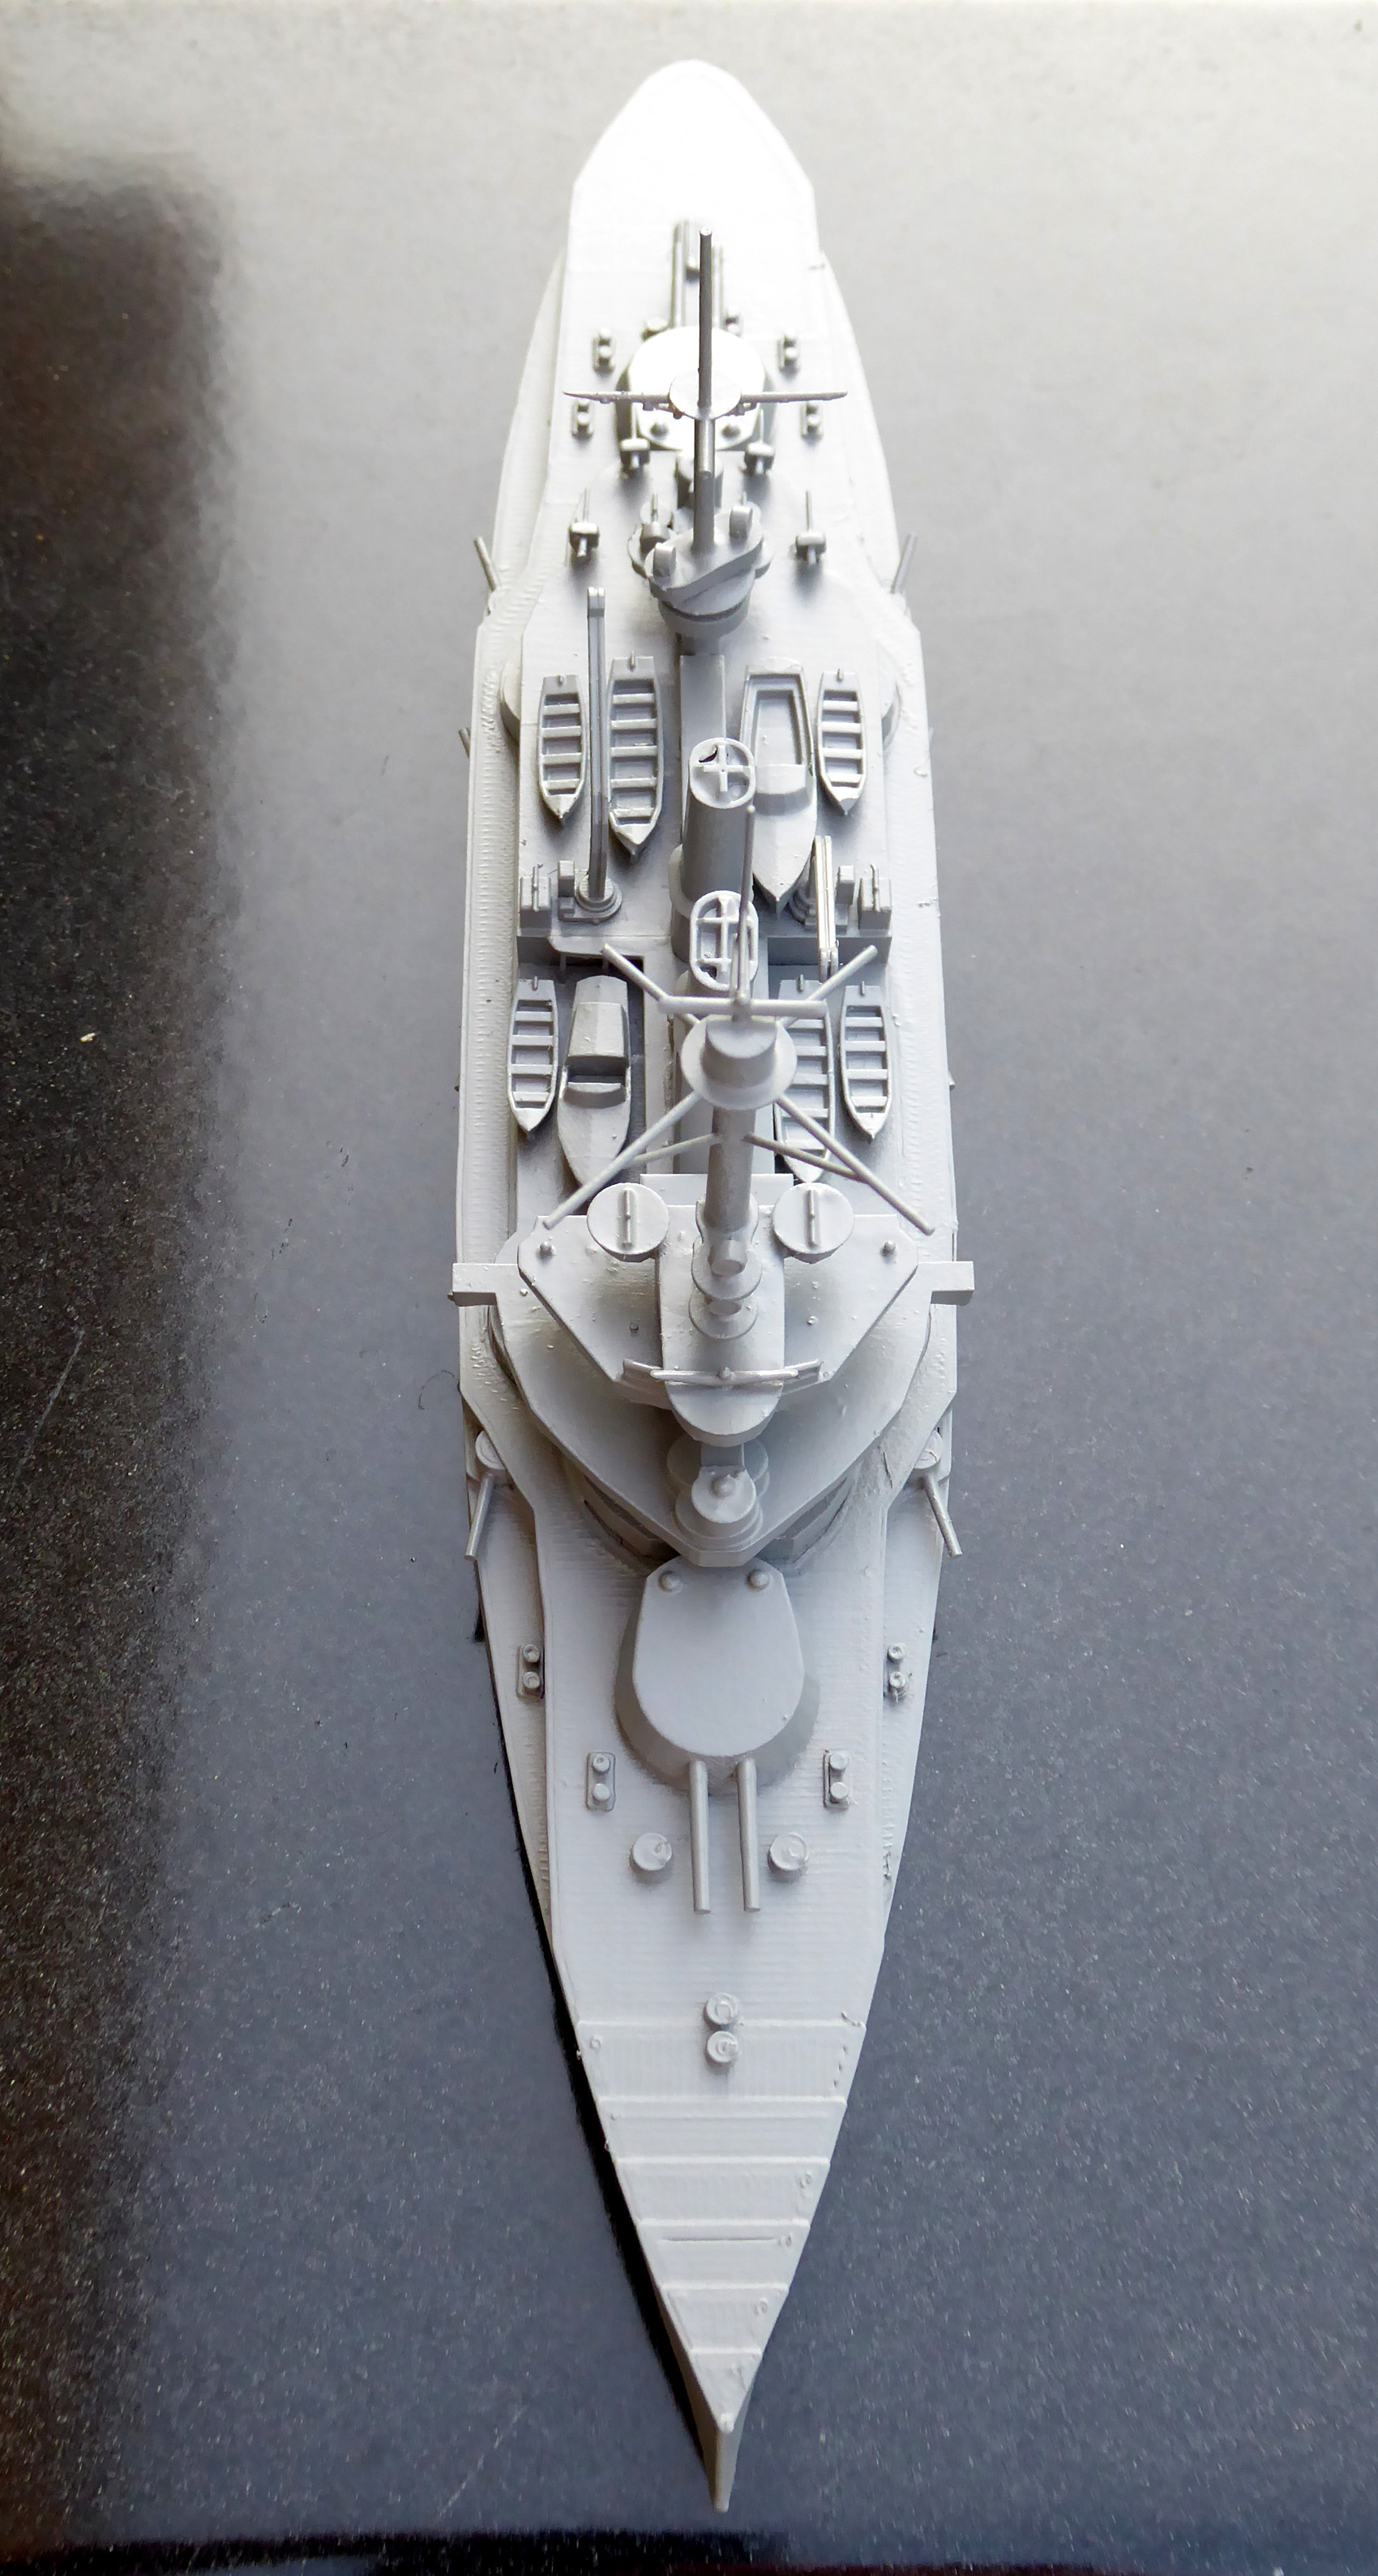
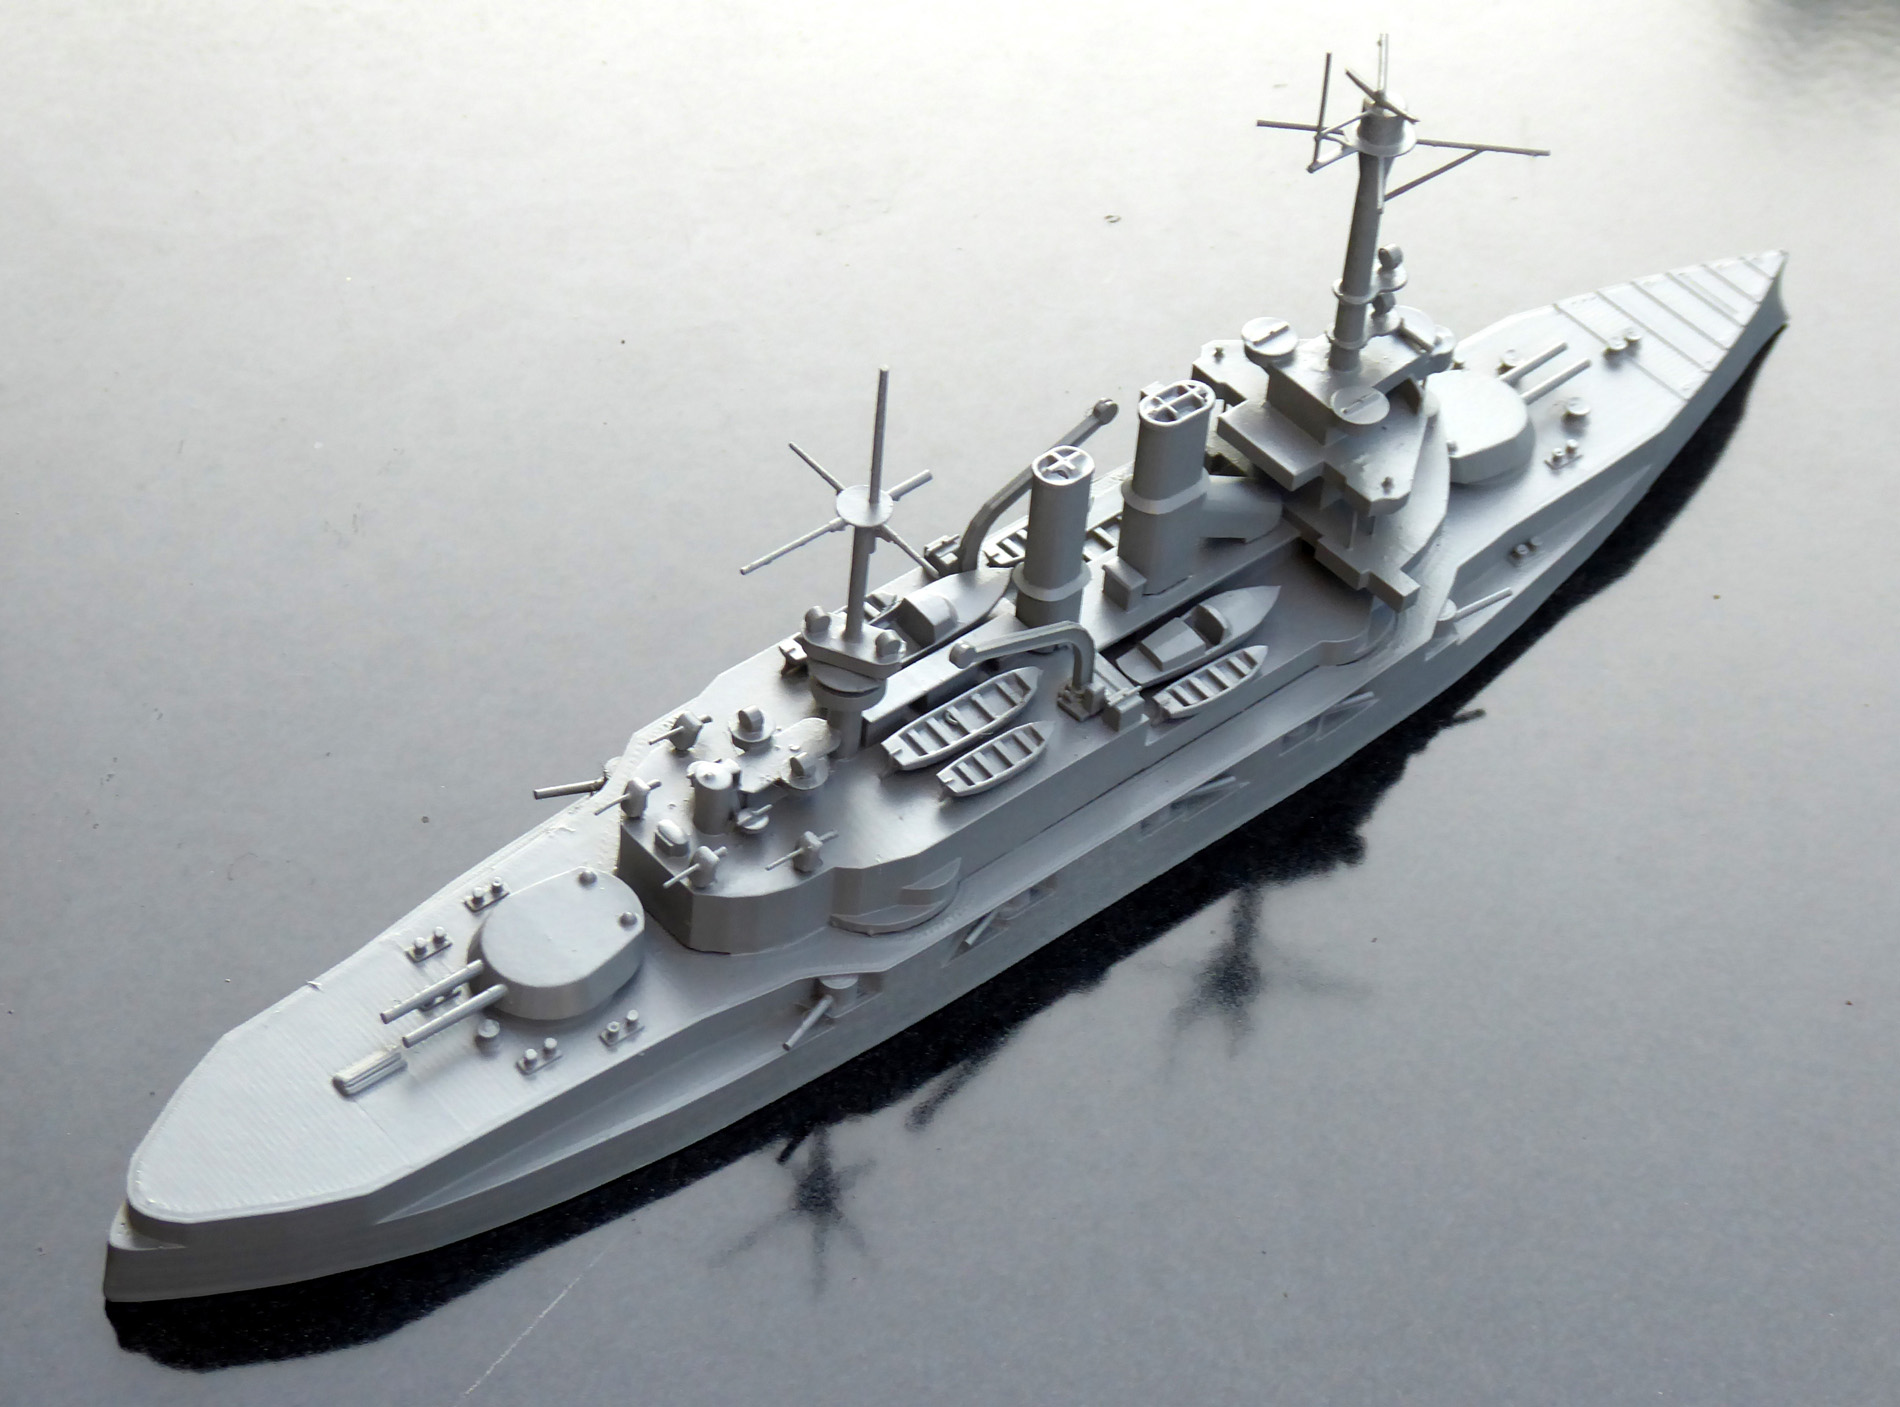
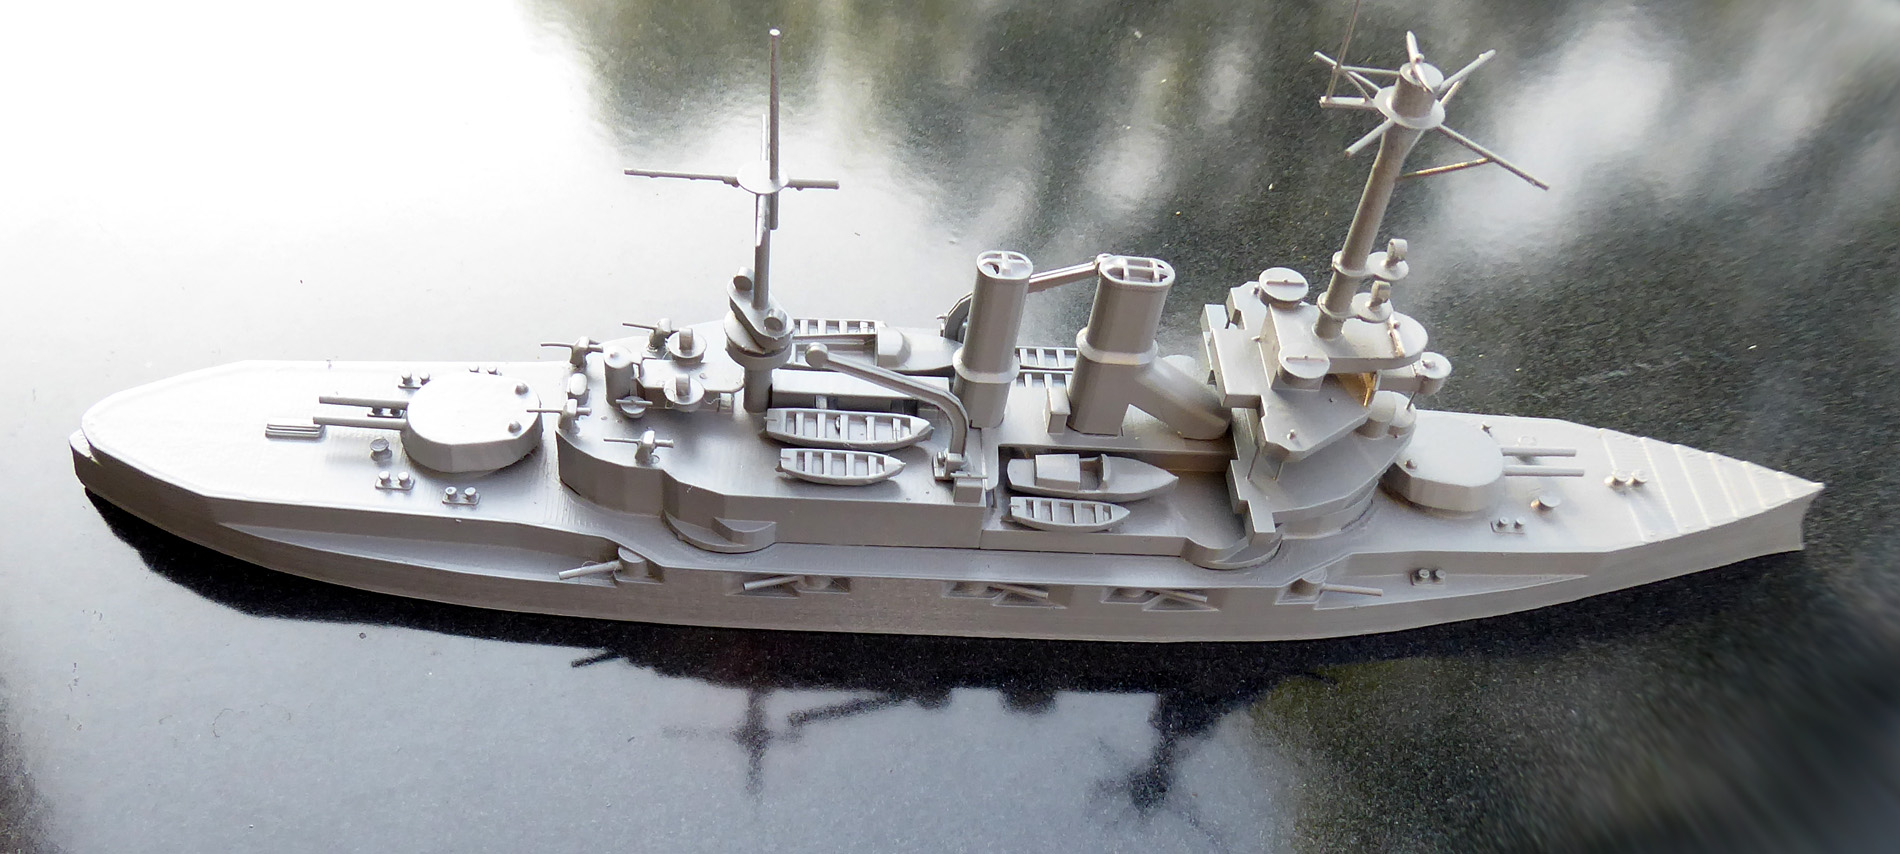
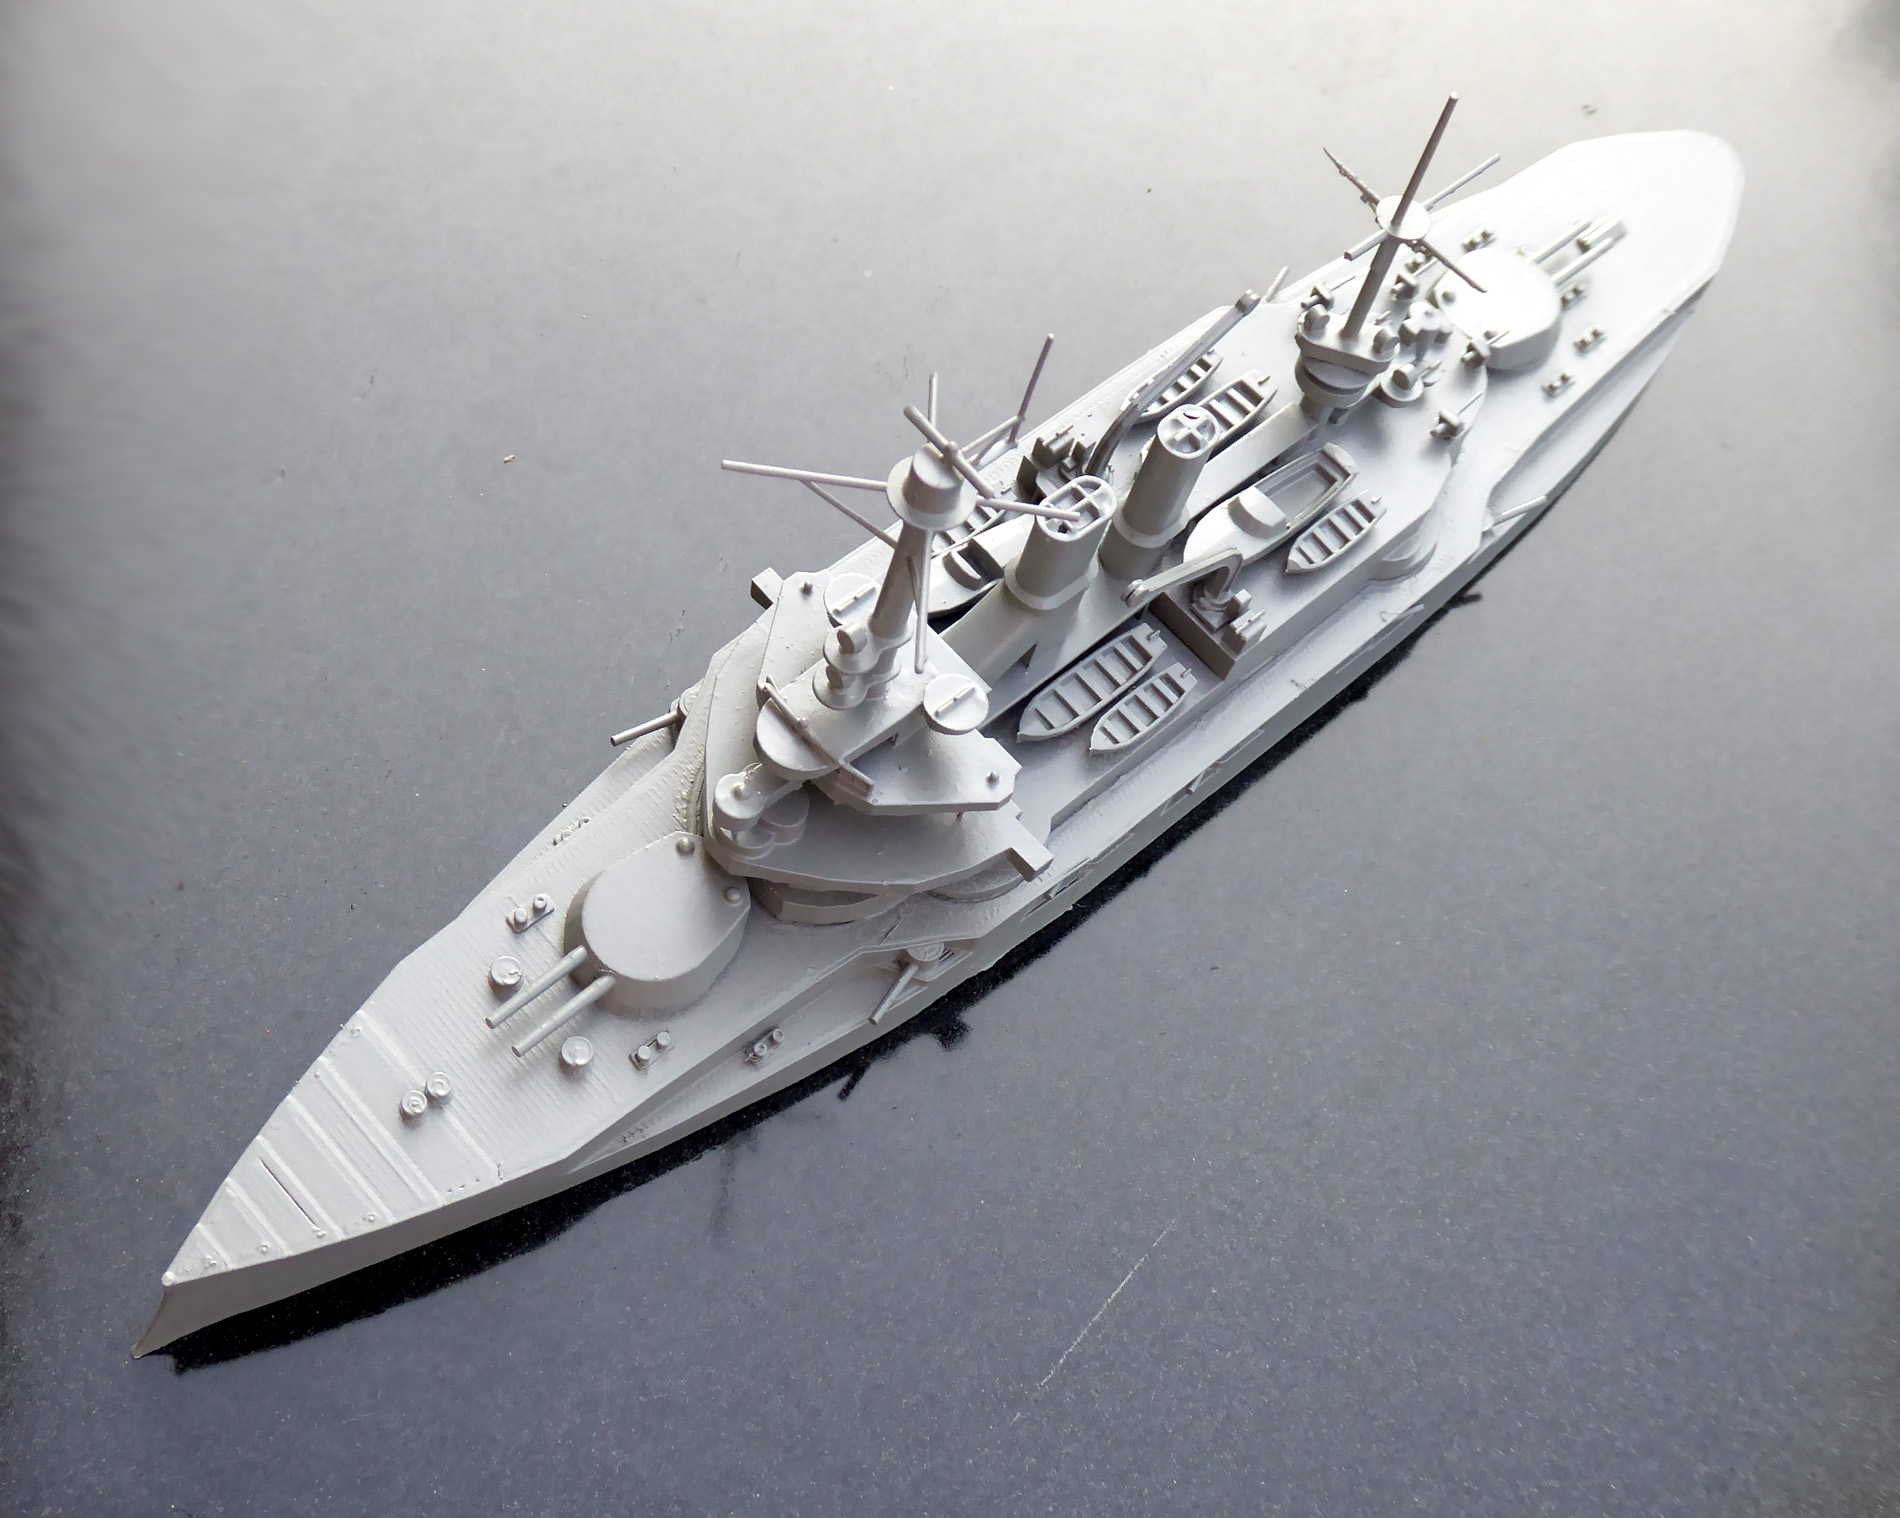
Schledwick Holstien, German Pre-Dreadnaught Battleship, WW2 Recognition Style Model, 3D printed in 1/500 Scale – Completed

Aug. 1, 2025
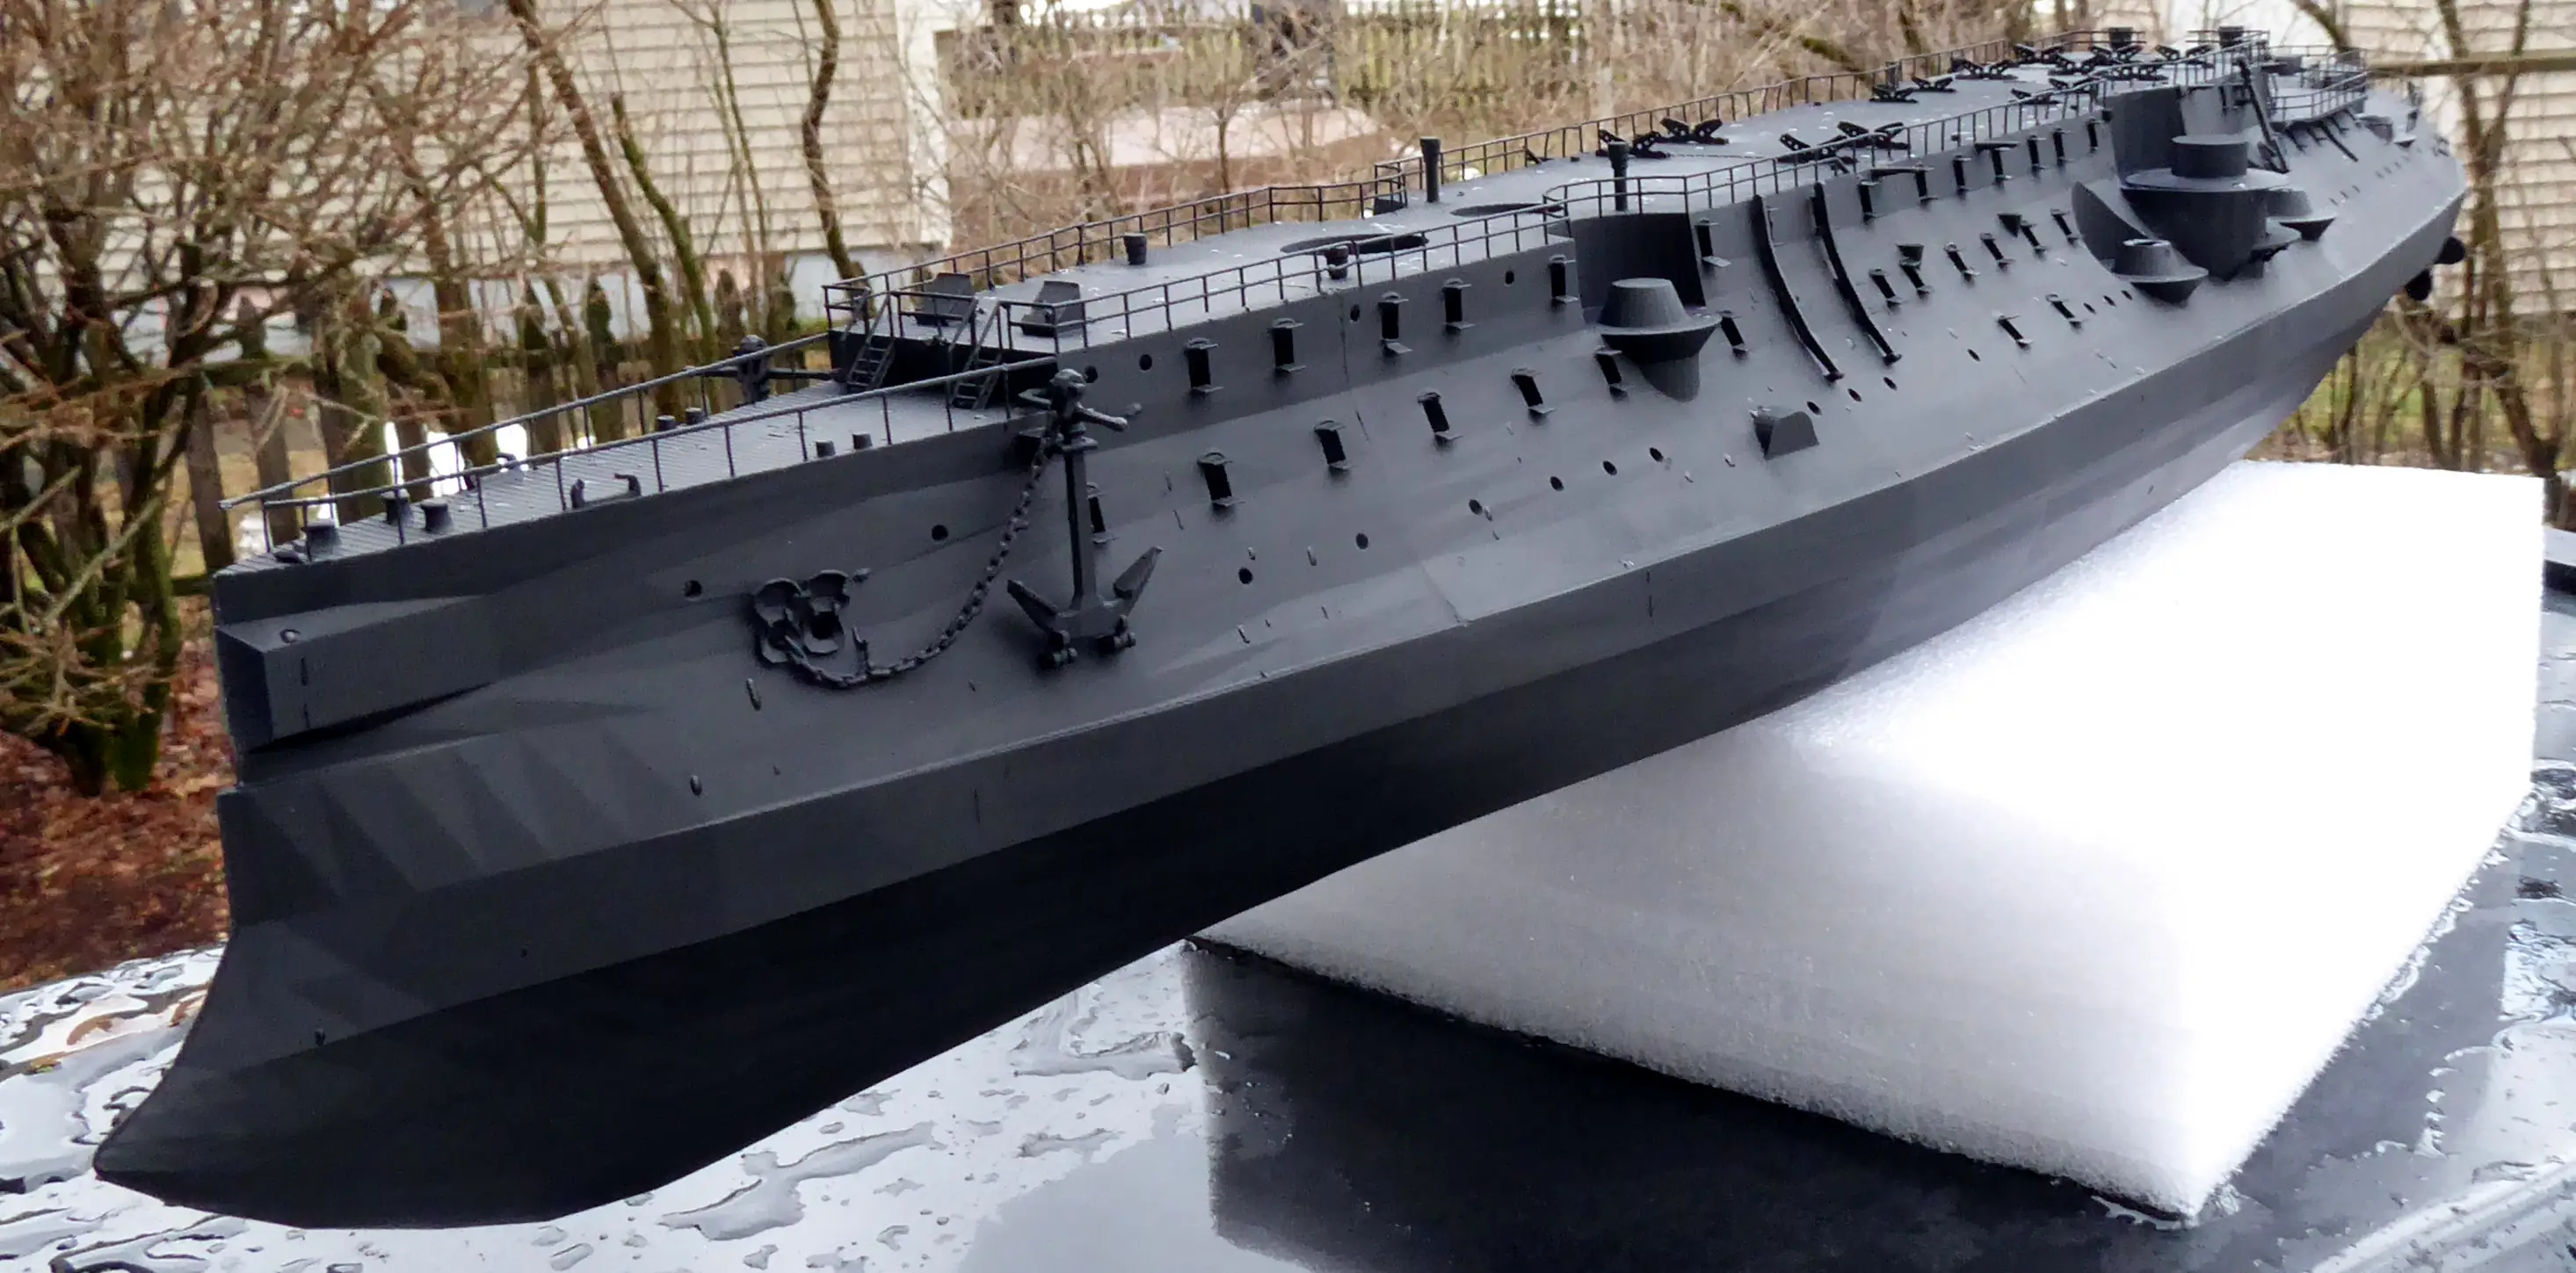
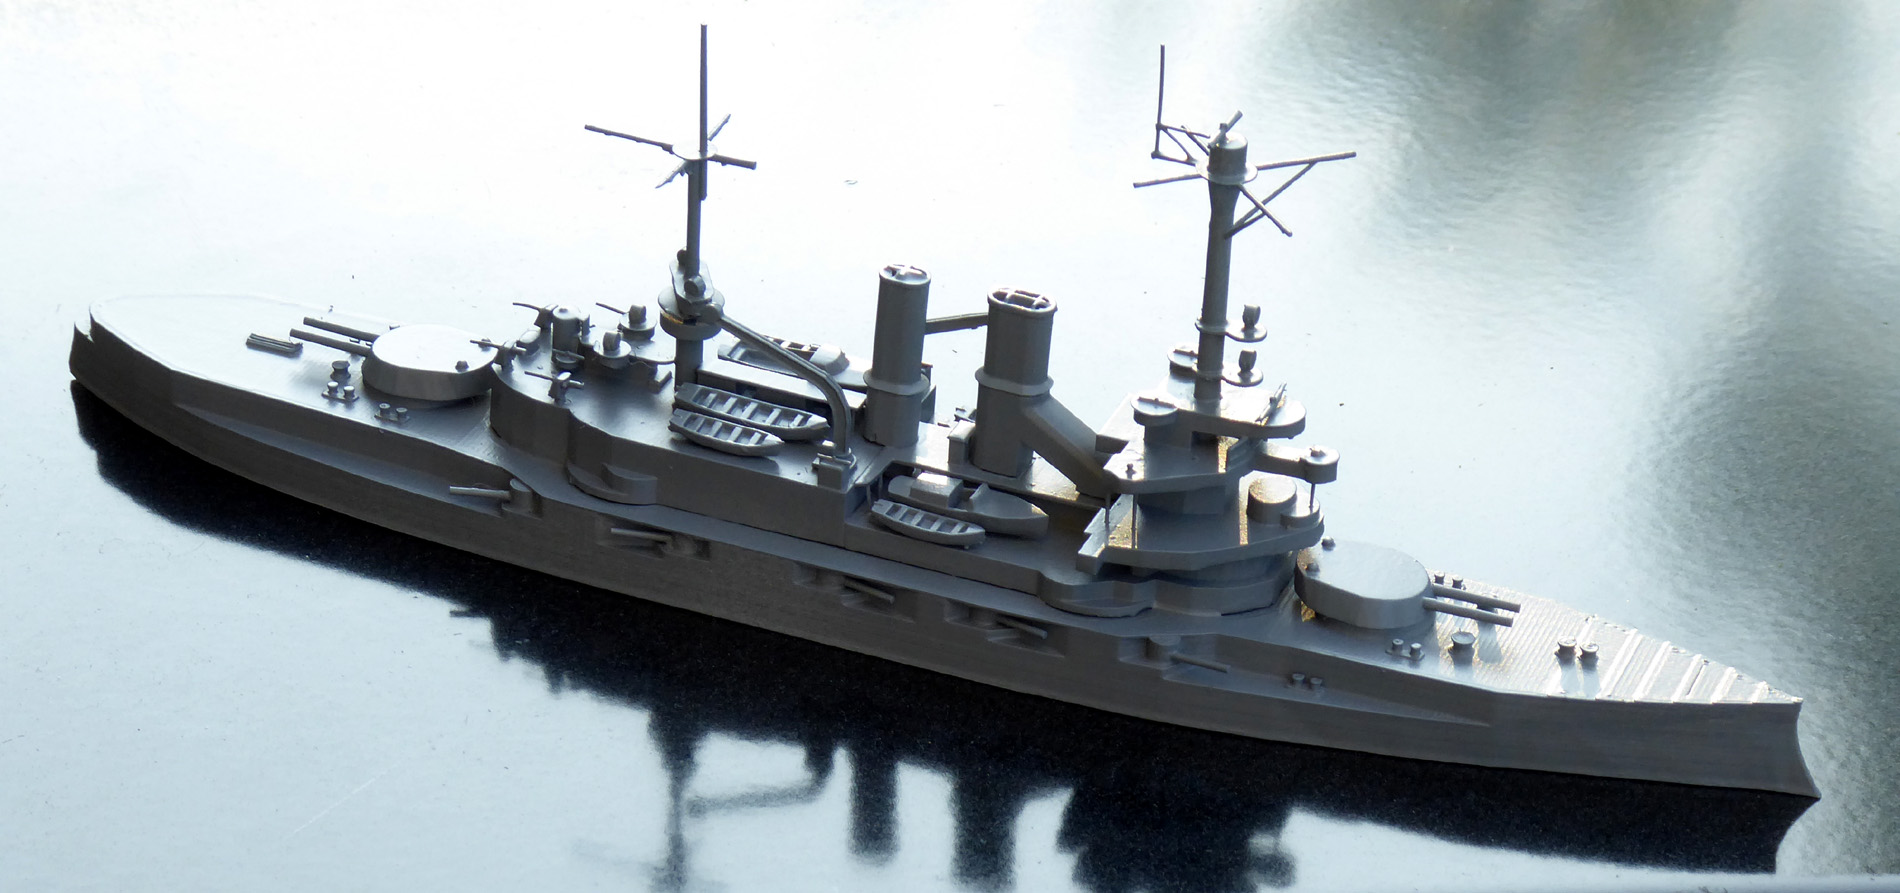
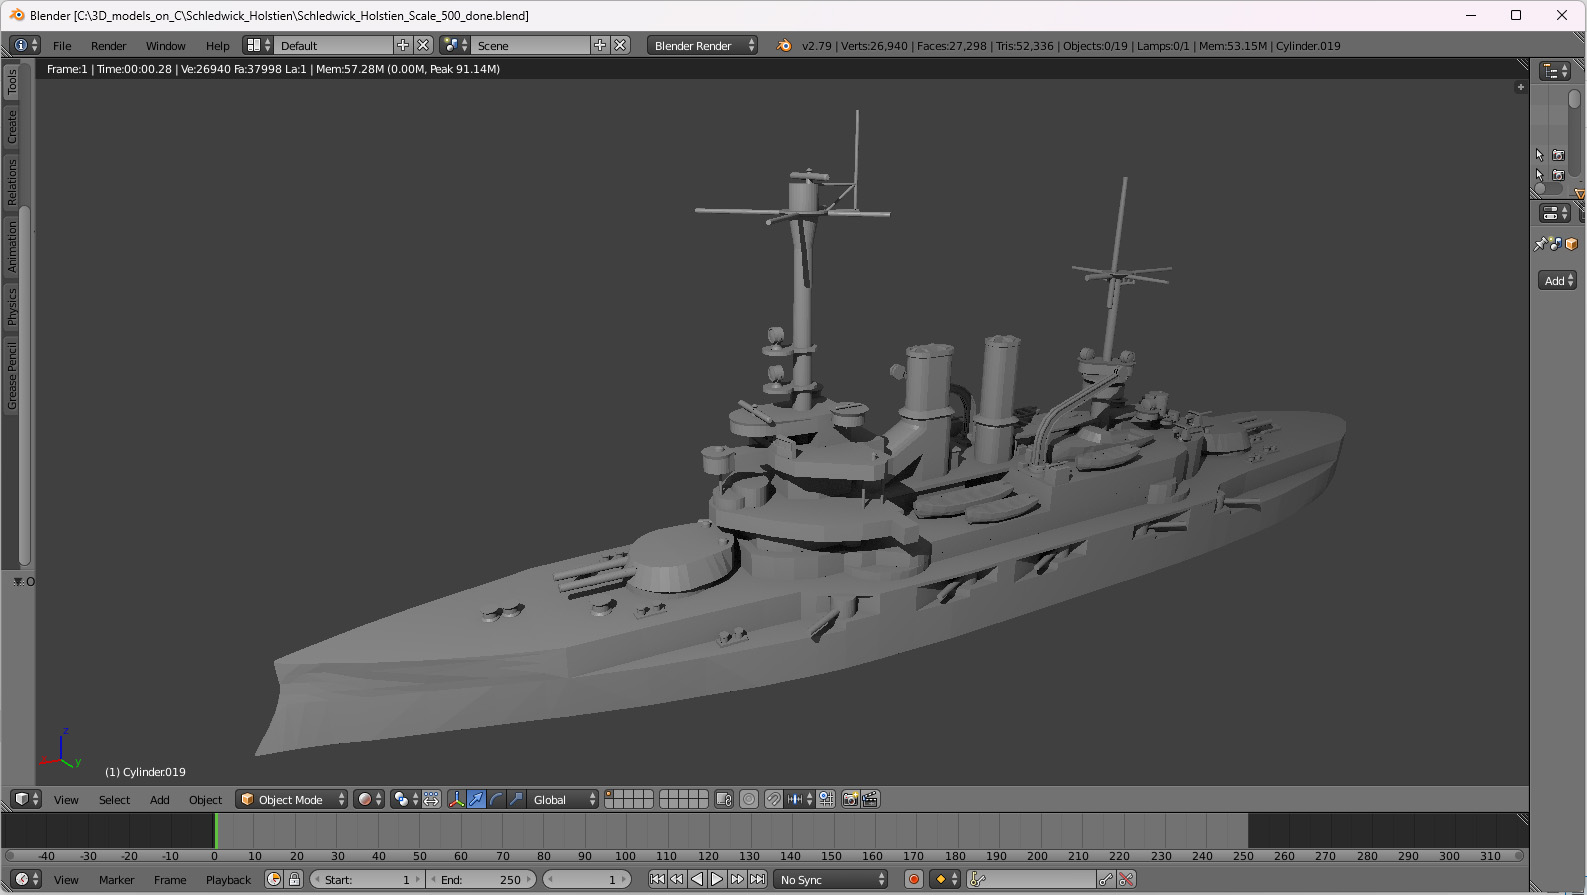
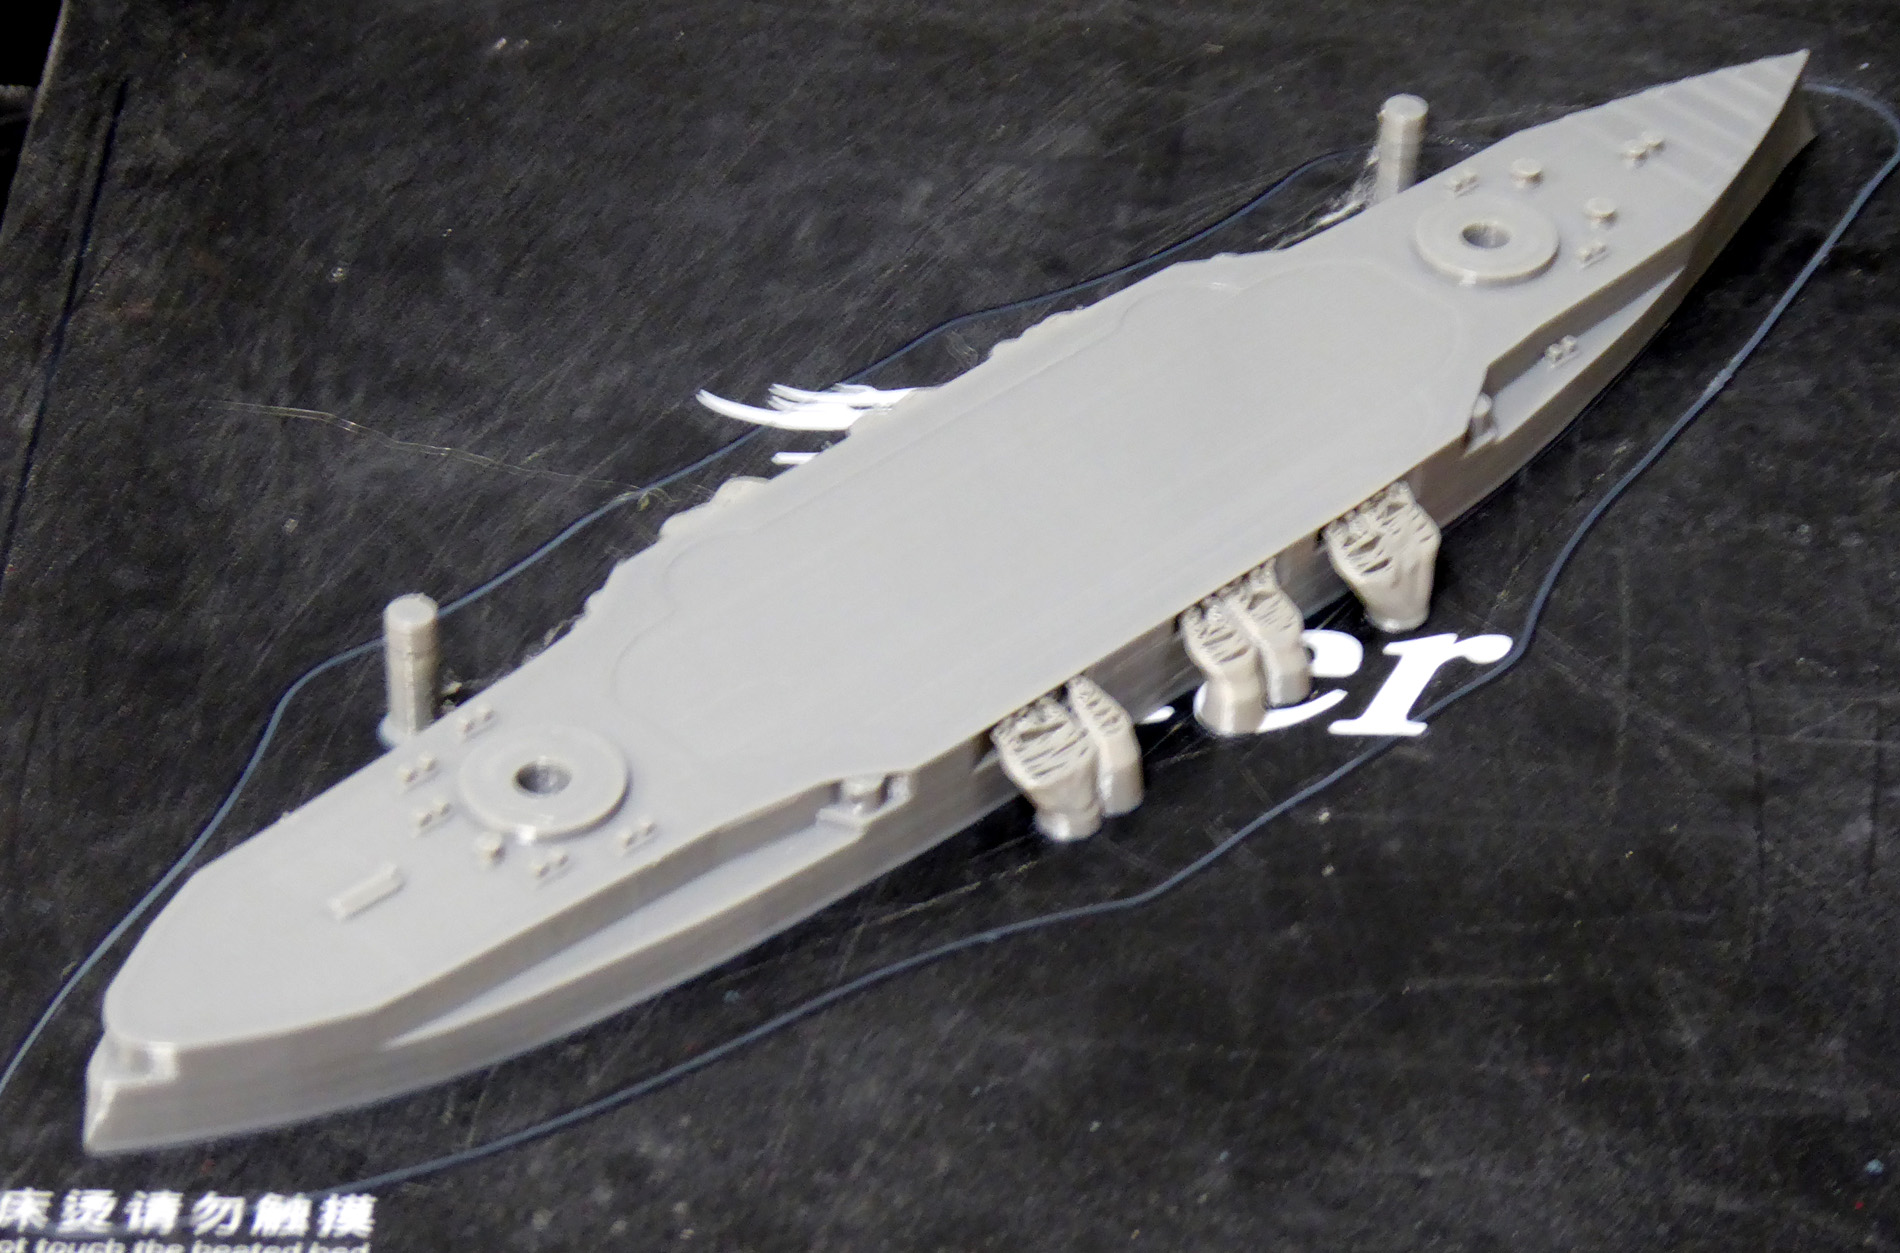
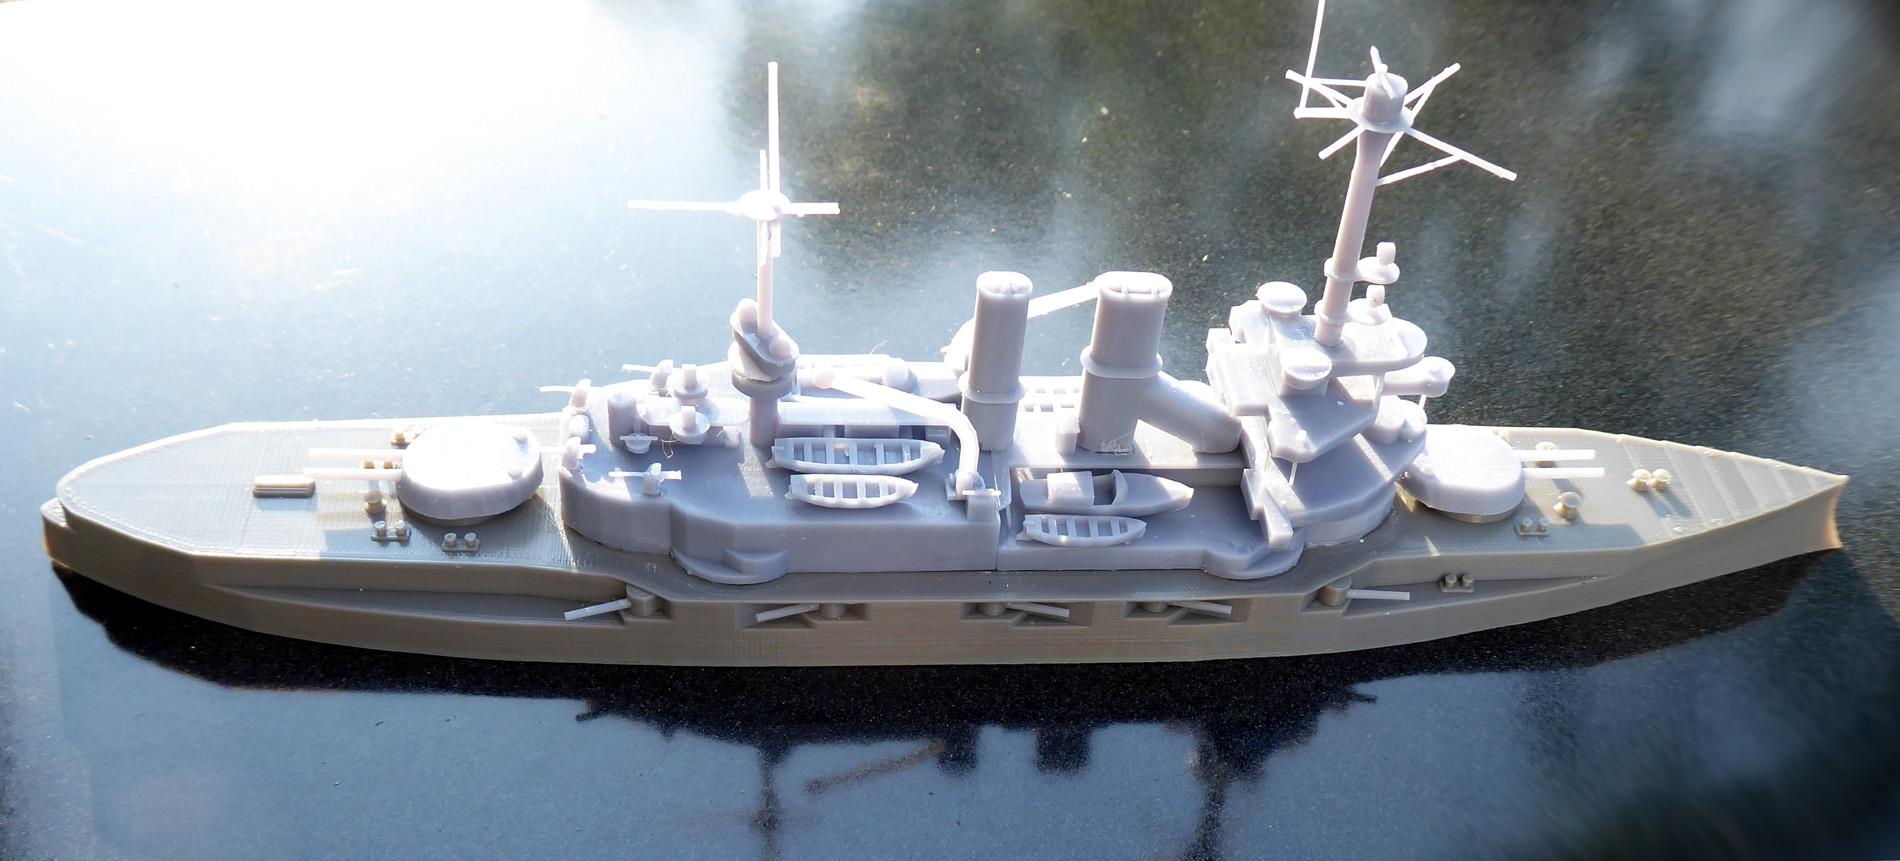
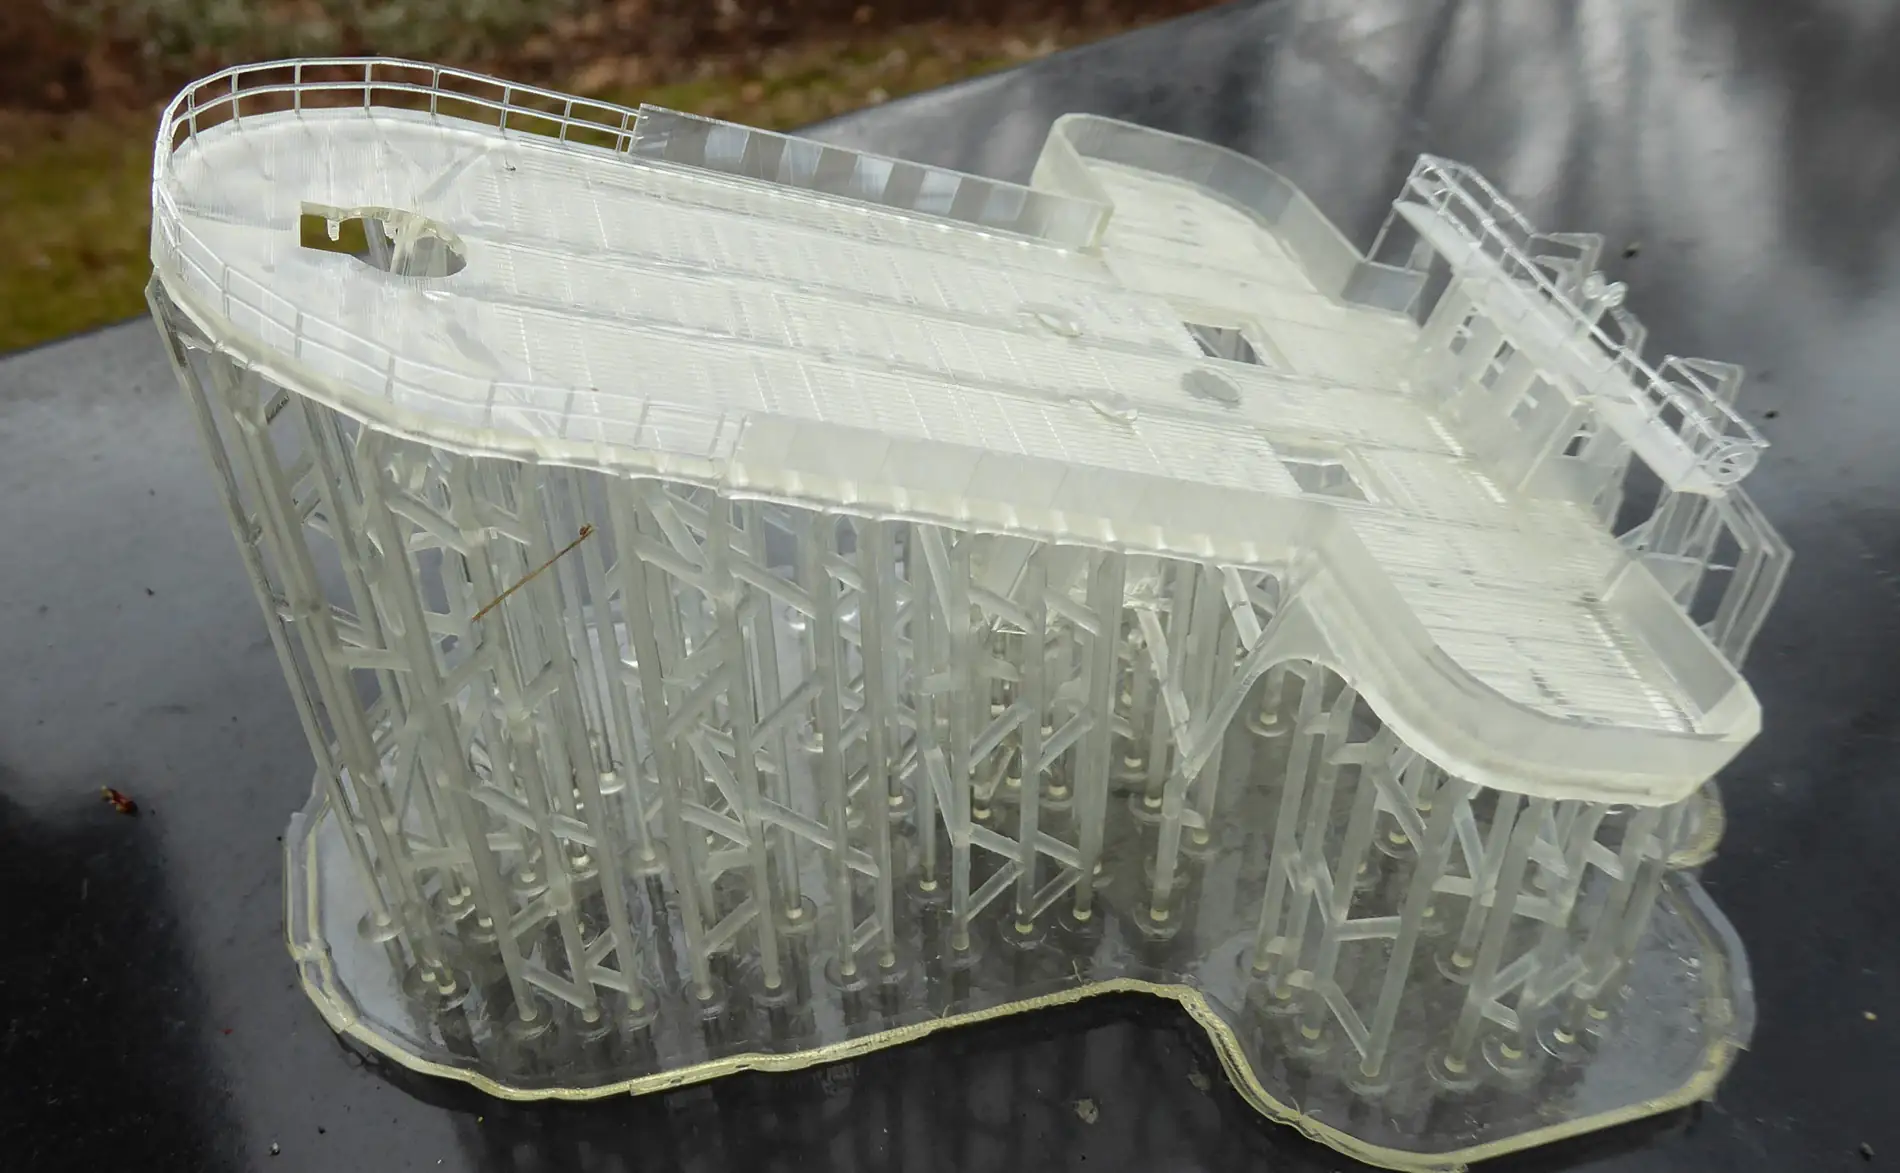
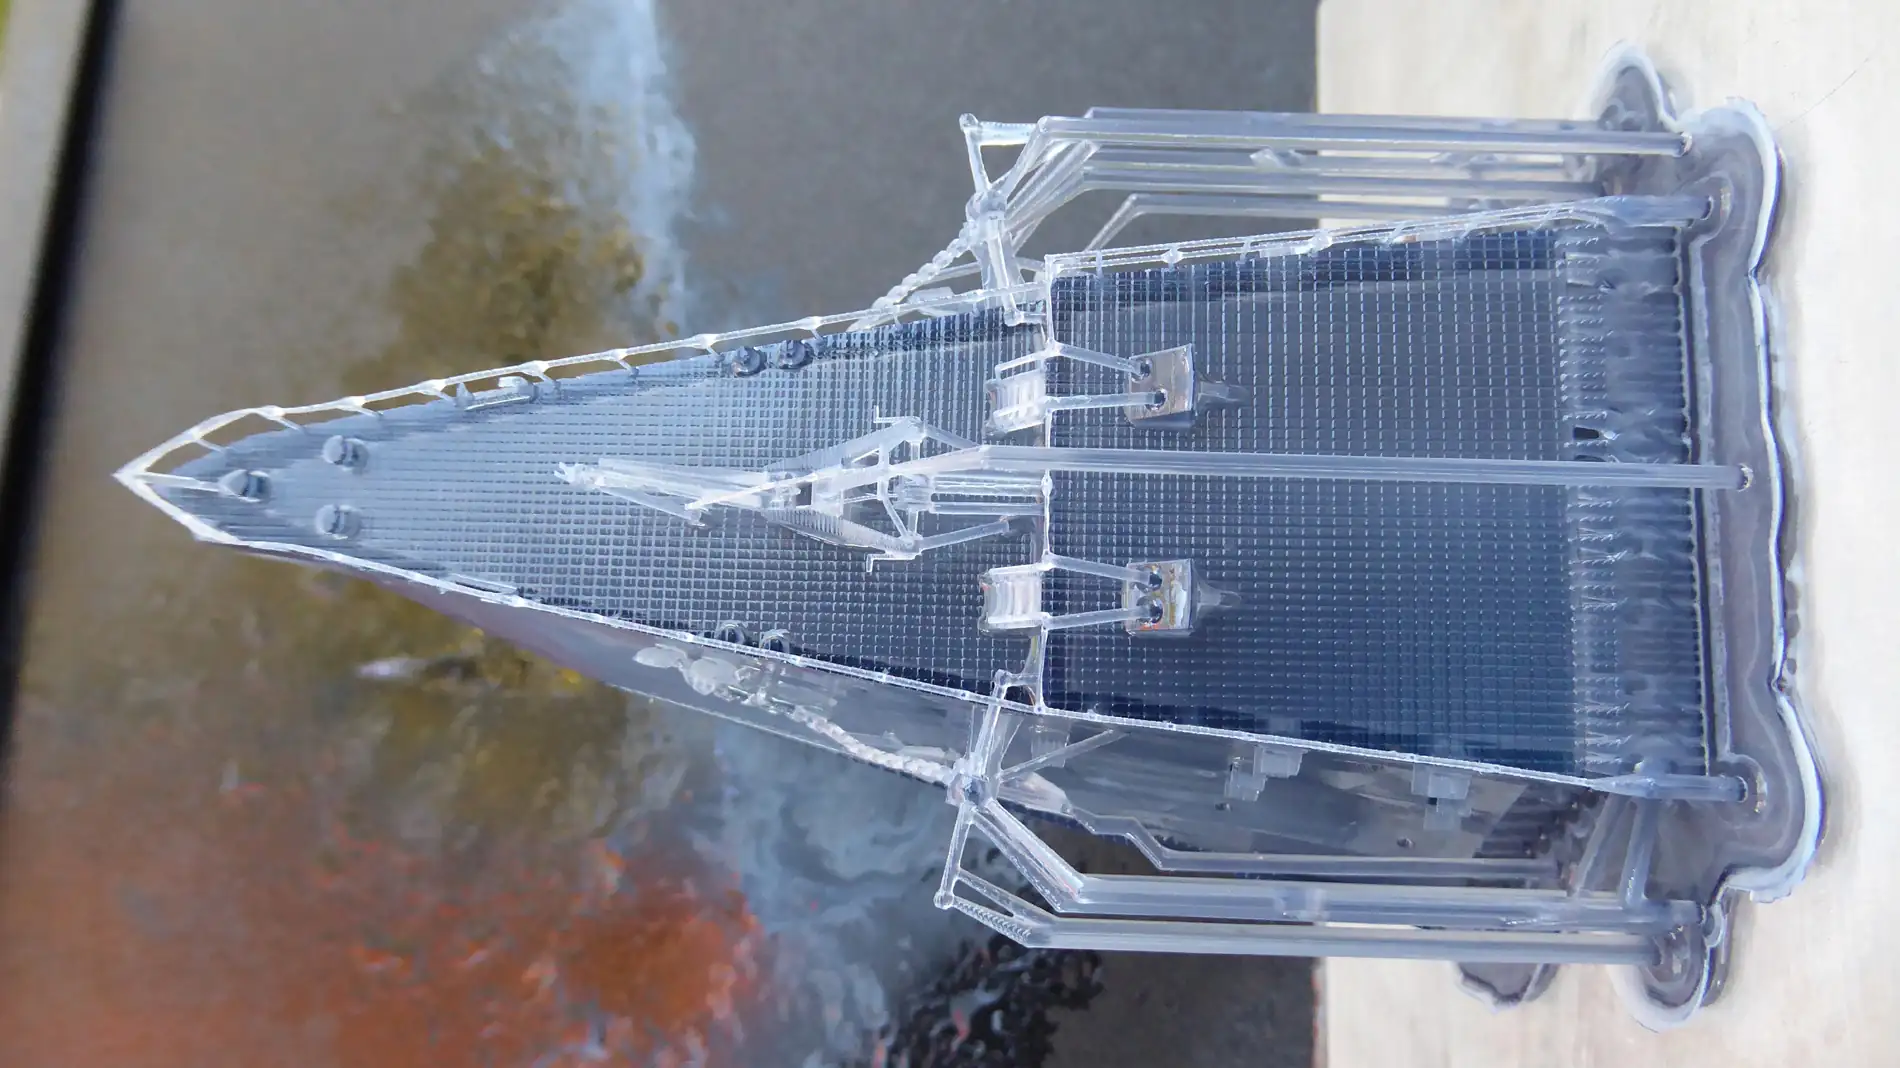
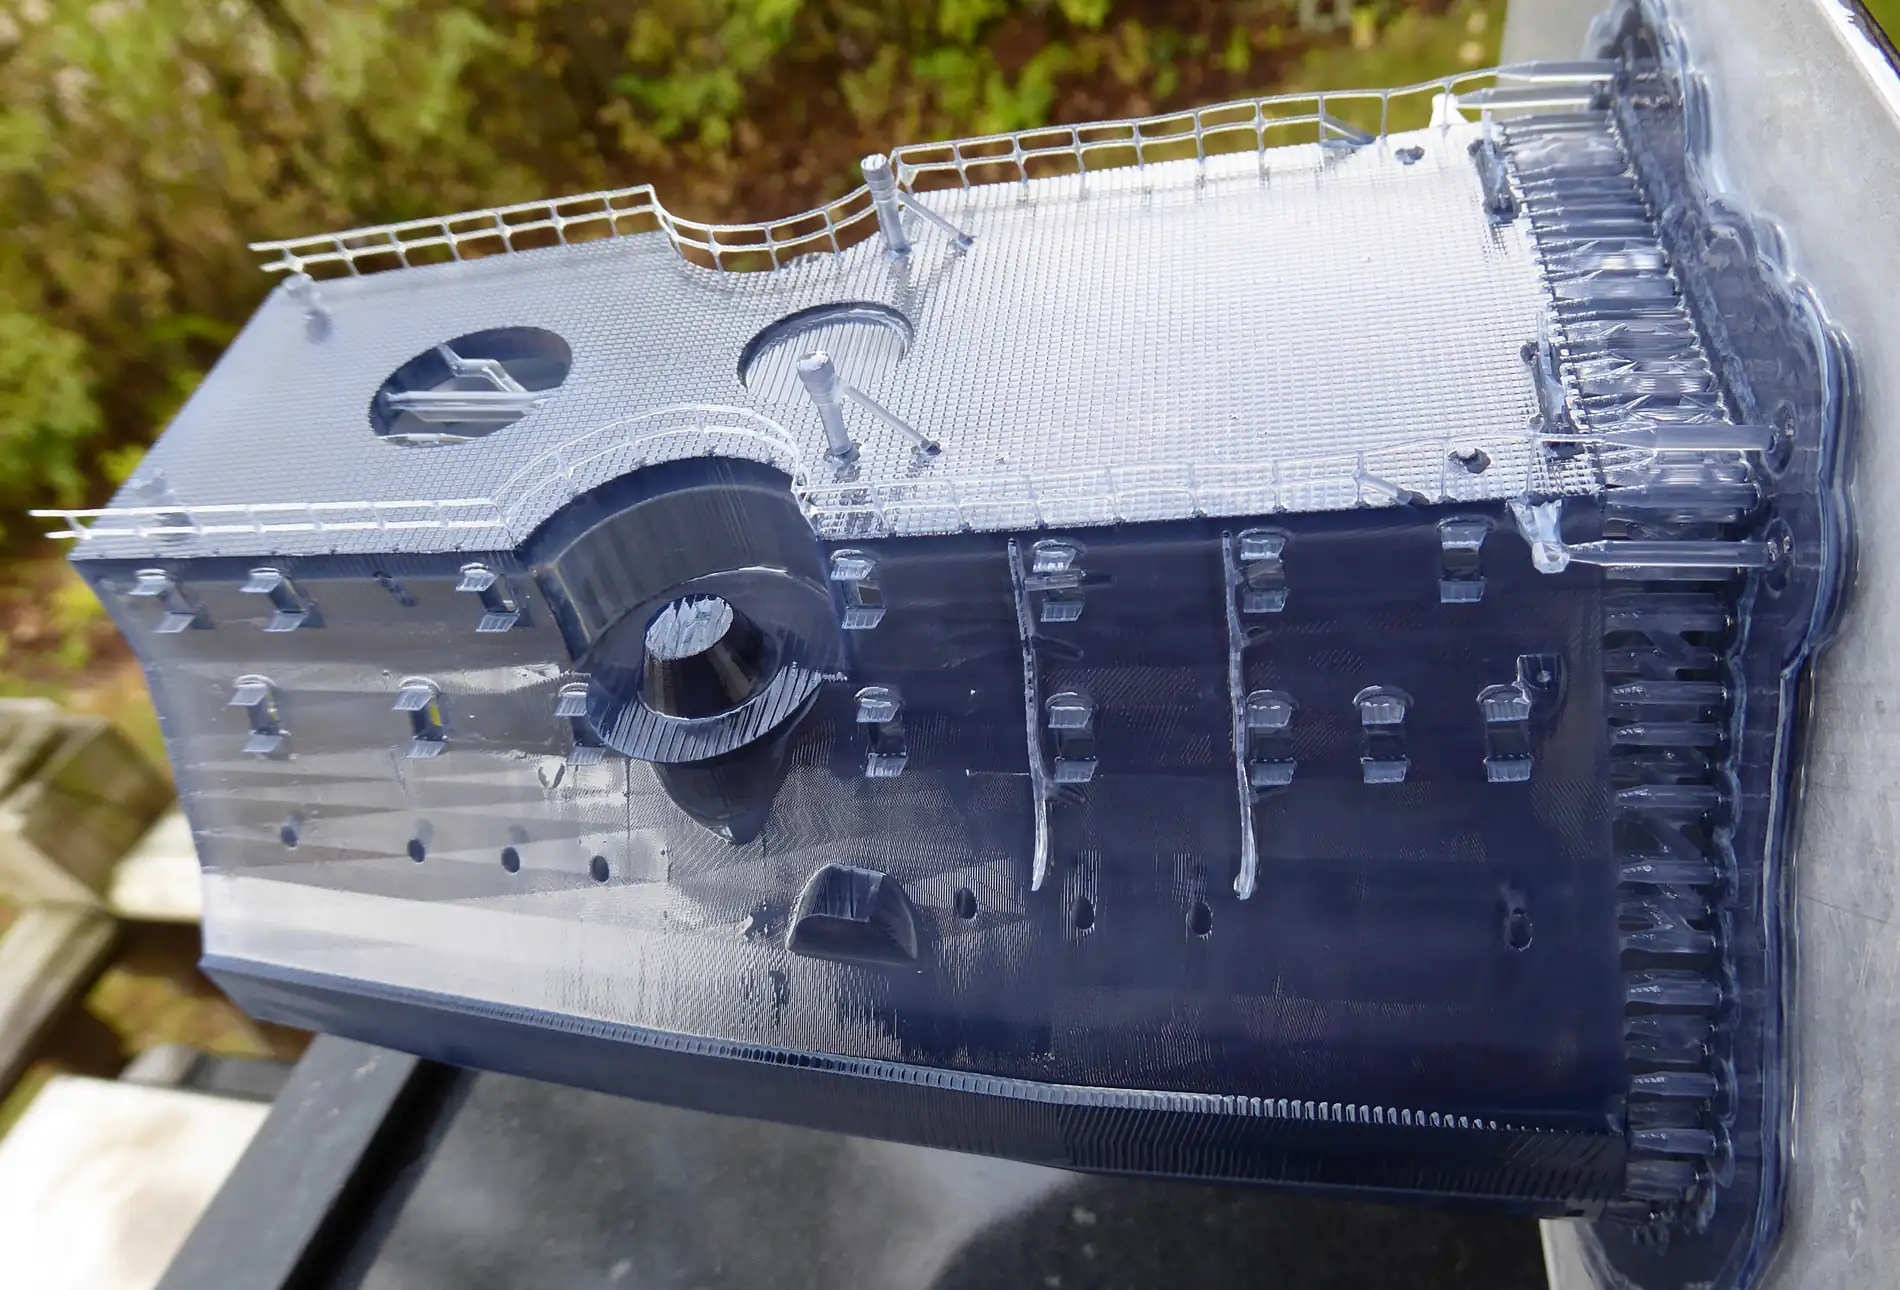
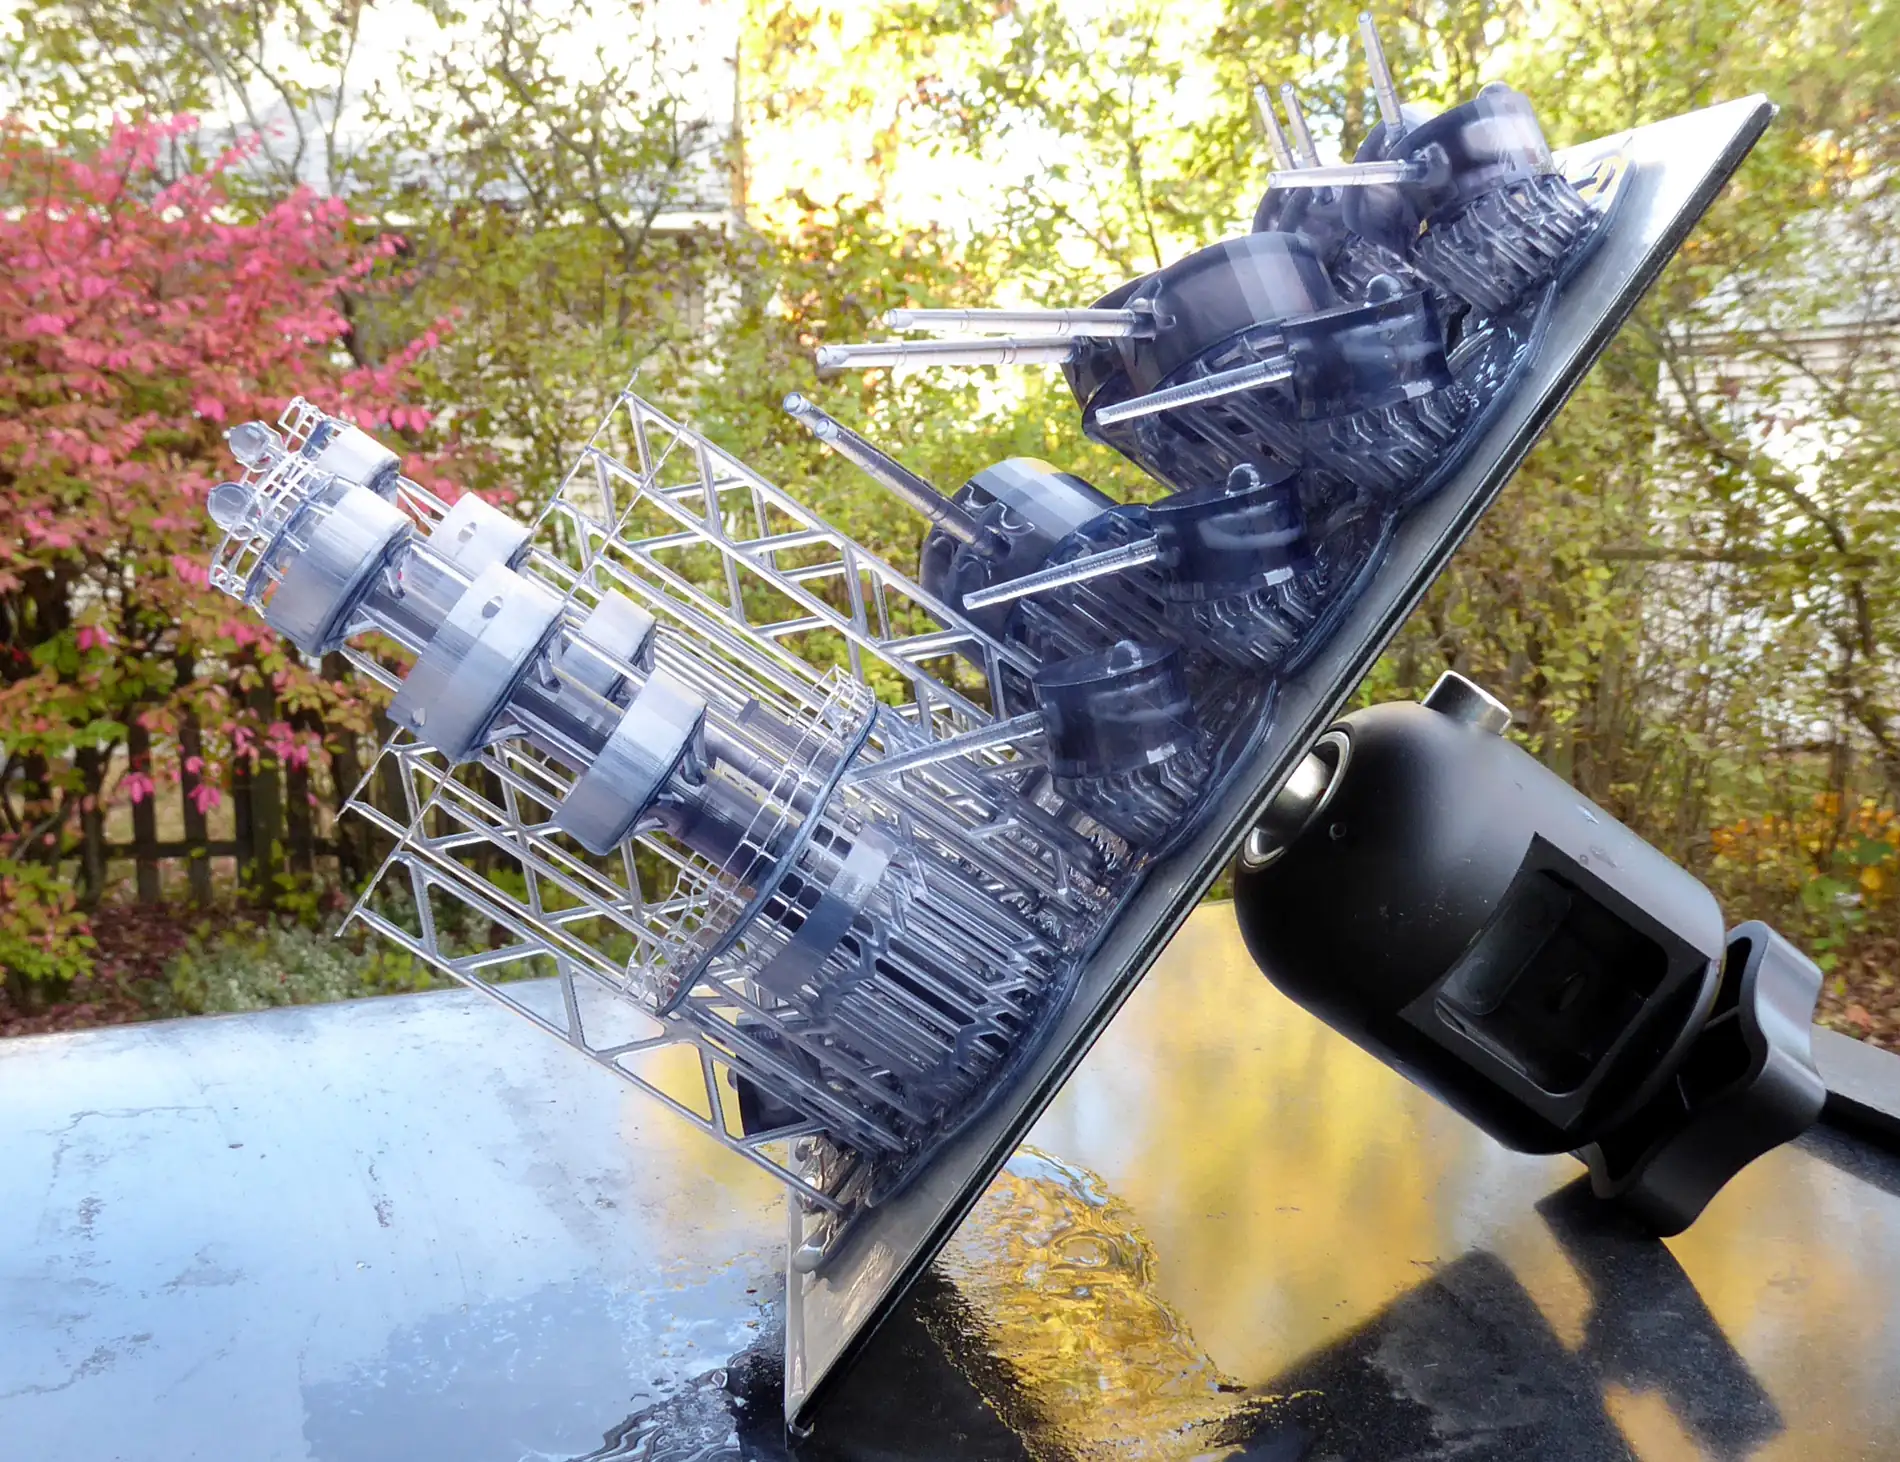
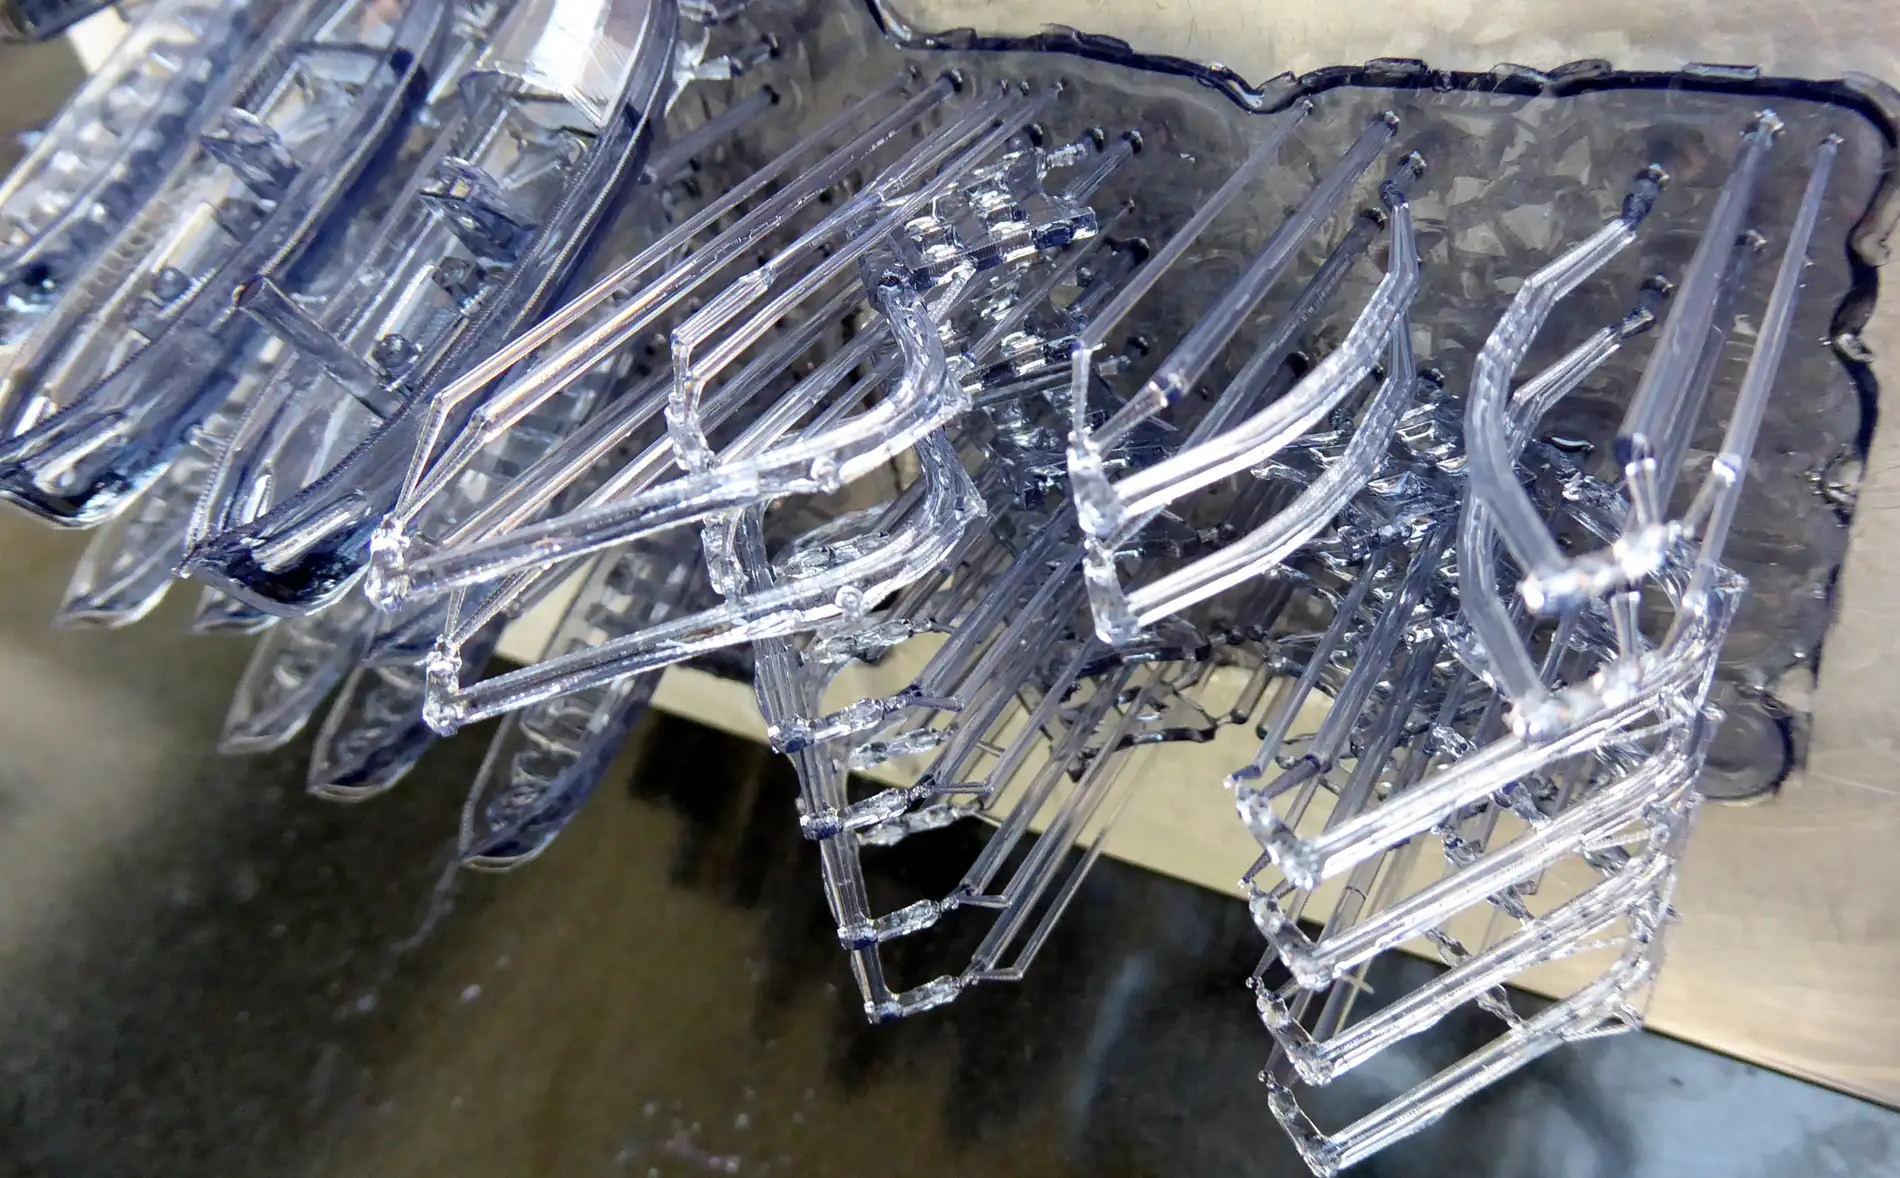
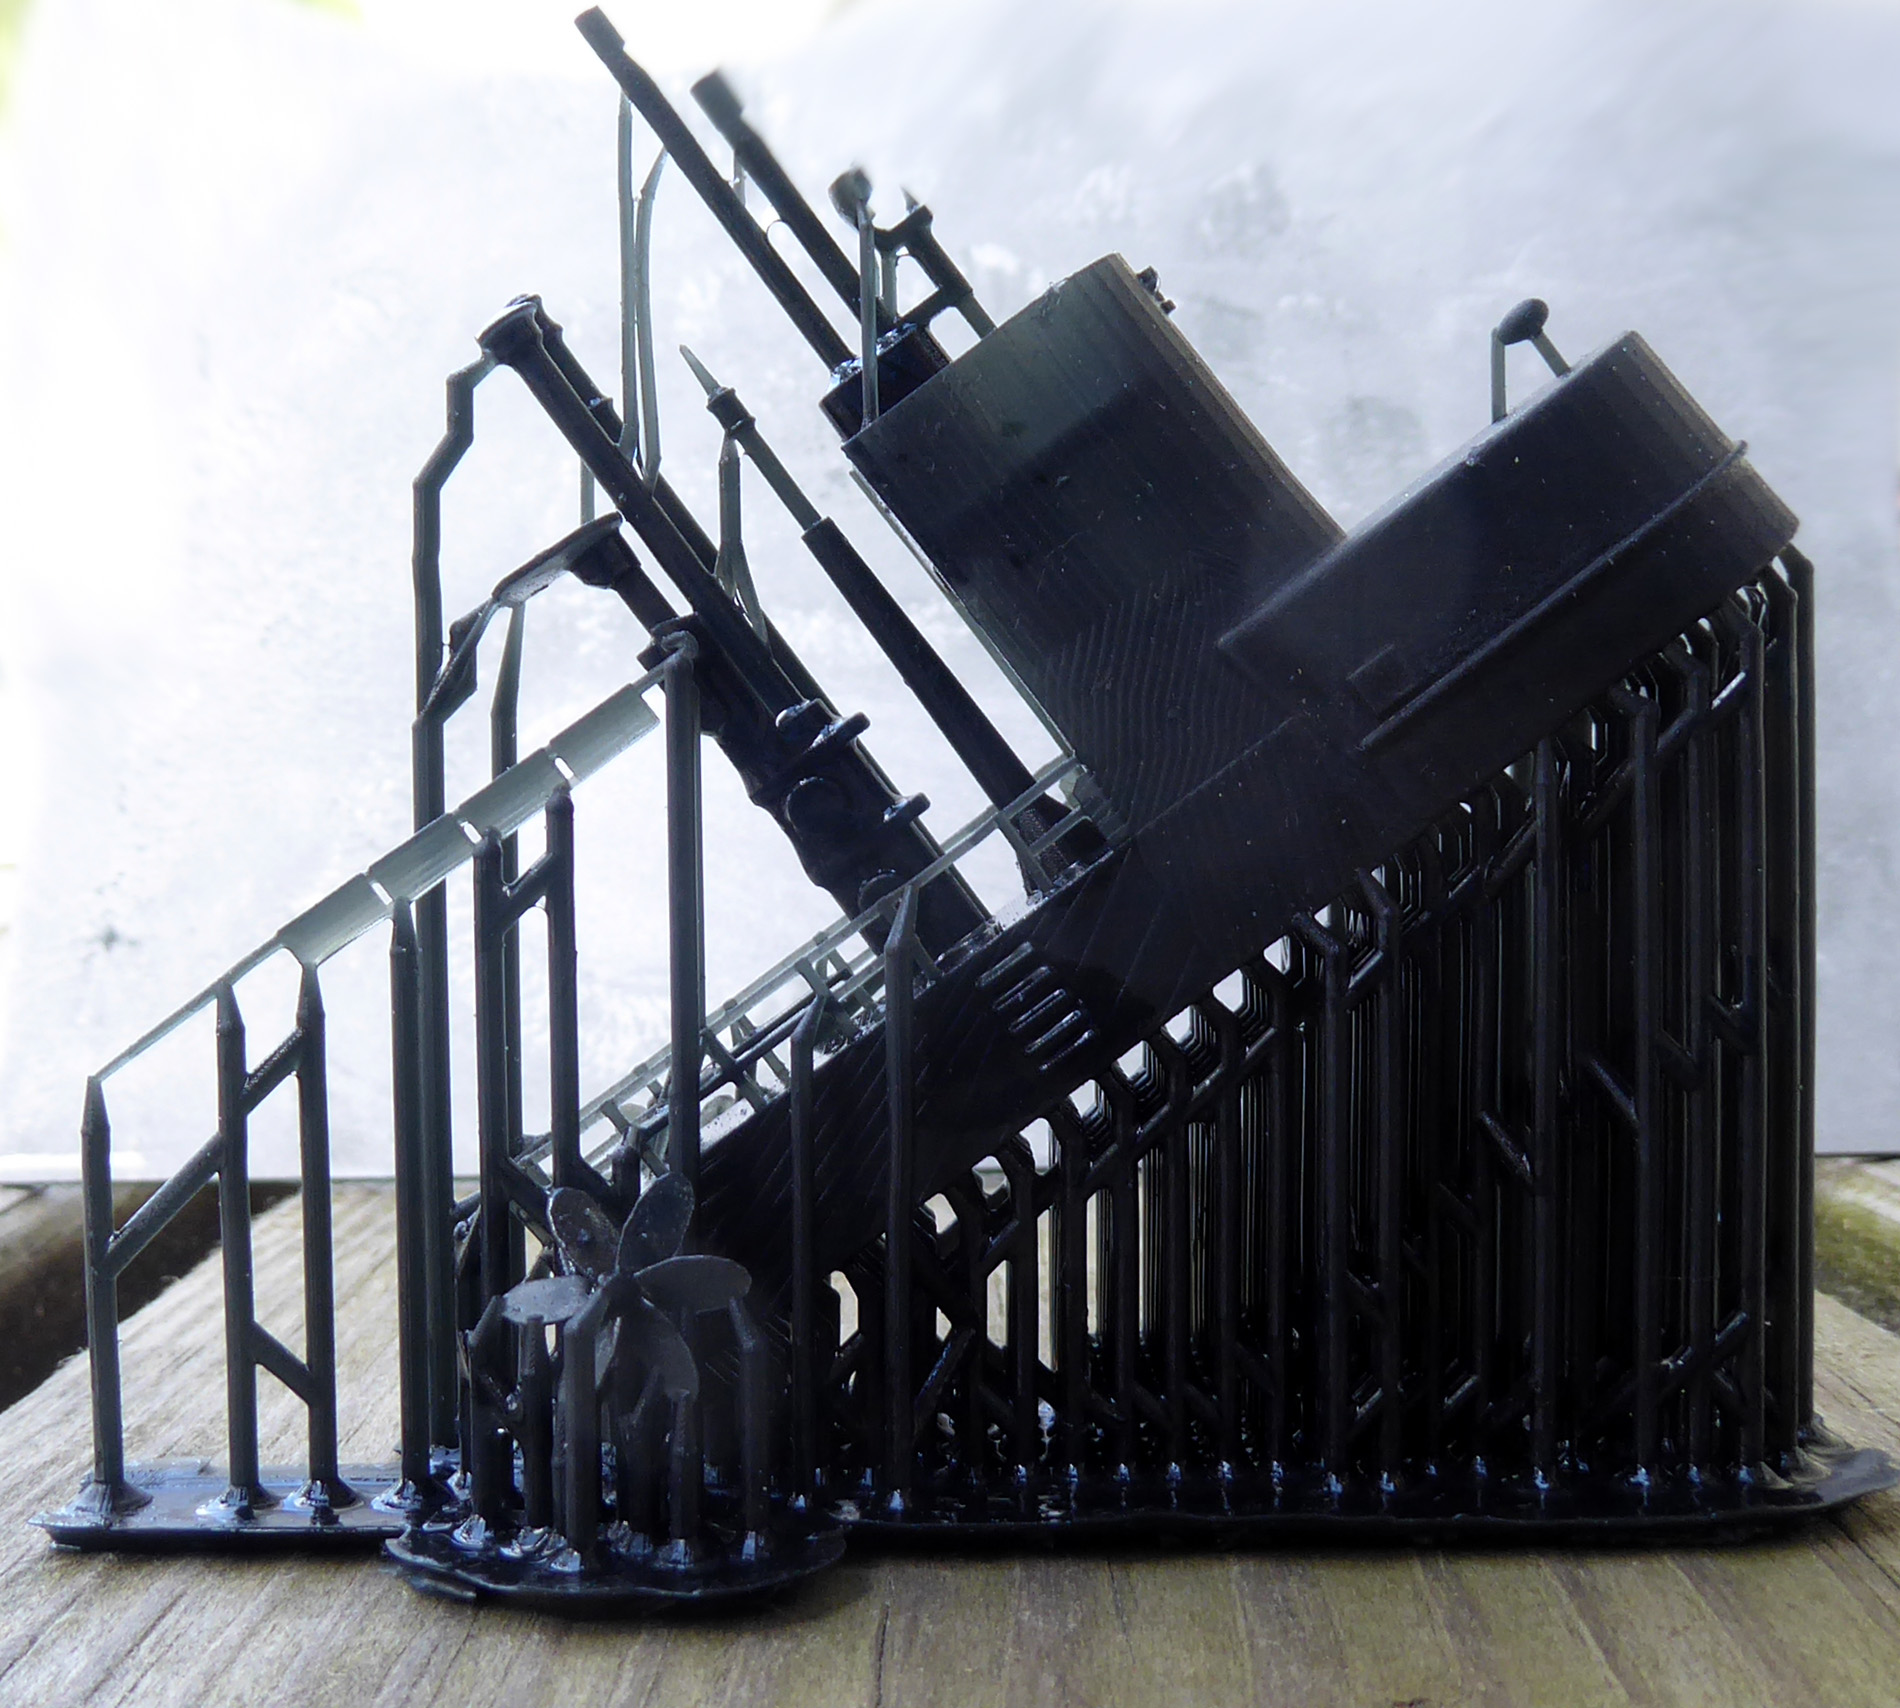
Schledwick Holstien wasn’t in the US 1/500 scale German Naval Recognition Set. She was in the 1/1200 scale version, and she was a cool looking pre-dreadnaught, so I wasn’t going to leave her out of my 1/500 scale set. Again I got busy putting her together and forgot to take pictures of the Elegoo Saturn’s resin parts before I broke them up for cleaning and finish curing. I did take a shot of the assembled but unpainted model, the Elegoo Saturn’s resin parts are slightly lighter than the FDM hull printed by the Ender 3 Pro, and you can see how they fit together. There’s also a shot of just the FDM hull and a Blender render.

This Schledwick Holstien was a joy to print and assemble and all went smoothly. Like the Kormoran, she may have a tad more detail then an actual recognition model of Schledwick Holstien in 1/500 would have had, but not by much.

Next up will be the light cruiser Emden, getting slowly closer to a completed set…

Elegoo Saturn Print Examples

This post is long over due and the printer that created these print examples is now well past it’s sell by date. That said, I still wanted to post a collection of print examples from my Original Elegoo Saturn 3D printer as I’ve found it to be a tremendously capable and reliable printer.

I’m also hoping that seeing what a now obsolete resin 3D printer can do in the hands of an amateur, may inspire a few creative types to take the plunge! Again, that said: For the Love of God! read up on my earlier Saturn and LD-002r posts to more fully see what you might be getting into!

Once again, that said: Worth it!

New Project Time?

I still have the Revell USS Arizona WWI conversion project to finish, it’s been more challenging than expected but once she’s done, I’ve a choice to make.

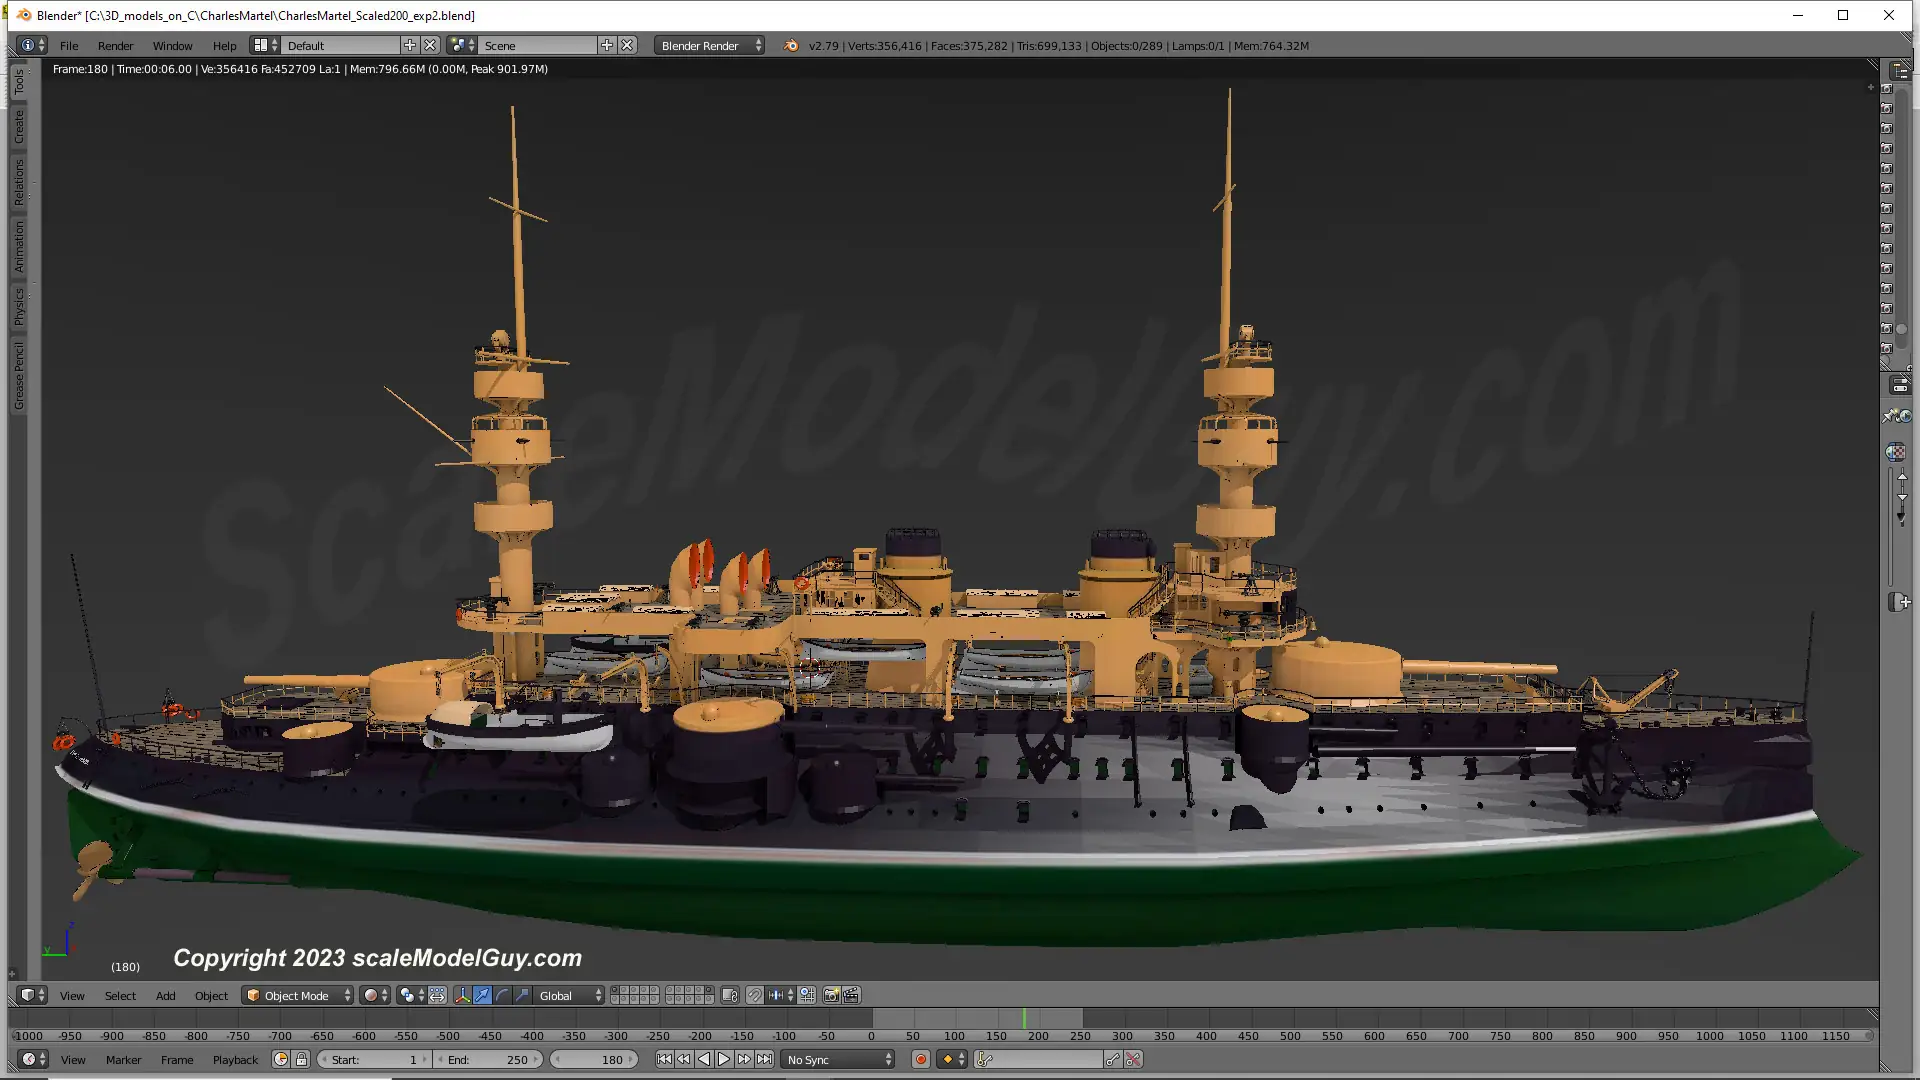
Over the last few years, mostly while printing, building and recovering from Charles Martel, I’ve kept busy in Blender revisiting some of my earlier, favorite designs, rebuilding them from the ground up to be reprinted on my Elegoo Saturn. This allowed/required me to increase their detail levels to take advantage of the Saturn’s capabilities and also because I’ll be printing some of them in a larger scale. During this time I also completed a couple totally new designs, IJN Yamato and a German Schnellboot, and last and yes least, there’s my tiny Japanese WWII plane collection in 1/450 scale, intended to augment some of my “finished” Japanese ships. They’re fairly simple and were fun Blender designs to create, only taking a day or so each.
I’m almost ready to dive in, but which to start?
Decisions, decisions!

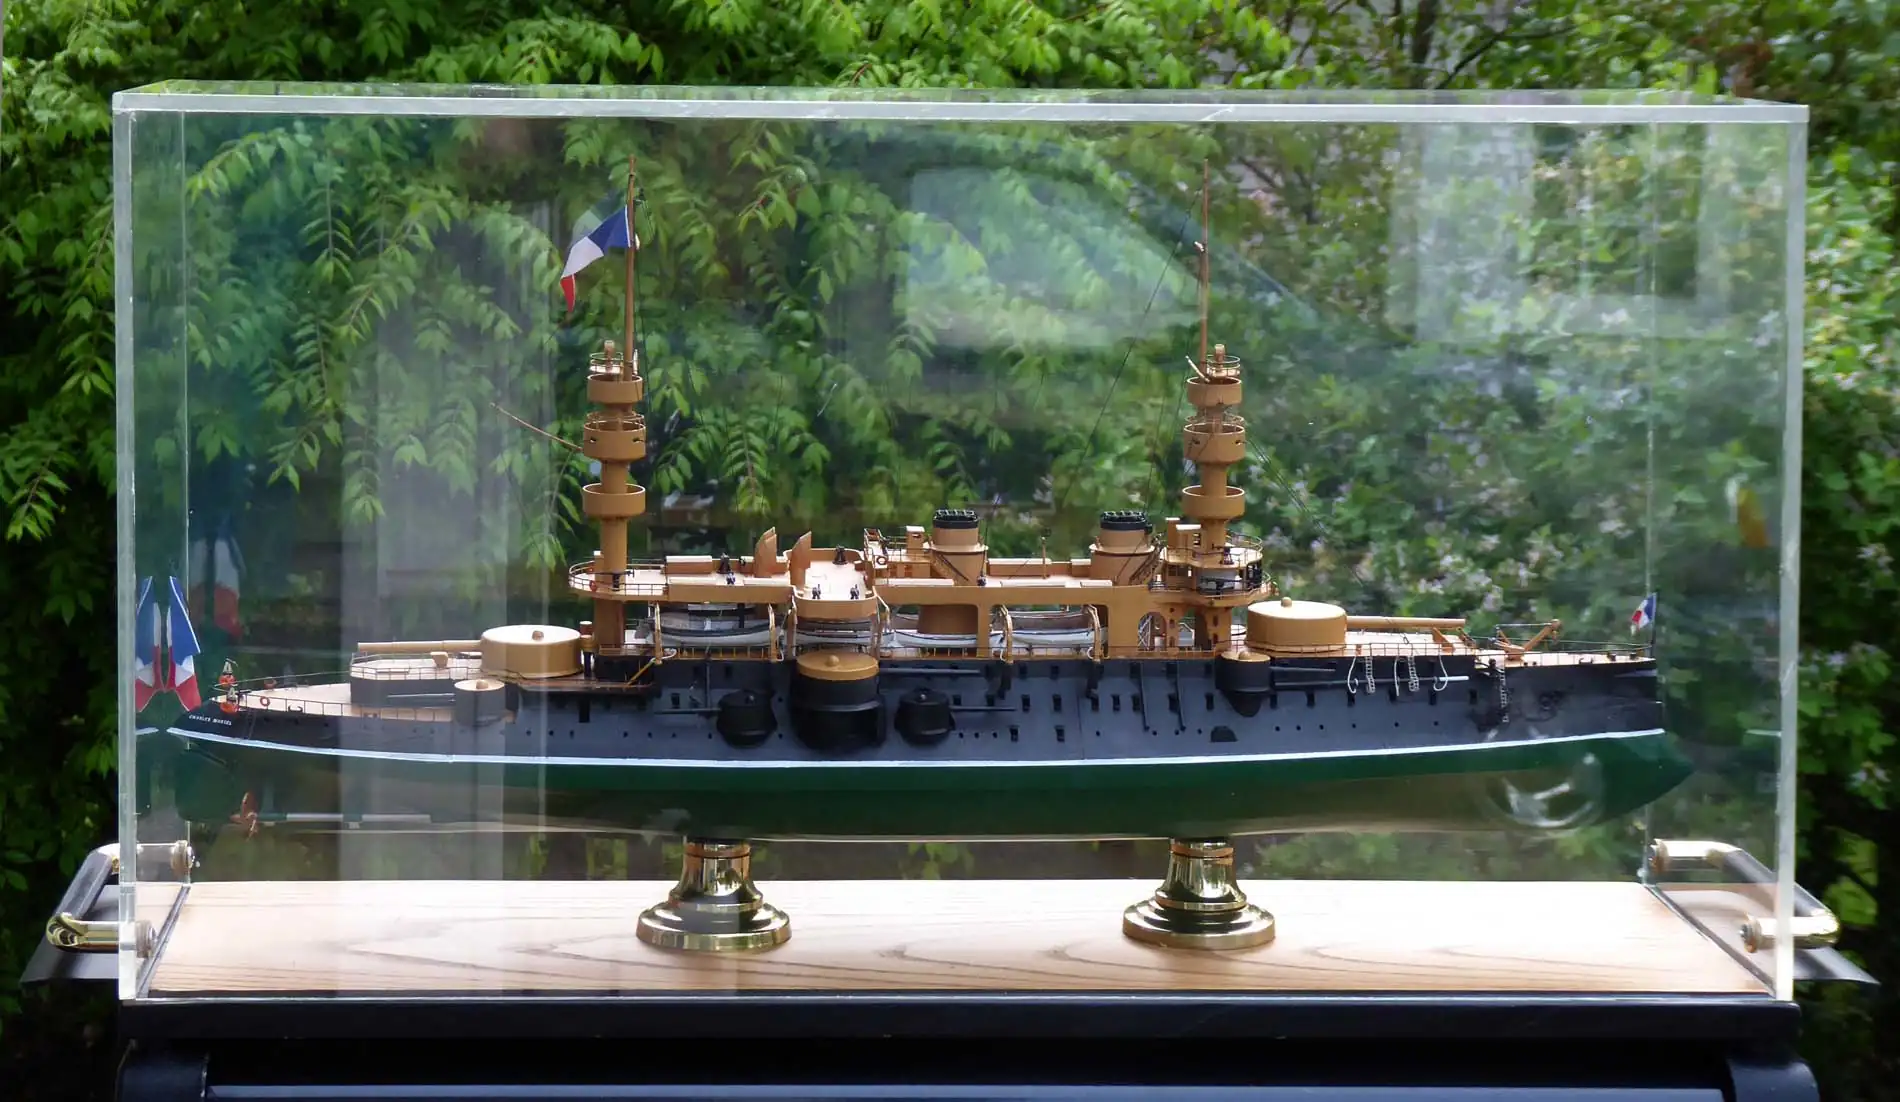
Charles Martel French Battleship, 3D printed with an Elegoo Saturn

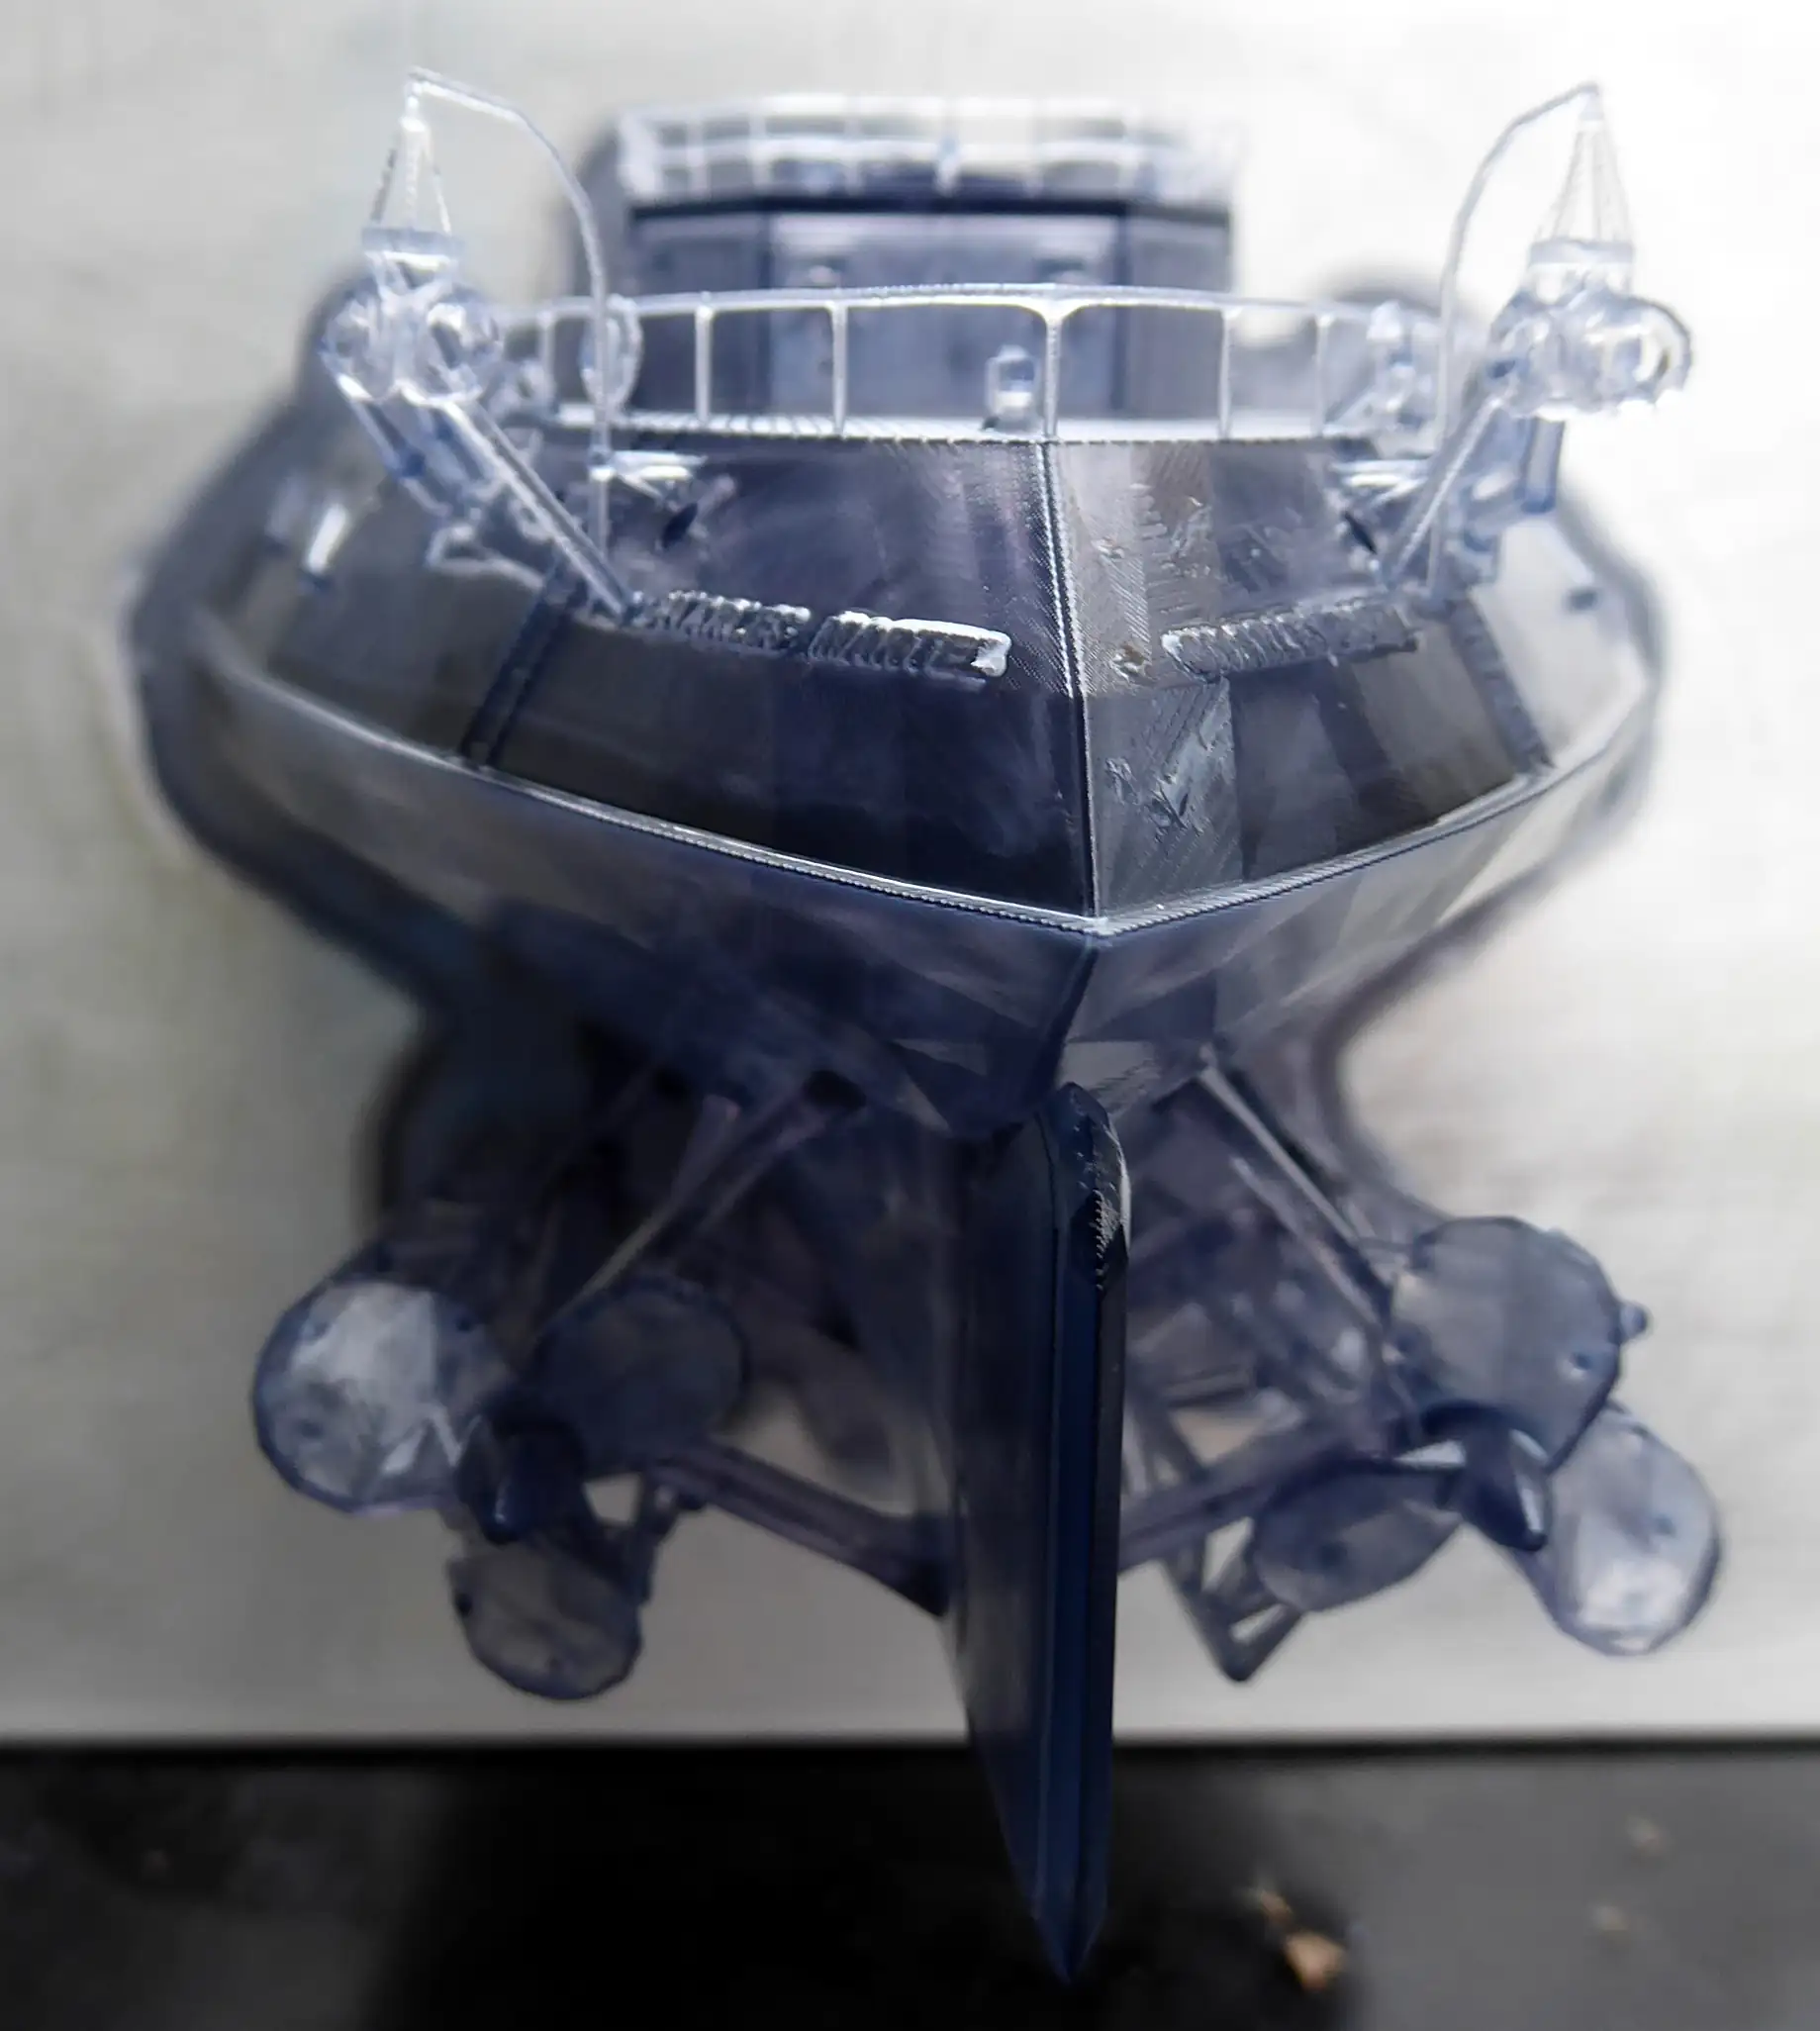
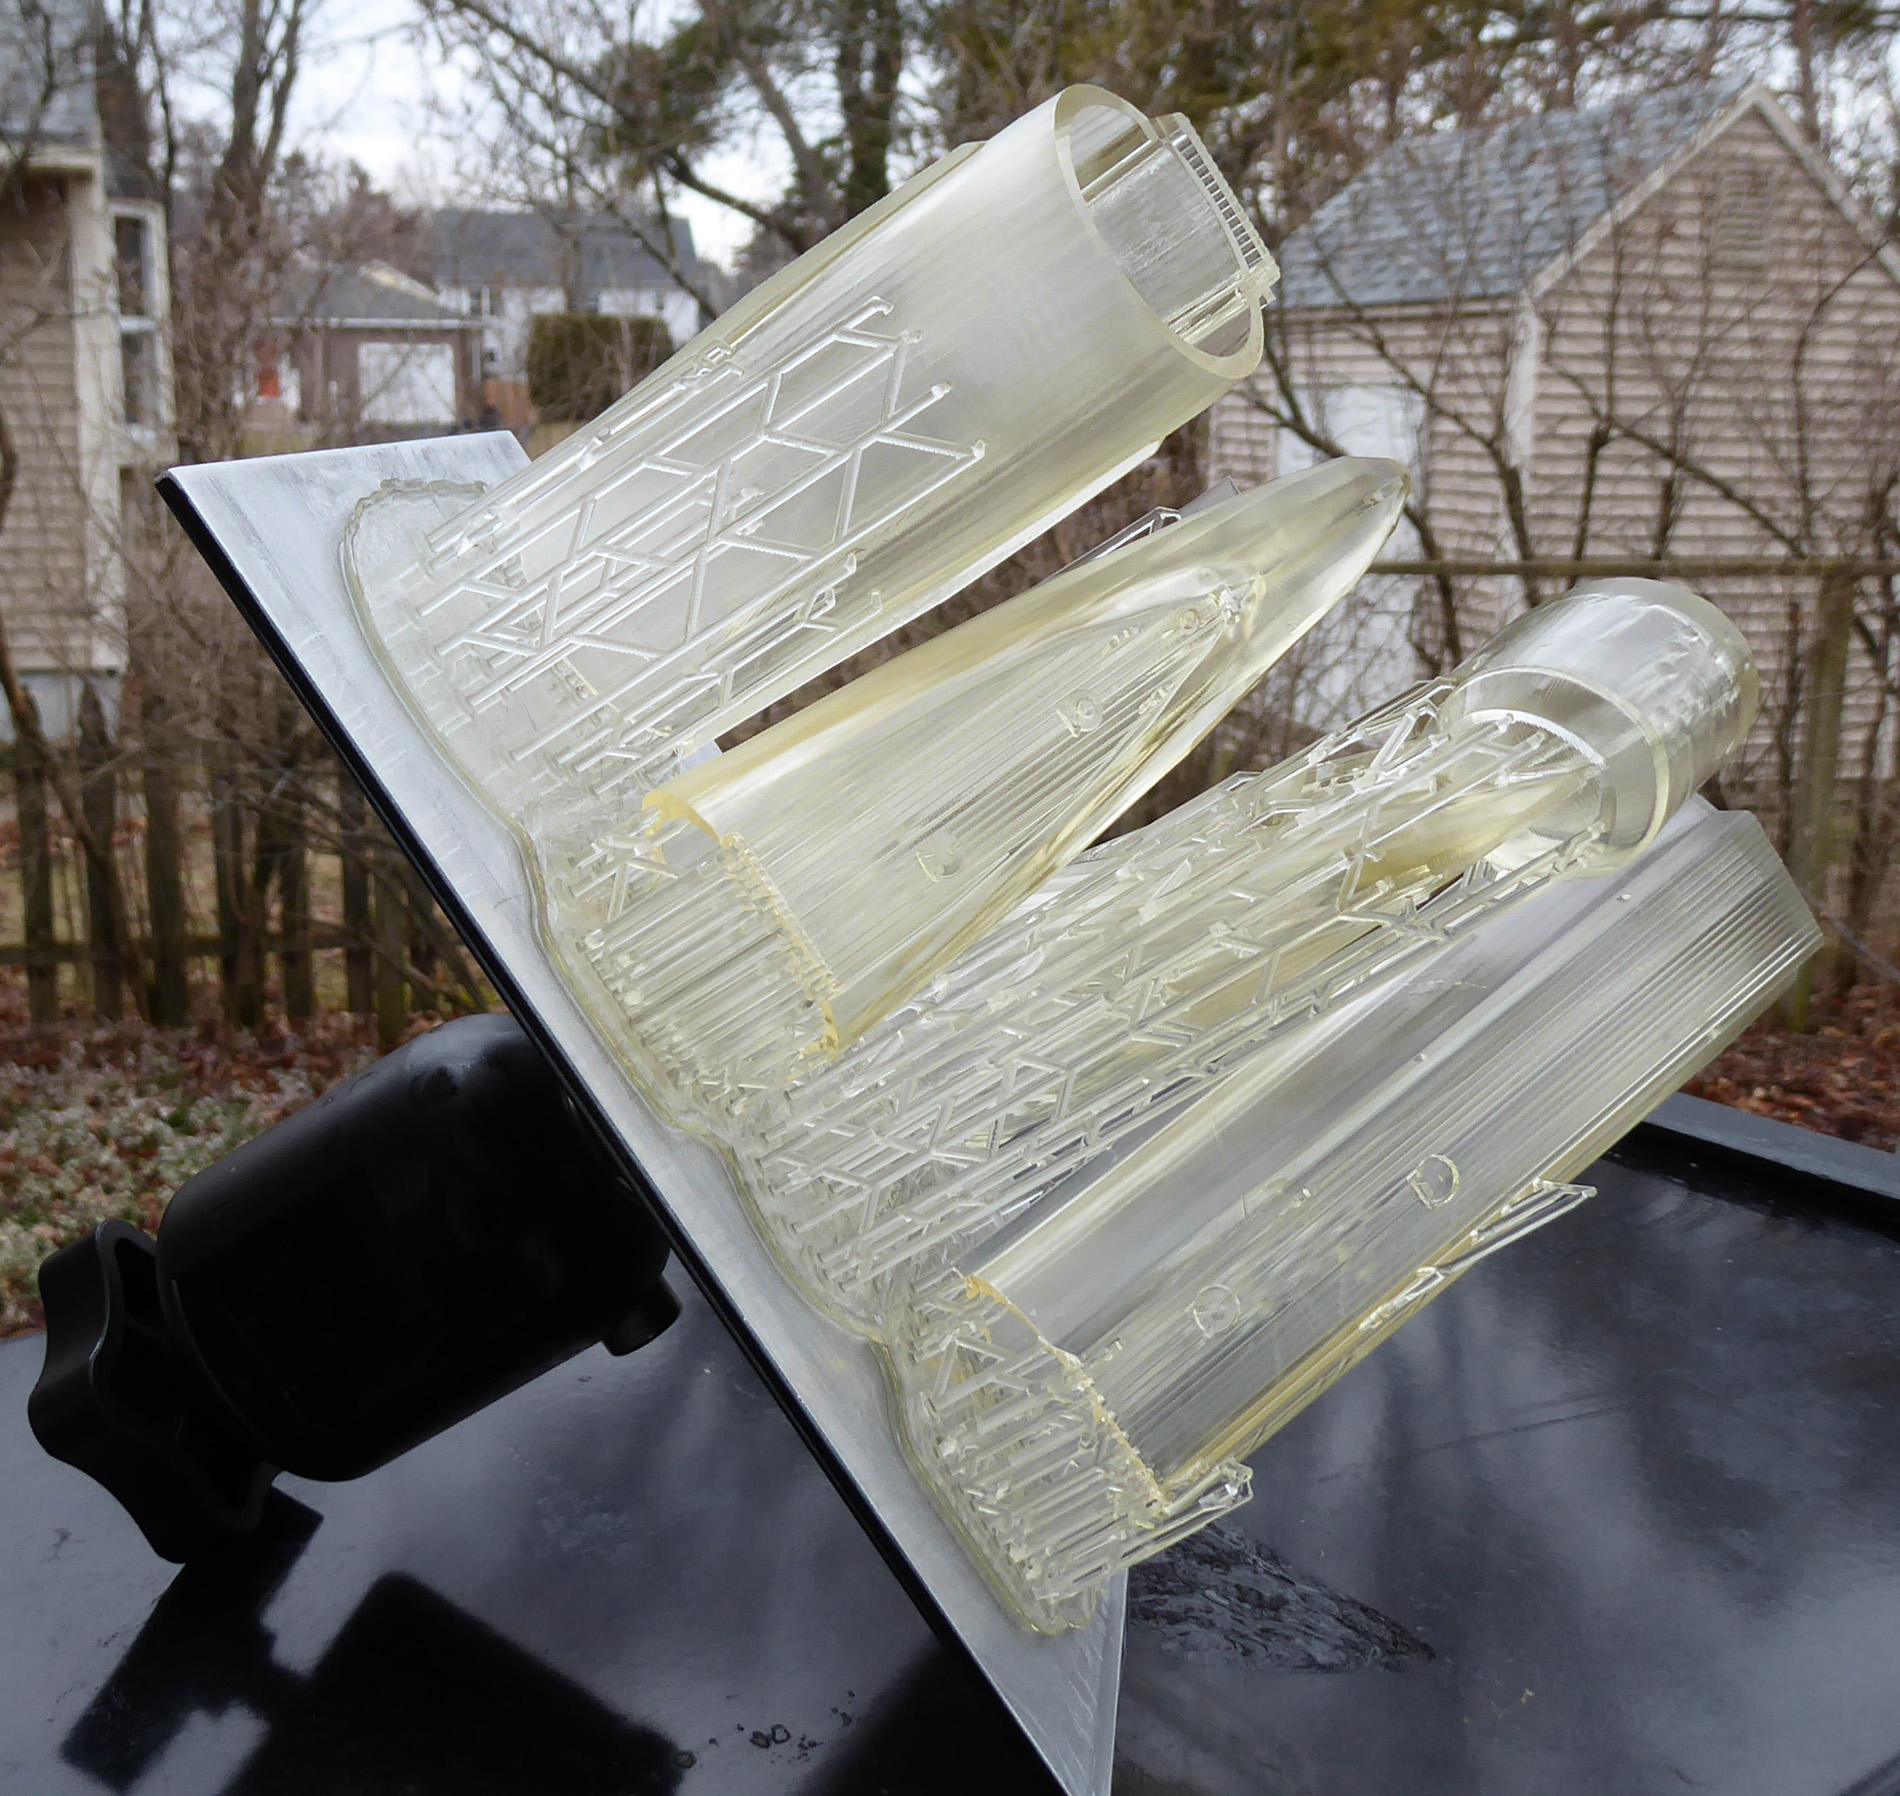
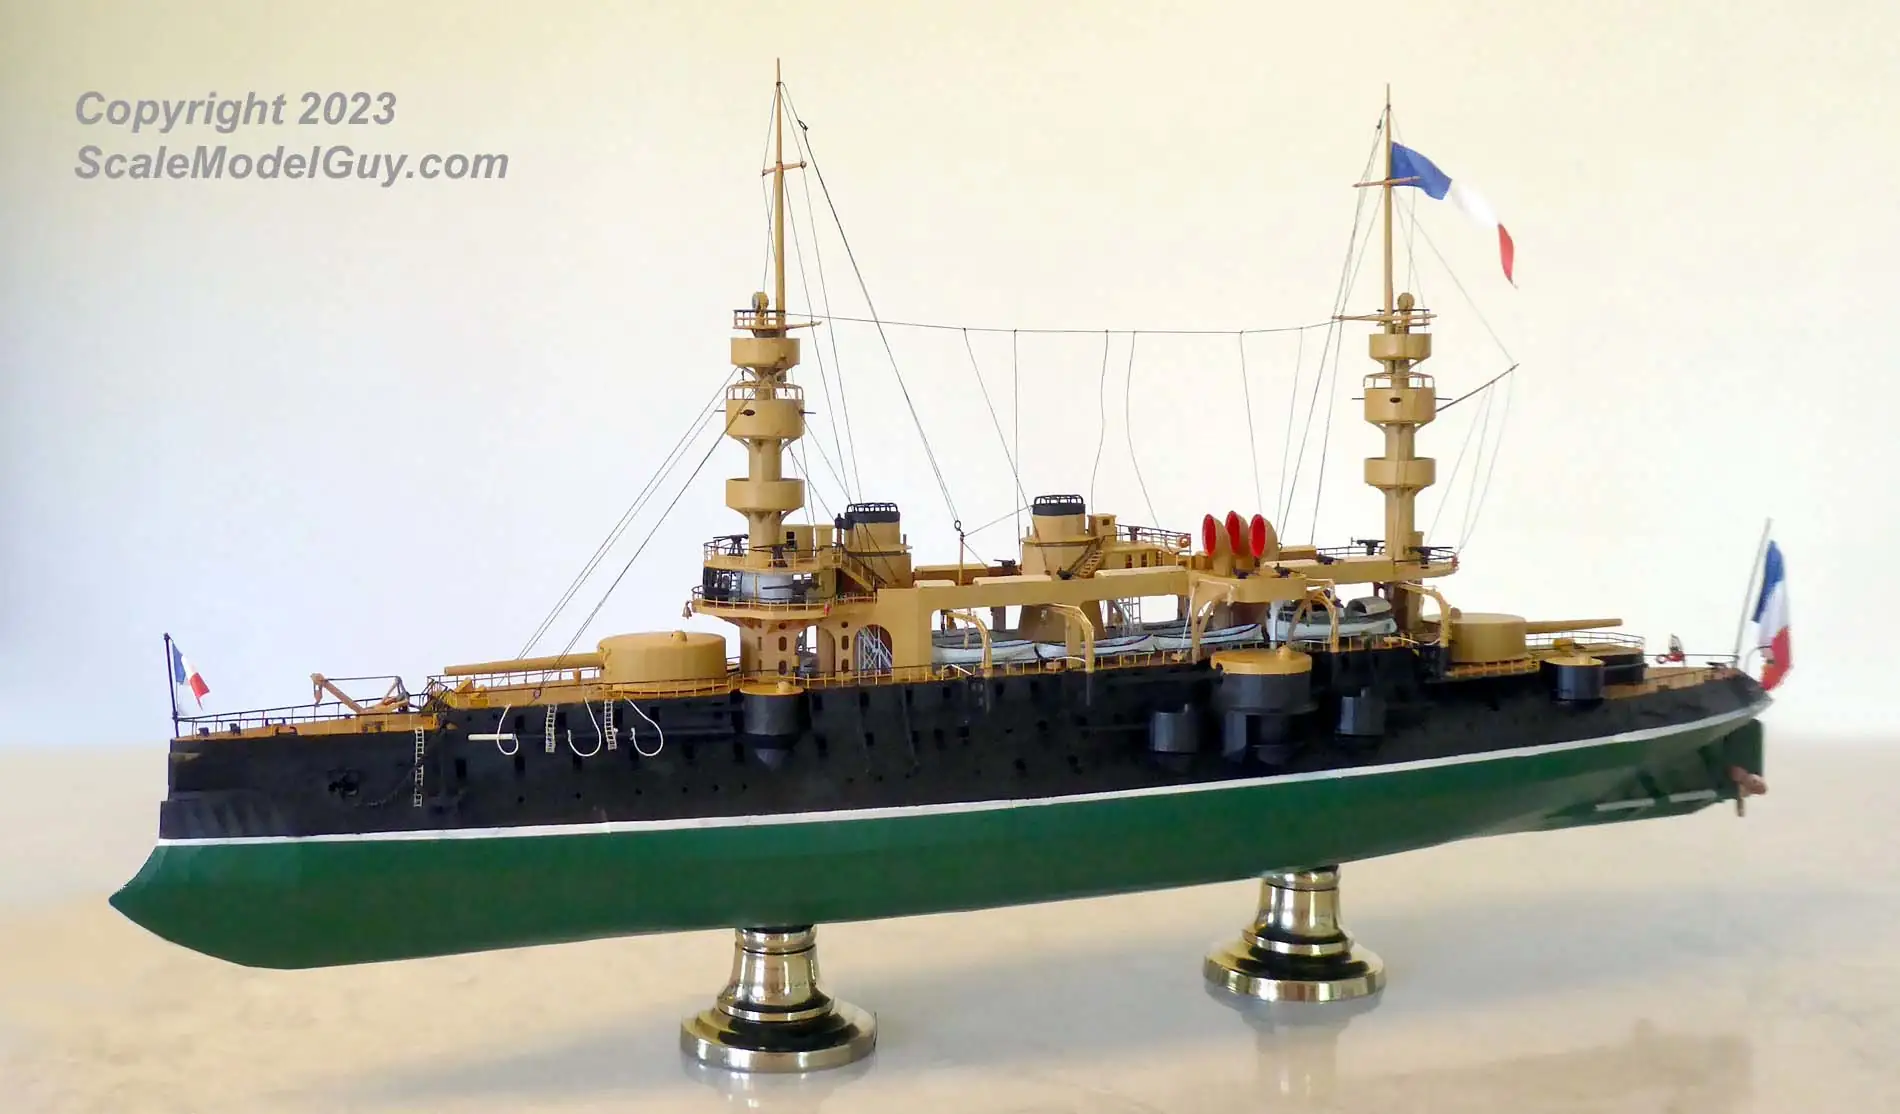
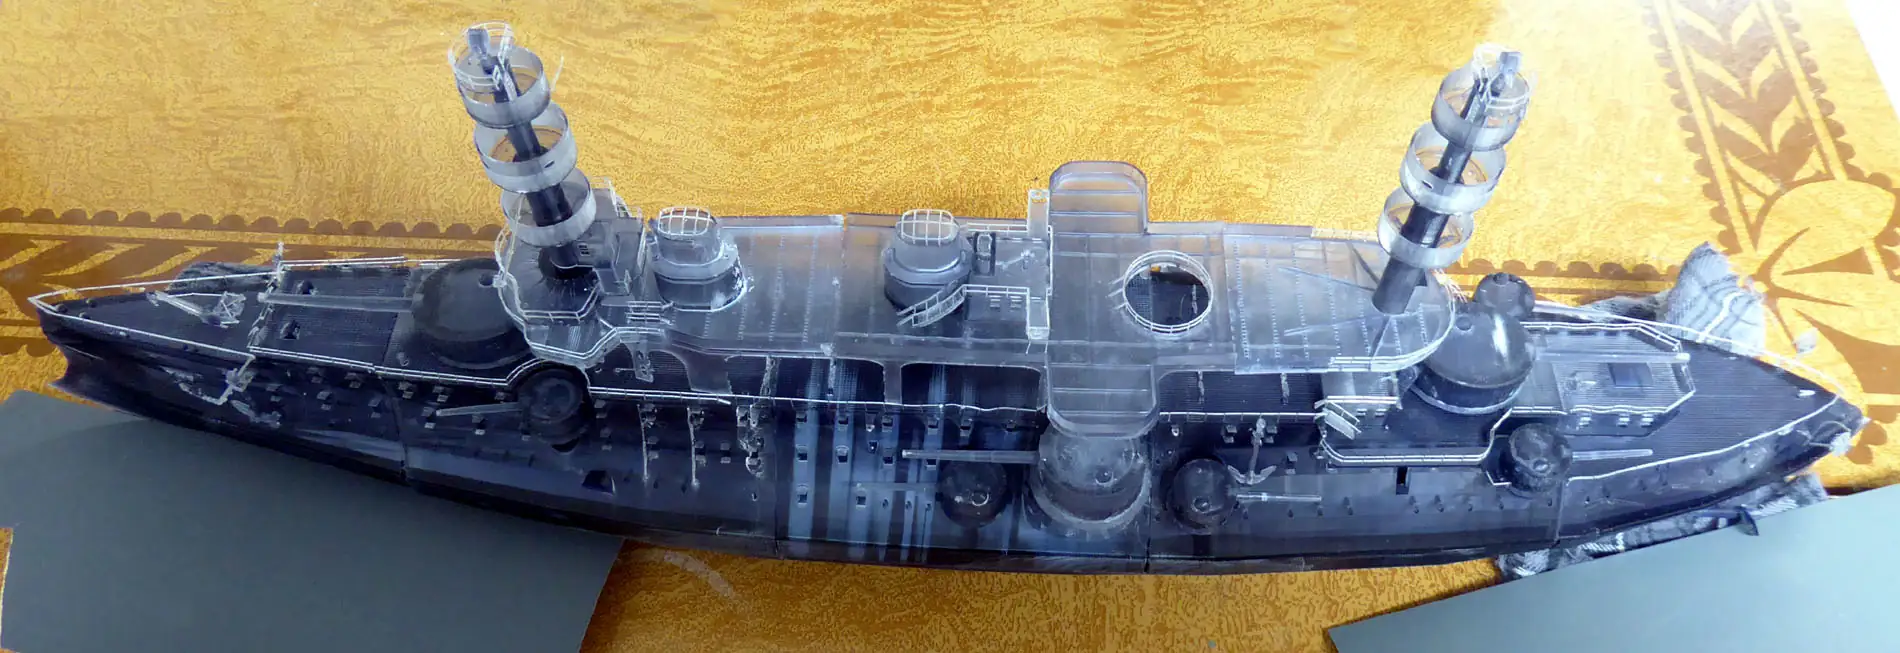
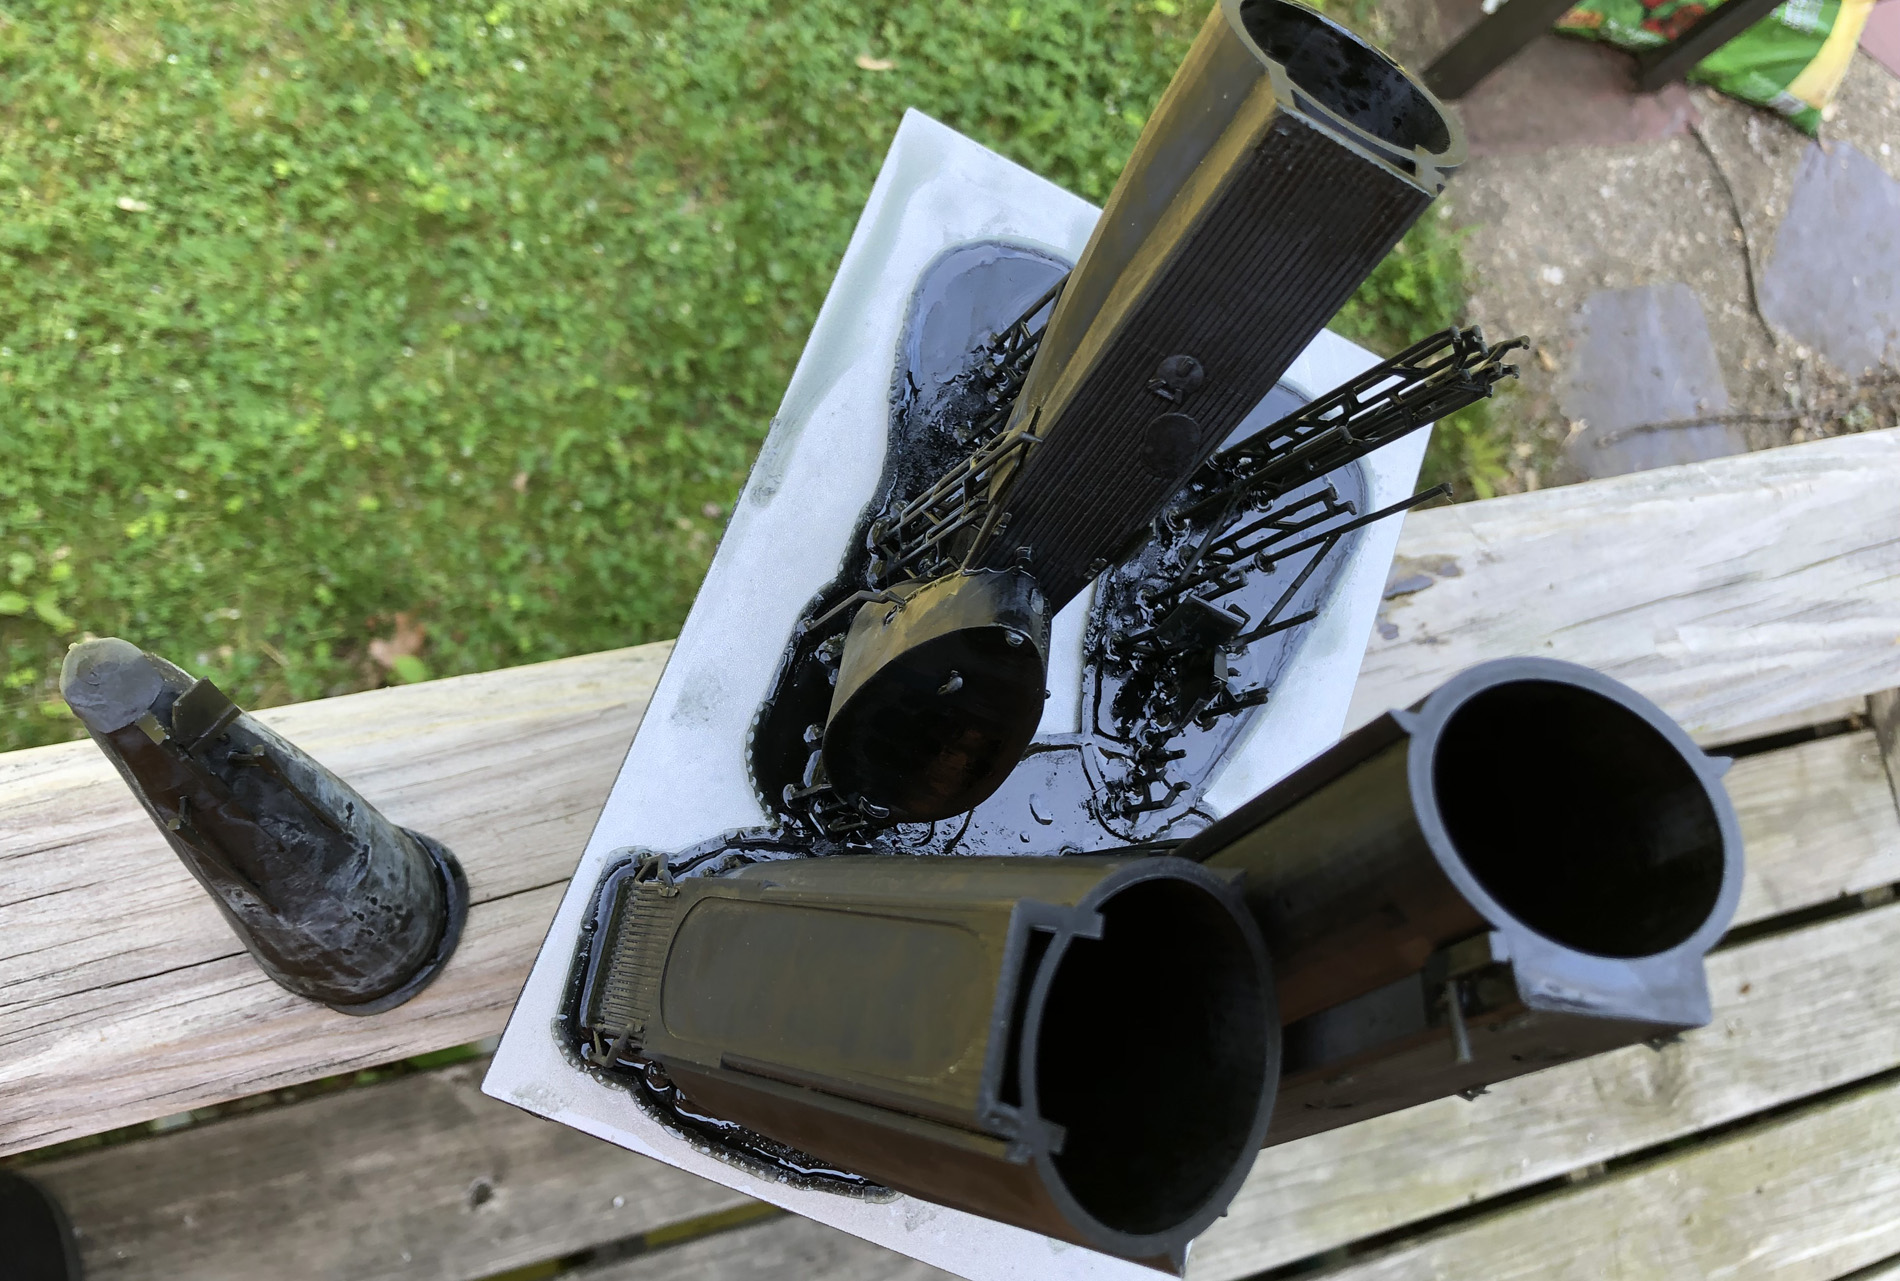
This post introduces the Charles Martel project page. The Charles Martel was a French pre-dreadnought battleship from the end of the 19th century. Her 1/200 scale model has been by far my most ambitious 3D build, taking over a year and a half from Blender design to display case. Her project page has a ton of Elegoo Saturn print example shots, in-progress build pictures, and comments from the assembly process, below are a few images from it.

My First Elegoo Saturn Project

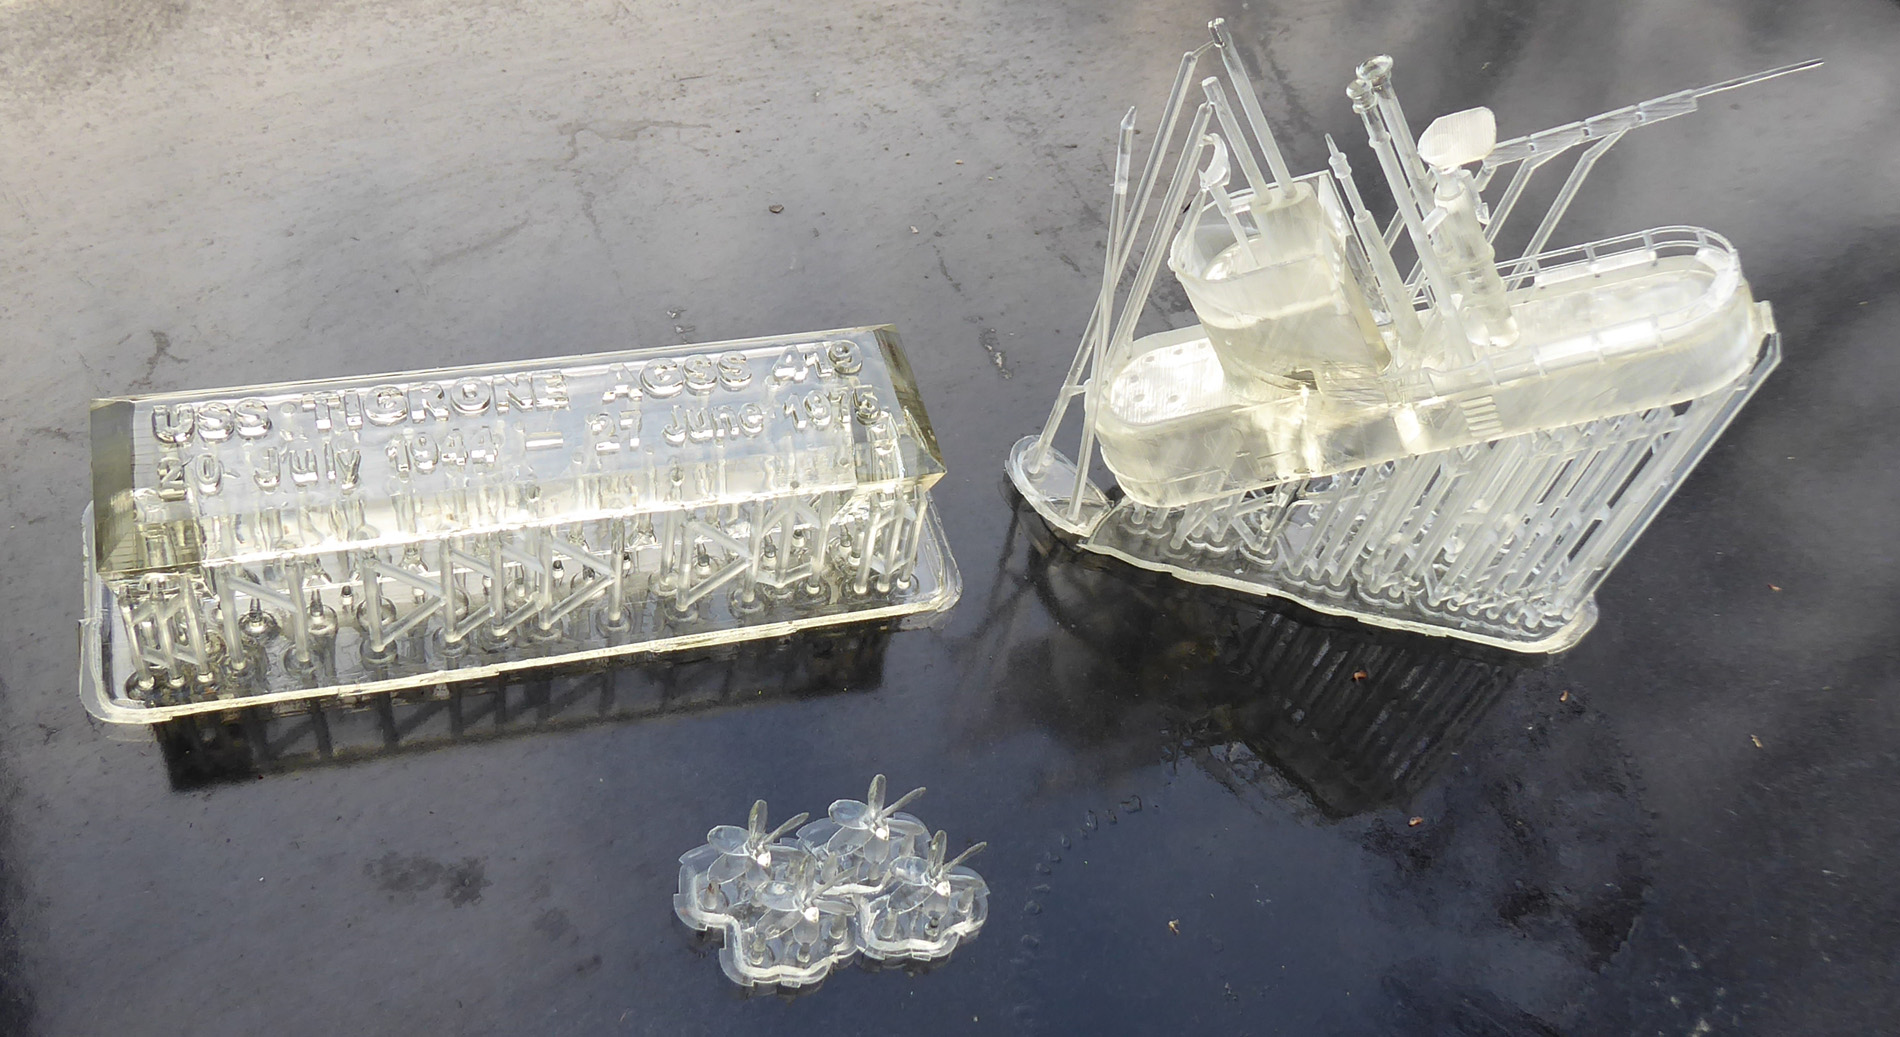
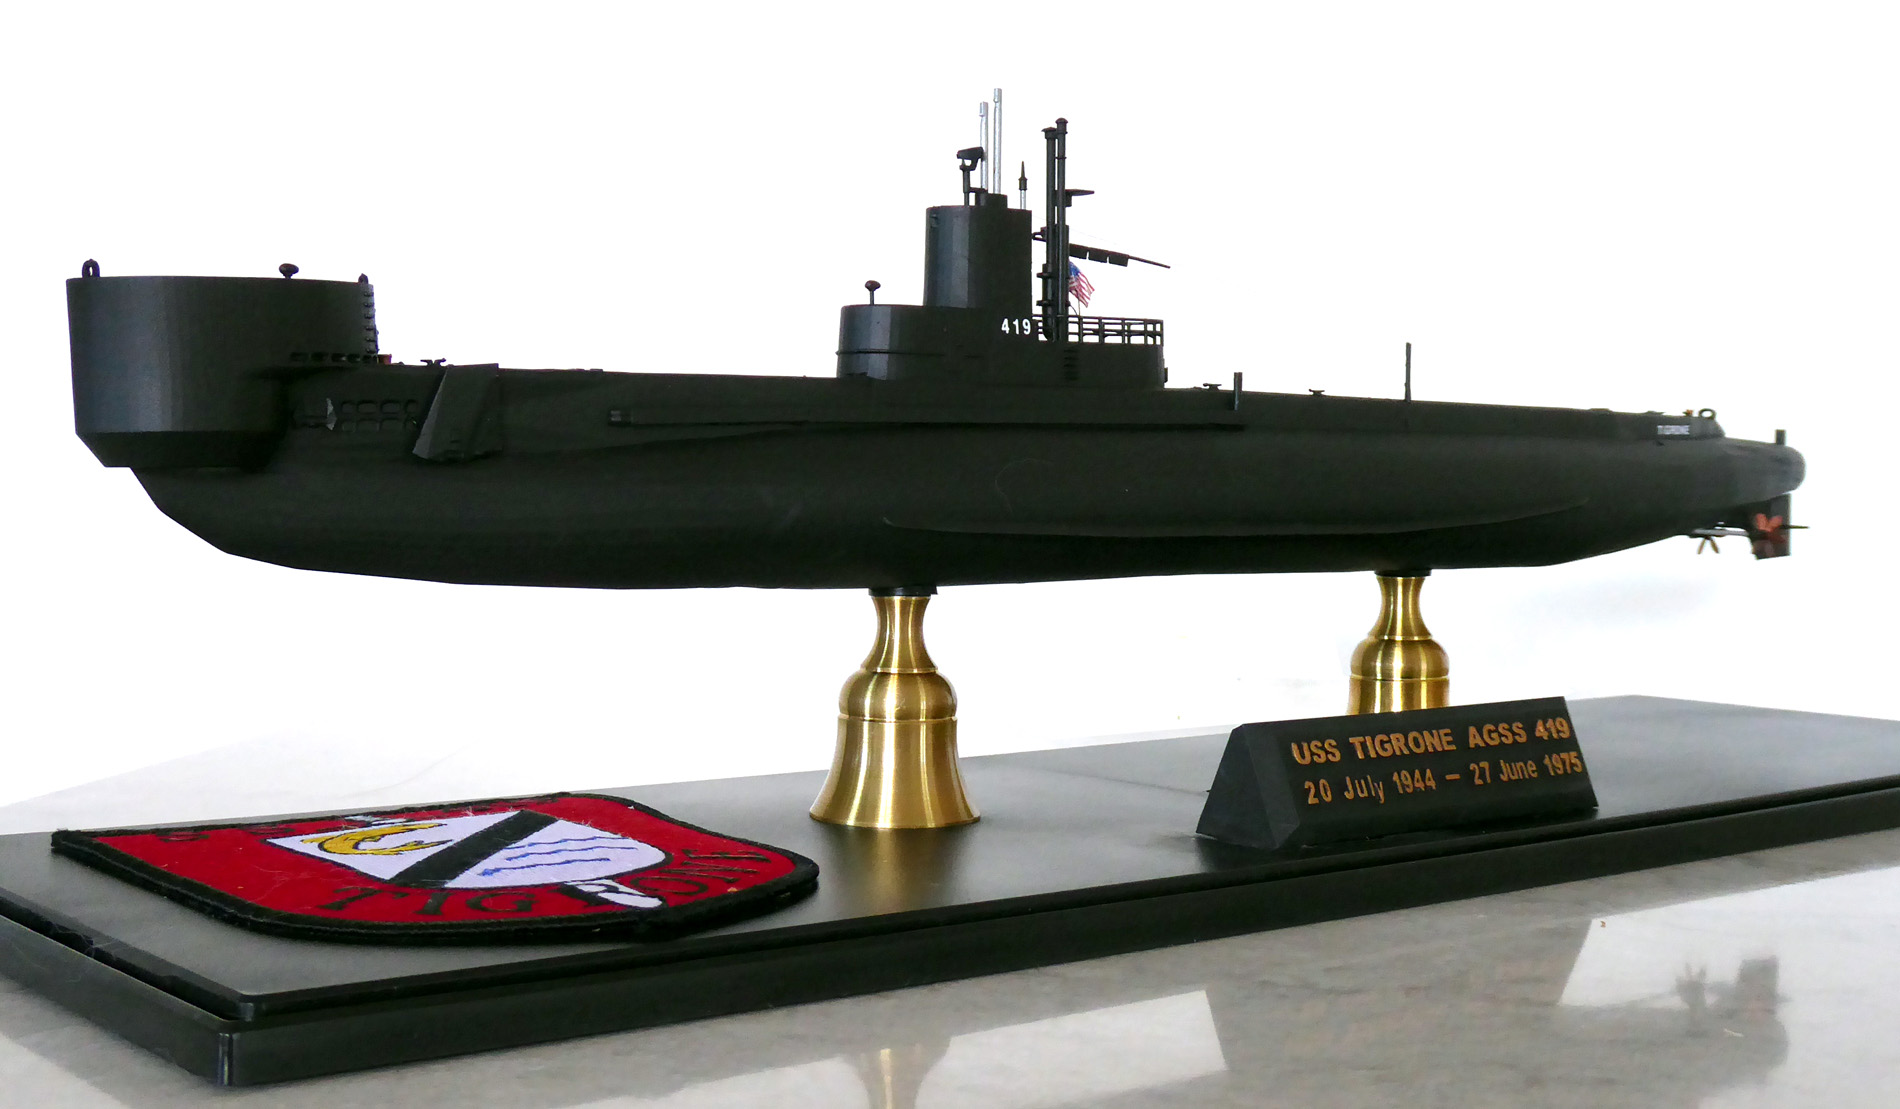
It was a long time coming but I finally completed my first large, resin only project, using my new Elegoo Saturn 3D printer. Follow the link to USS Tigrone‘s project page for details and lots of print and build pictures.

Update: To see my most ambitious Elegoo Saturn project, check out Charles Martel

My m26 Pershing is complete!

Posted: Jan 1, 2021.
Happy New Year everybody!
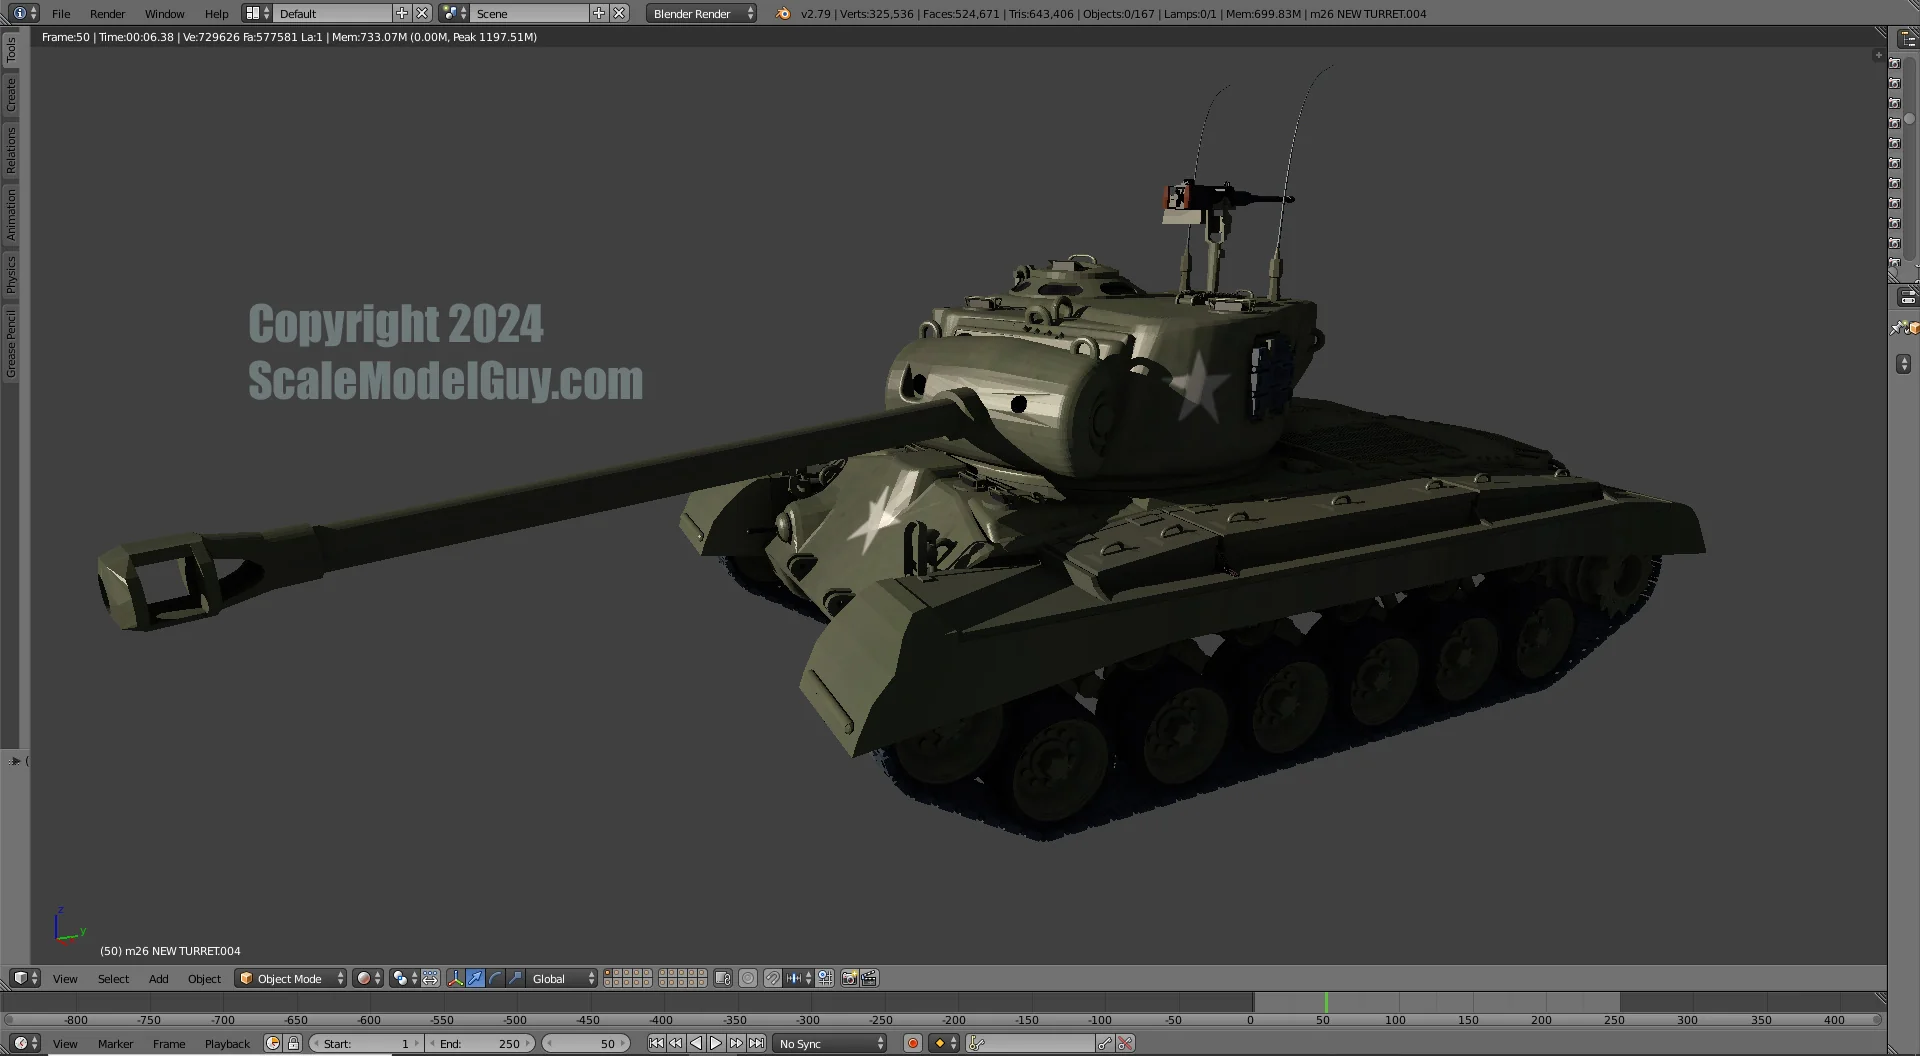
My WW2 US m26 Pershing heavy tank project is complete!
I’m very happy with the Blender design and my Creality Ender 3 Pro & LD-002r 3D printers did a great job rendering the parts for this project. Assembly and painting went well and tricking her out and weathering her was a blast.

I’m totally remembering why my 15 year old self loved building armor 🙂

Check out the m26 Pershing project page for all details and pictures.

US Pershing Heavy Tank, Assembled and Primed

Posted: 12/23/2020
The hard parts are done, now my favorite aspect of model building starts, the finish painting and weathering.

If I ever make this model again I’ll definitely make some design changes. shown is my third turret design and I’m still not 100% happy with it. Also missed a flaring out of the tread covers on the rear insides. The treads and wheels were a pain to assemble and I wasn’t able to pull off functional treads as I had hoped, ended up gluing them all together, oh well, in a larger scale it would have worked!

All in all though, I like the looks of her so far.

Update: 1/1/2021
My m26 Pershing is now complete, visit the new project page for more details and the finished model pictures.

M26 Pershing Project, 3D printed parts using Creality Ender 3 Pro and LD-002r printers

Posted: 12/21/2020
Printing for this project went smoothly, even though the LD-002r bits were printed in my unheated shed with temps in the mid to upper 30s. The turret shown is my 3rd printed – due to poor designs on my part and no fault of the printer. The first just looked too fat and the second one’s rear extension was all wrong. As I mentioned in an earlier post much of the hull assembly is already done so, initial build pictures may be up before Christmas.

Update: 1/1/2021
My m26 Pershing is now complete, visit the new project page for more details and the finished model pictures.