


Original Post: July 4, 2022
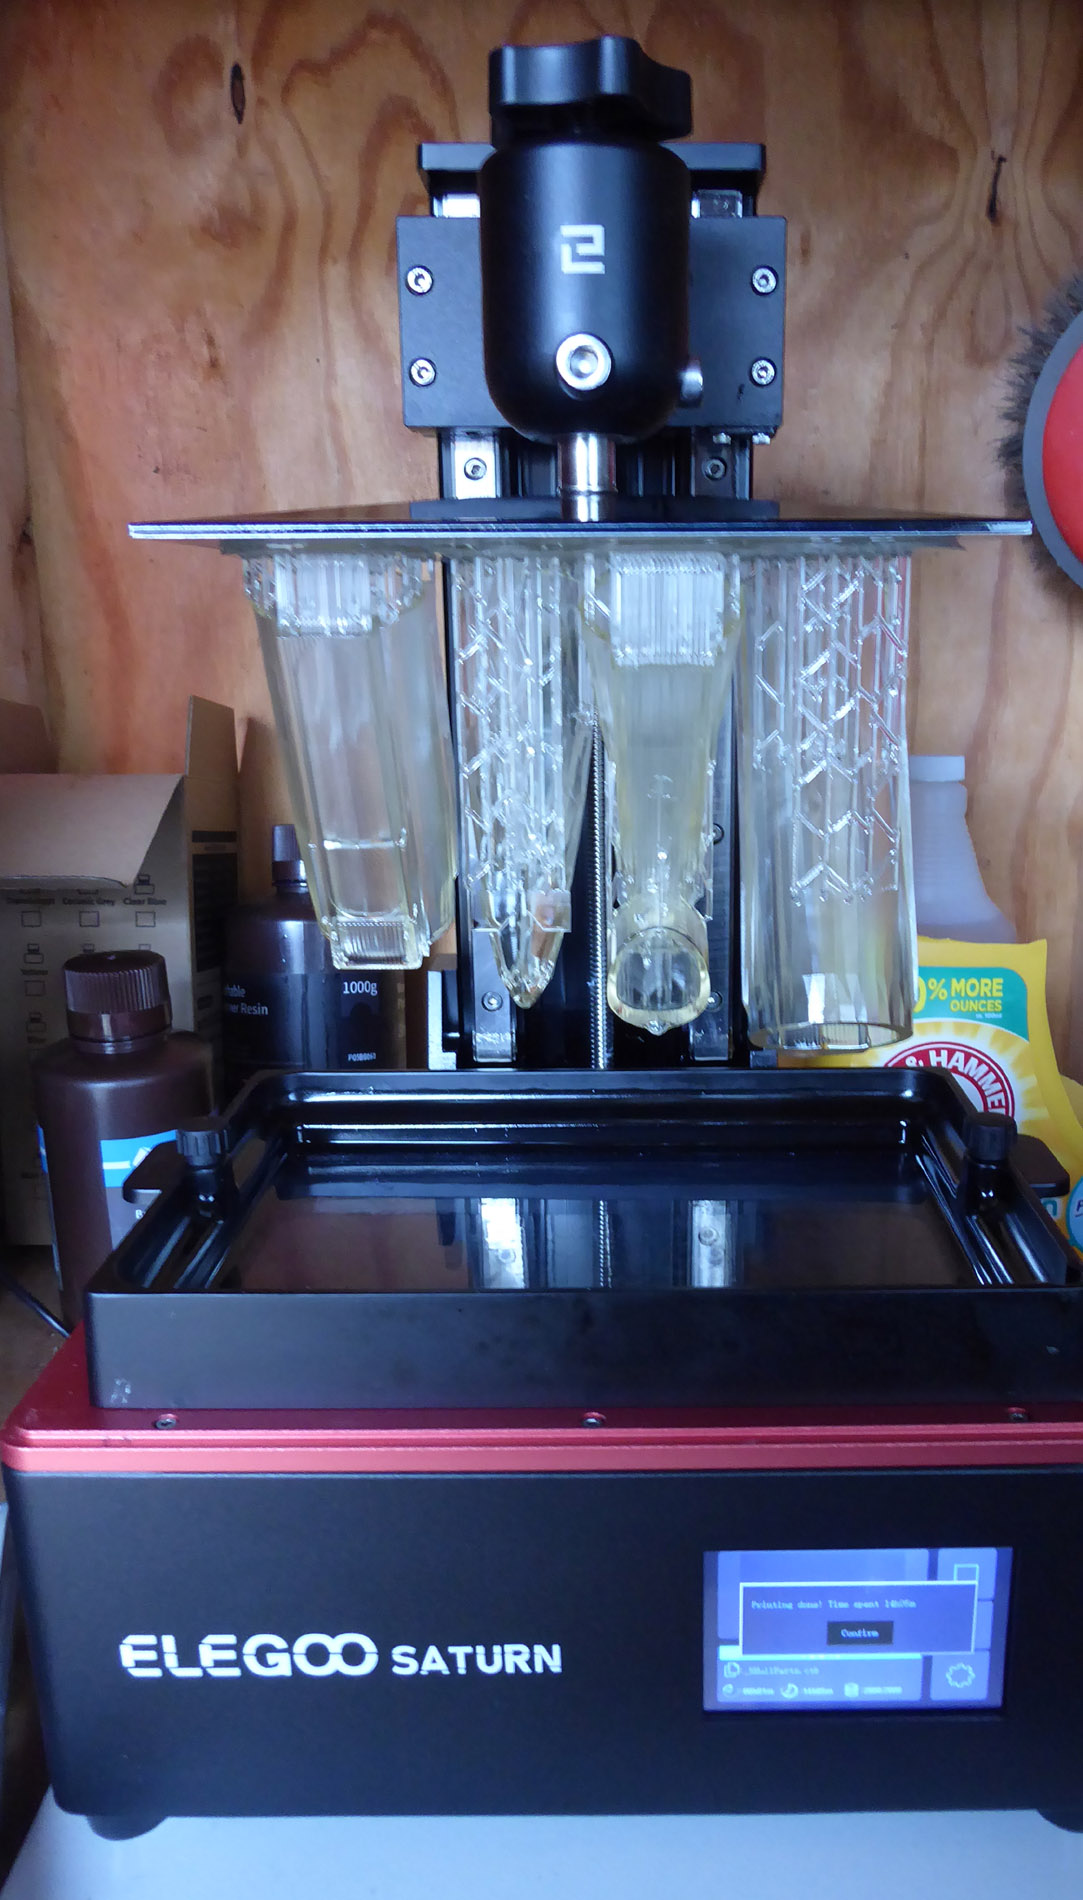
I purchased my Elegoo Saturn in the middle of last winter. For reasons too numerous to count I hadn’t had a chance to use it till now. Even worse, I’d told a friend of mine that I could build the sub her dad had served on for her with a new printer I planed to purchase. That was well over a year and a half ago…
USS Tigrone took a wile.
What kind of Tigr is that?
USS Tigrone started out as a US Tench class submarine, entering service in the last months of WWII. She has an excellent Wikipedia page.
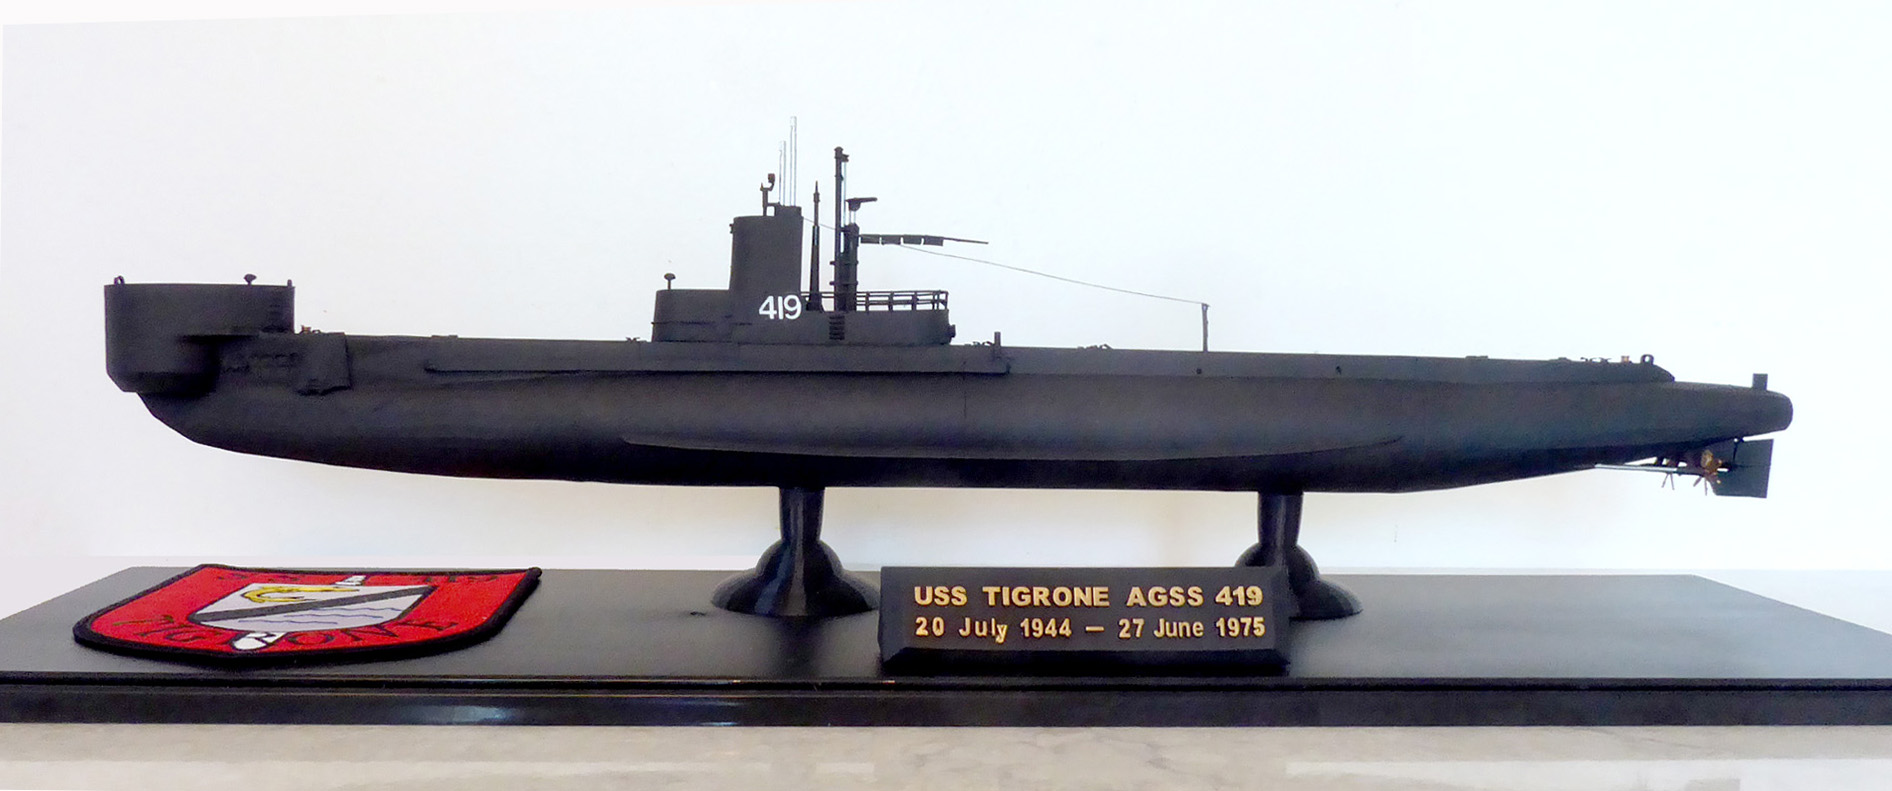
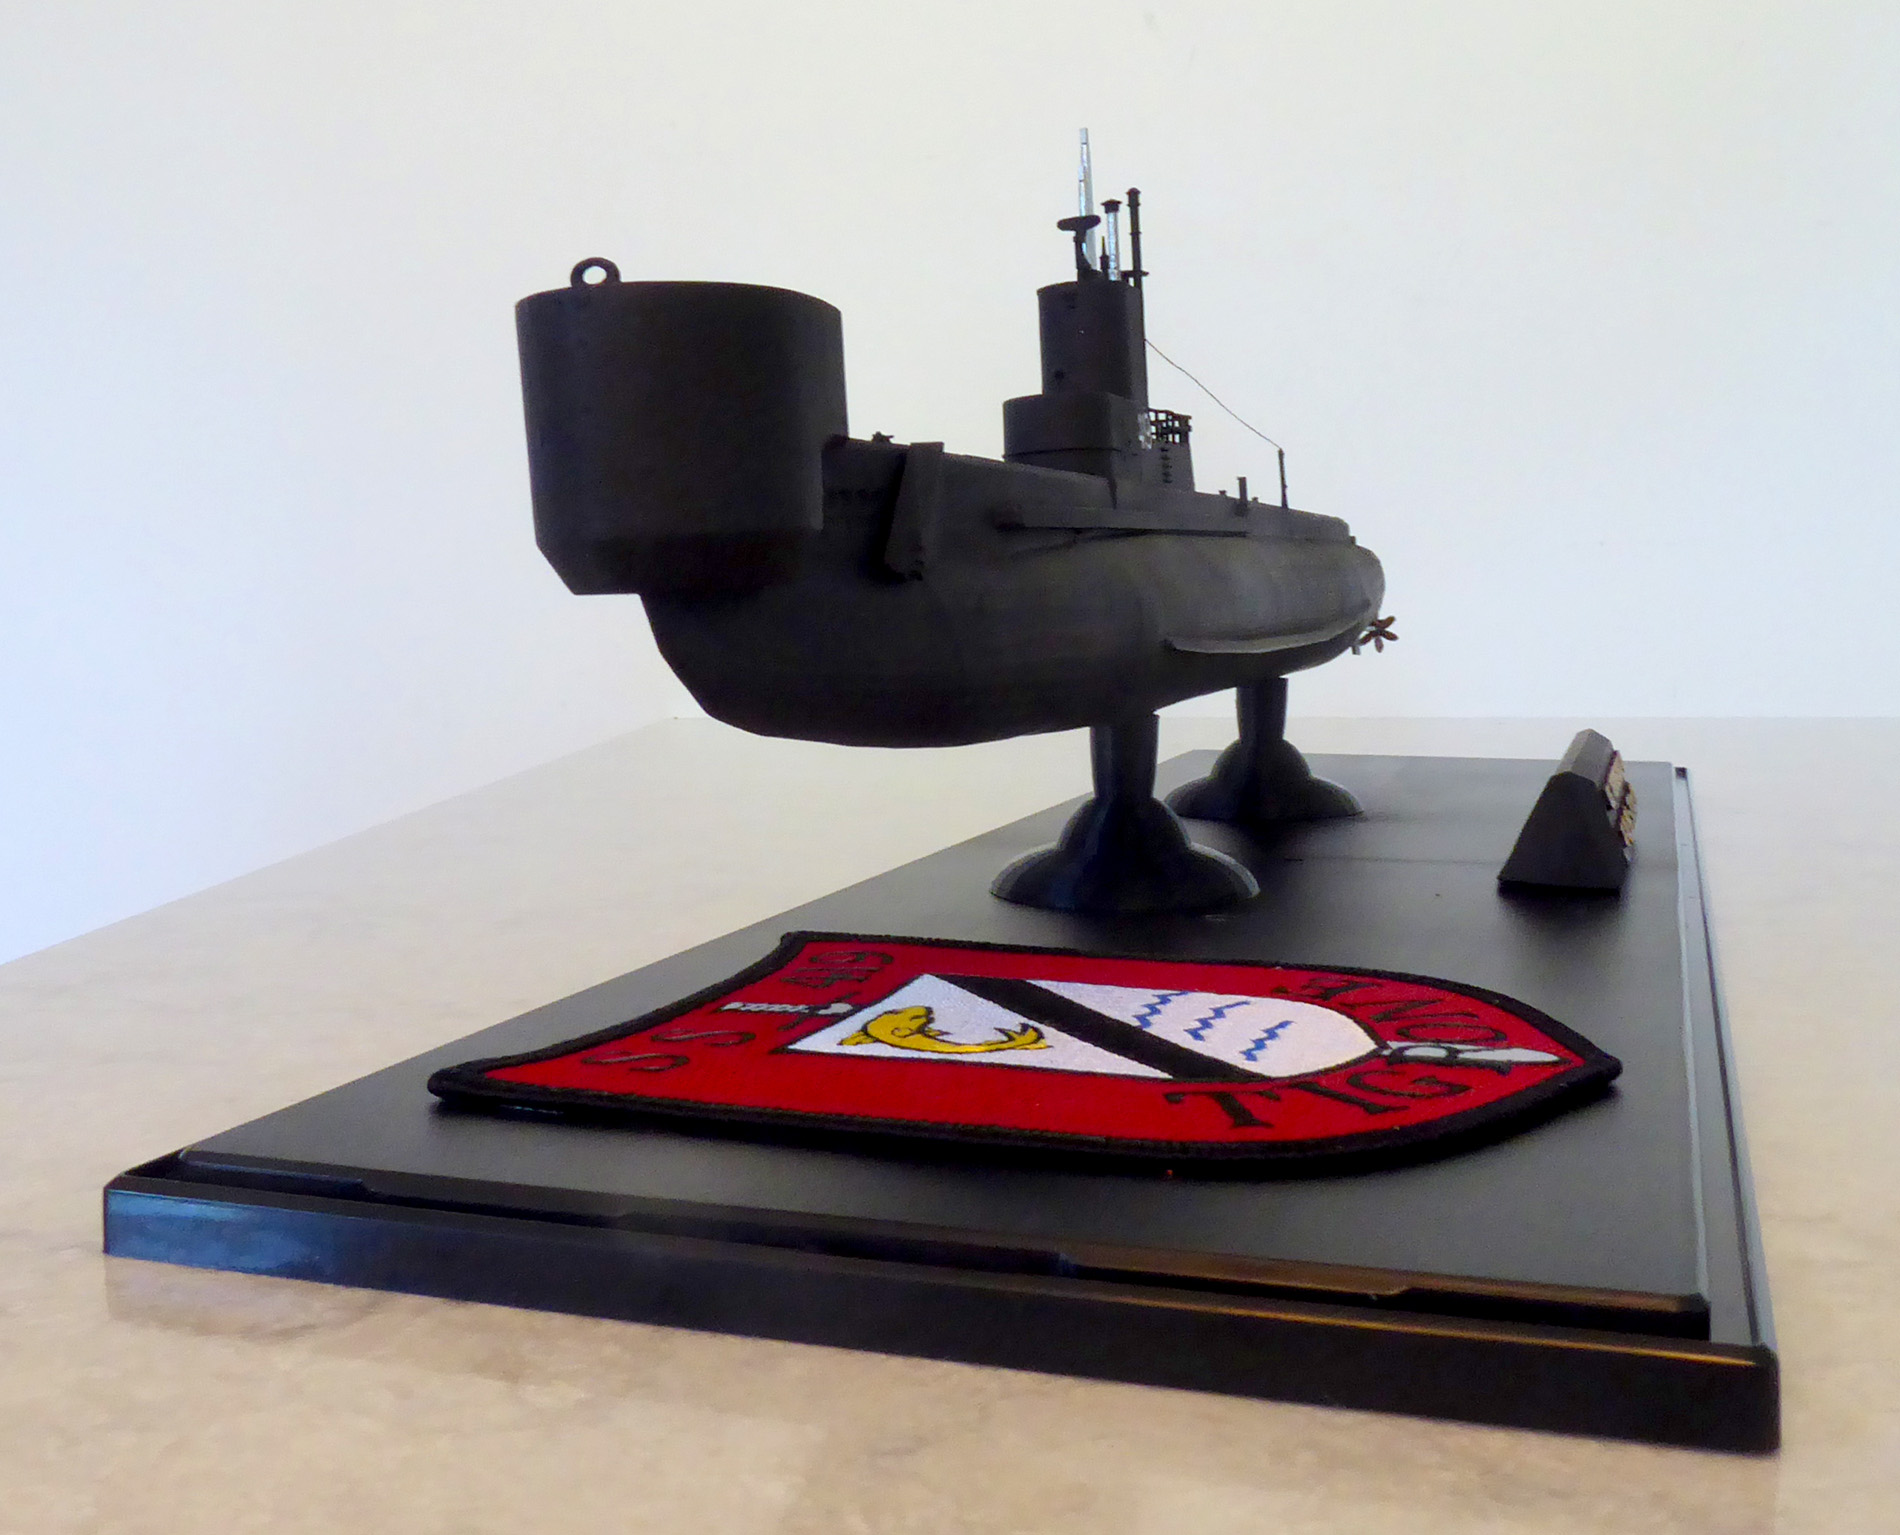
To make a long story short, Tigrone had a lot of miles left in her when the war ended. She was briefly mothballed but was soon reactivated for Arctic radar picket duty in the winter of 1948-49. The following summer Tigrone was chosen to receive experimental radar and use it for long range air defense duties. Tigrone served in this capacity until 1957 under the designation: SSR-419. After this, she spent some more time in reserve, being refitted, serving as a training ship, then ultimately being re designated: AGSS-419 in 1964 to perform experimental sonar research. This role stuck and in 1965 Tigrone received a major refit to accommodate her new experimental sonar lab and equipment. This is the configuration I designed her in and was the version my friend’s dad served aboard her.
Smooth Blender Sailing
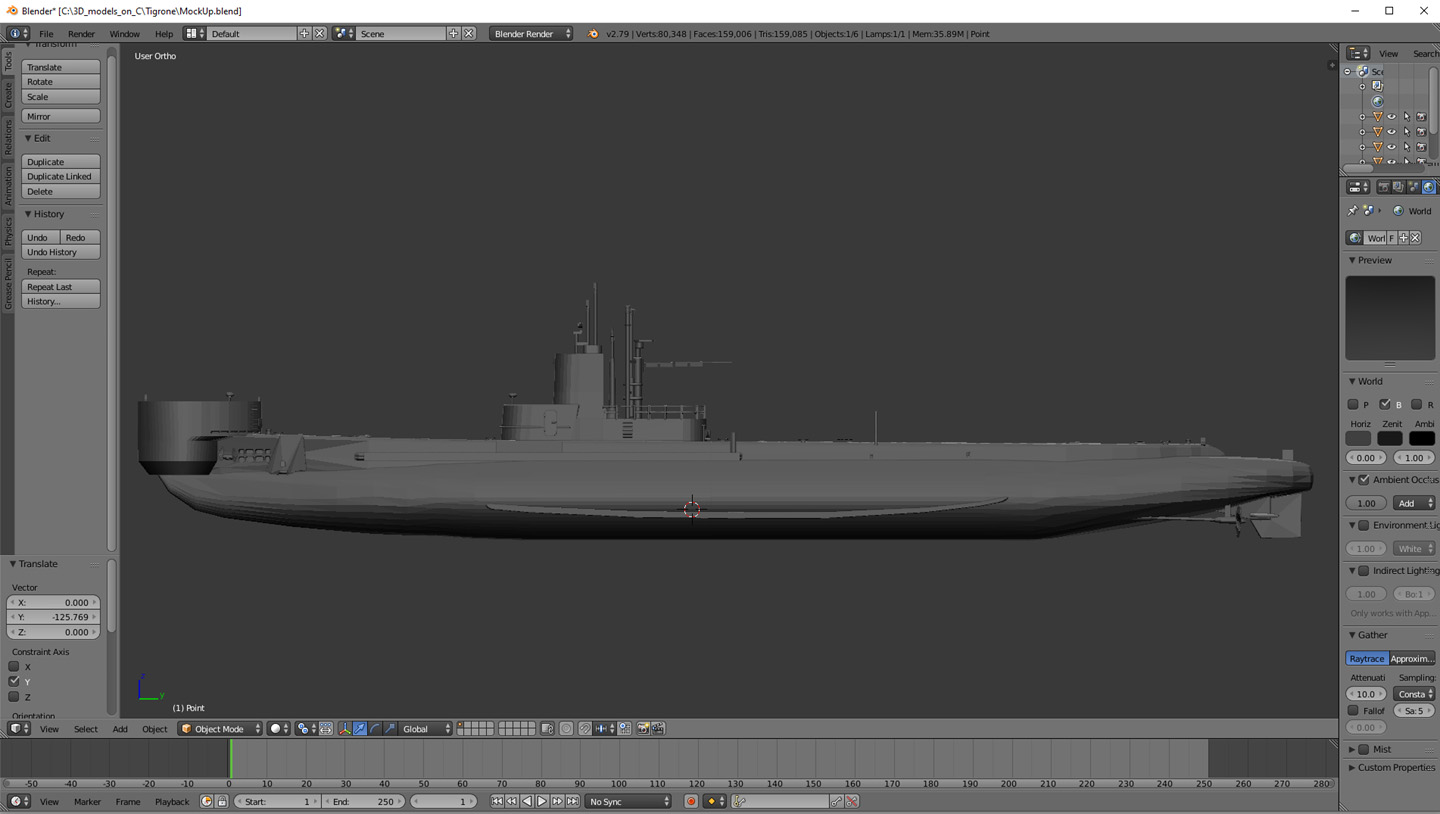
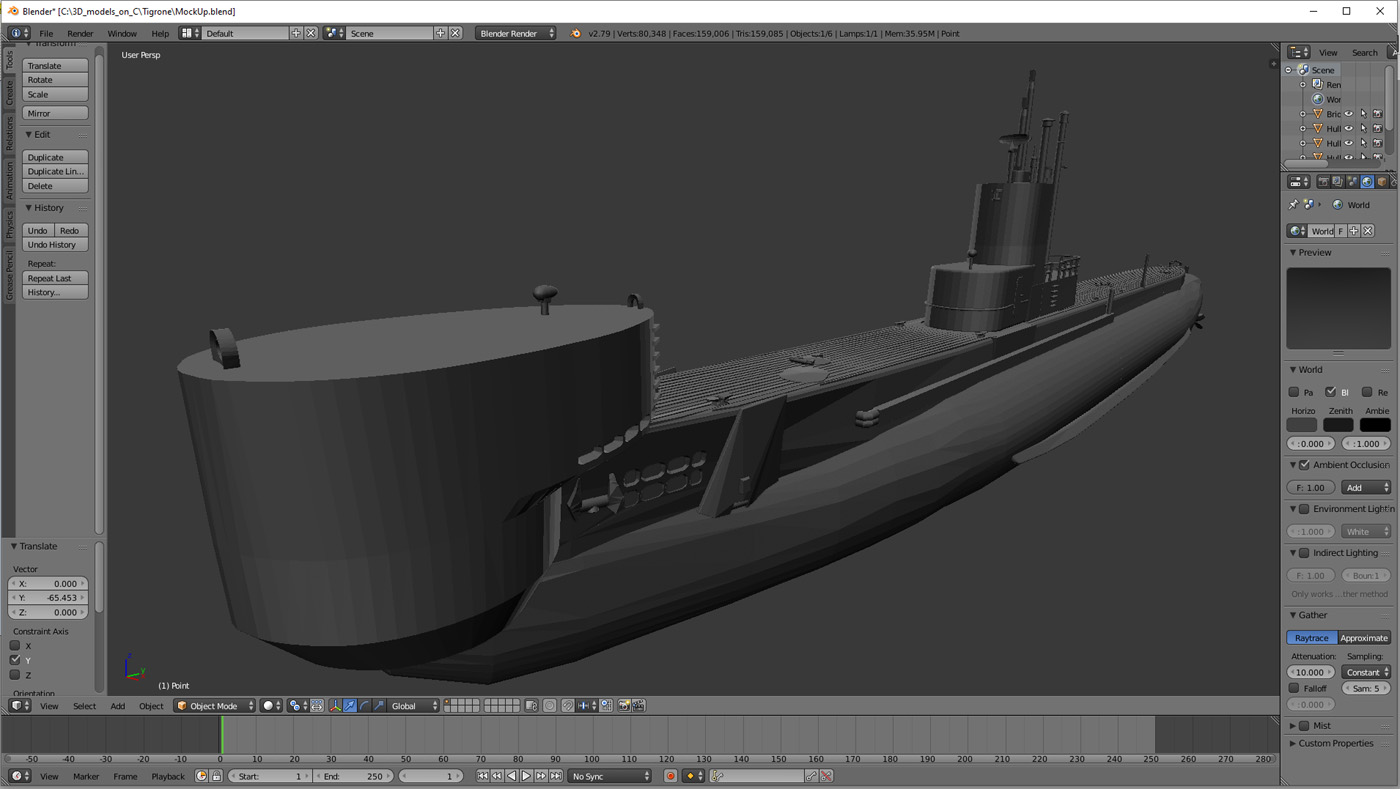
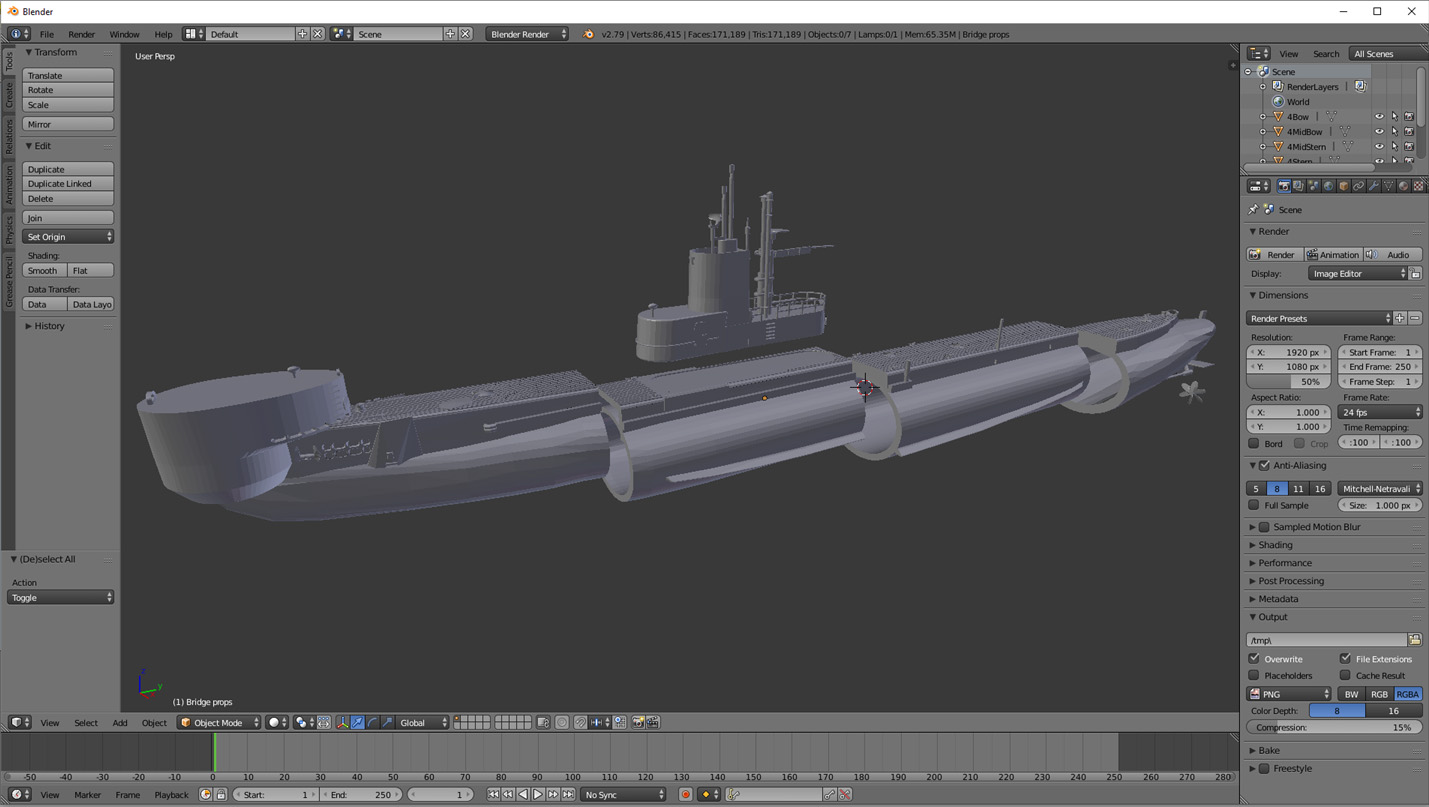
USS Tigrone was a joy to design in Blender and the work came along quickly and easily. She was to be my first large scale (1/200) resin only build and I did spend some extra time hollowing her out. There is probably an “easy button” somewhere for this but if so, I still don’t know about it and did it manually in Blender.
Printing USS Tigrone on the Elegoo Saturn
(Or: If at first you don’t succeed)
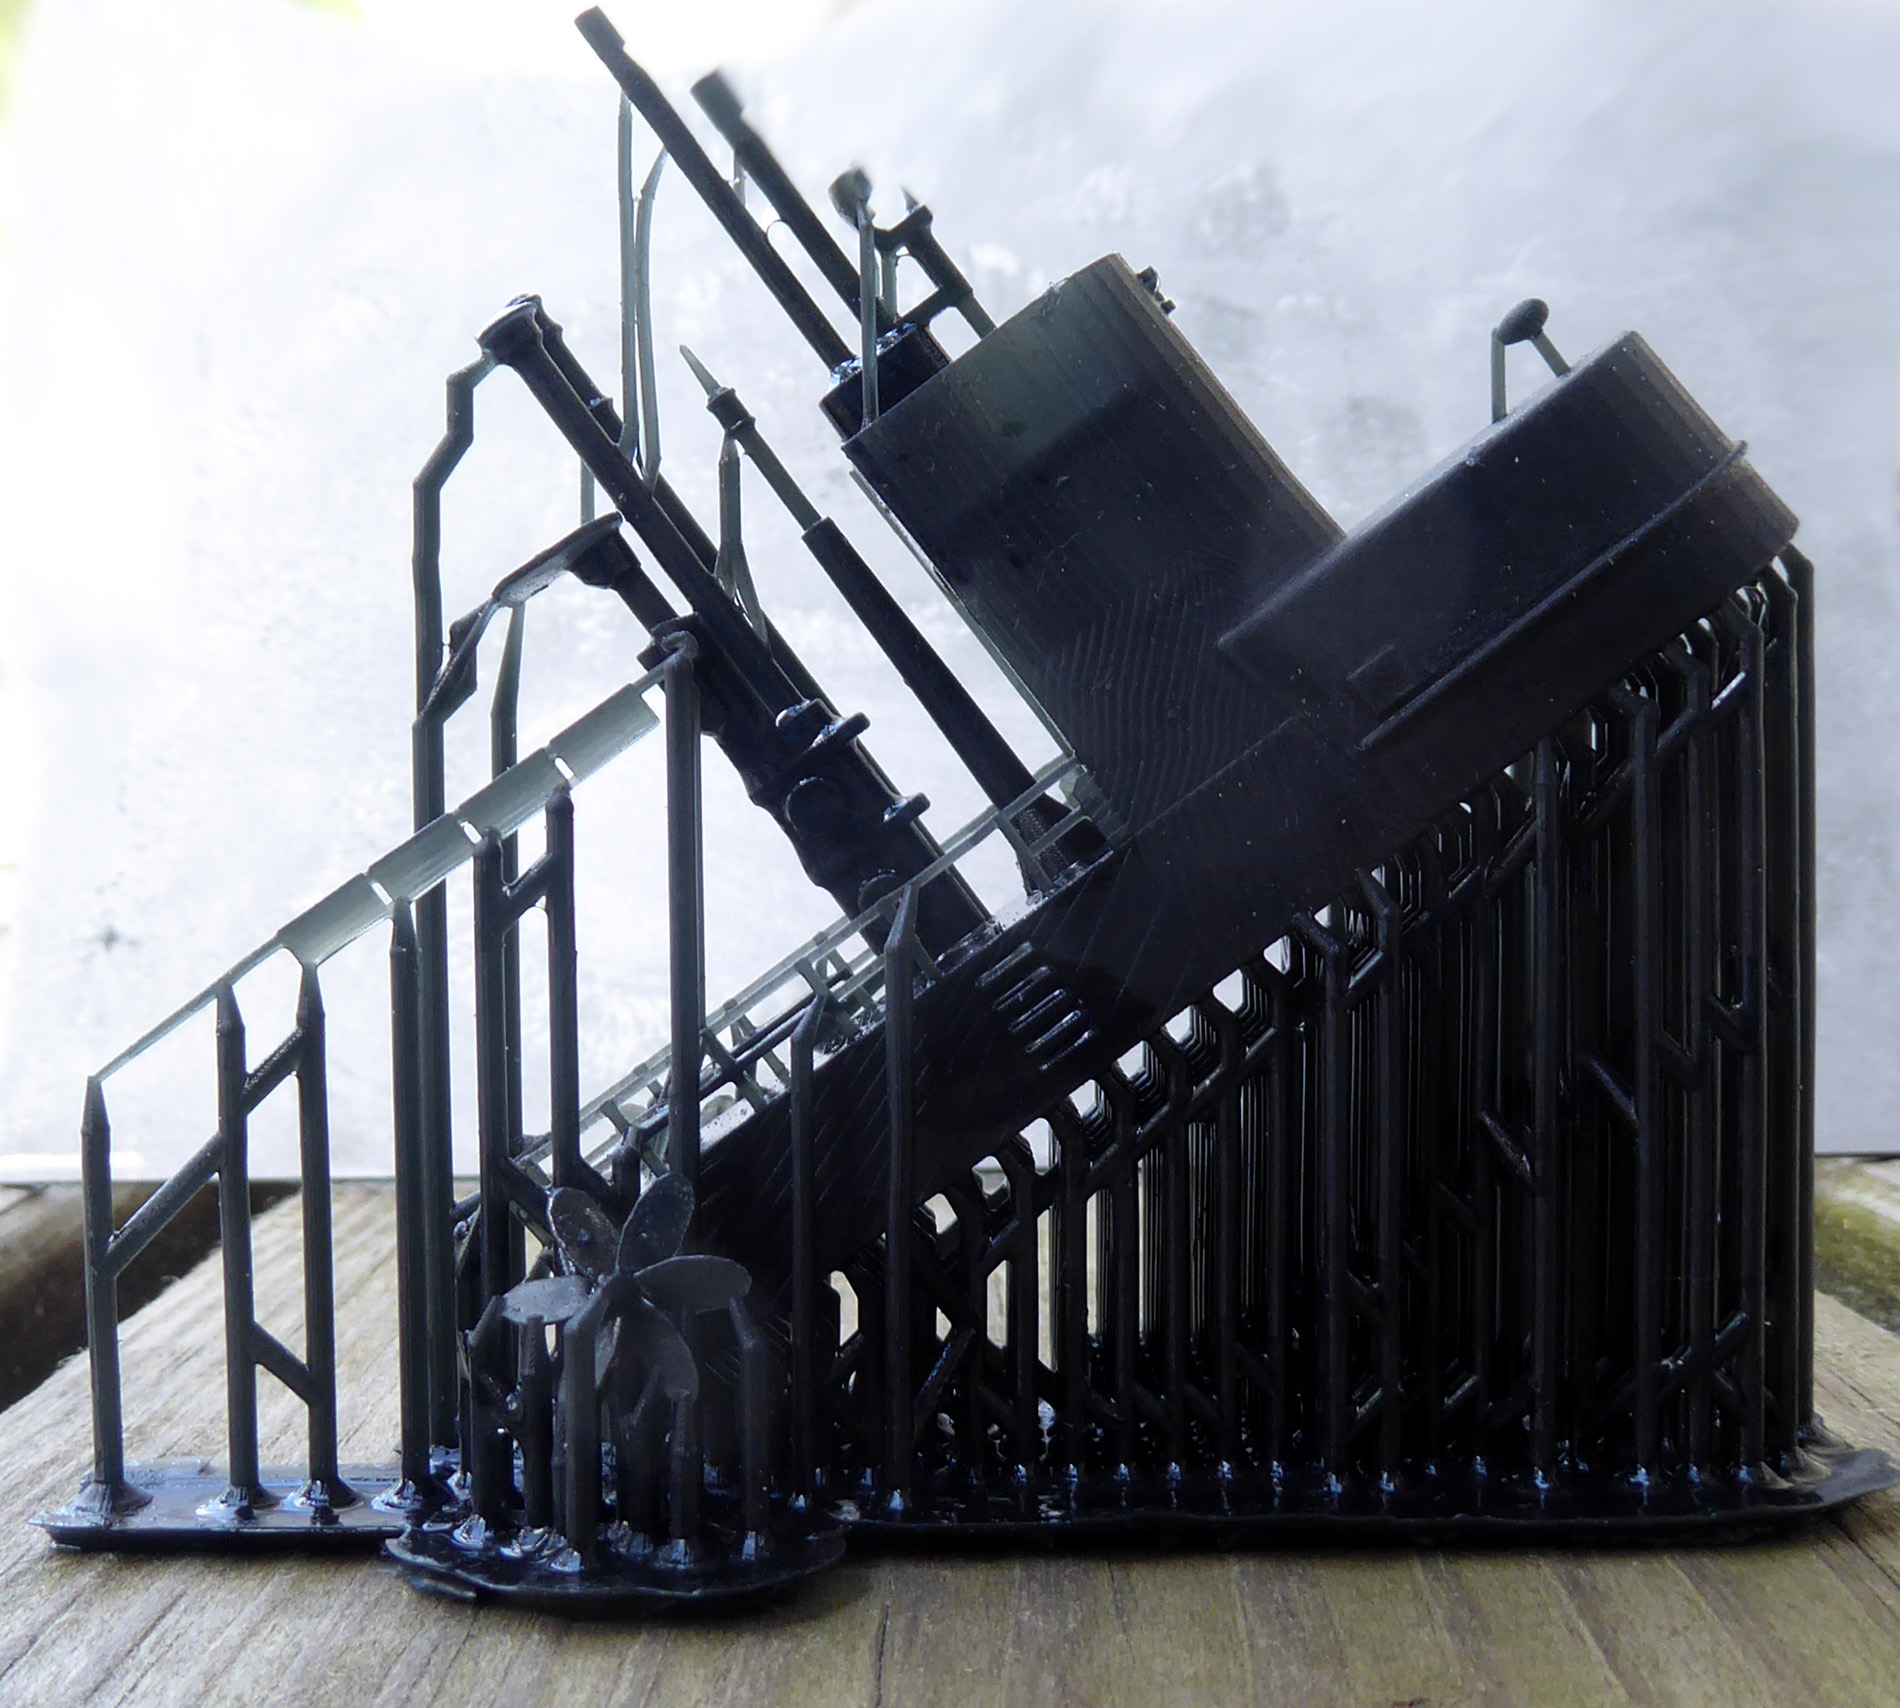
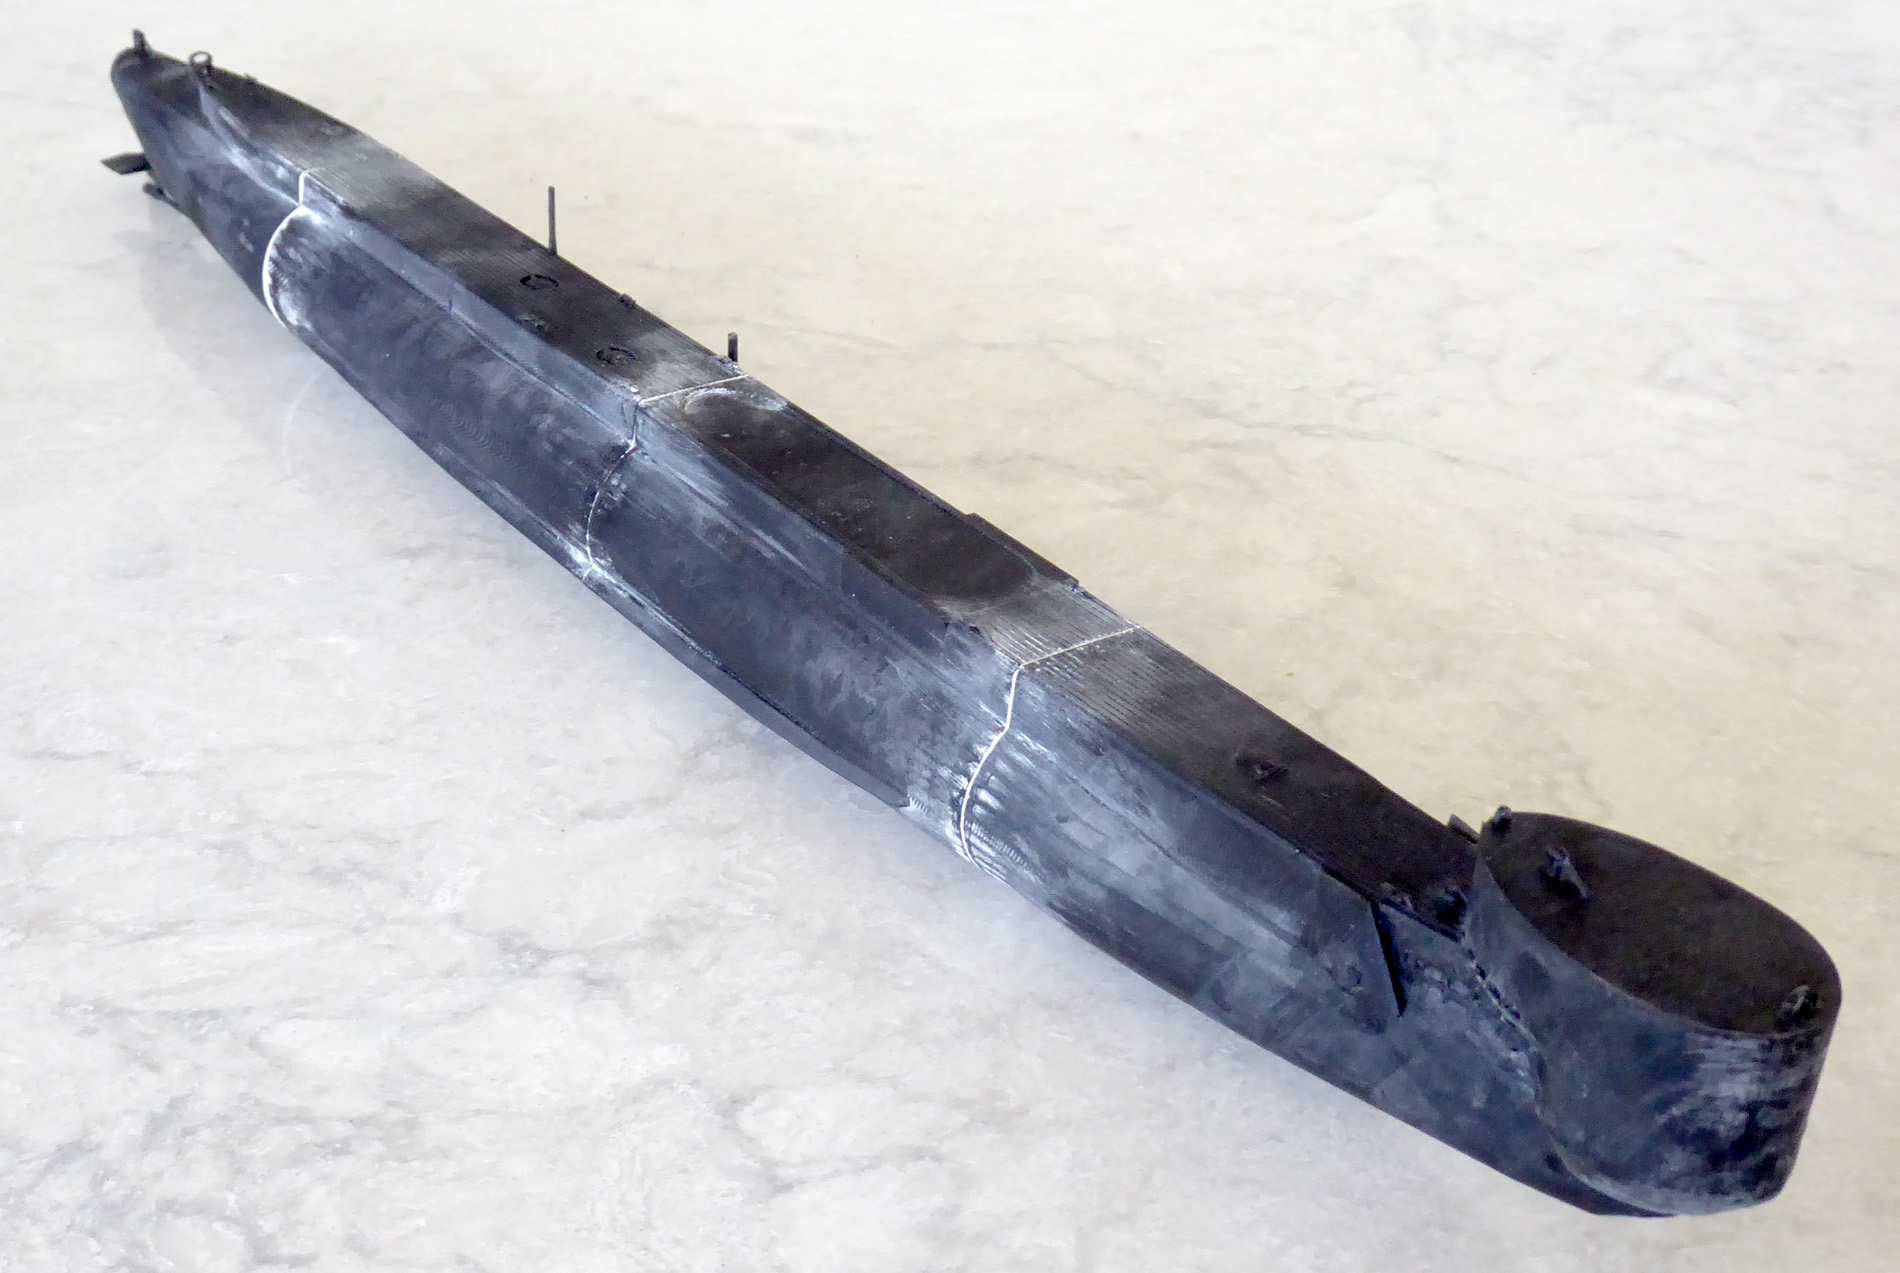
A huge benefit of the Saturn’s large build area is the ability to complete Tigrones printing in just two batches. After following the leveling instructions I jumped right in with an ambitious first print of all four of Tigrone’s main hull sections. The results are below.
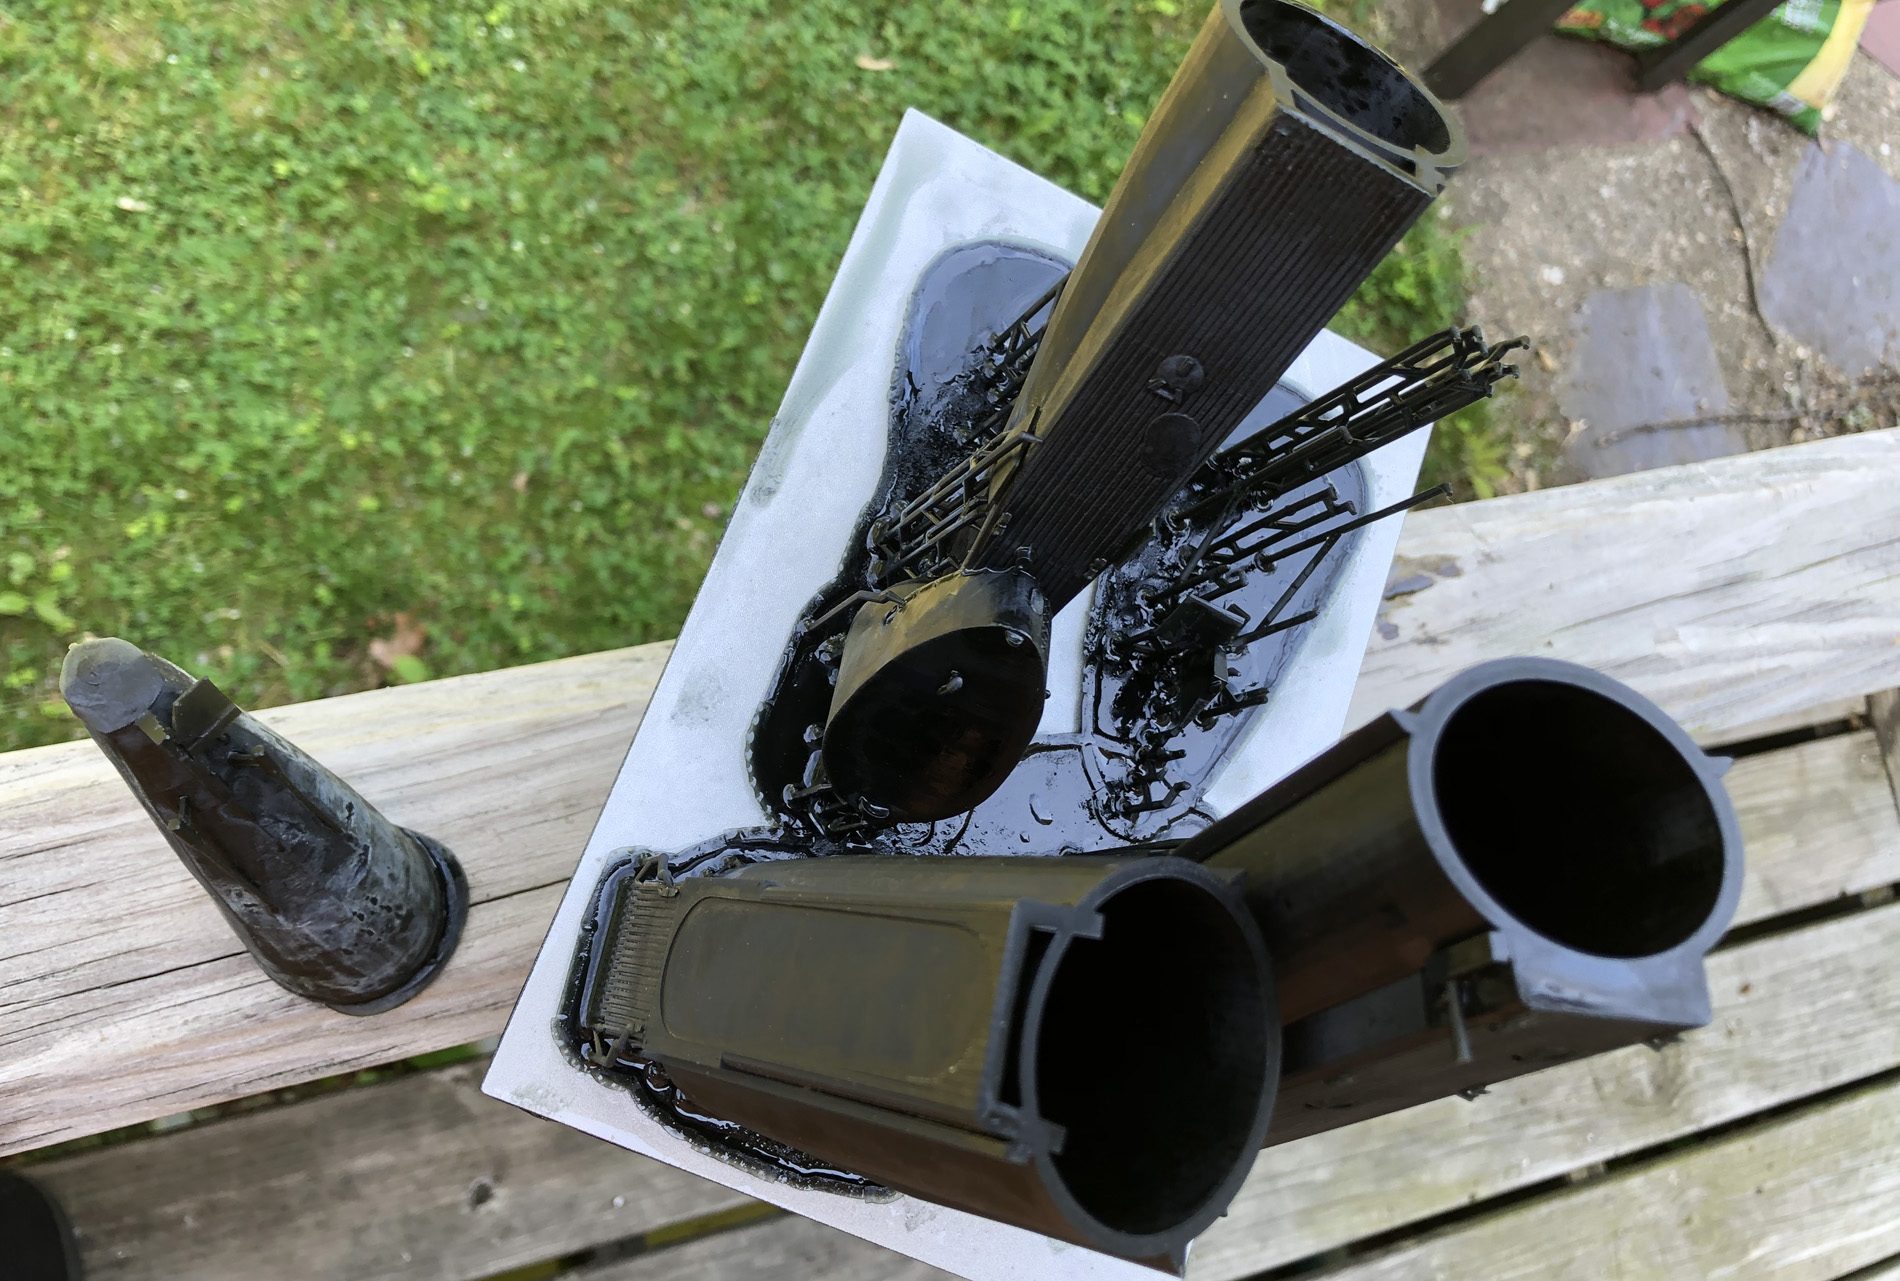
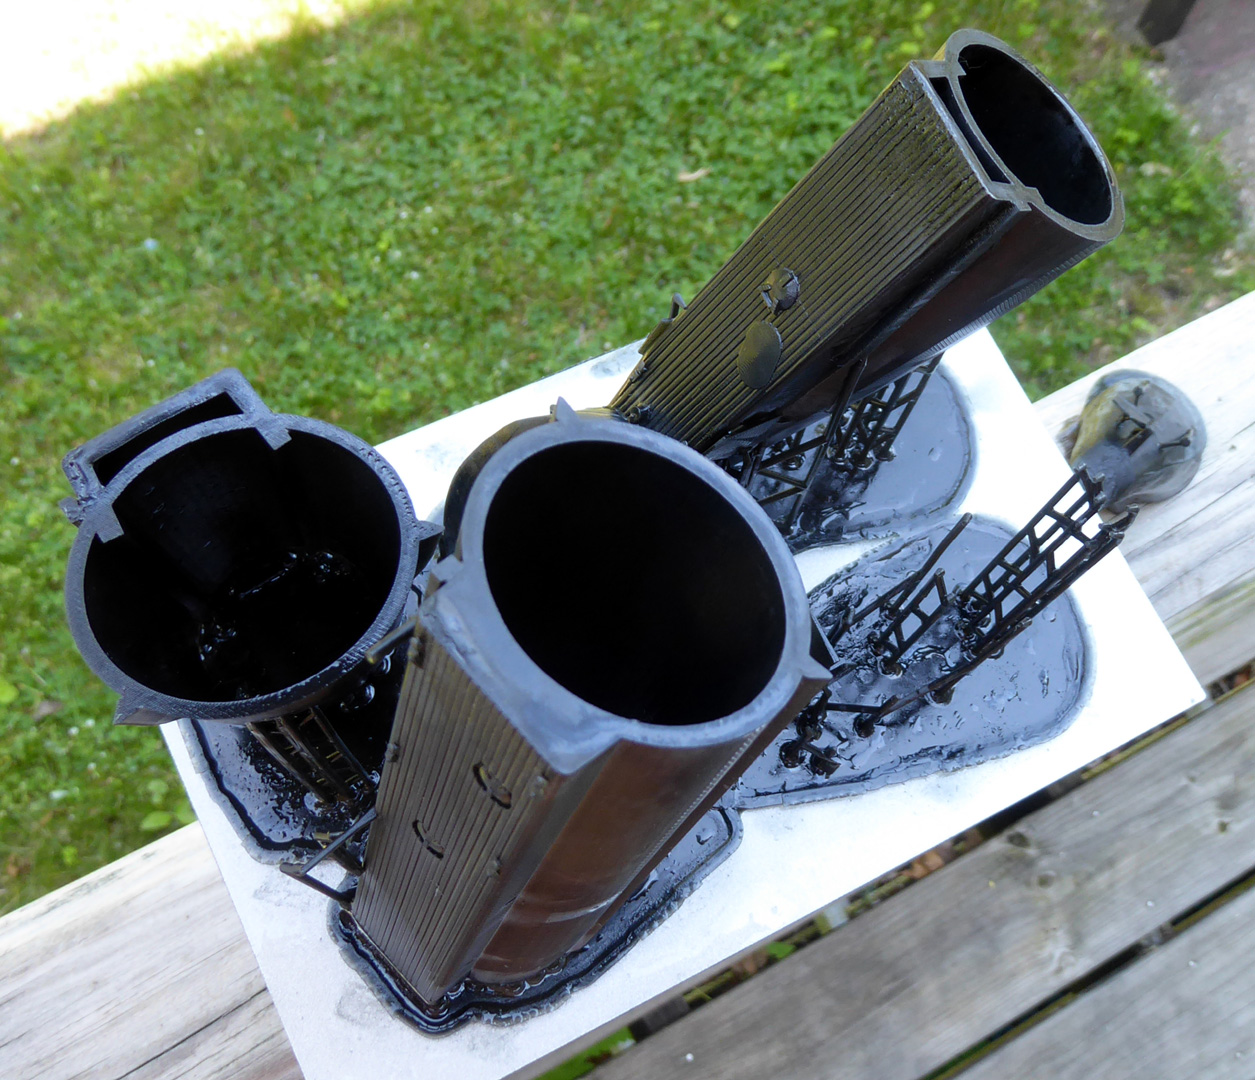
This went better than expected, 3 of the four sections were perfect, only the stern detached from its build plate supports 3/4 into the print. I easily lifted the failed part off of the vat film, it can be seen off to the side in the pictures above. This fail is on me – I didn’t add enough supports in Chitubox and due to the part’s design and print angle it undoubtedly suffered from vacuum lock.
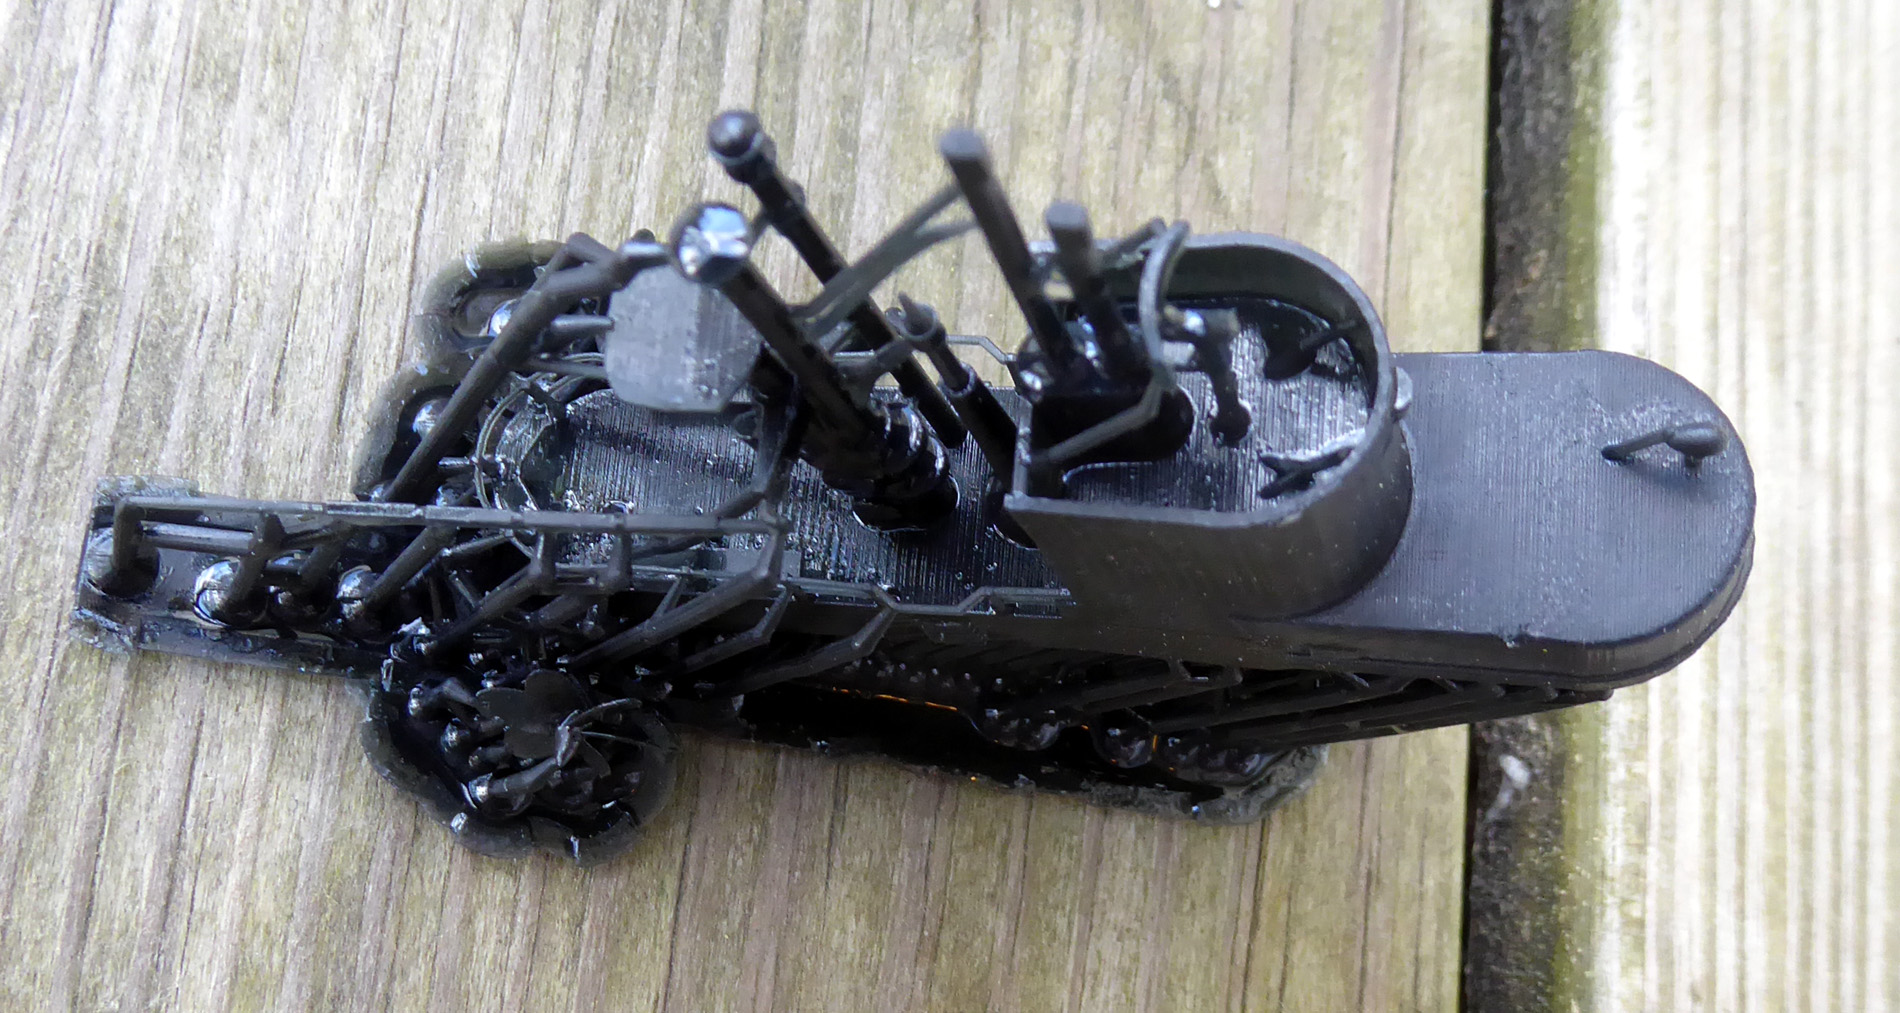
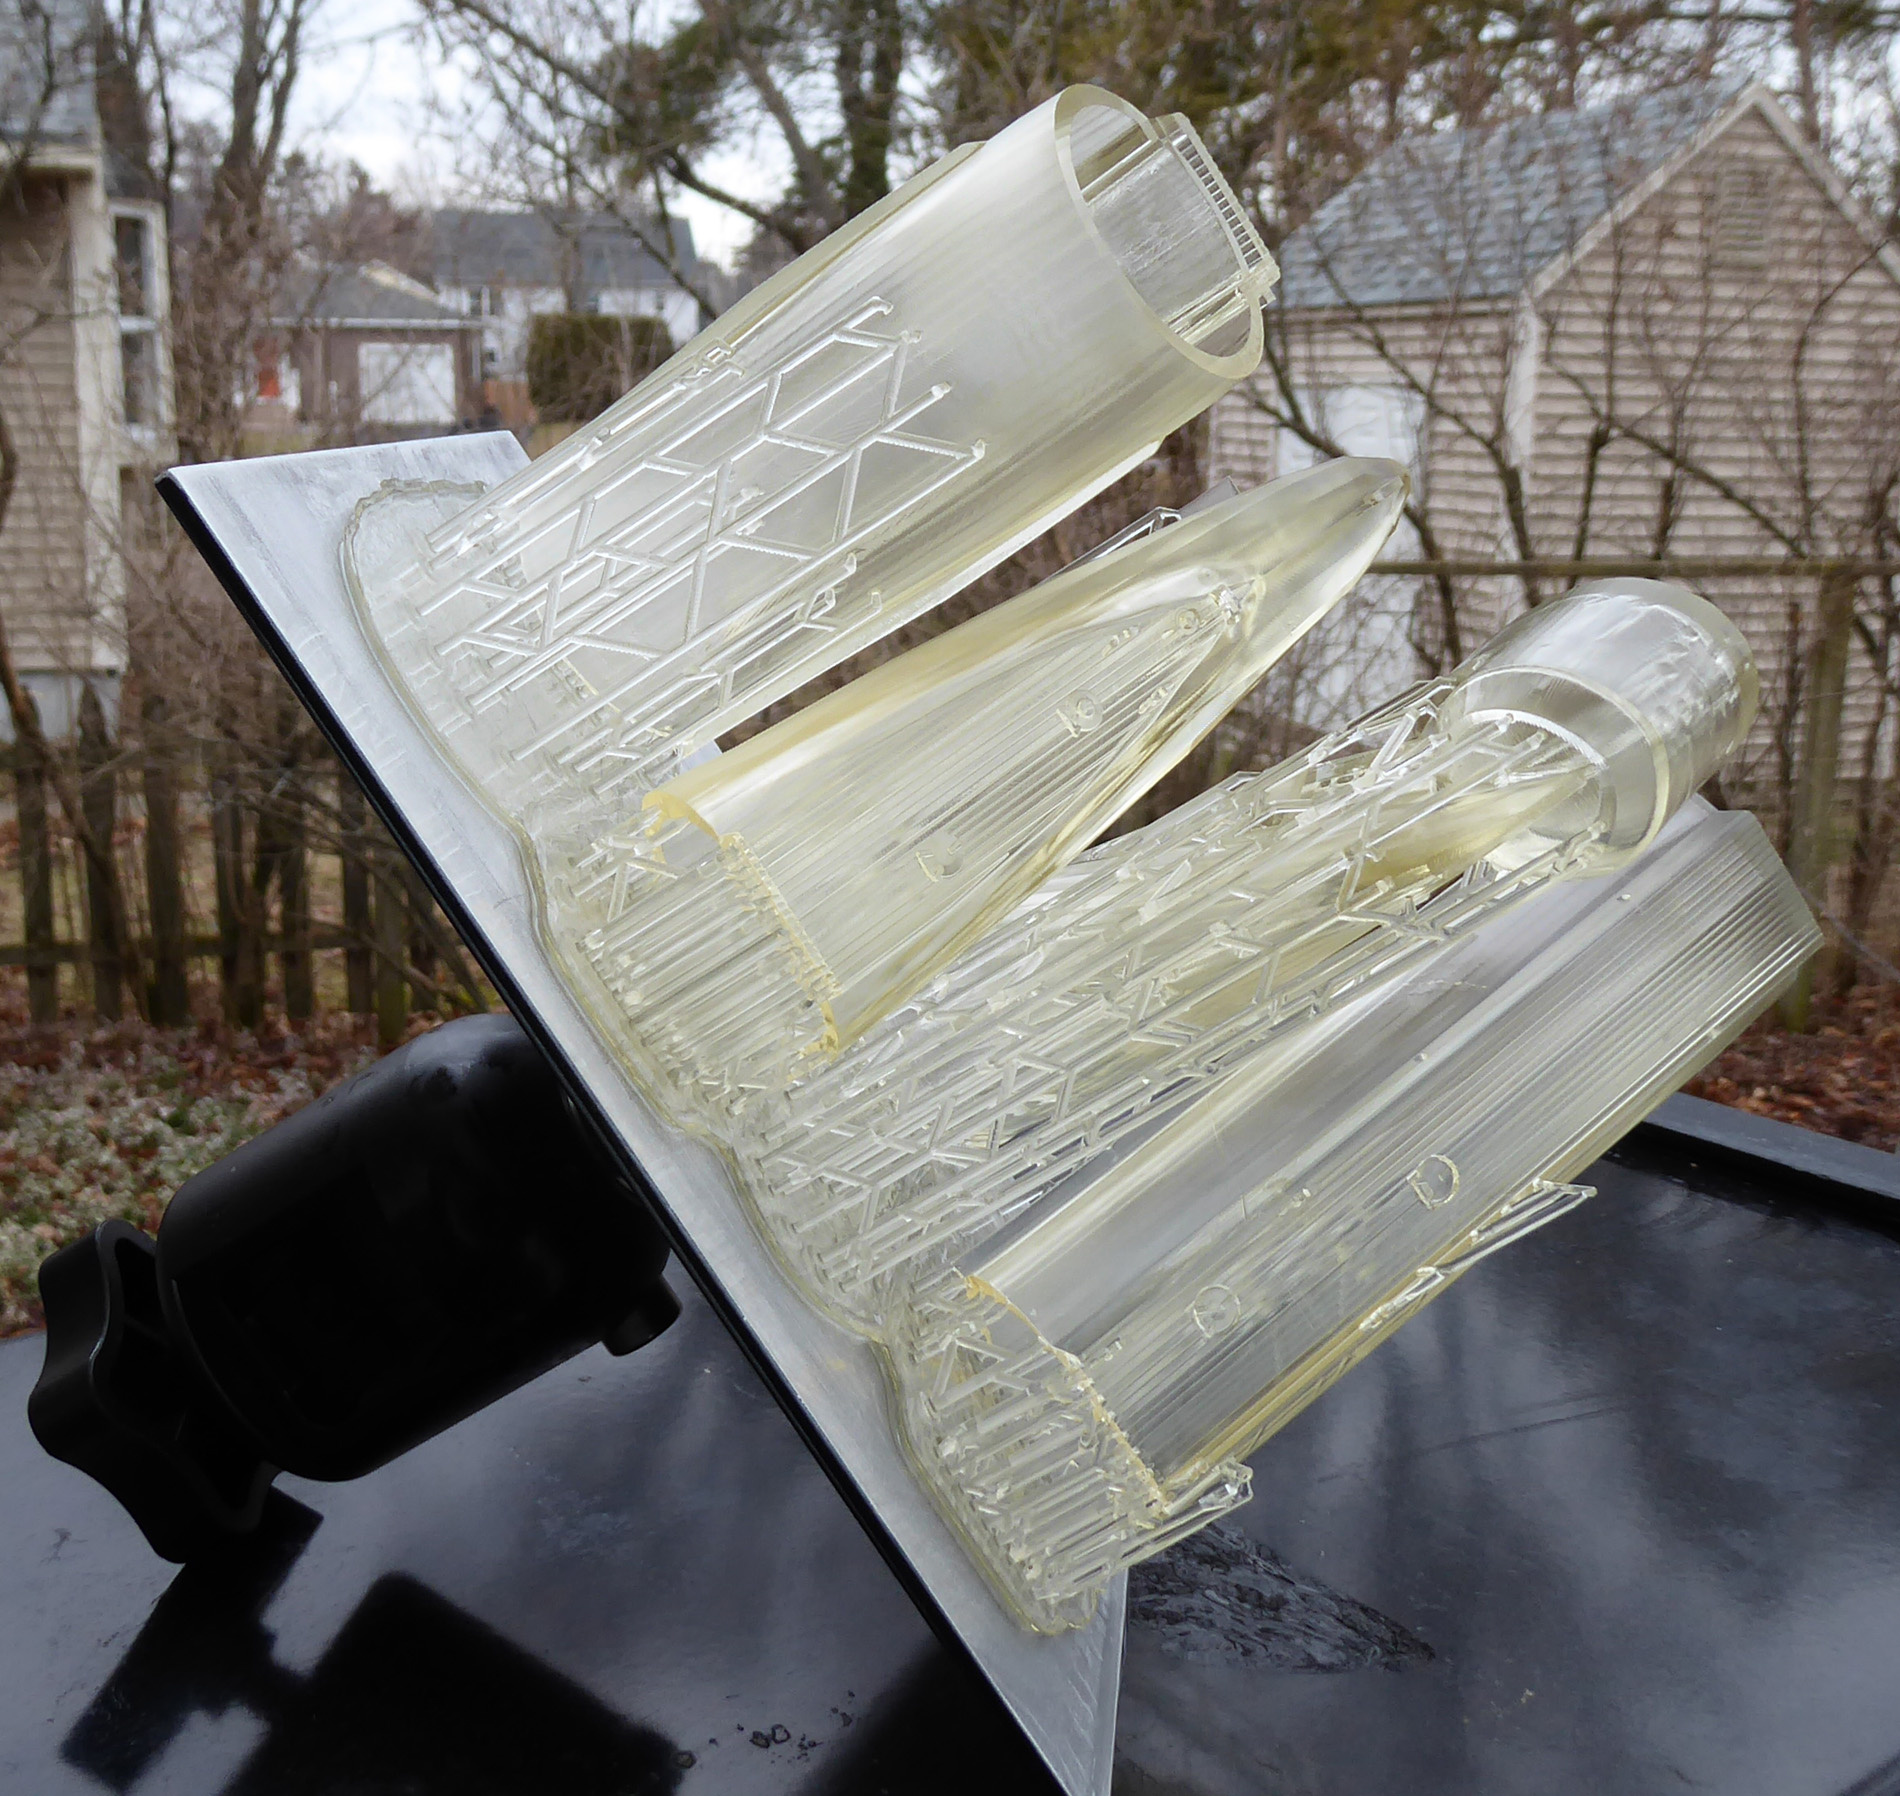
I could still get Tigrone fully printed in two goes if I just added the failed stern section into my bridge print layout. There was plenty of room left so I made the change and went for it. This was a total fail.
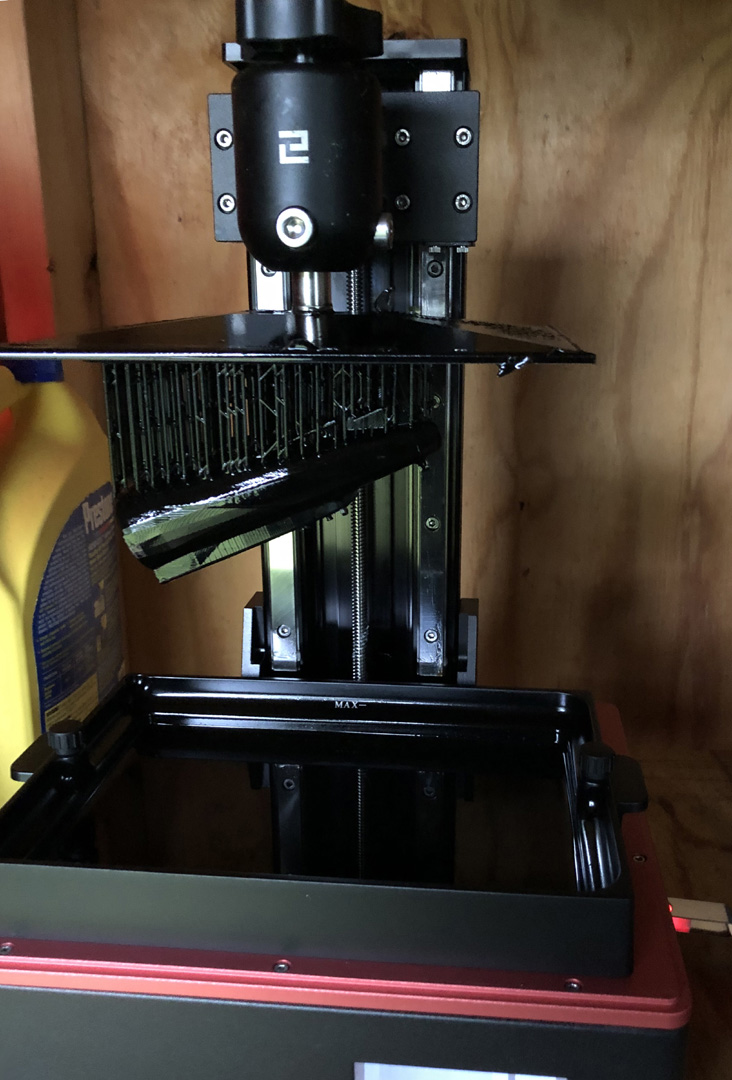

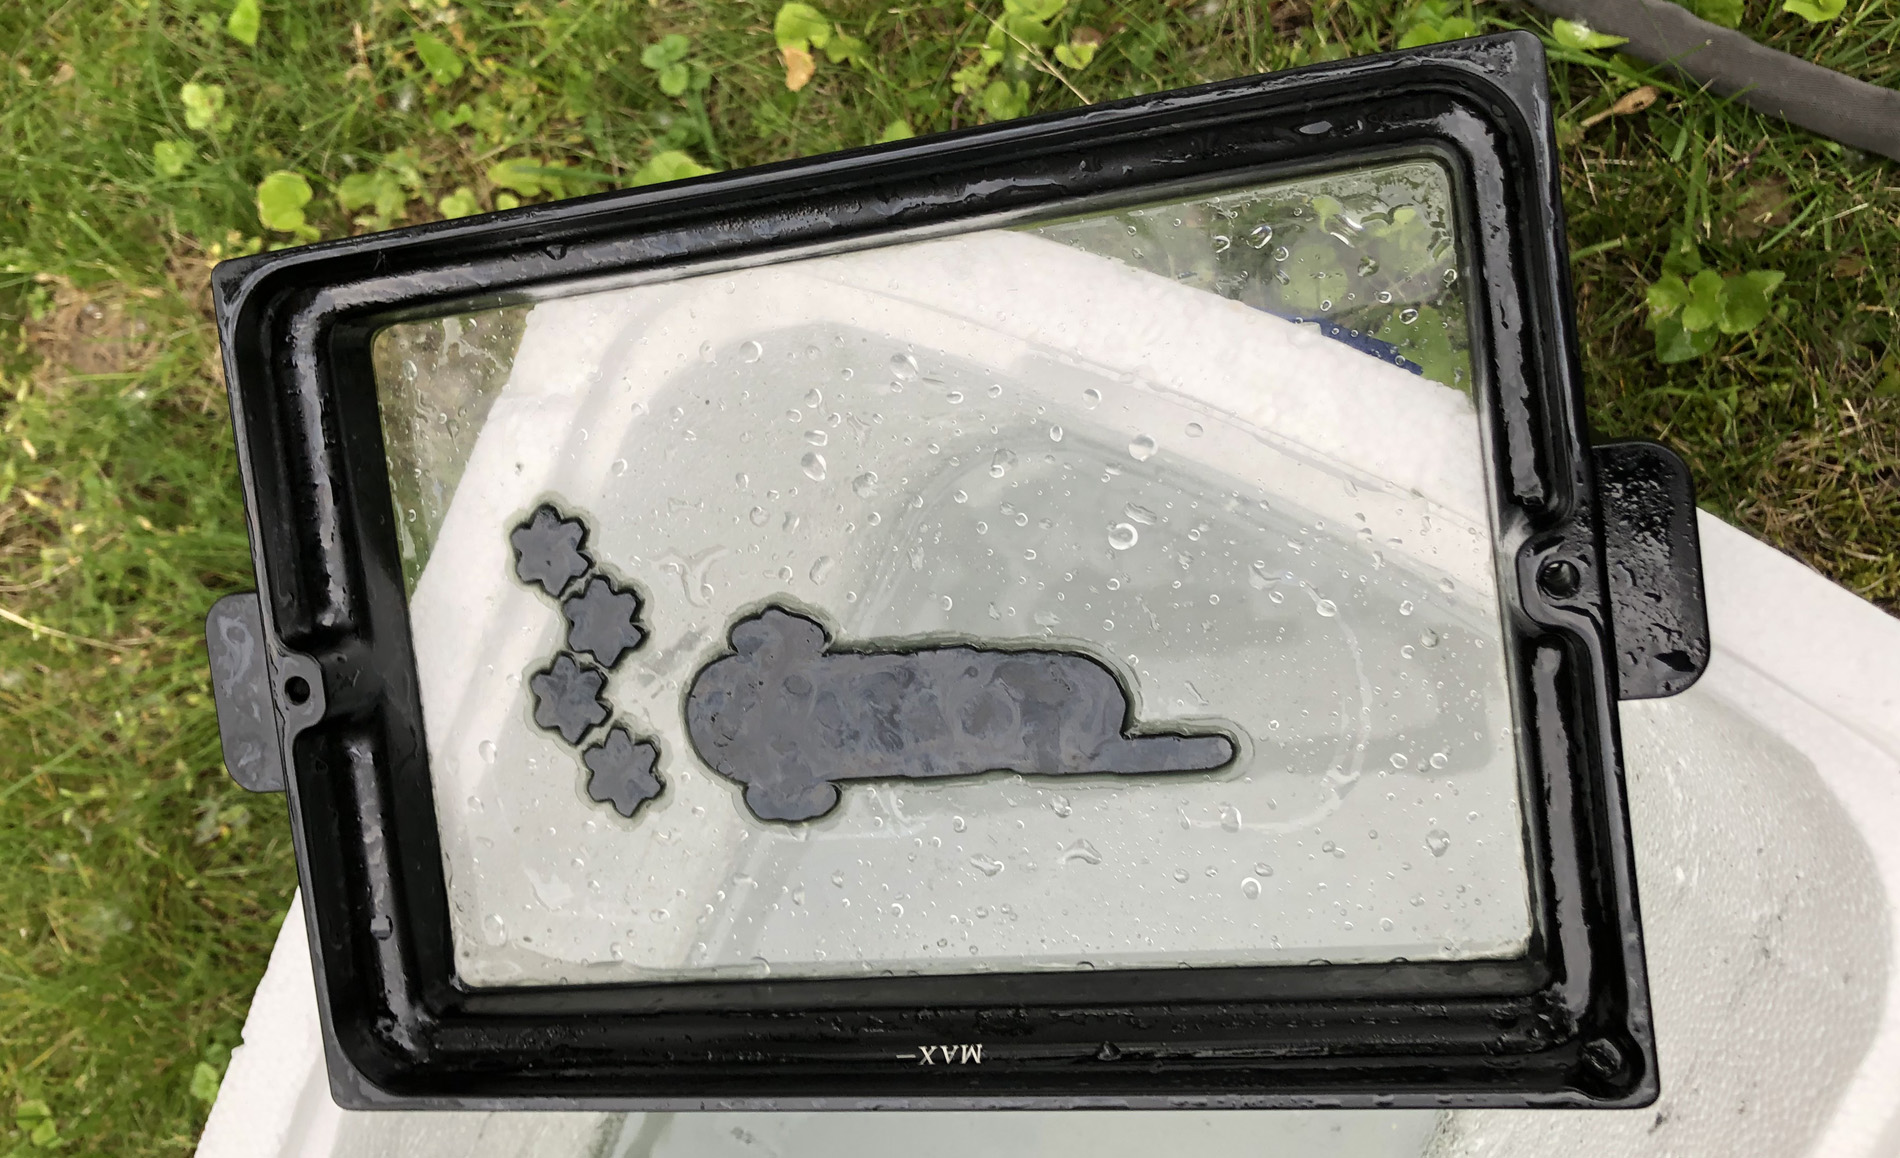
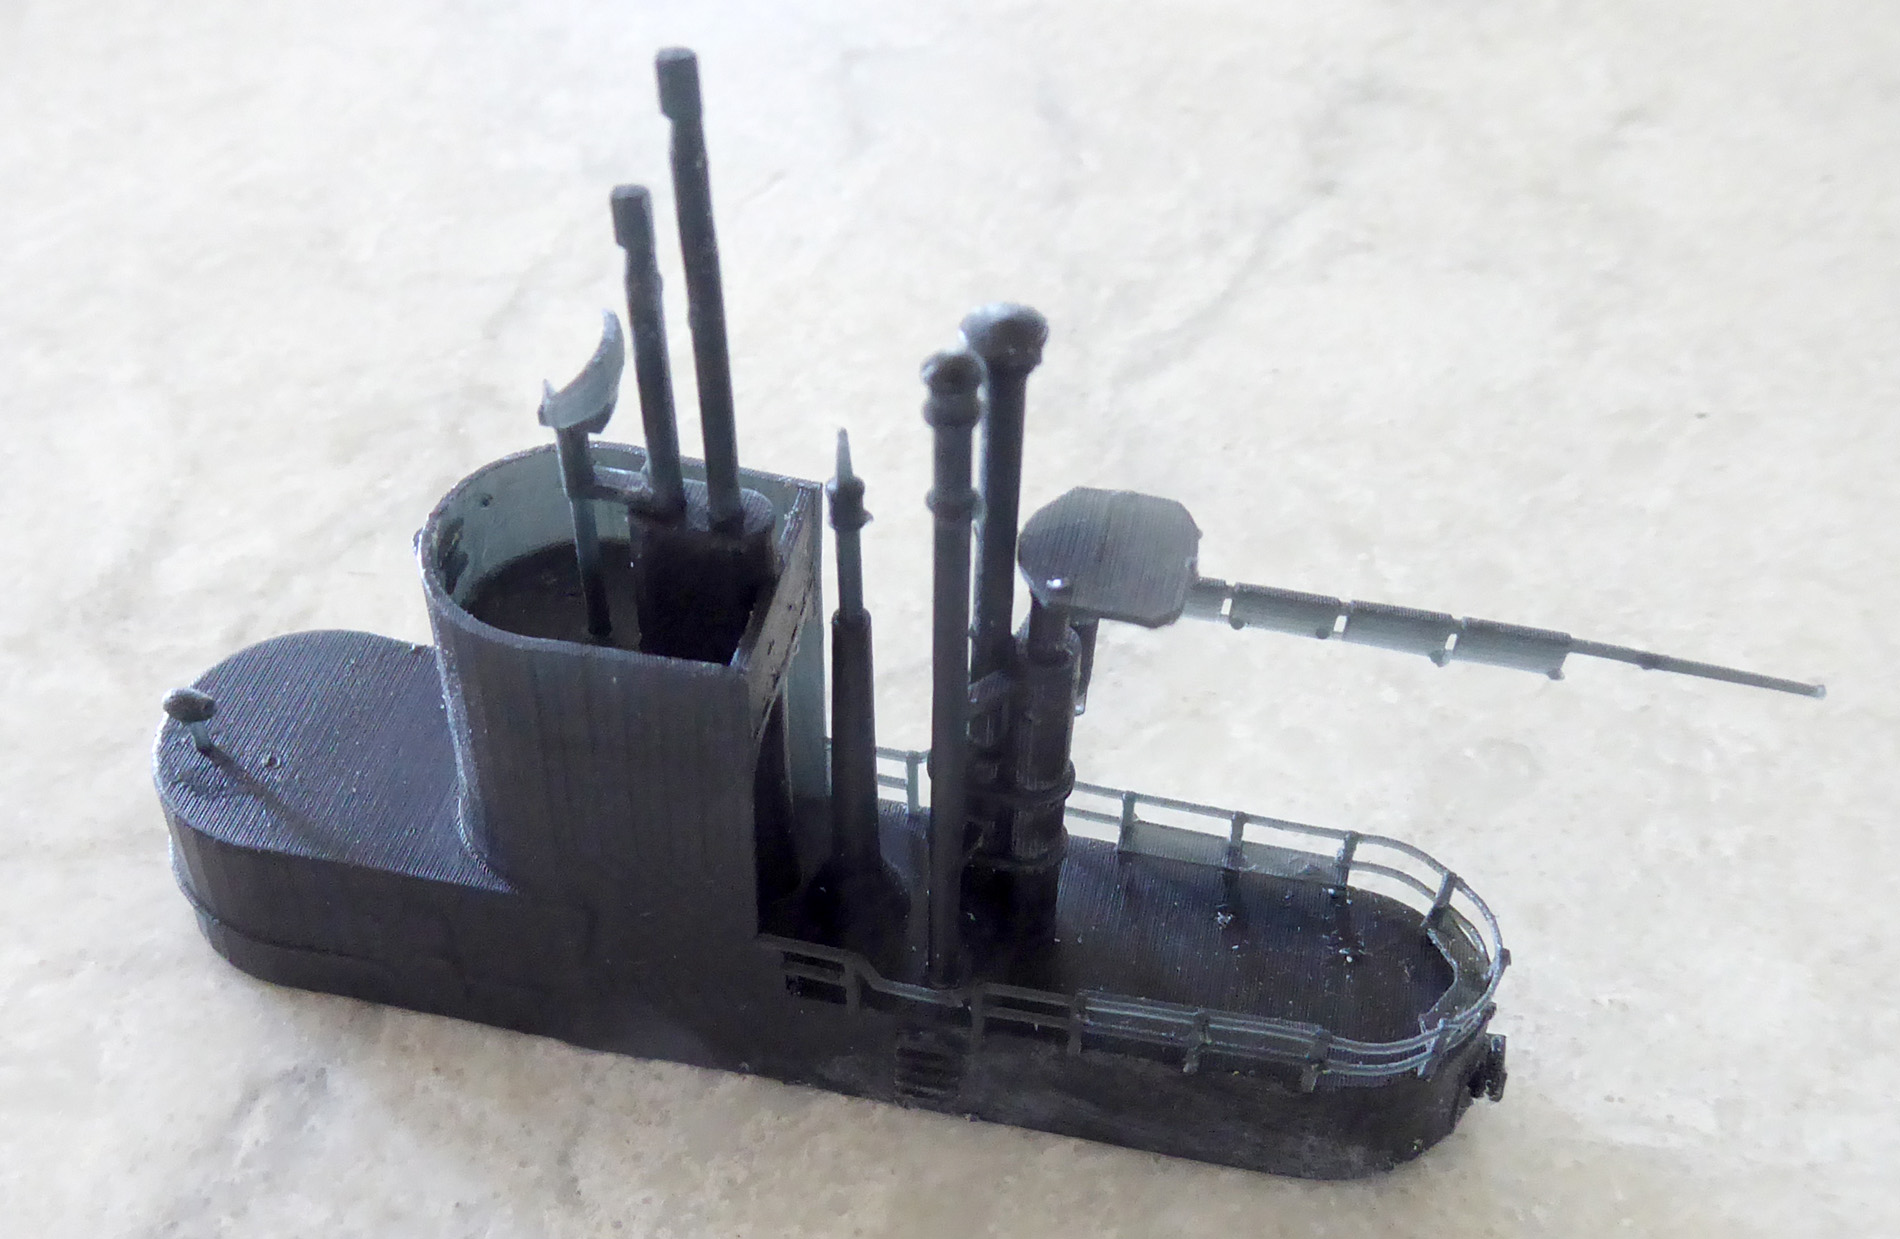
While the stern section now had plenty of supports I think the angle of the print was too horizontal. I believe this caused too much suction while lifting the newly cured layers off the vat film causing the supports to partially detach. You can see this in the center picture above. This caused deformation of the hull, making it unusable. The Bridge was a total fail, it never adhered to the build plate and required the dreaded scraping of the vat film. I hate to say it but I fear the bridge fail is due to the Saturn’s build plate not being level when reattaching it after removing the previous build. I think this because I tried reprinting this failure, only changing the stern section to be more vertical, leaving the bridge alone.
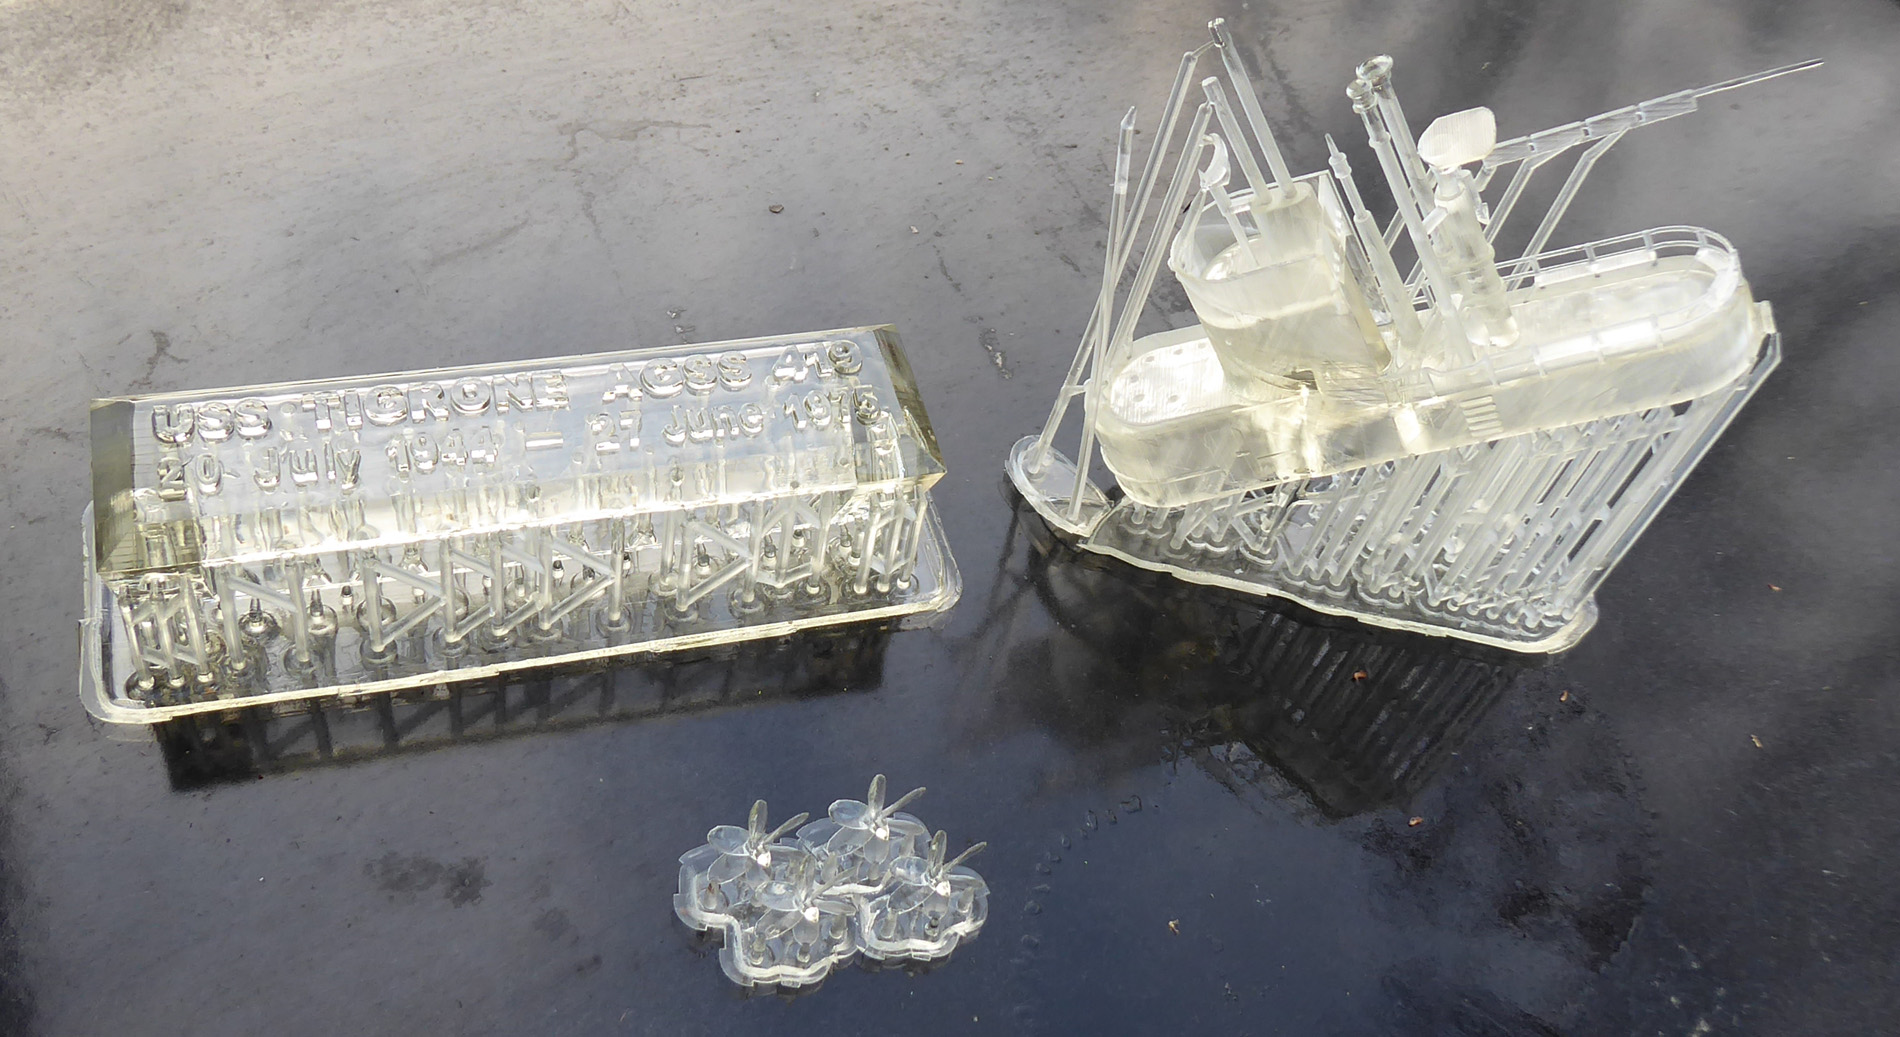
That resulted in the piece shown below and a repeat of picture 3 above.
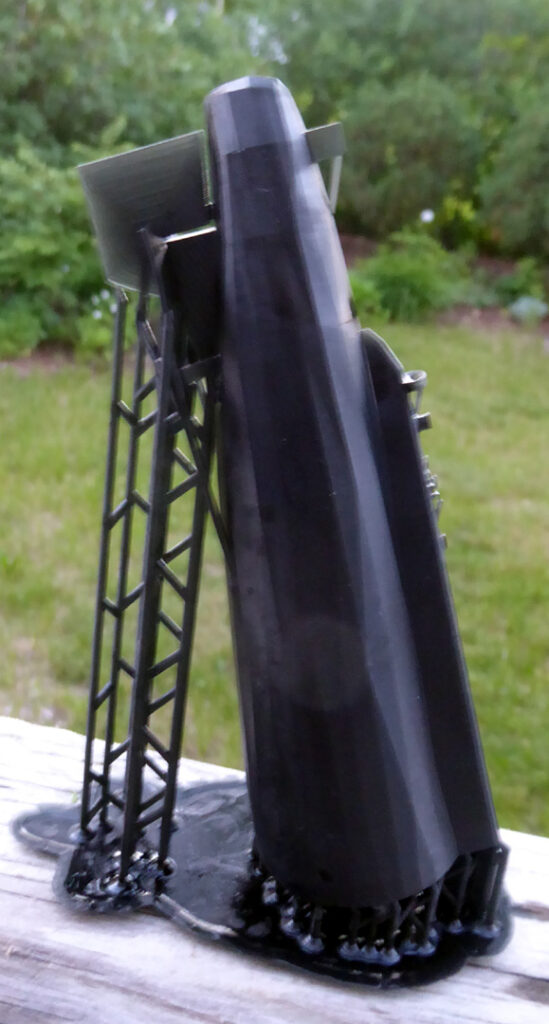
I finally had a perfect stern part but I still lacked the bridge. At this point I noticed that all the parts that failed to adhere to the build plate were located in the back of the plate, closest to the Z rail. So I just slid the bridge forward in Chitubox and printed it a third time.
Perfect!
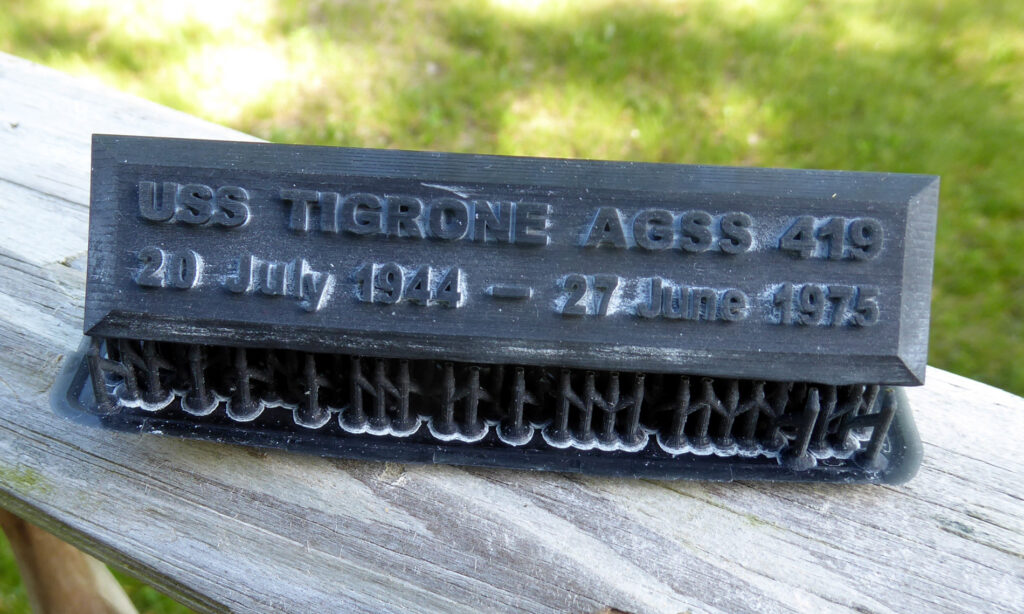
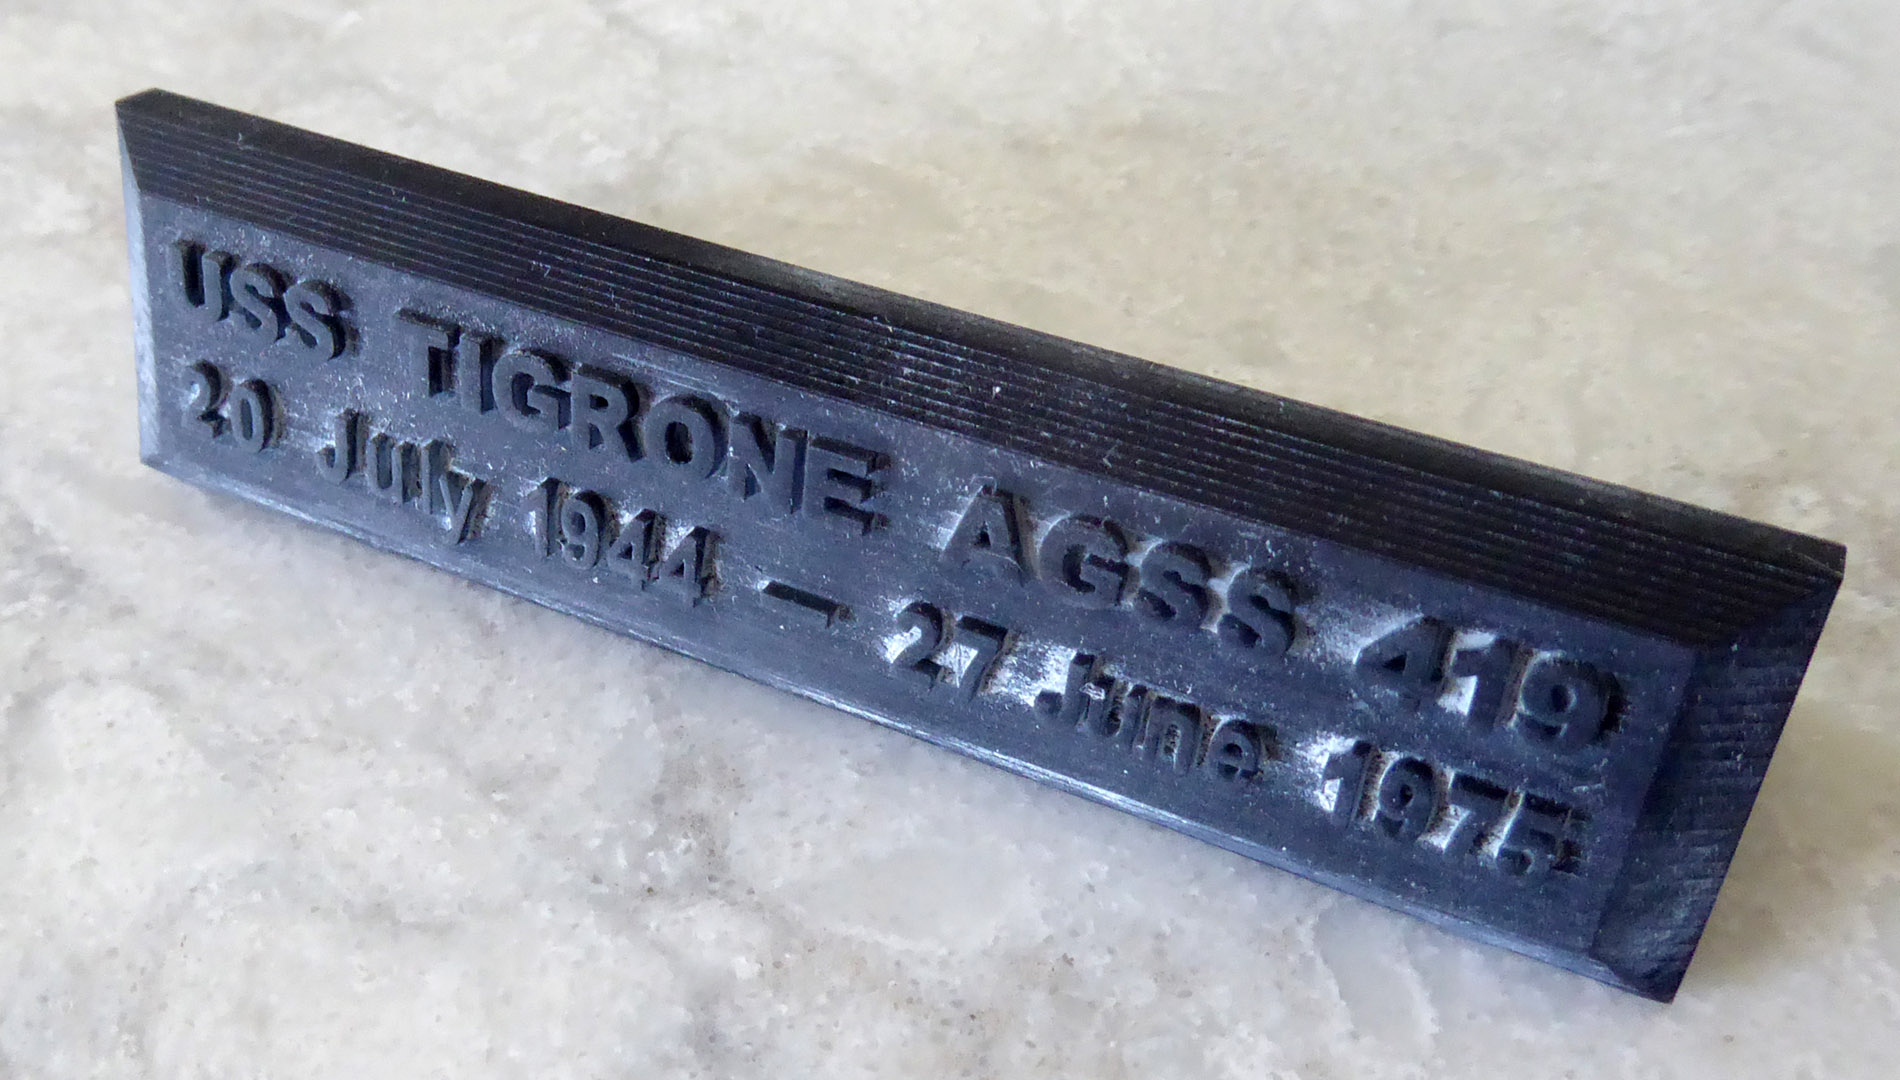
I have since read online that some people are finding they need to re level their Saturns after every print. I hope this is not the case, however I did re level before printing USS Tigrone’s name plate and that worked first time.
No More Sticky Parts!
I was really looking forward to using the Christmas present below.
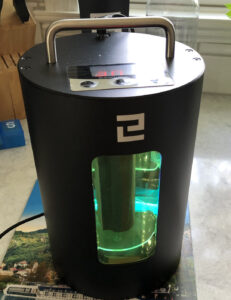
This inexpensive resin curing device worked awesome. After I rinsed and pruned print supports, I placed each part in the curing chamber for 3-4 minutes. The parts were then safe to handle for finish work and sanding. Not to mention the parts cured evenly without warping. Worth it!
Some Assembly Required
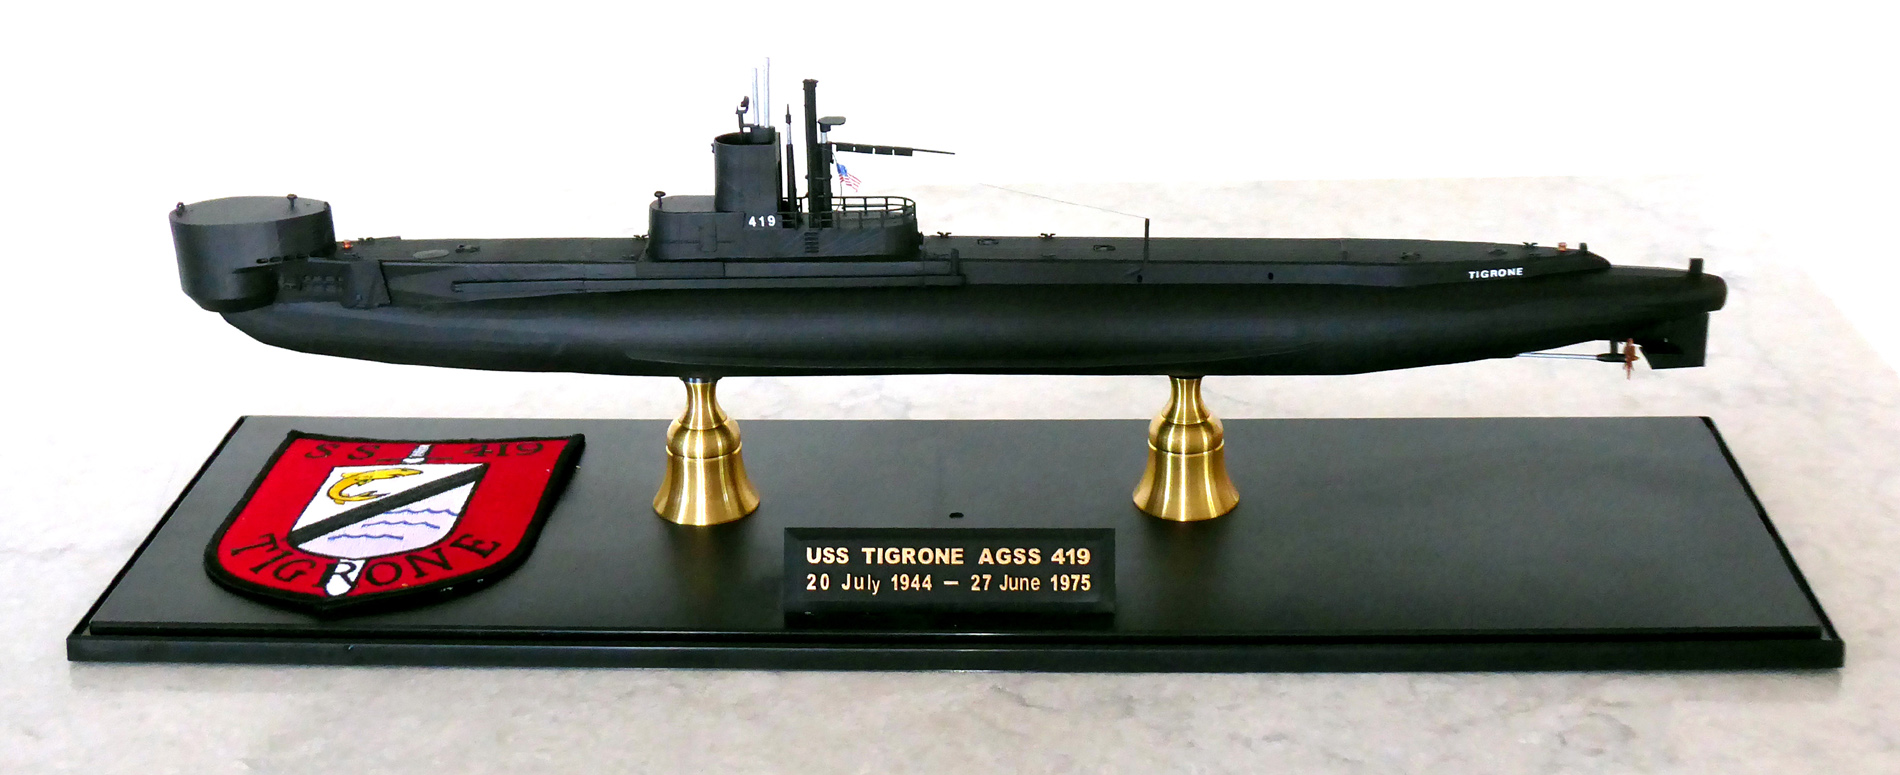
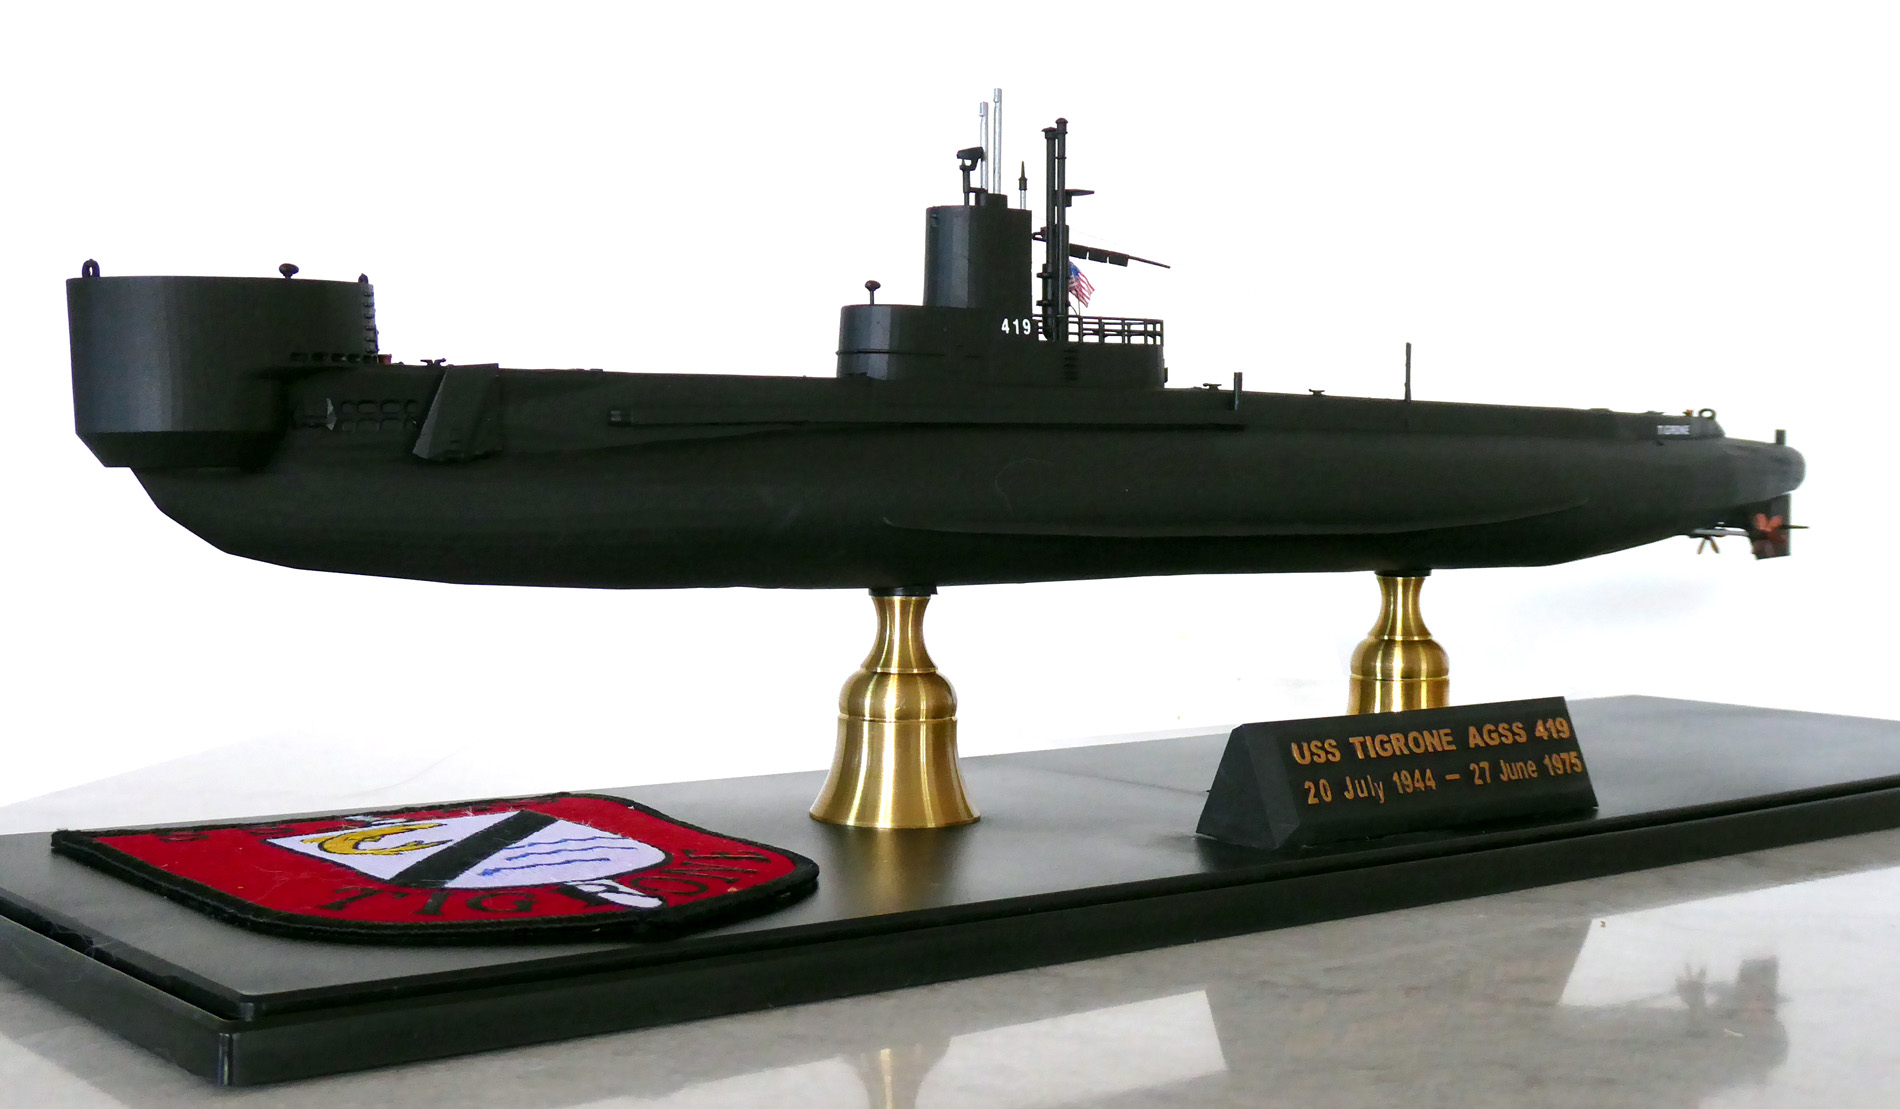
Now for the fun stuff: Assembly and painting.

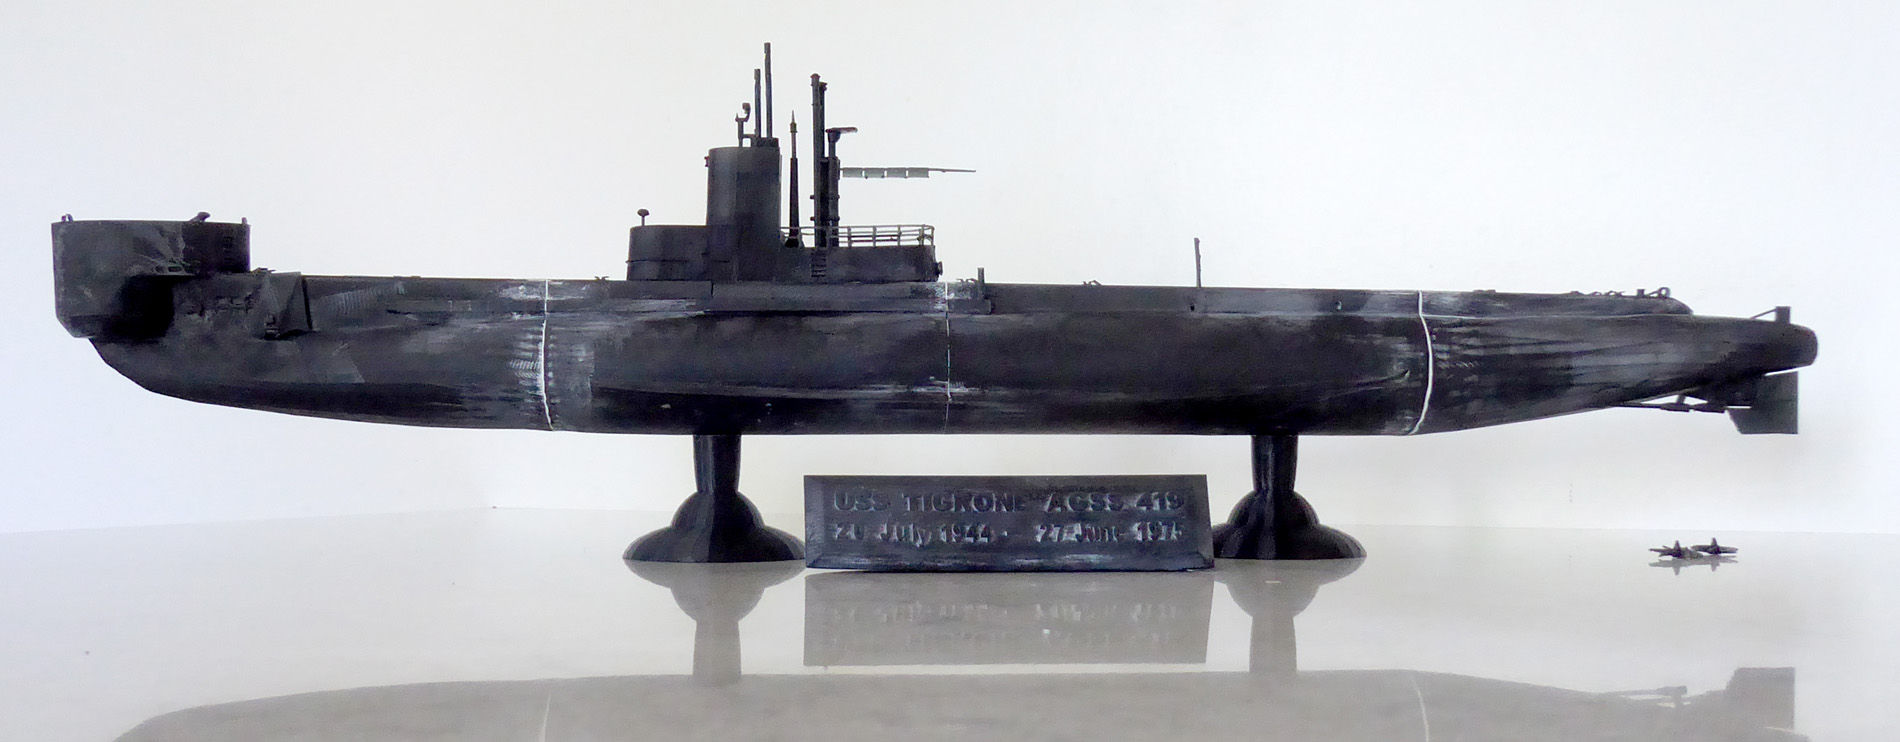
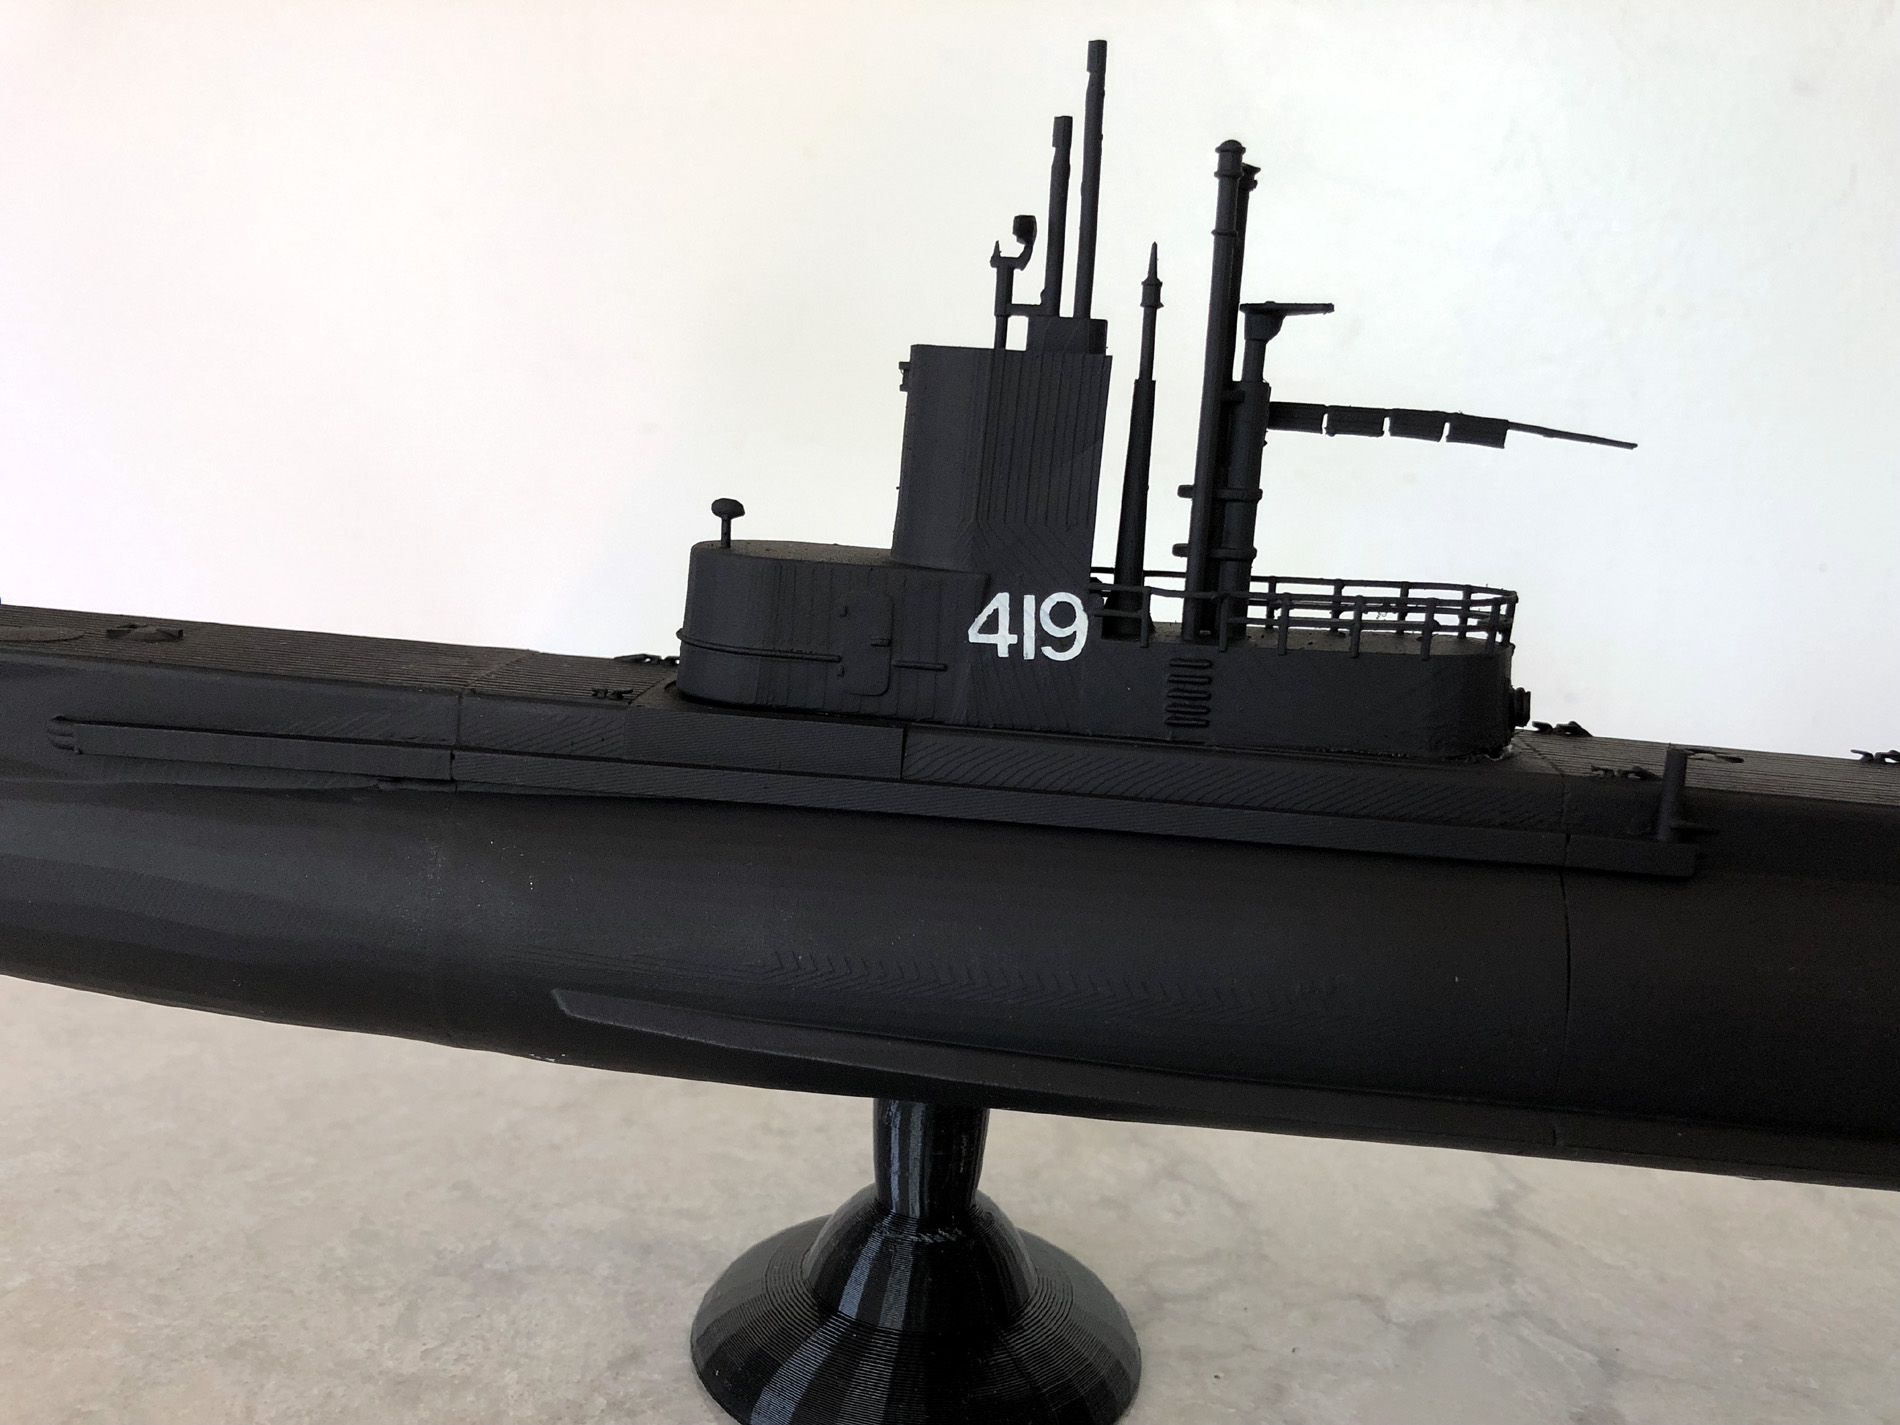
The finished pictures are at the top of the page.
Let’s jump to Conclusions
How is the Elegoo Saturn’s print quality?
Excellent! When this puppy works, it works extremely well. It could pull off detail so fine it would never survive pruning the supports! And while super annoying it is a good problem to have.
How is the print speed of the Elegoo Saturn?
No complaints here either, this is an undeniable improvement over my Creality LD-002r. The monochrome LCD screen cuts cure times per layer in half. Of course the adhesion layers securing the print to the build plate still had lengthy cure times. (sometimes to no avail)
Is the Elegoo Saturn perfect?
Not at all. the frequency of prints which failed to adhere at all to the build plate was extremely frustrating. My Creality LD-002r has never had this issue. If parts stick to the vat film it’s because I didn’t support or angle them correctly, never because there was zero adhesion to the build plate.
Would I still buy an Elegoo Saturn after my first experiences using it?
It’s too soon to answer this – I’m hopeful that I’ll figure out what’s going wrong. If it turns out I need to remove the vat and re level the build plate after every print, then the answer to this question will be: No.
Either way – there is zero chance that I wont ever mention this issue again.
Update: 10/20/2022
I’m in the process of building my second large project using only the Elegoo Saturn, the French pre-dreadnought battleship Charles Martel in 1/200 scale. My Saturn produced 10 near flawless, large and complex prints in a row with zero fails or defects. Visit the Charles Martel project page for more details but the jury is in and the Elegoo Saturn rocks! I describe what I did to get my Saturn stable and the tradeoffs involved, Charles Martel is by far my most ambitious 3D printed project to date.
USS Tigrone V2
Update: 4/15/2023
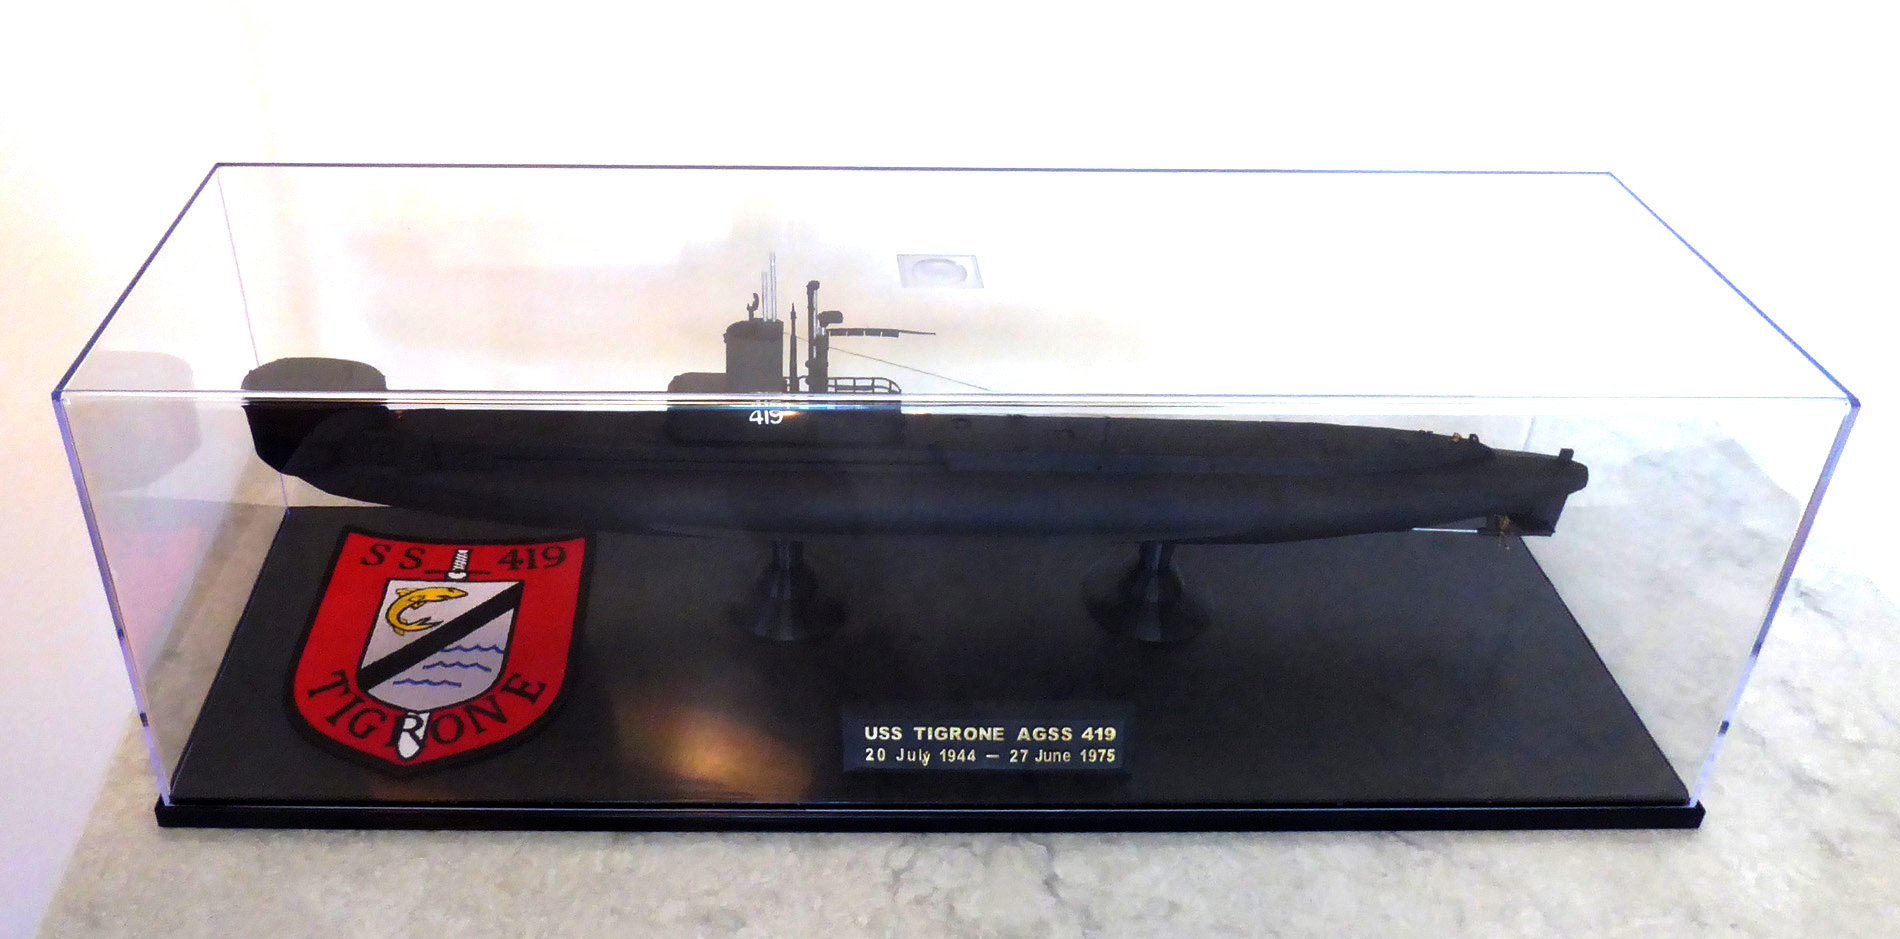
My friend’s dad really liked his Tigrone and asked if there were any chance he could purchase a second – for a charity event with crew alumni. I said sure but you’ll only need to purchase the case!
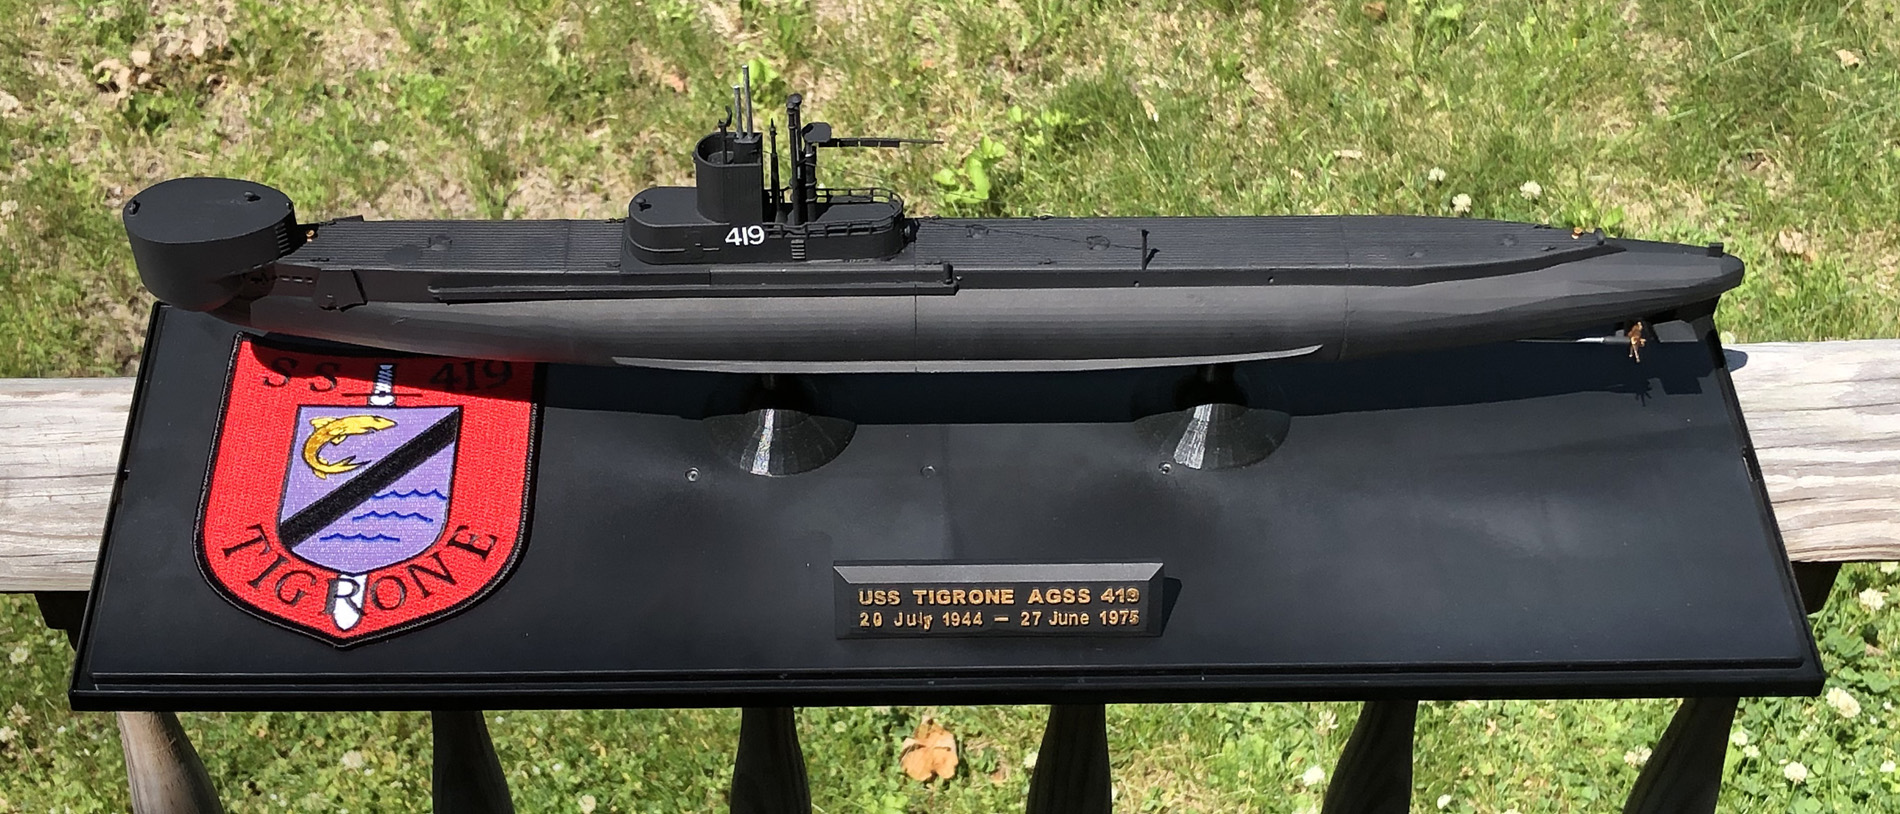
I like Tigrone V2 much better, I doubled down on hull prep and the seems are visibly reduced. I also got some decals allowing me to add the ships name to the stern. I tweaked the design a bit, beefing up some fine details and hollowing out more parts reducing the warp-age the first has on the bridge and nameplate. Plus everything printed perfect first time and I broke nothing while assembling!
But Tigrone #3 is $399 🙂