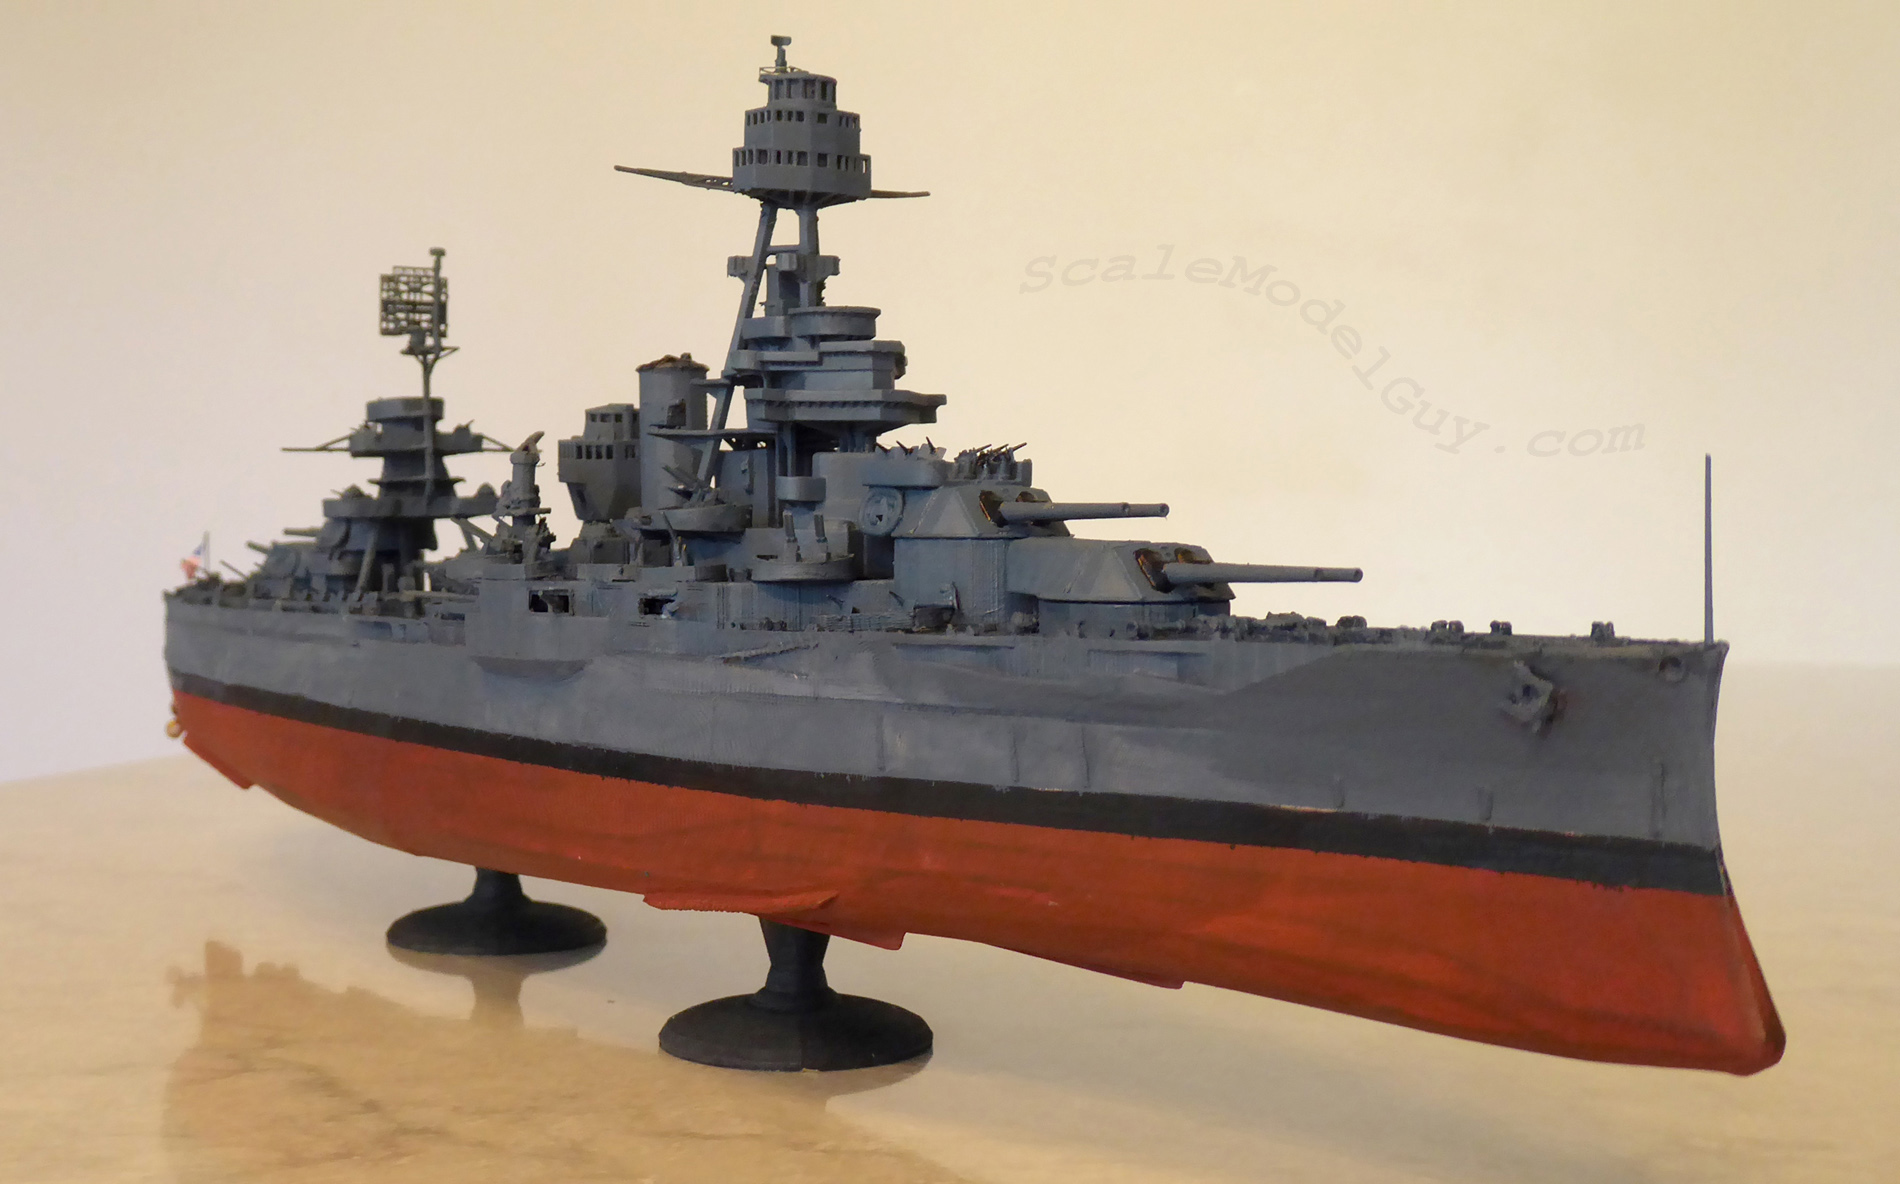
3d printed ship models USS New York


Posted: 10/10/2020
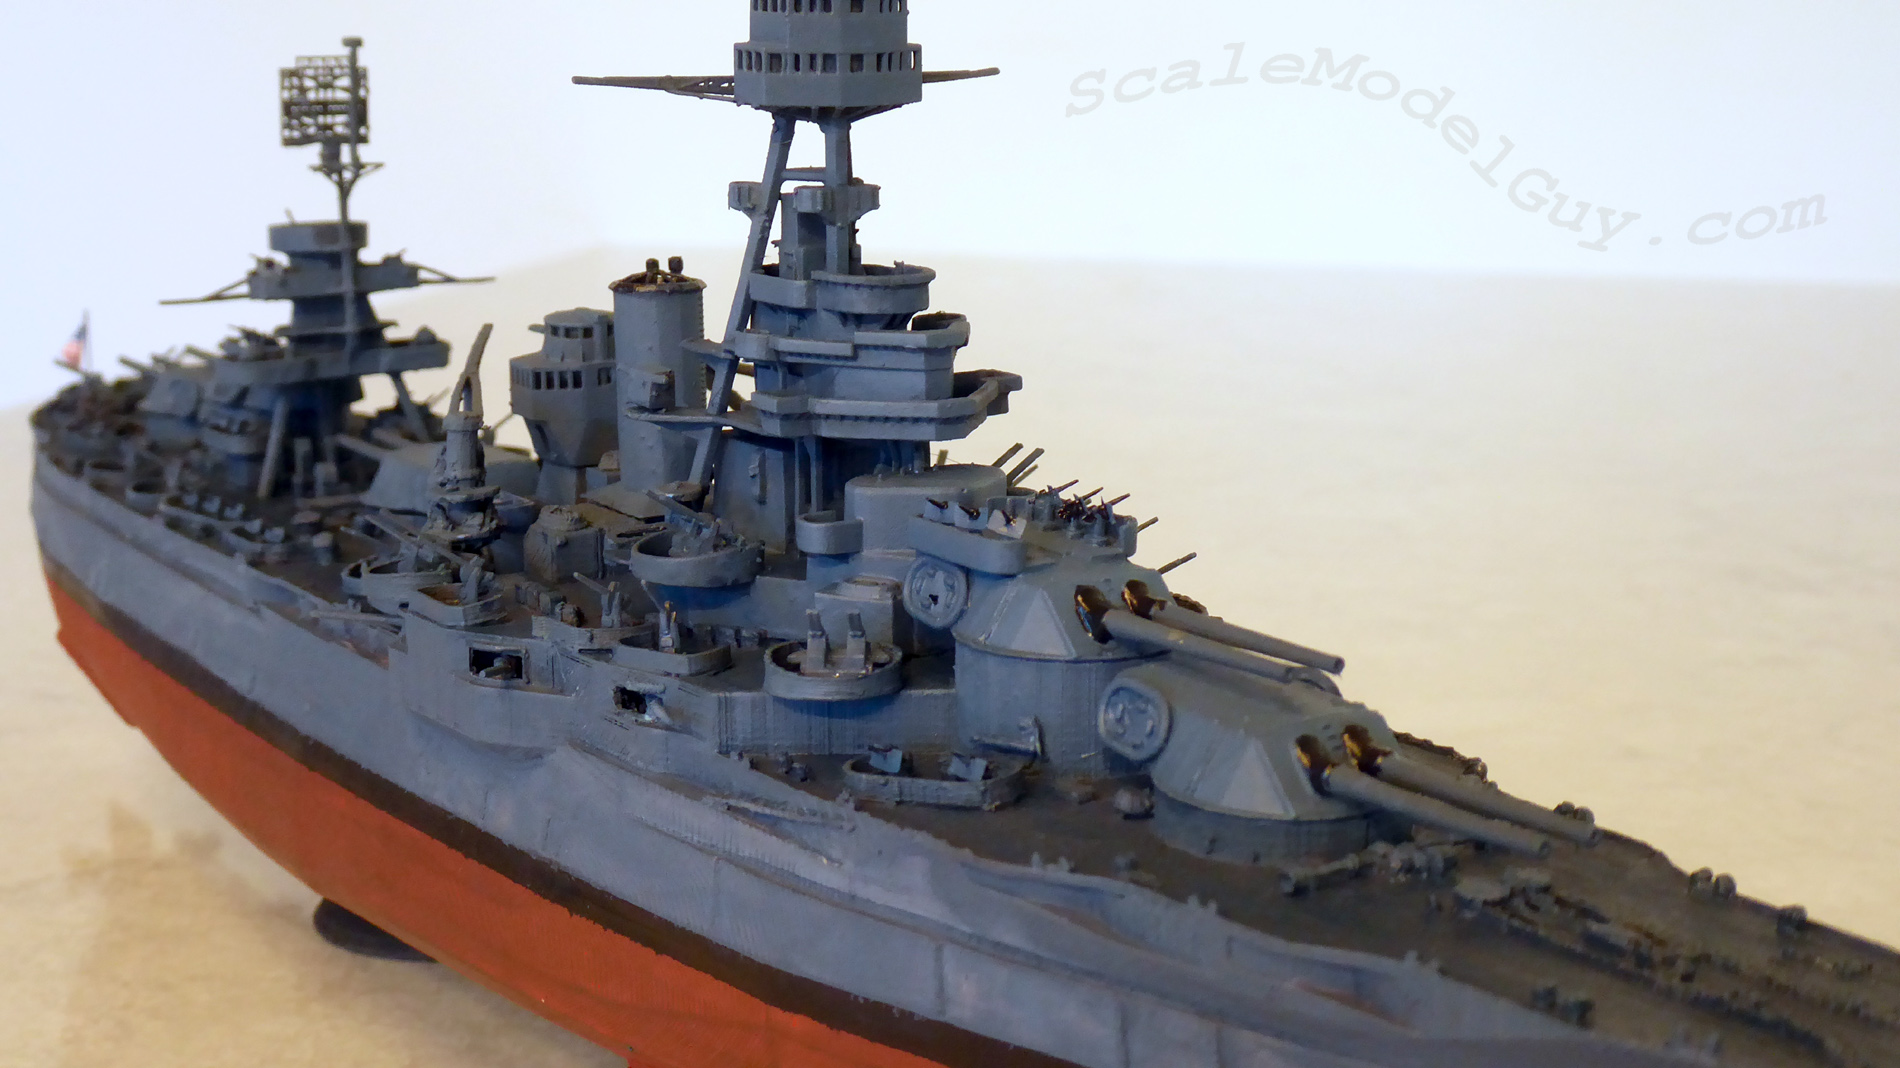
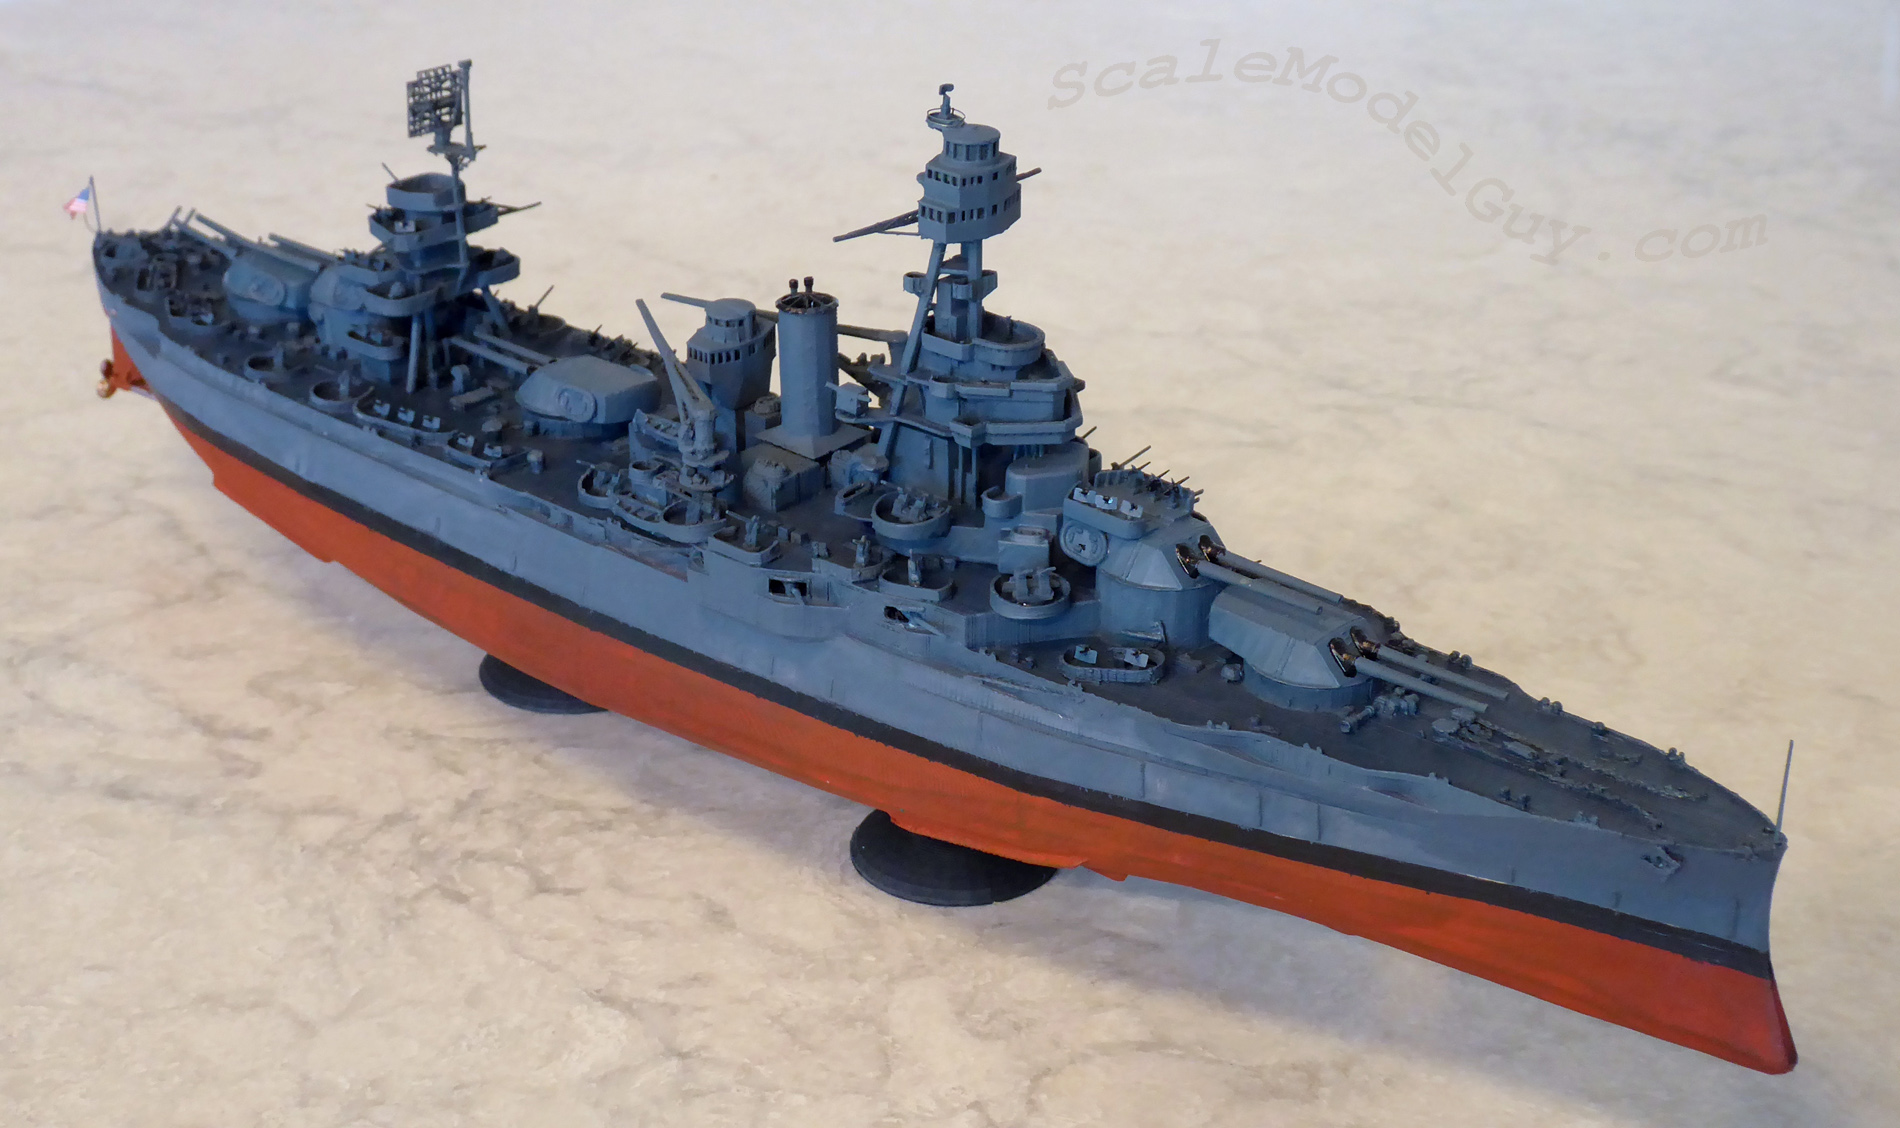
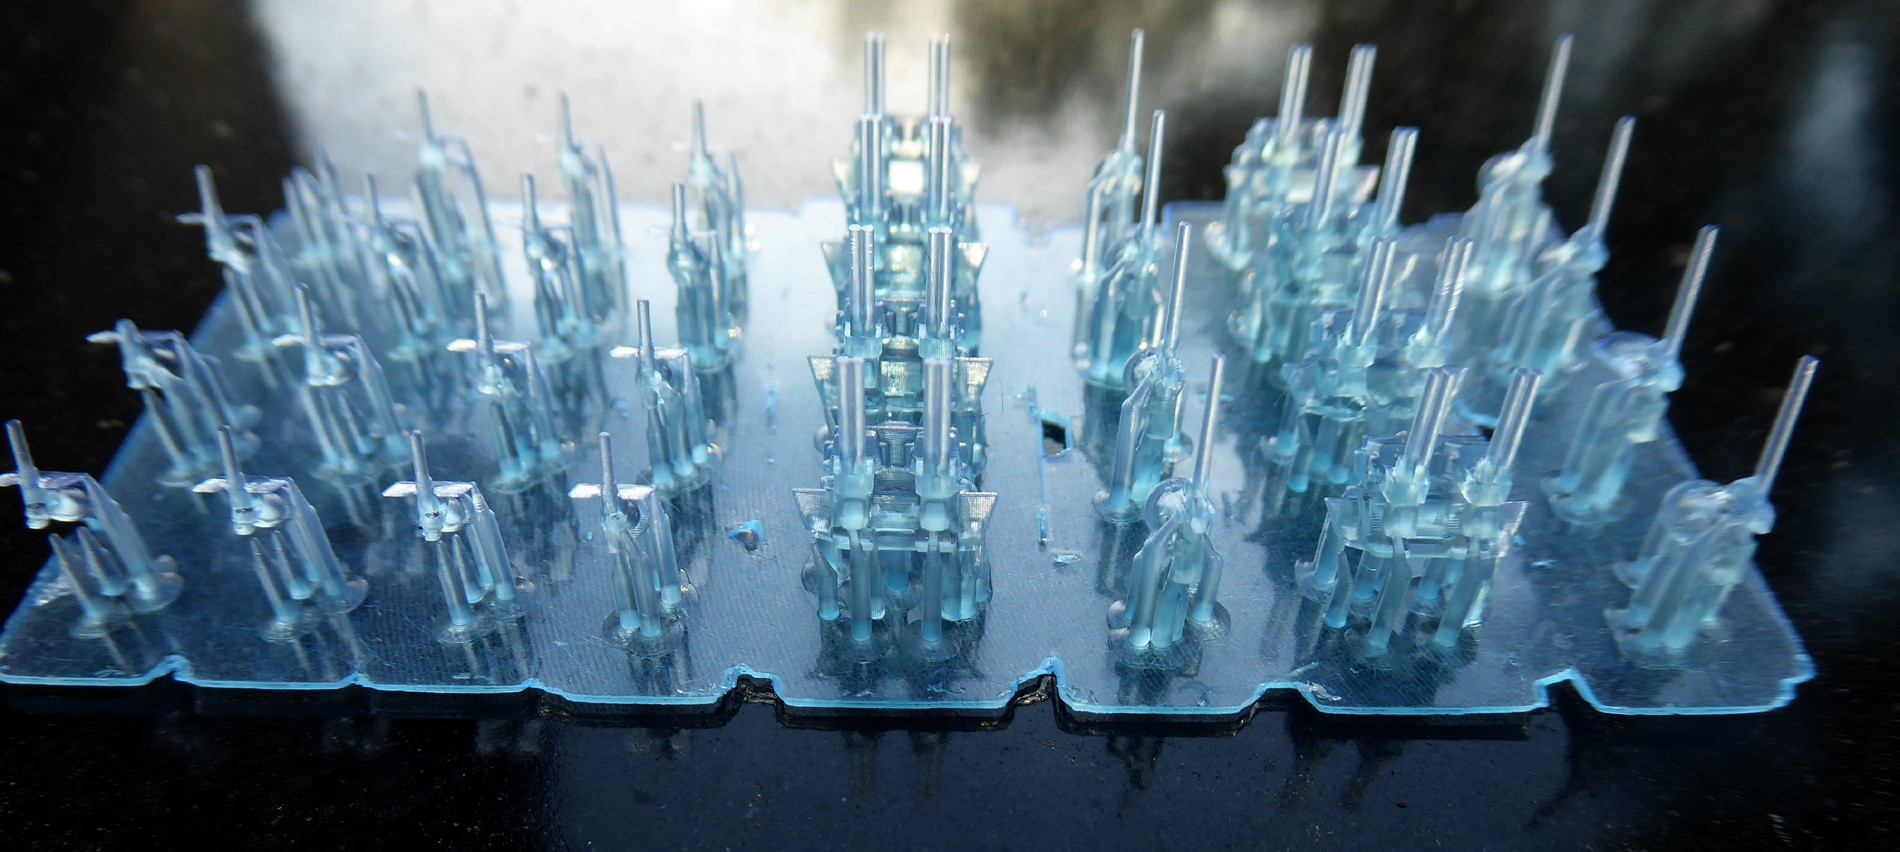
My Creality LD-002r printed USS Texas has been a while in the making. I didn’t intend to build two versions of Texas, it just kind’a happened. I ordered the Ld-002r just as I was finishing my original Ender 3 Pro printed USS Texas. The plan was to use the new printer to print Texas’s small AA guns, something the Ender 3 just couldn’t do decently in 1/450 scale. They were my first LD-002r prints and worked out surprisingly well, so I decided to reprint the Ender 3 Pro printed cranes, their detail being a little too rough.
That also went well…
I started to wish I’d waited and created USS Texas primarily with the LD-002r.
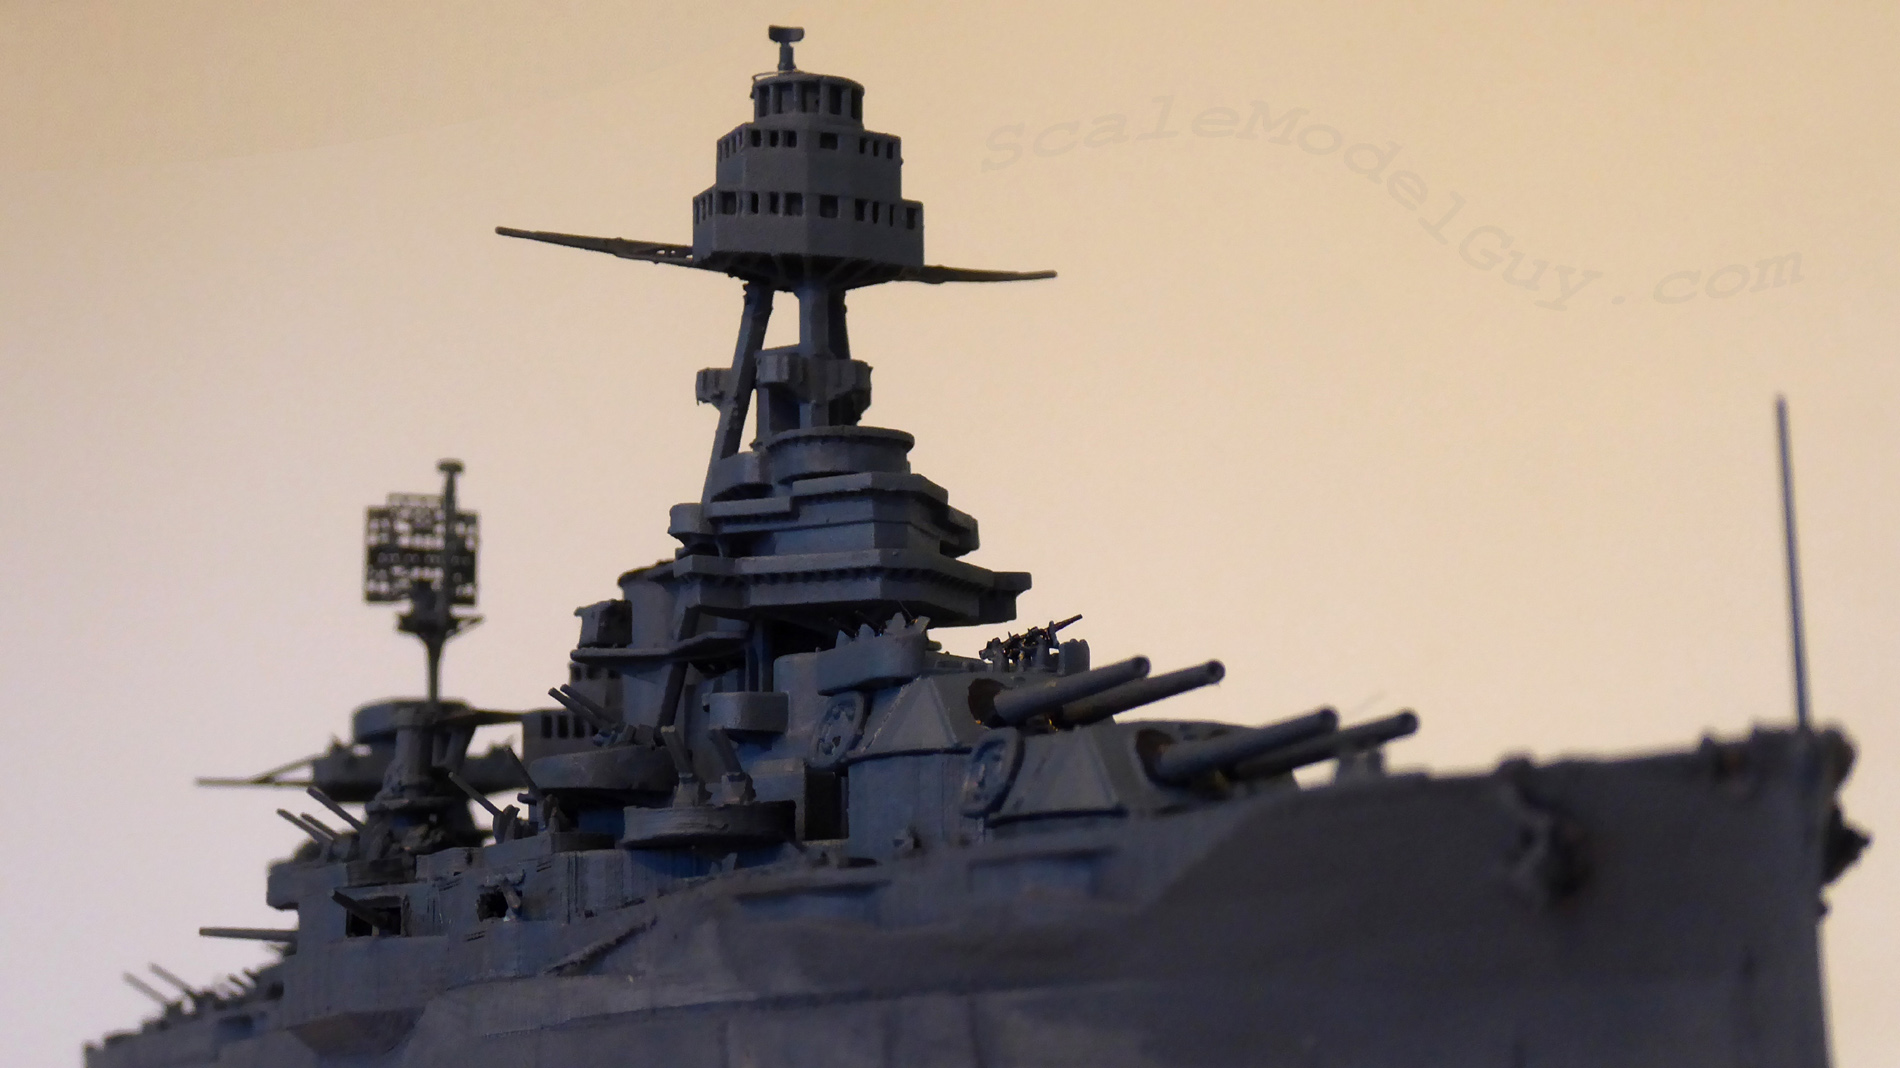
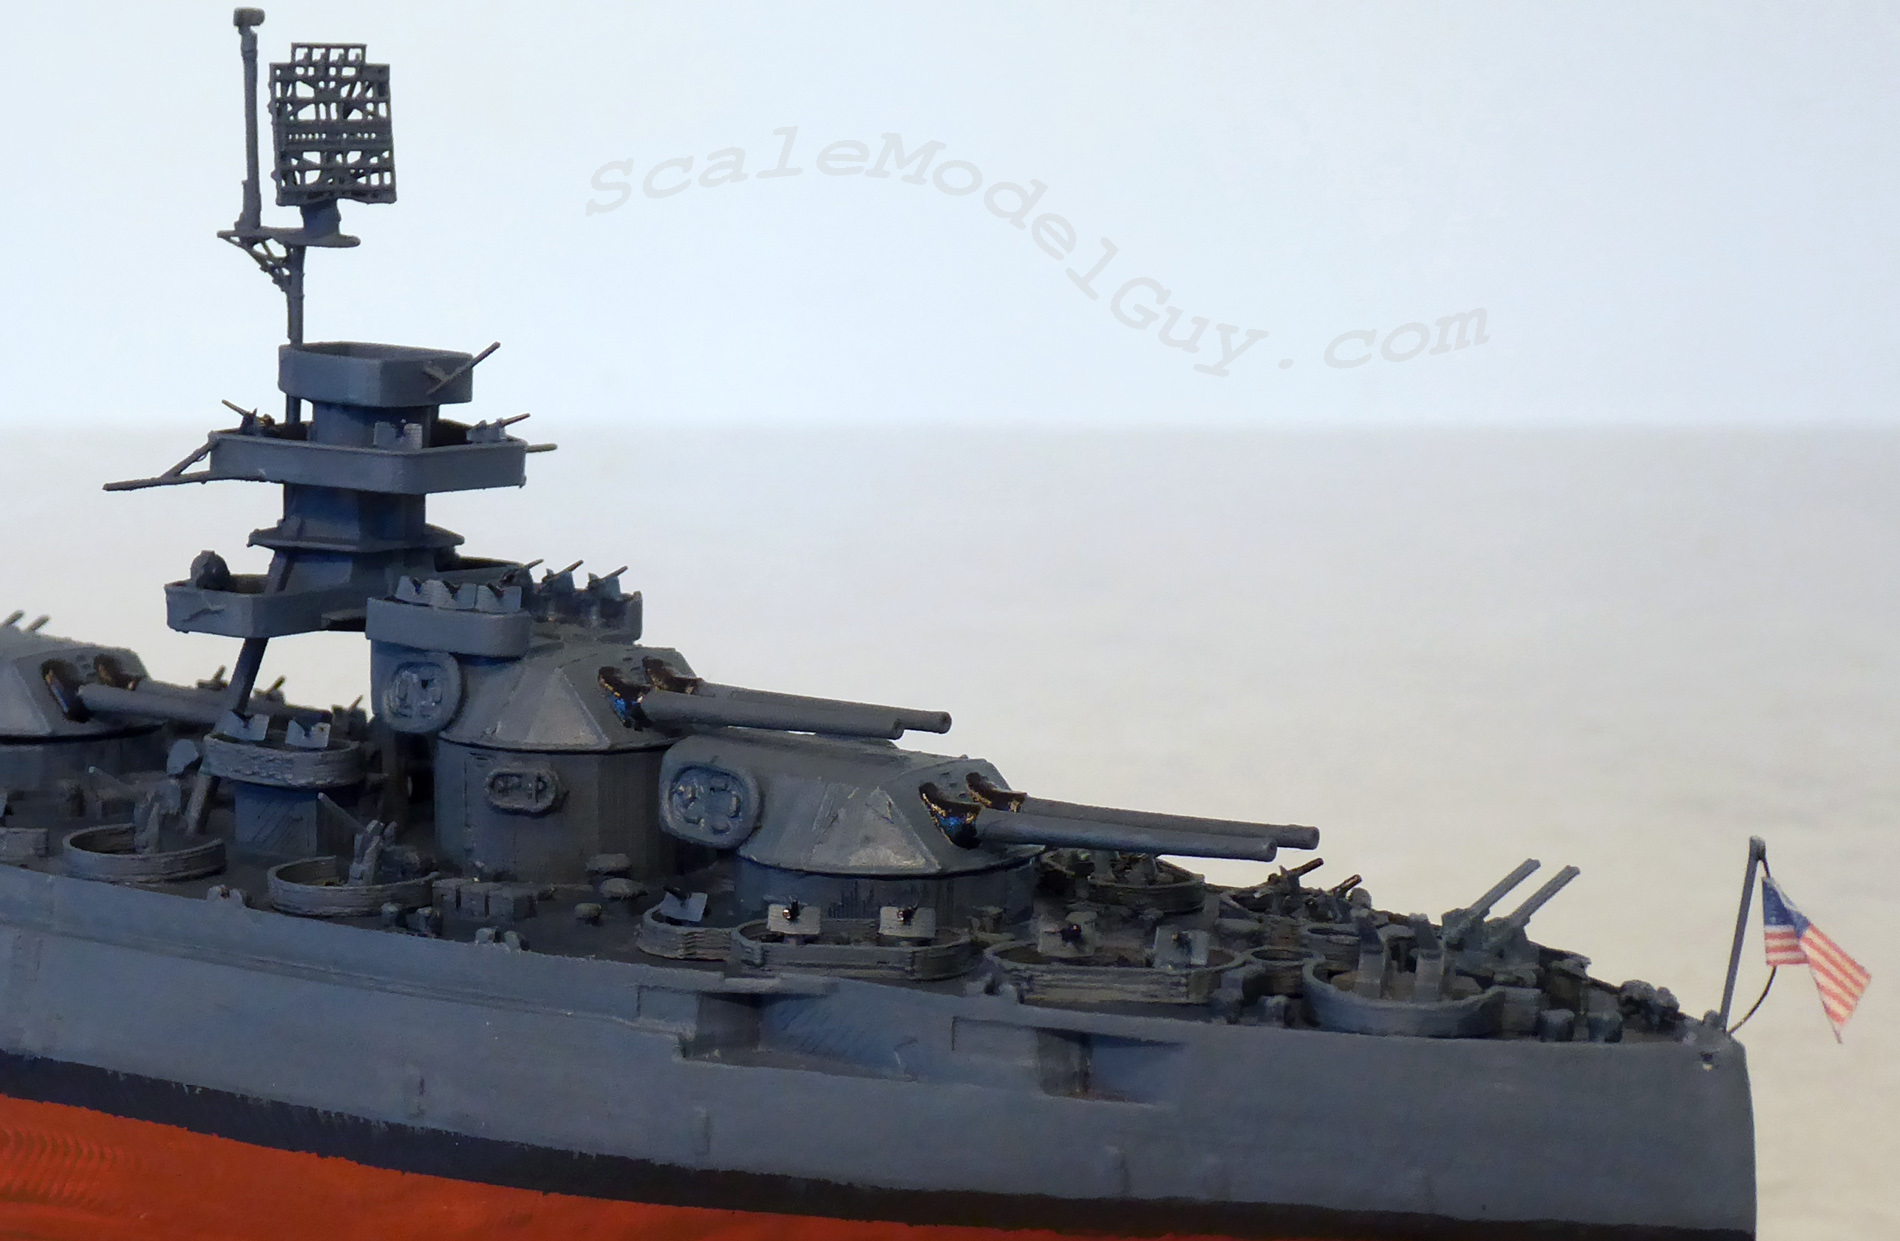
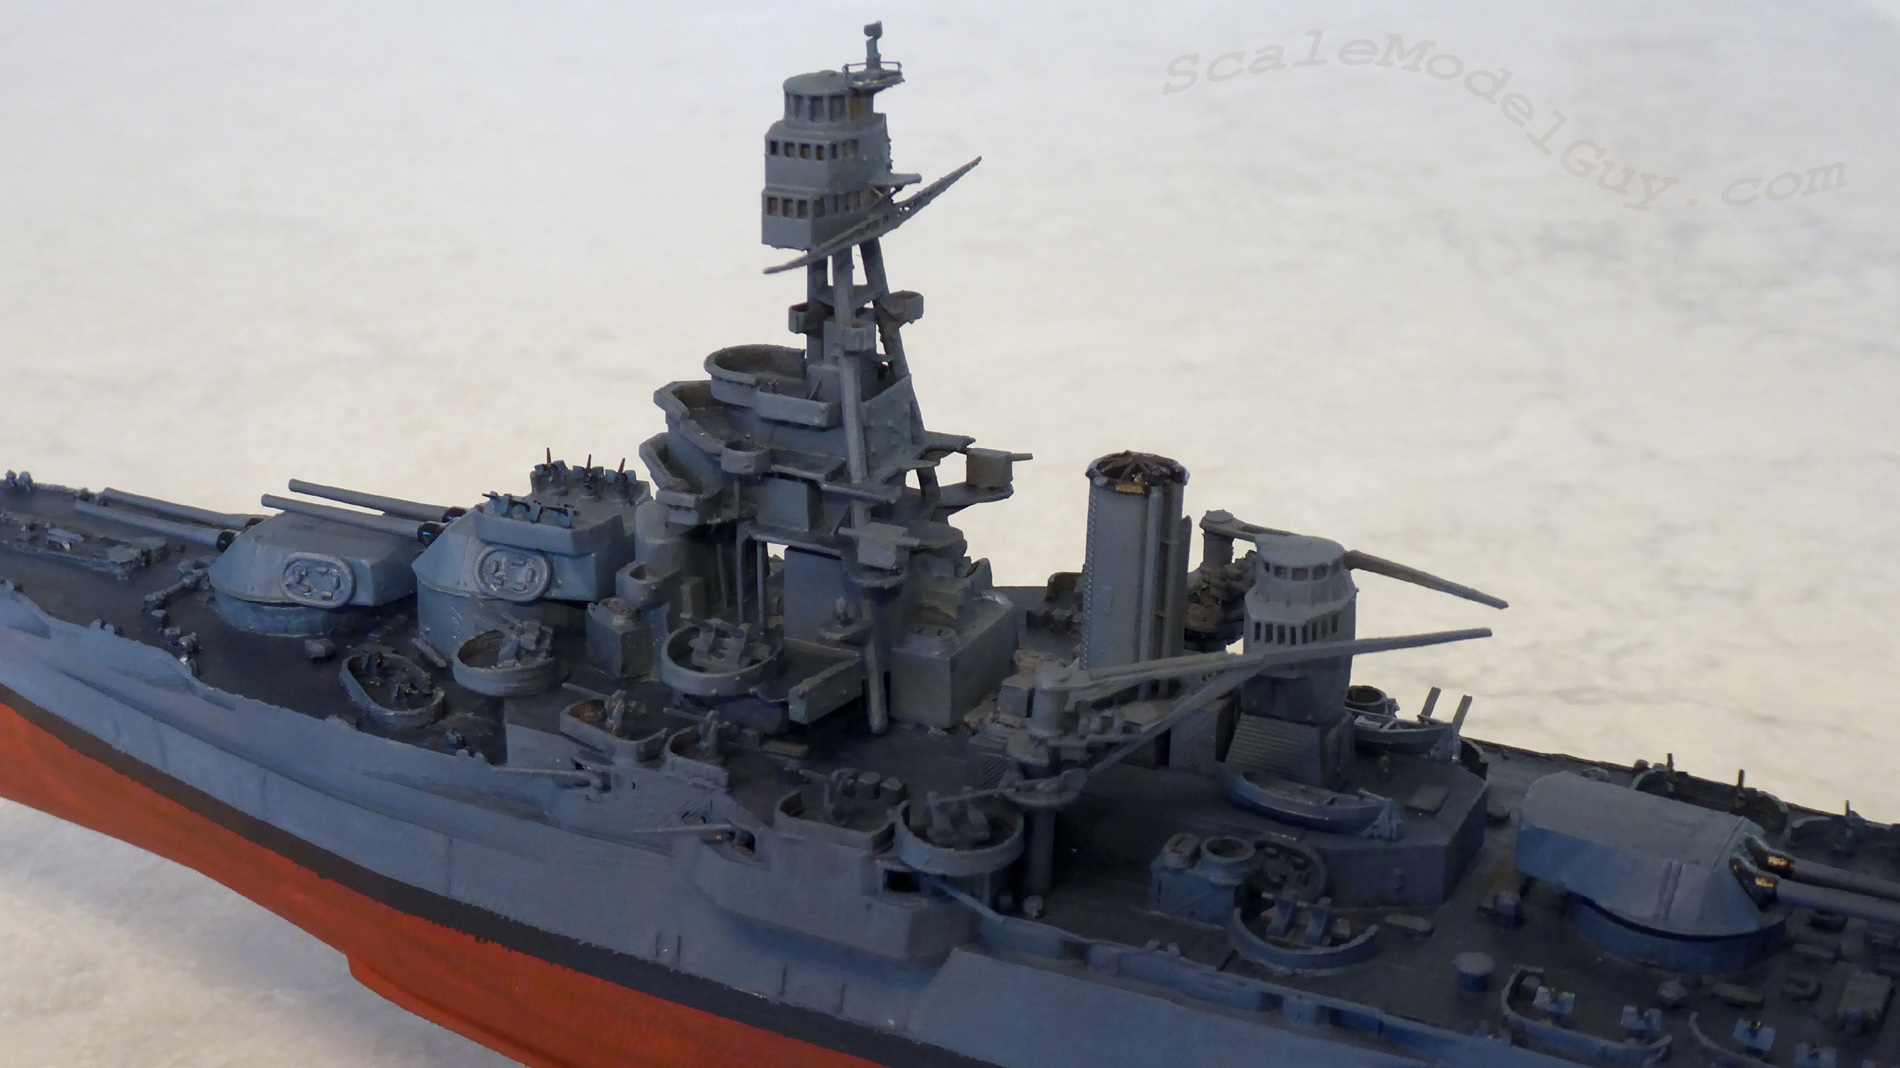
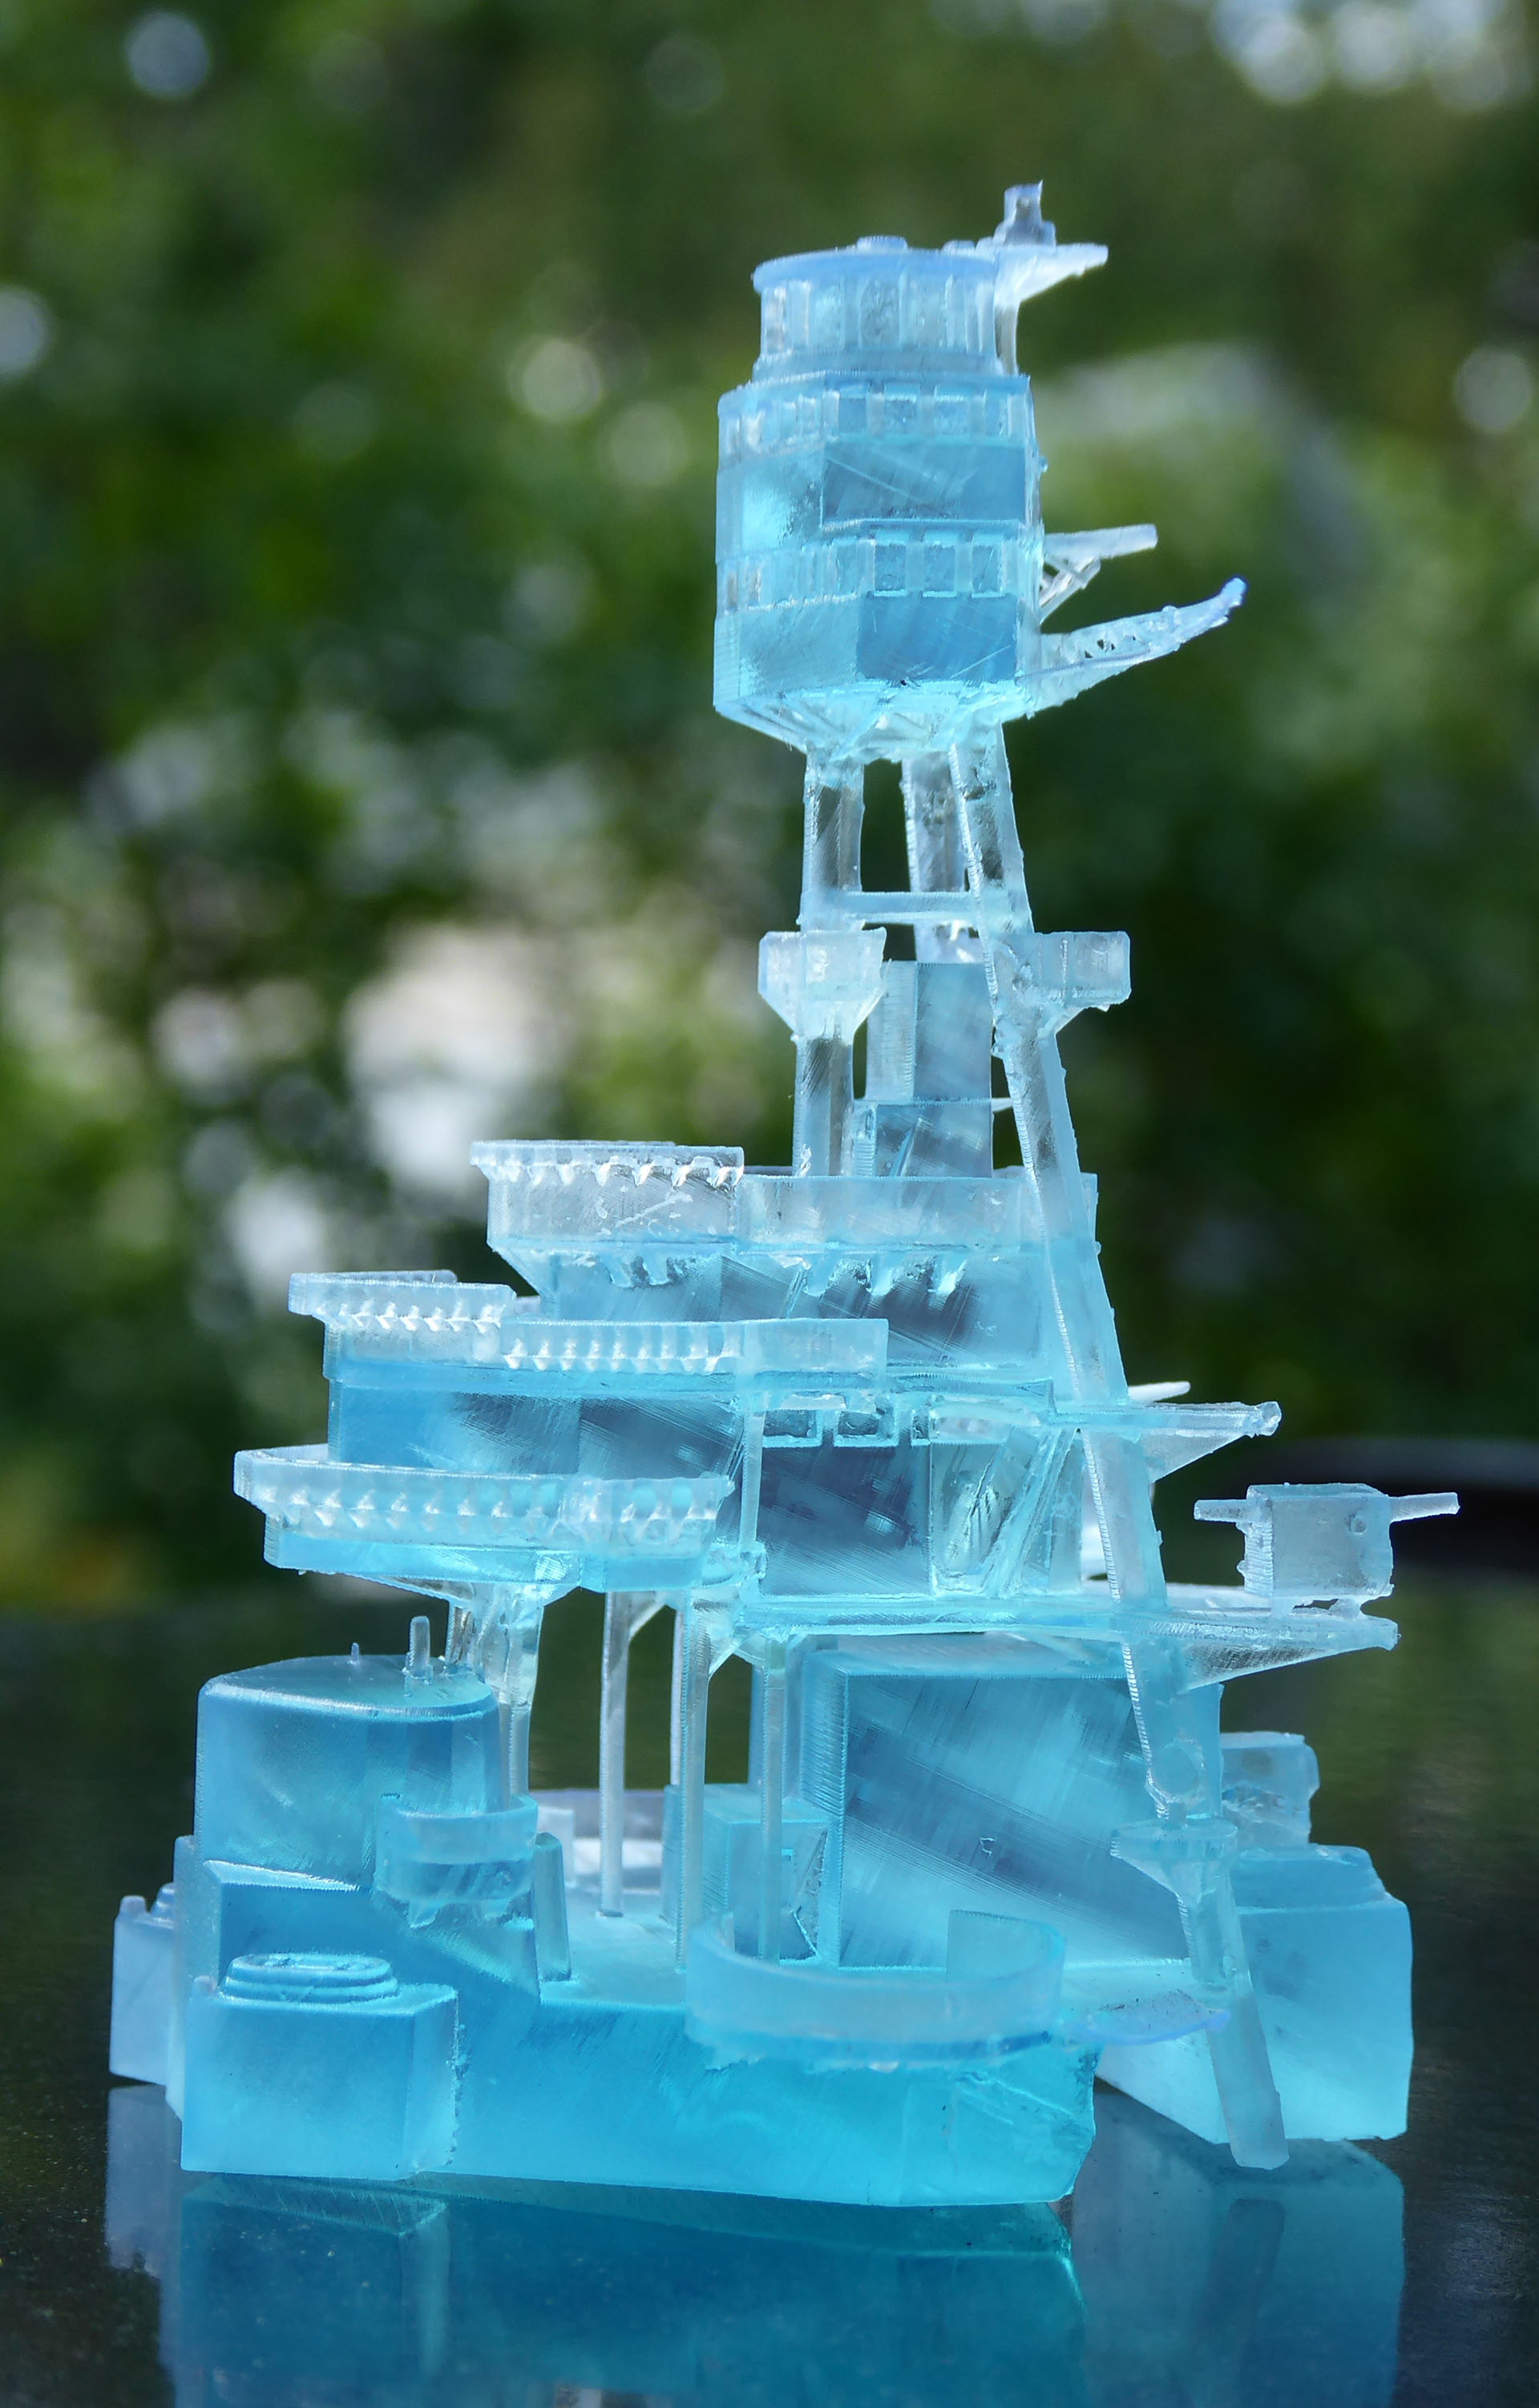
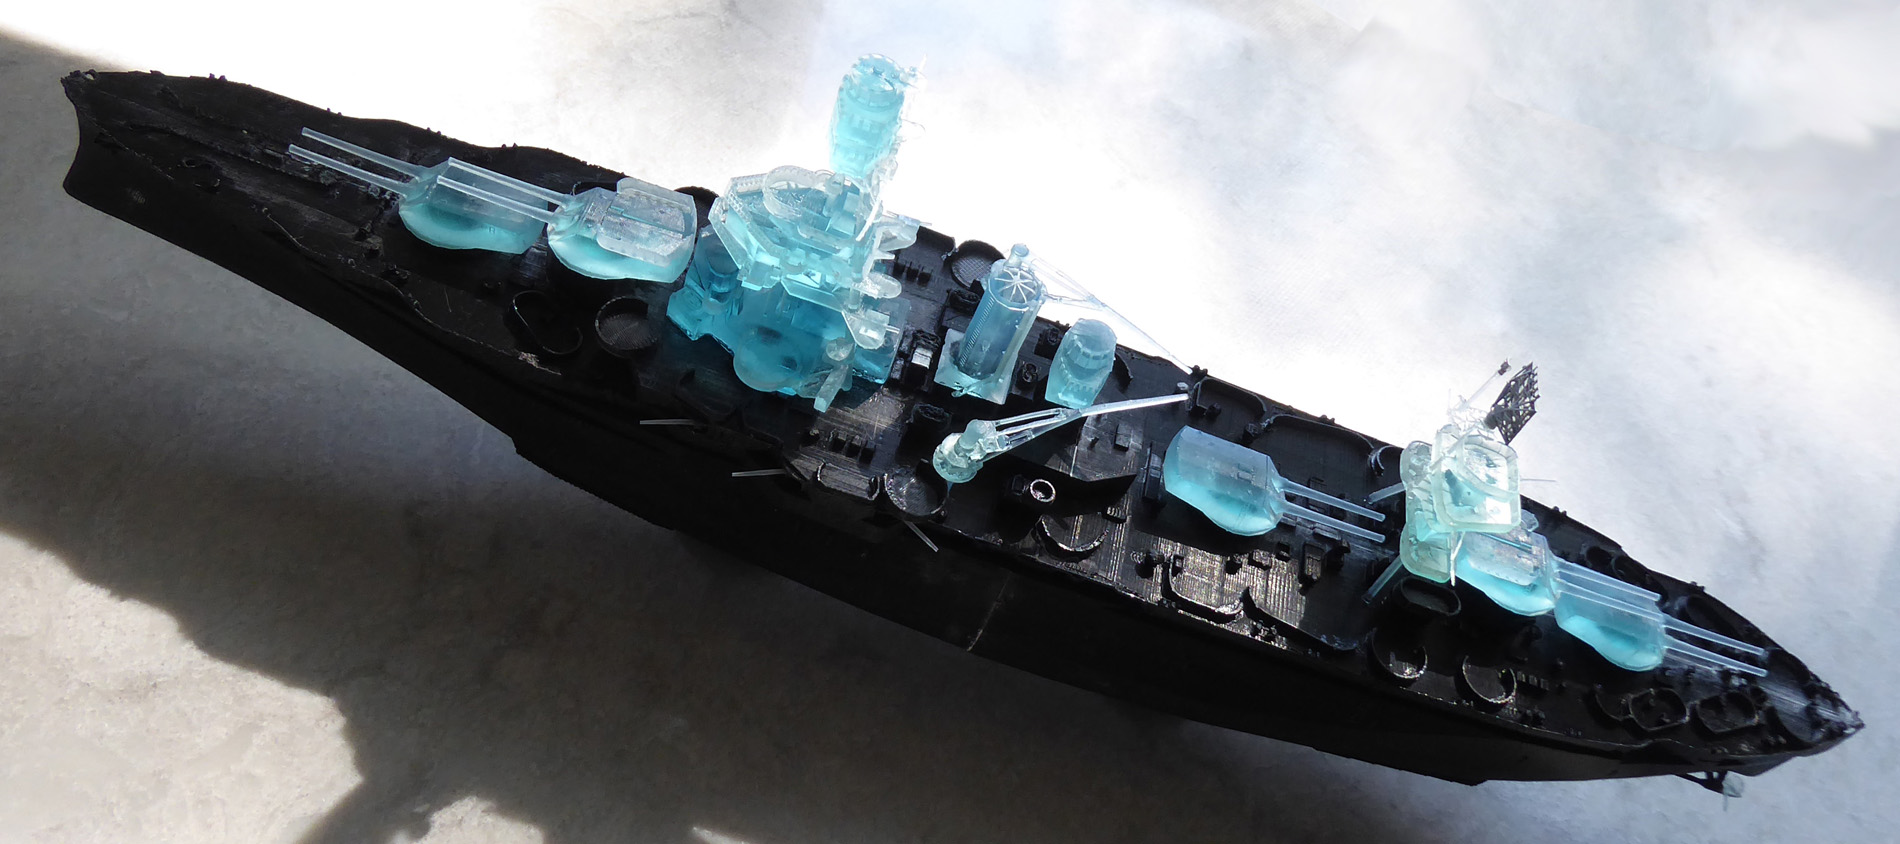
As a test I put the parts of Texas’s main superstructure back together in Blender. I had broken up the design for better print results on the Ender 3. I also refined and improved the detail and tried printing it as a single piece with the LD-002r. It came out awesome! That success closed the deal, I’d be making a second USS Texas.
The best-laid plans
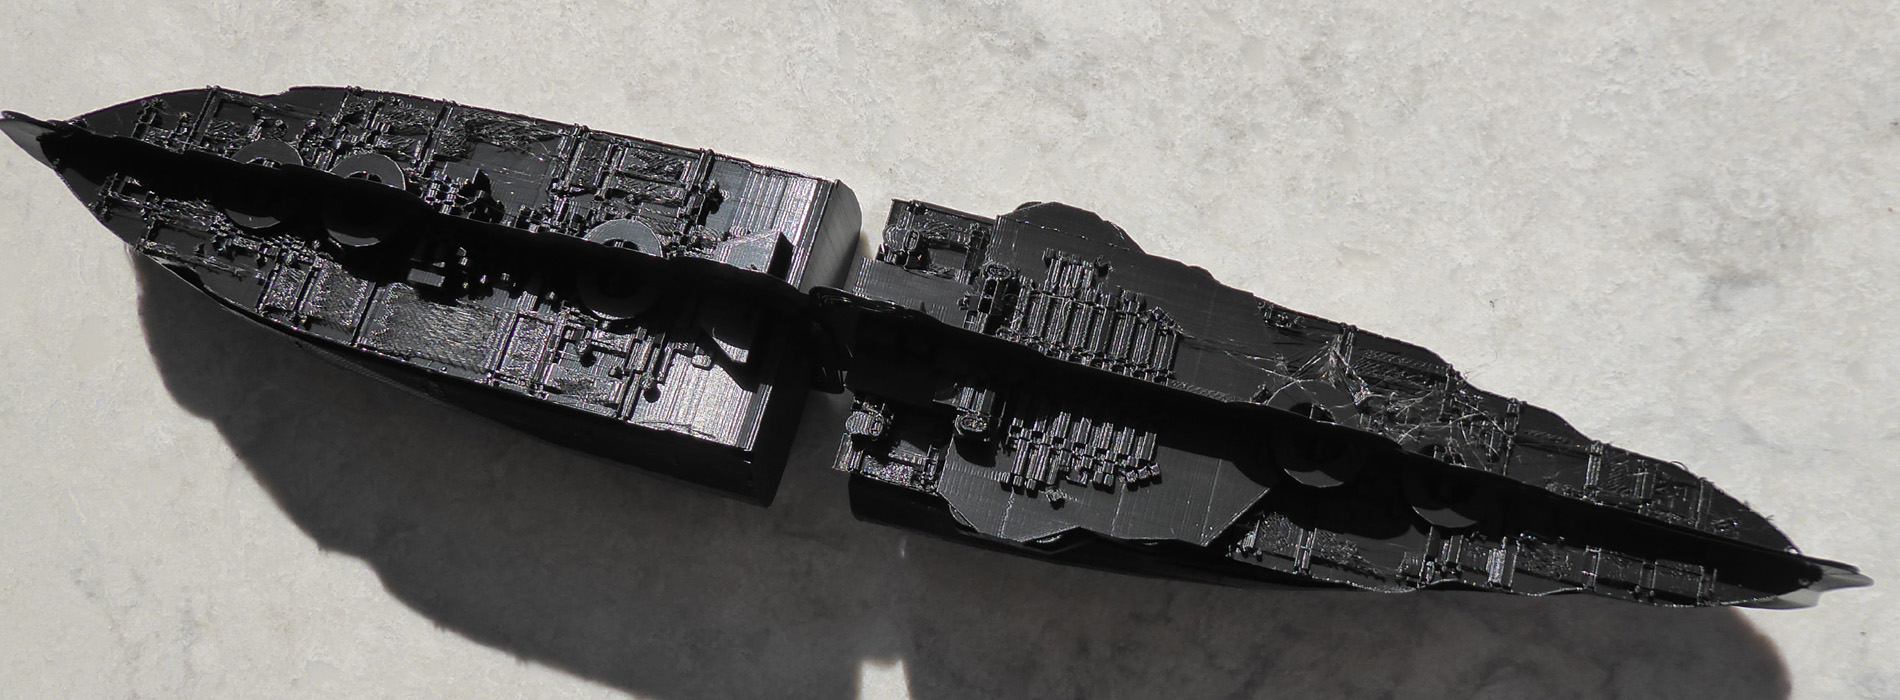
My plan was to print everything except the large hull pieces on the LD-002r. I’d still print the hull quarters on the Ender 3 Pro but I’d use Cura’s Extra Fine setting in order to minimize the layer stepping visible on my first Texas. Those hull parts took forever to print, almost a day each. The end result was better in some respects and worse in others. The layer stepping was less obvious though still present, while some of the deck details came out worse.
But it really didn’t matter…
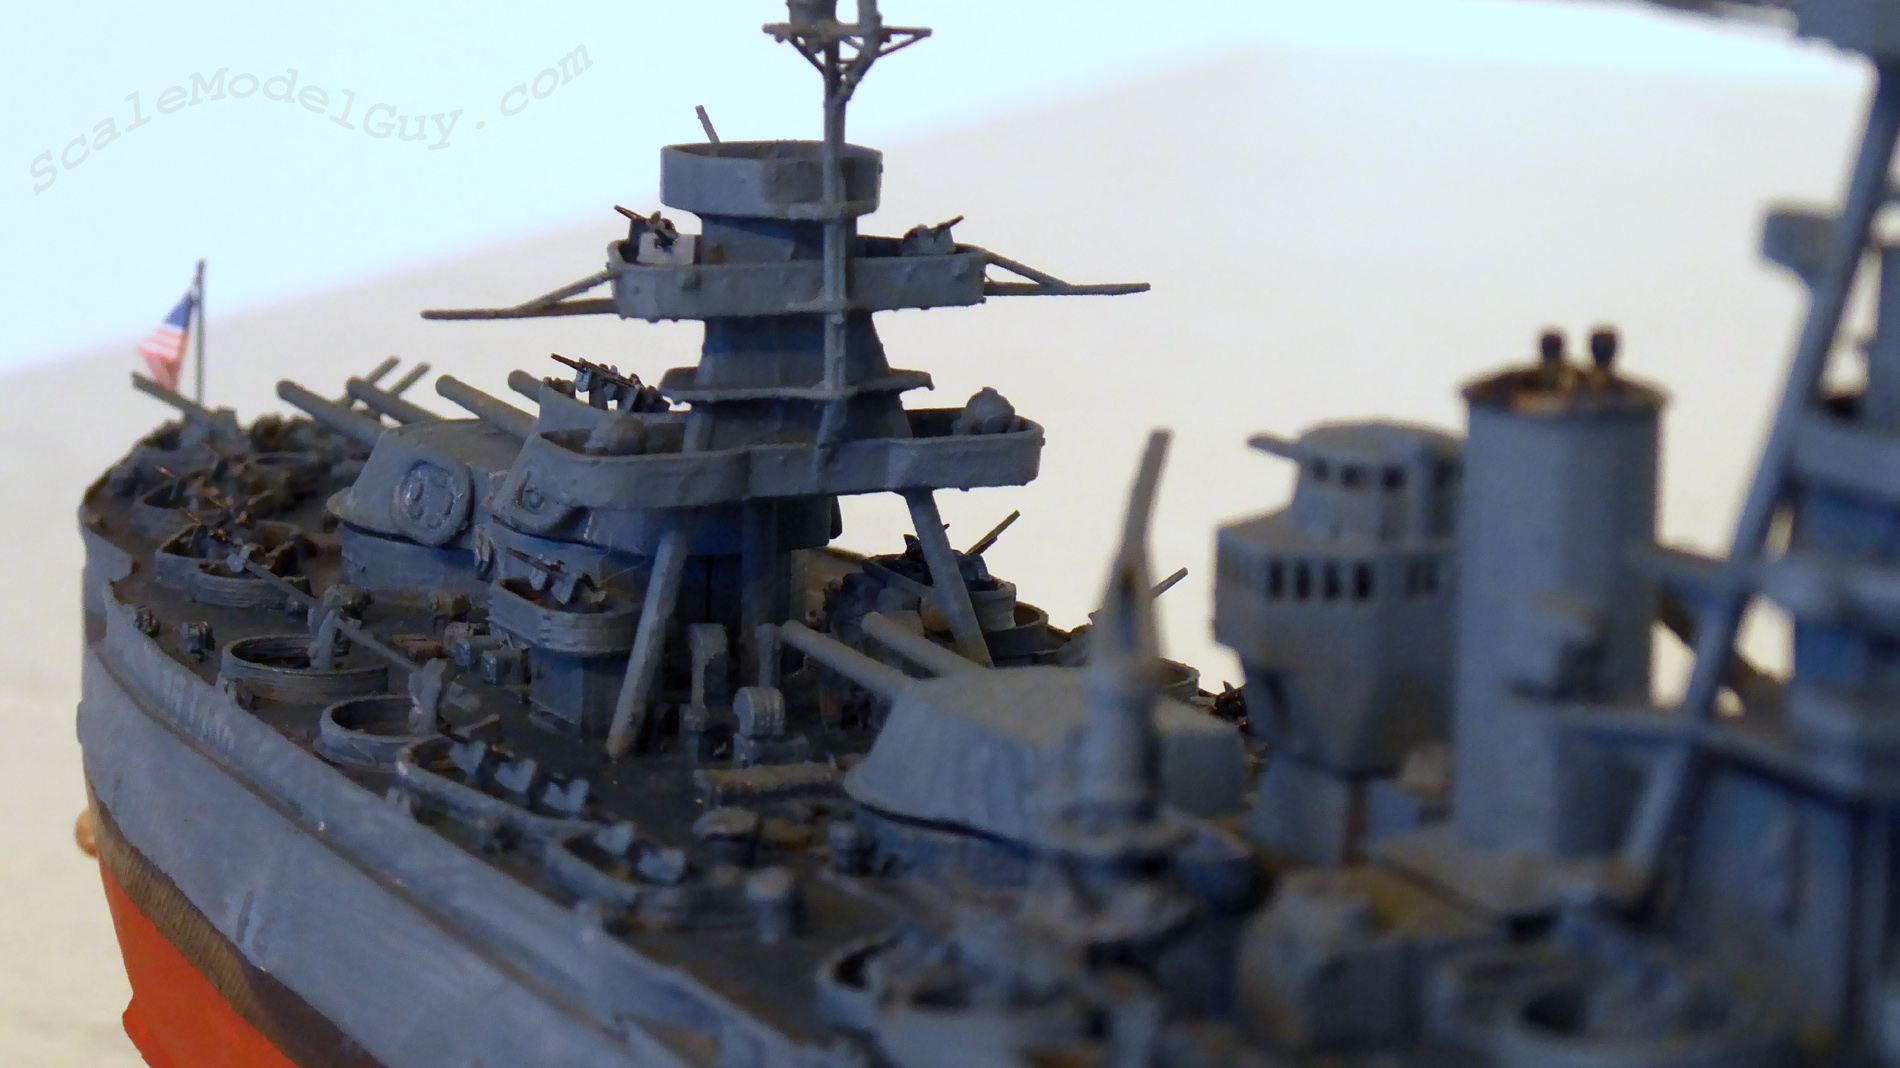
I glued the hull quarters together and was happy with the result. I was eager to put the superstructure parts in place and see how she looked, so I glued the main tower bridge on next. While doing so I noticed the LD-002r part seemed just a tad too big to fit correctly, I quickly remove it before the super glue set. I then trimmed some deck details away that were preventing it from sitting flush. That done I re-glued the bridge and placed it back on the hull, taking extra care that it sat flush.
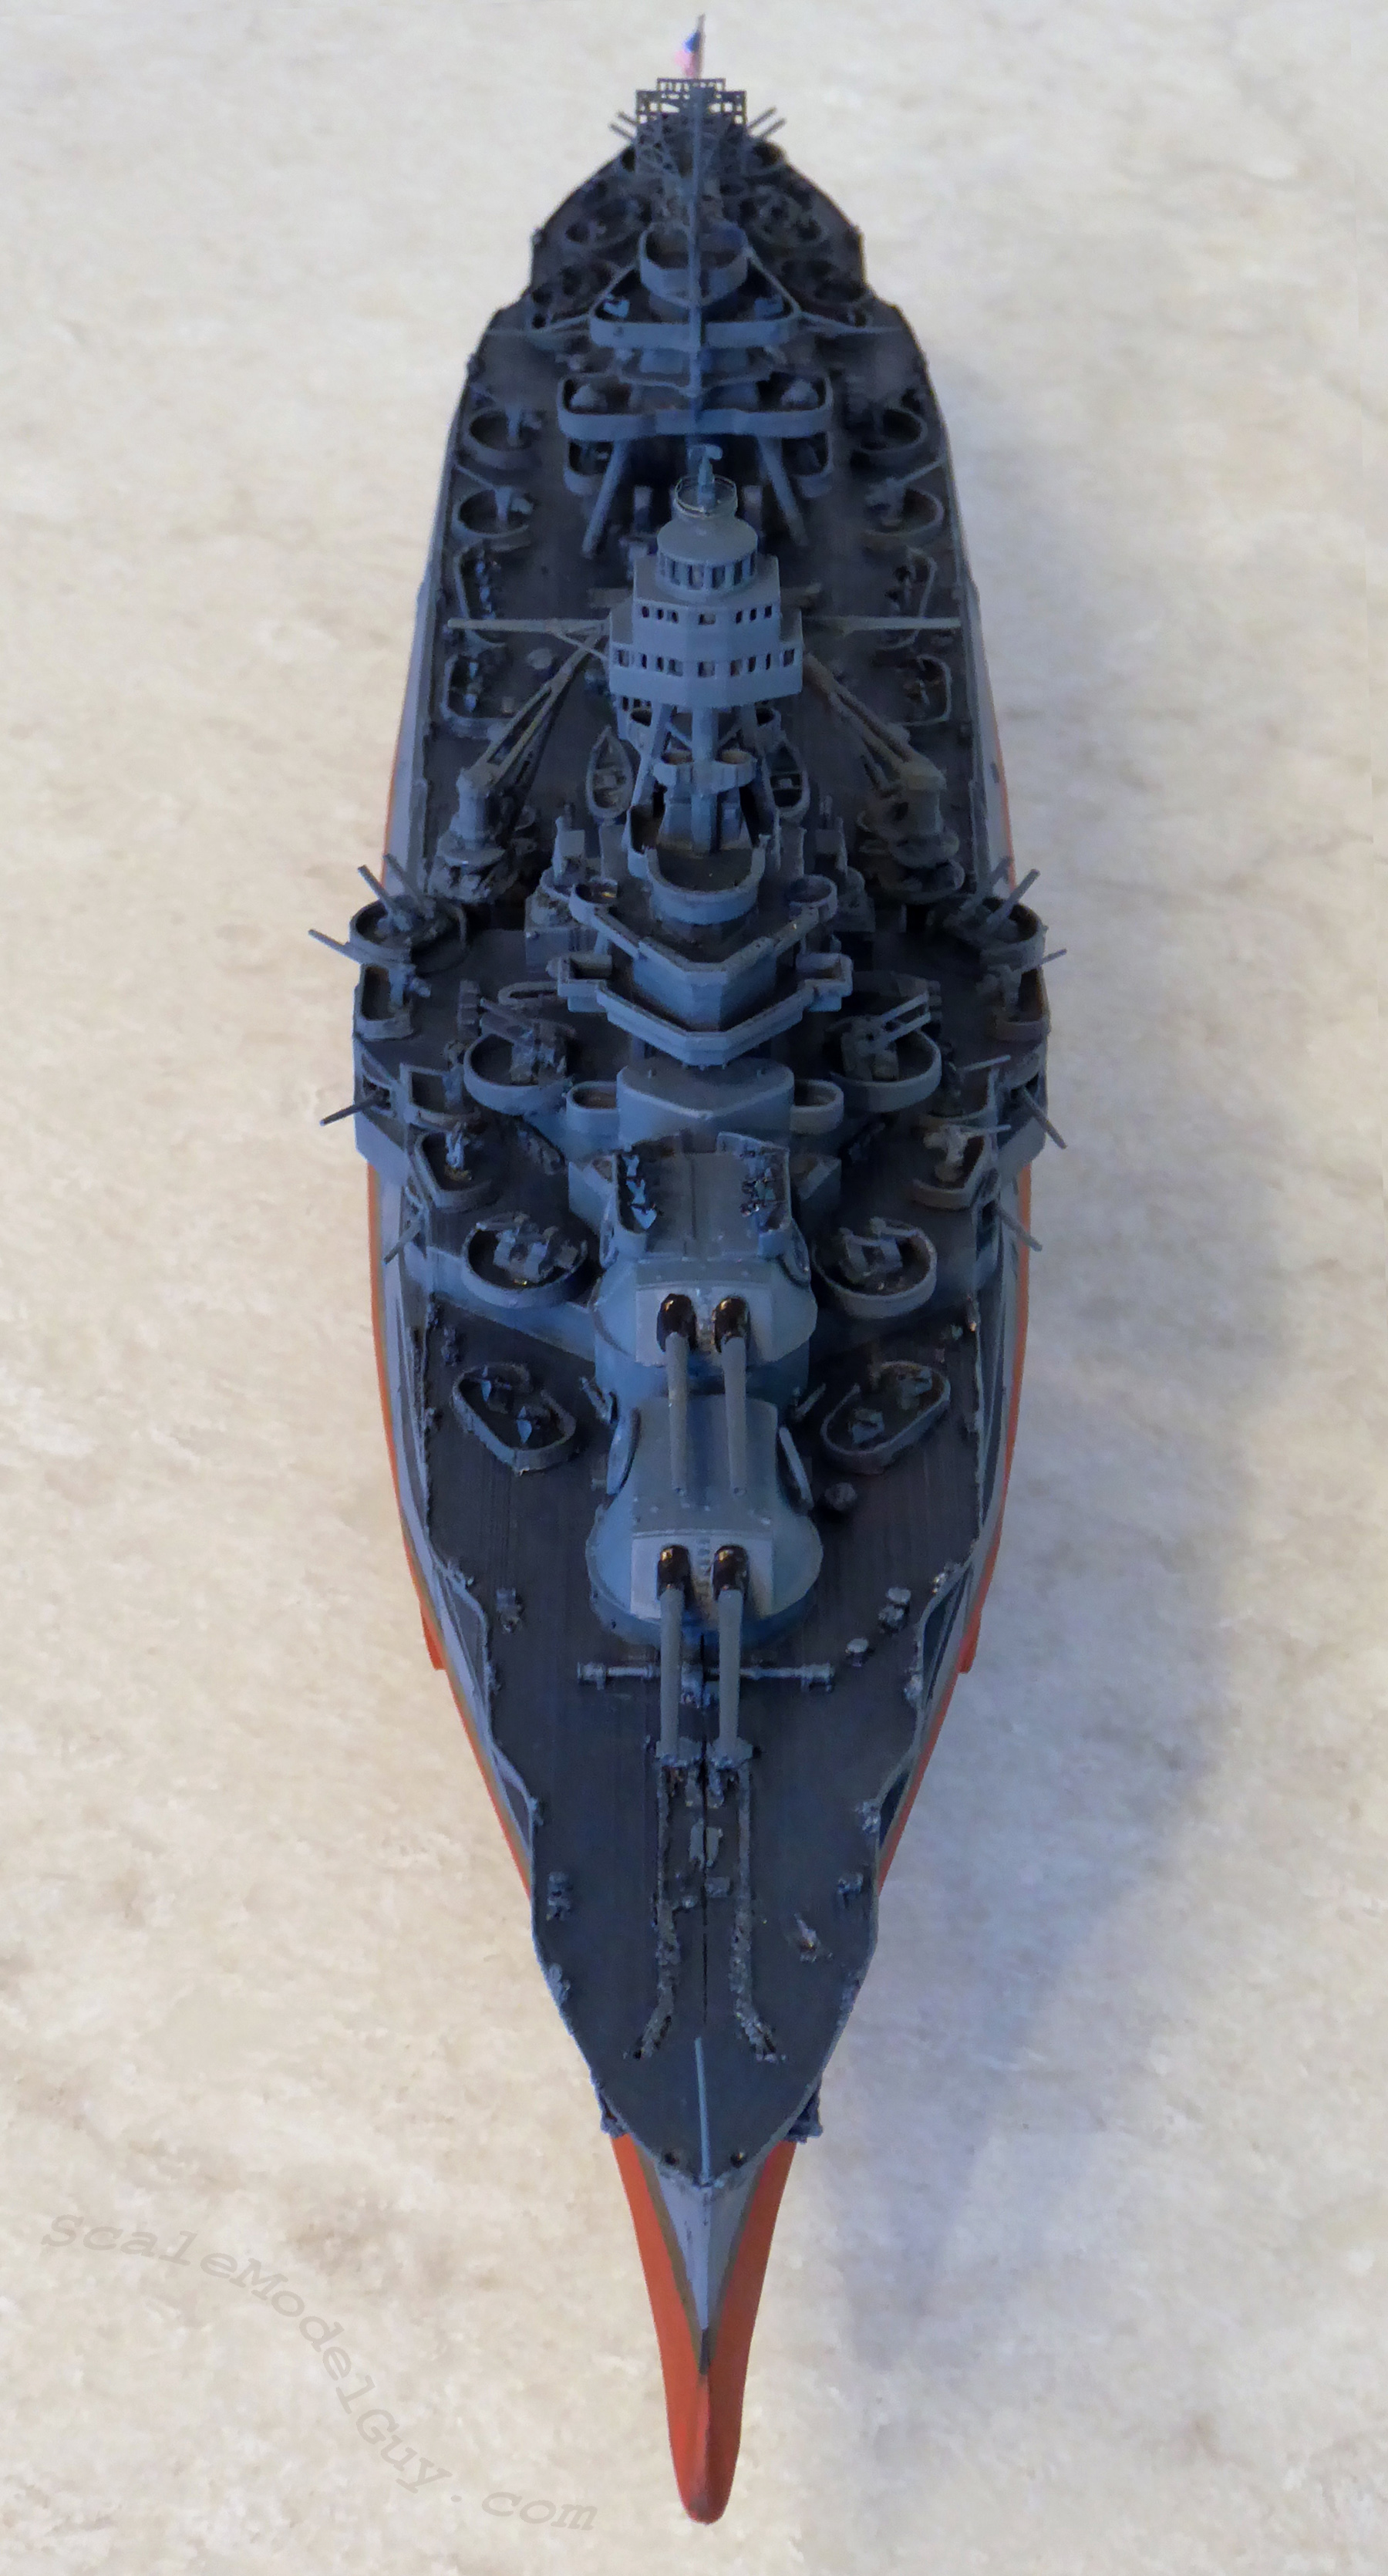
I was a little confused that the parts weren’t a perfect fit but it wasn’t a big deal. I next glued the stern tower on without incident. All good, she was shaping up nicely! For fun I decided to set the turrets in place but they too were just a tad oversized (This is actually a reoccurring problem I’ve had on all my dual printer projects. The LD-002r parts are about 2% bigger than the same part would be if printed on the Ender 3) I eventually sanded both the barbette holes in the hull and the turret stubs that fit into them, down to the point where they all fit together and where in place.
Often go awry
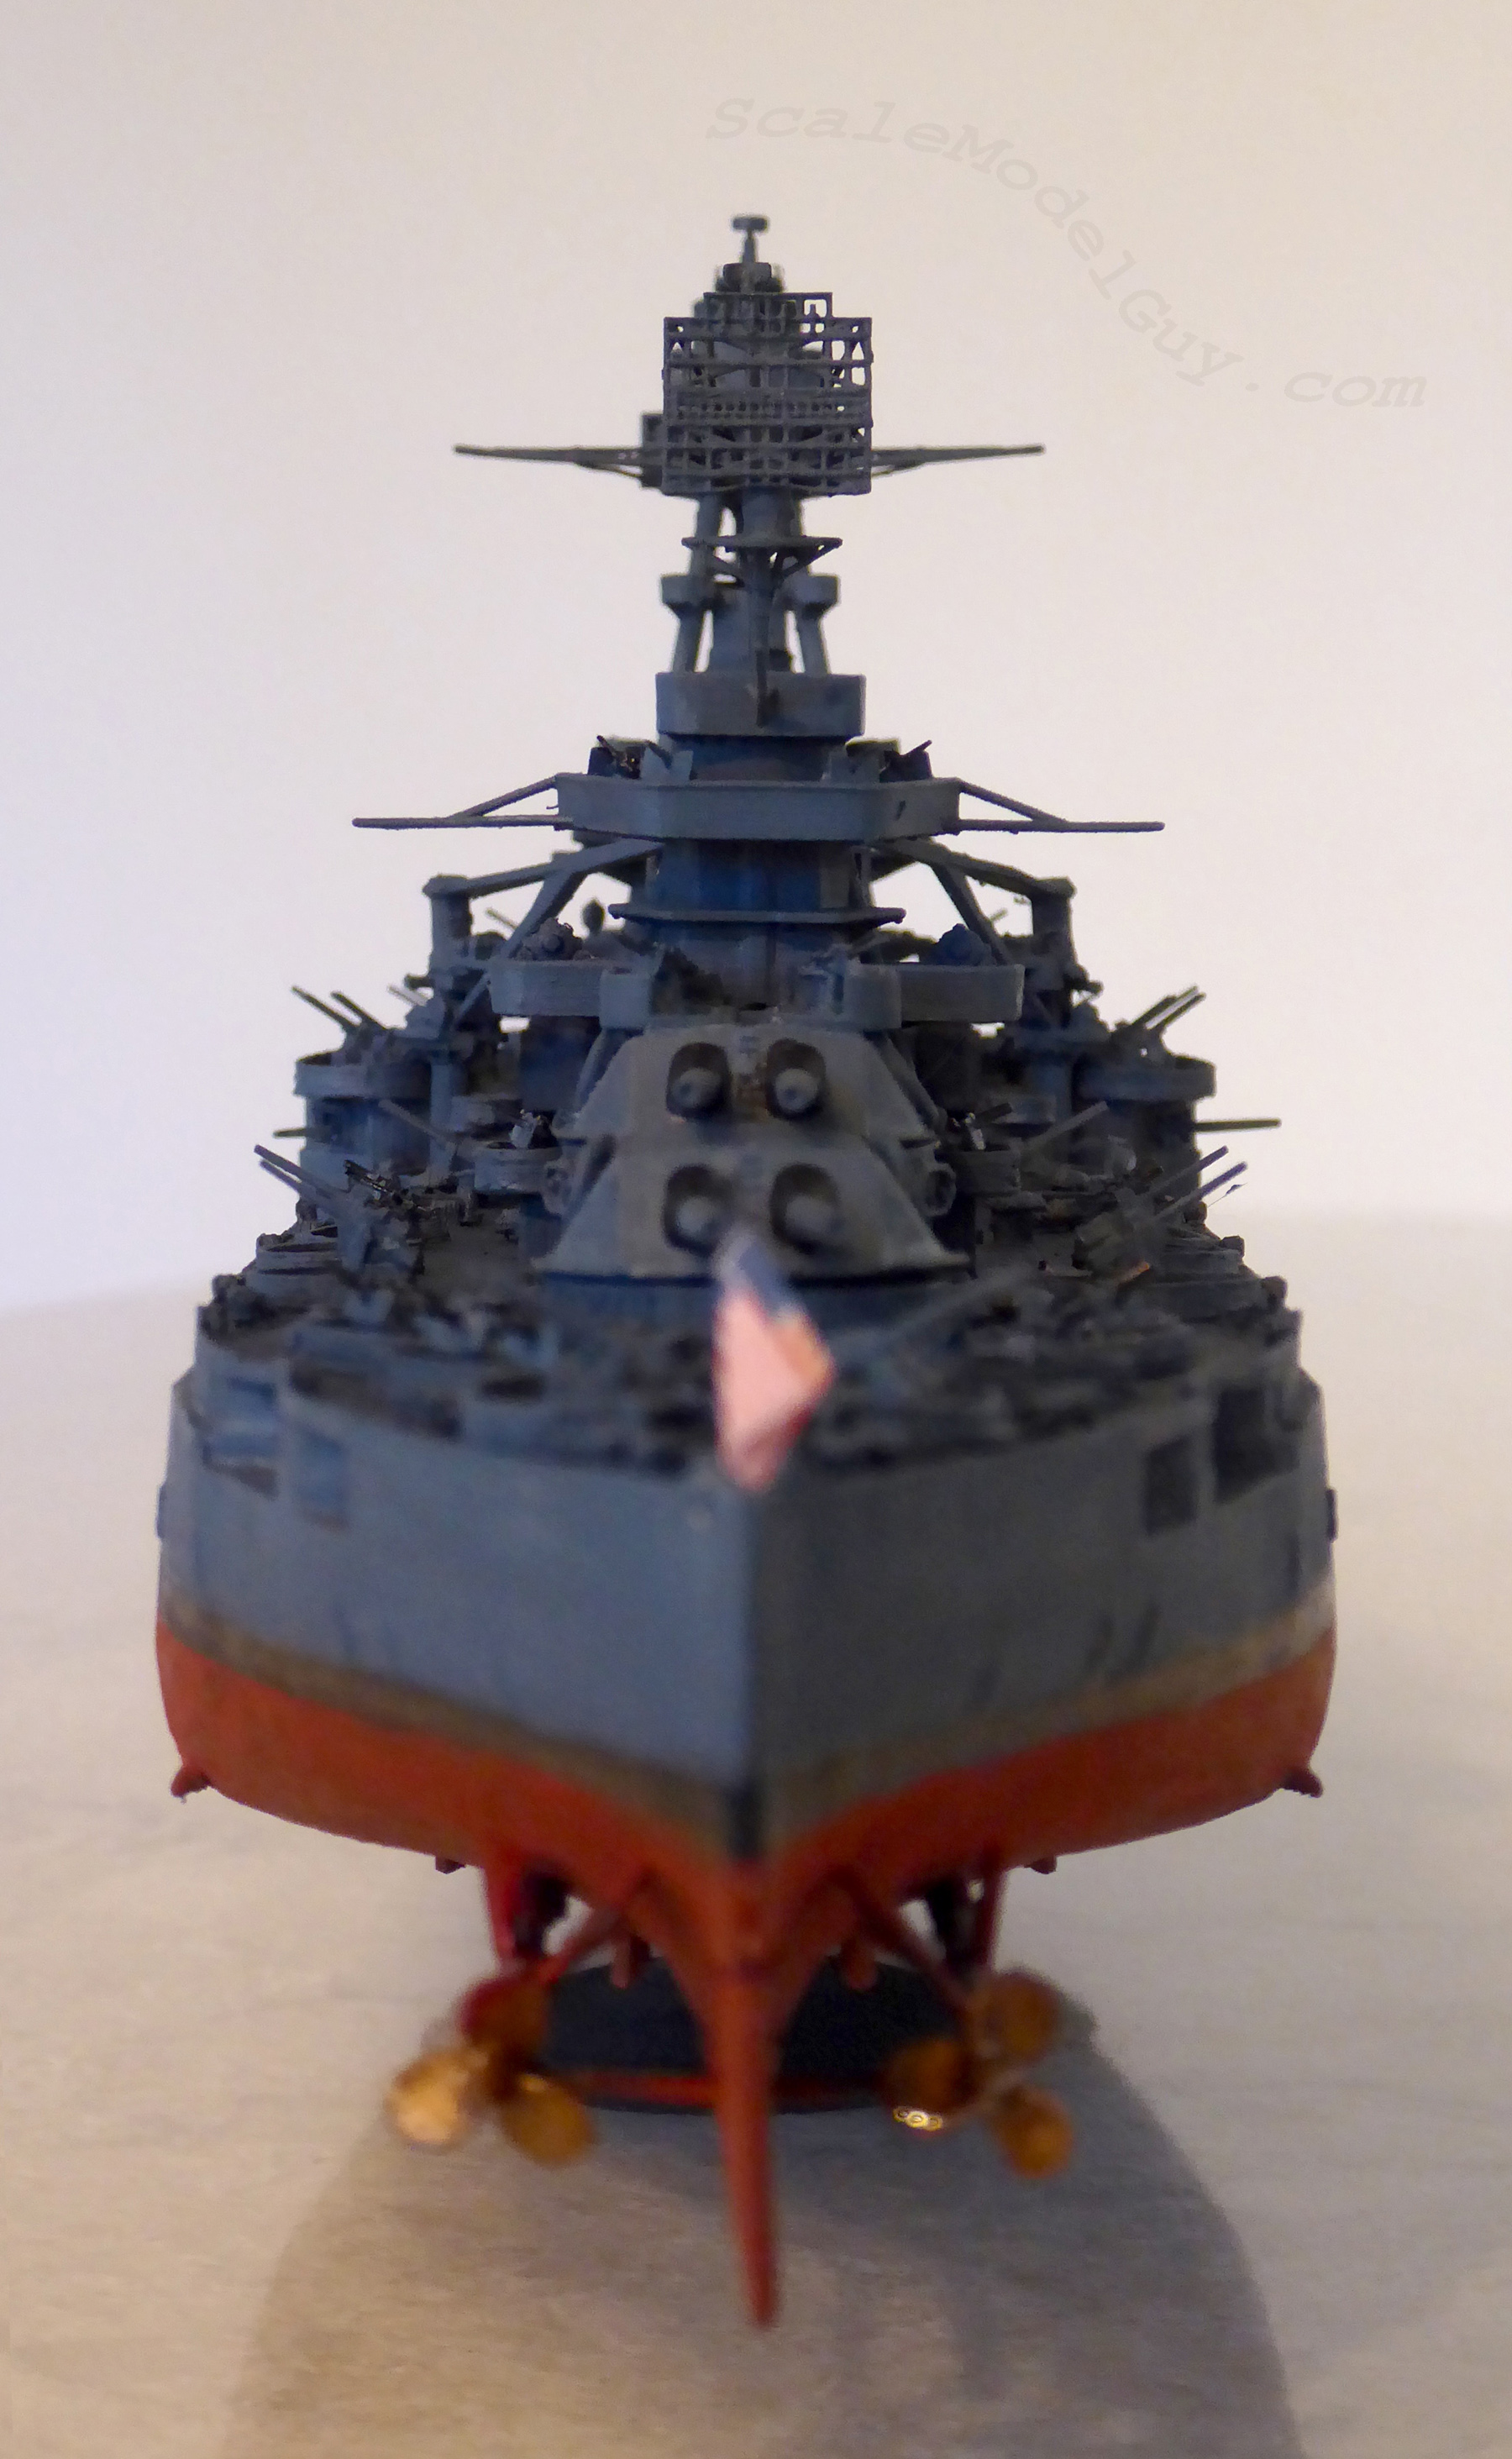
With my attention focused on making sure the main superstructure sat flush on the deck, I hadn’t payed enough attention to whether it was perfectly aligned front to back, it wasn’t. One side was noticeably closer to the back of turret B then the other. The main superstructure was slightly rotated, not much but with the perfectly centered turret so close, it was now painfully obvious and I knew it would be all I ever saw…
By now, glue on the main superstructure had way too much time to set. I was pretty sure damage would be done if I tried to remove it but felt it had to be done. I should have just tossed it right then and saved myself an hours worth of aggravation. As expected I totally trashed the bridge part trying to pry it up from the deck. Unexpectedly I also trashed the hull, the hull that had printed for days… At first the damage was minor and I thought it could be fixed but in the end there was a gaping hole where the base of the bridge had been and even worse the deck was torn and deformed around it.
You’d think at this point I might have called it… but I still had five awesome turrets and a bunch of smaller LD-002r printed parts ready to go…
No way I was going to print the hull on Extra Fine setting again. So like my first USS Texas, I reprinted the hull with Fine setting. I also had to reprint the main bridge and stern tower parts on the LD-002r.

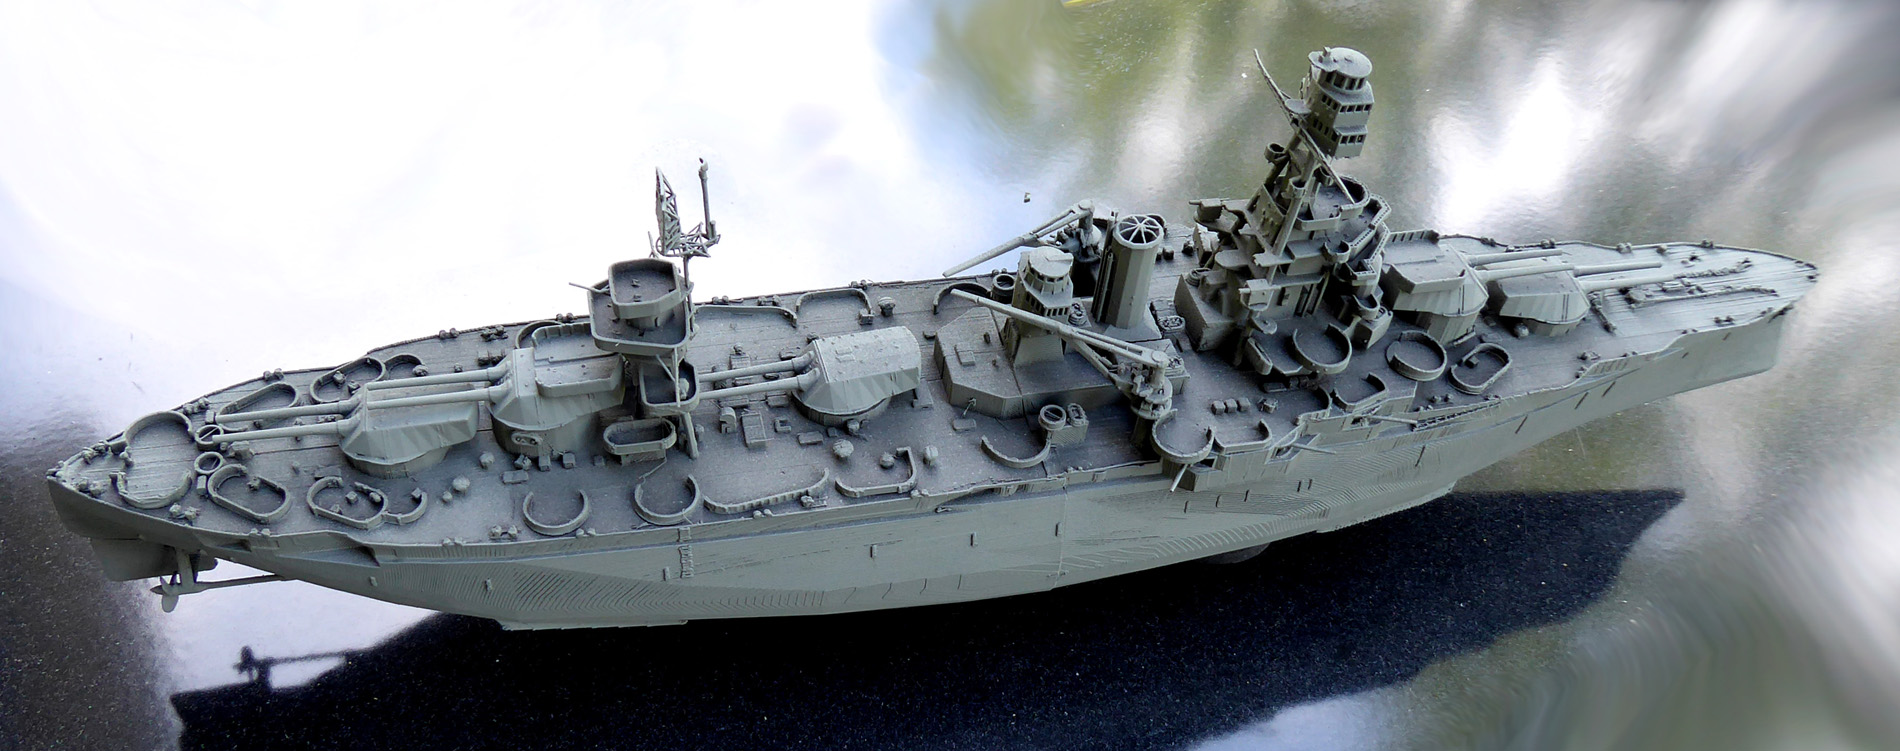
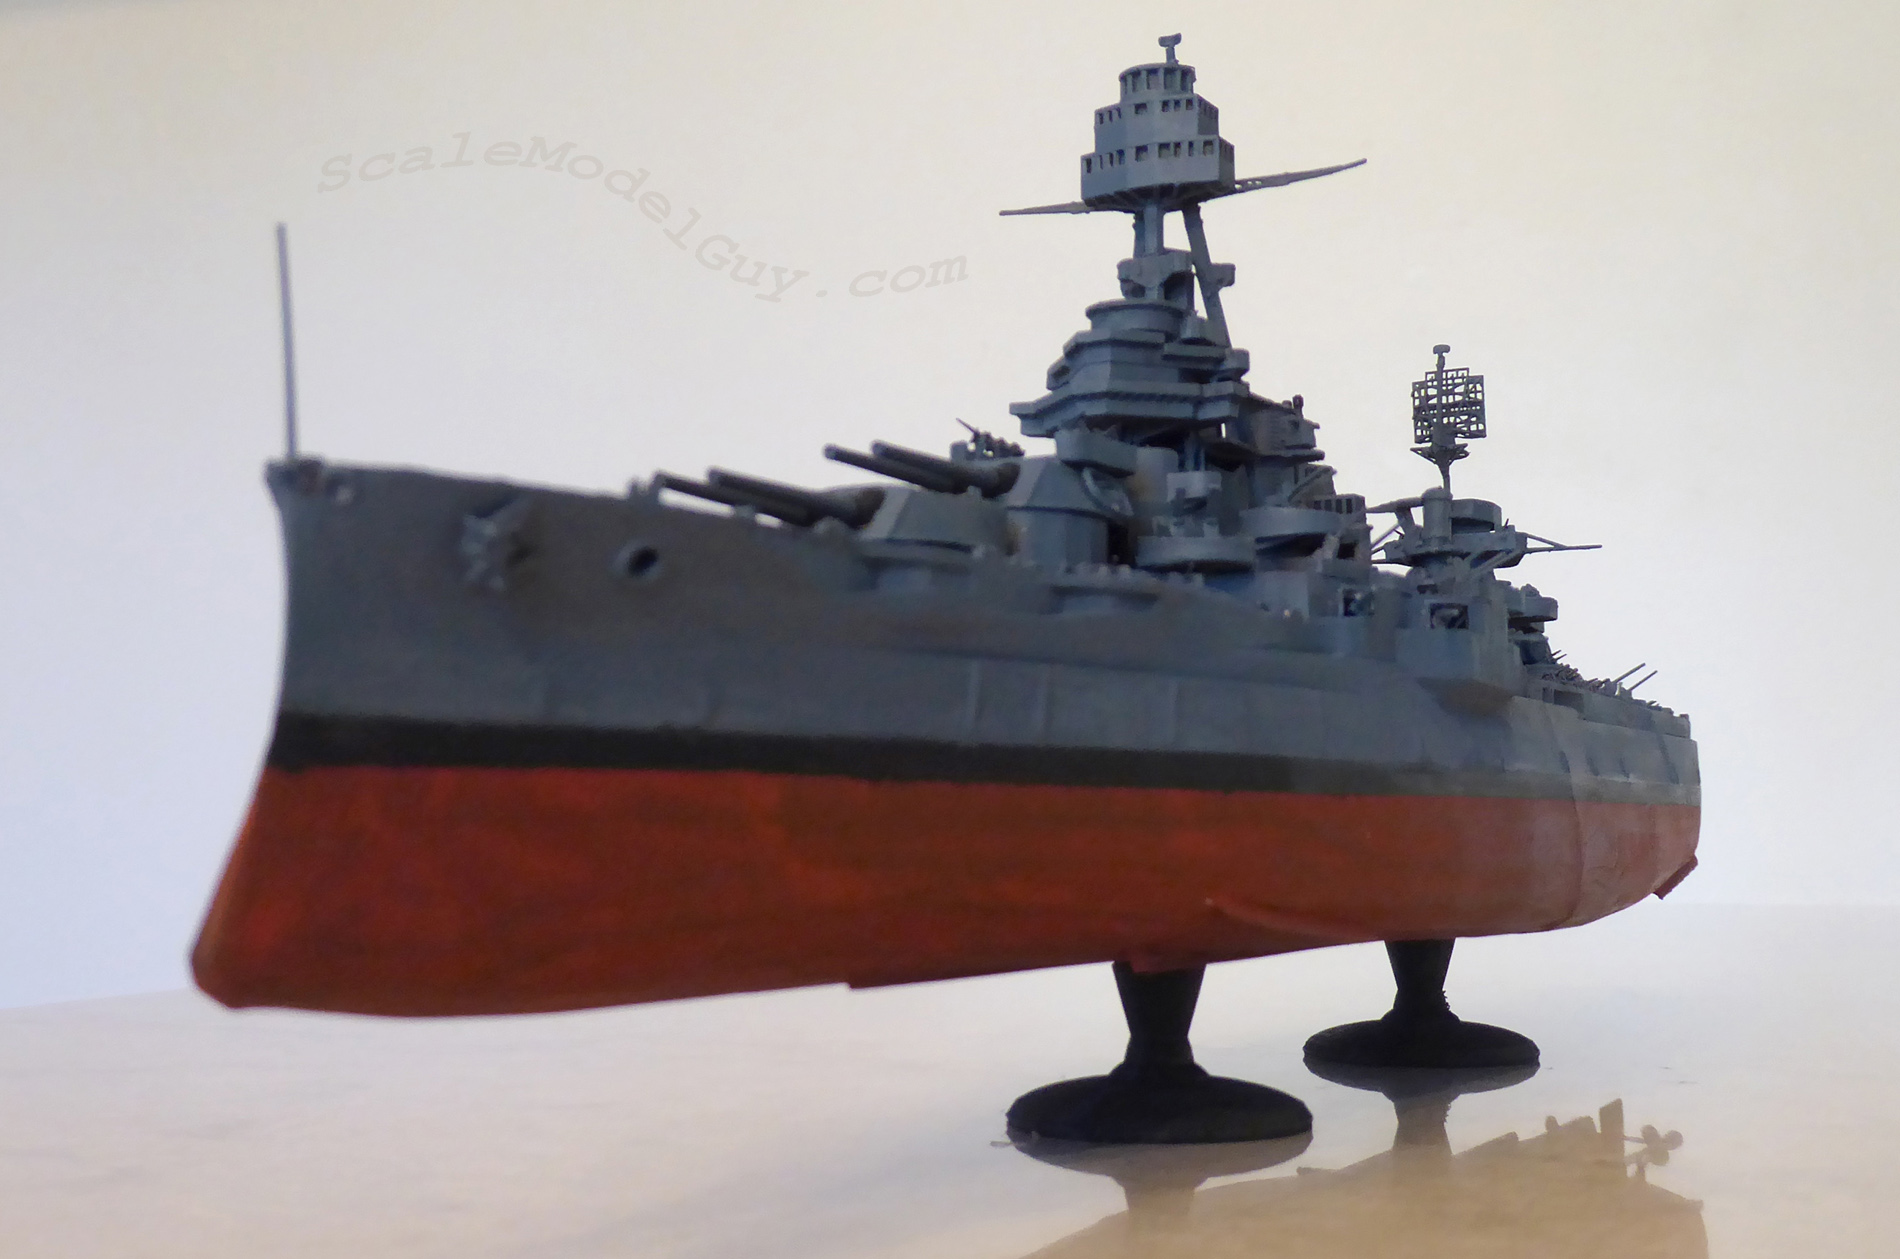
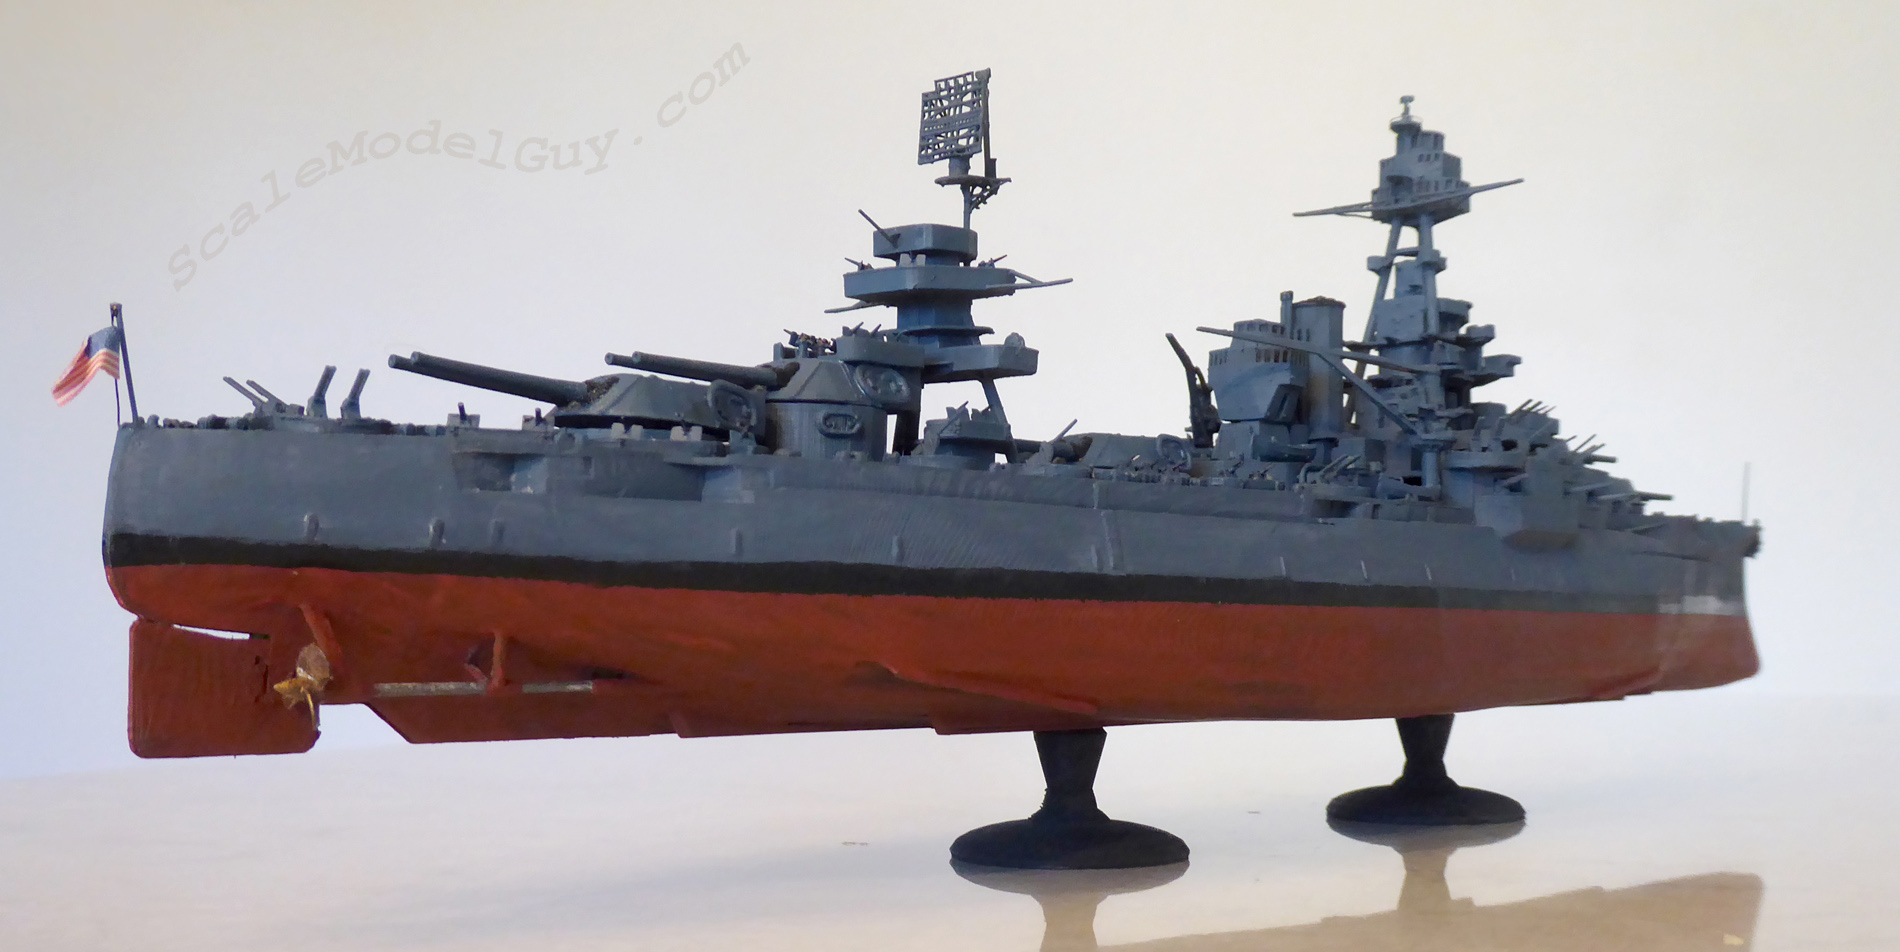
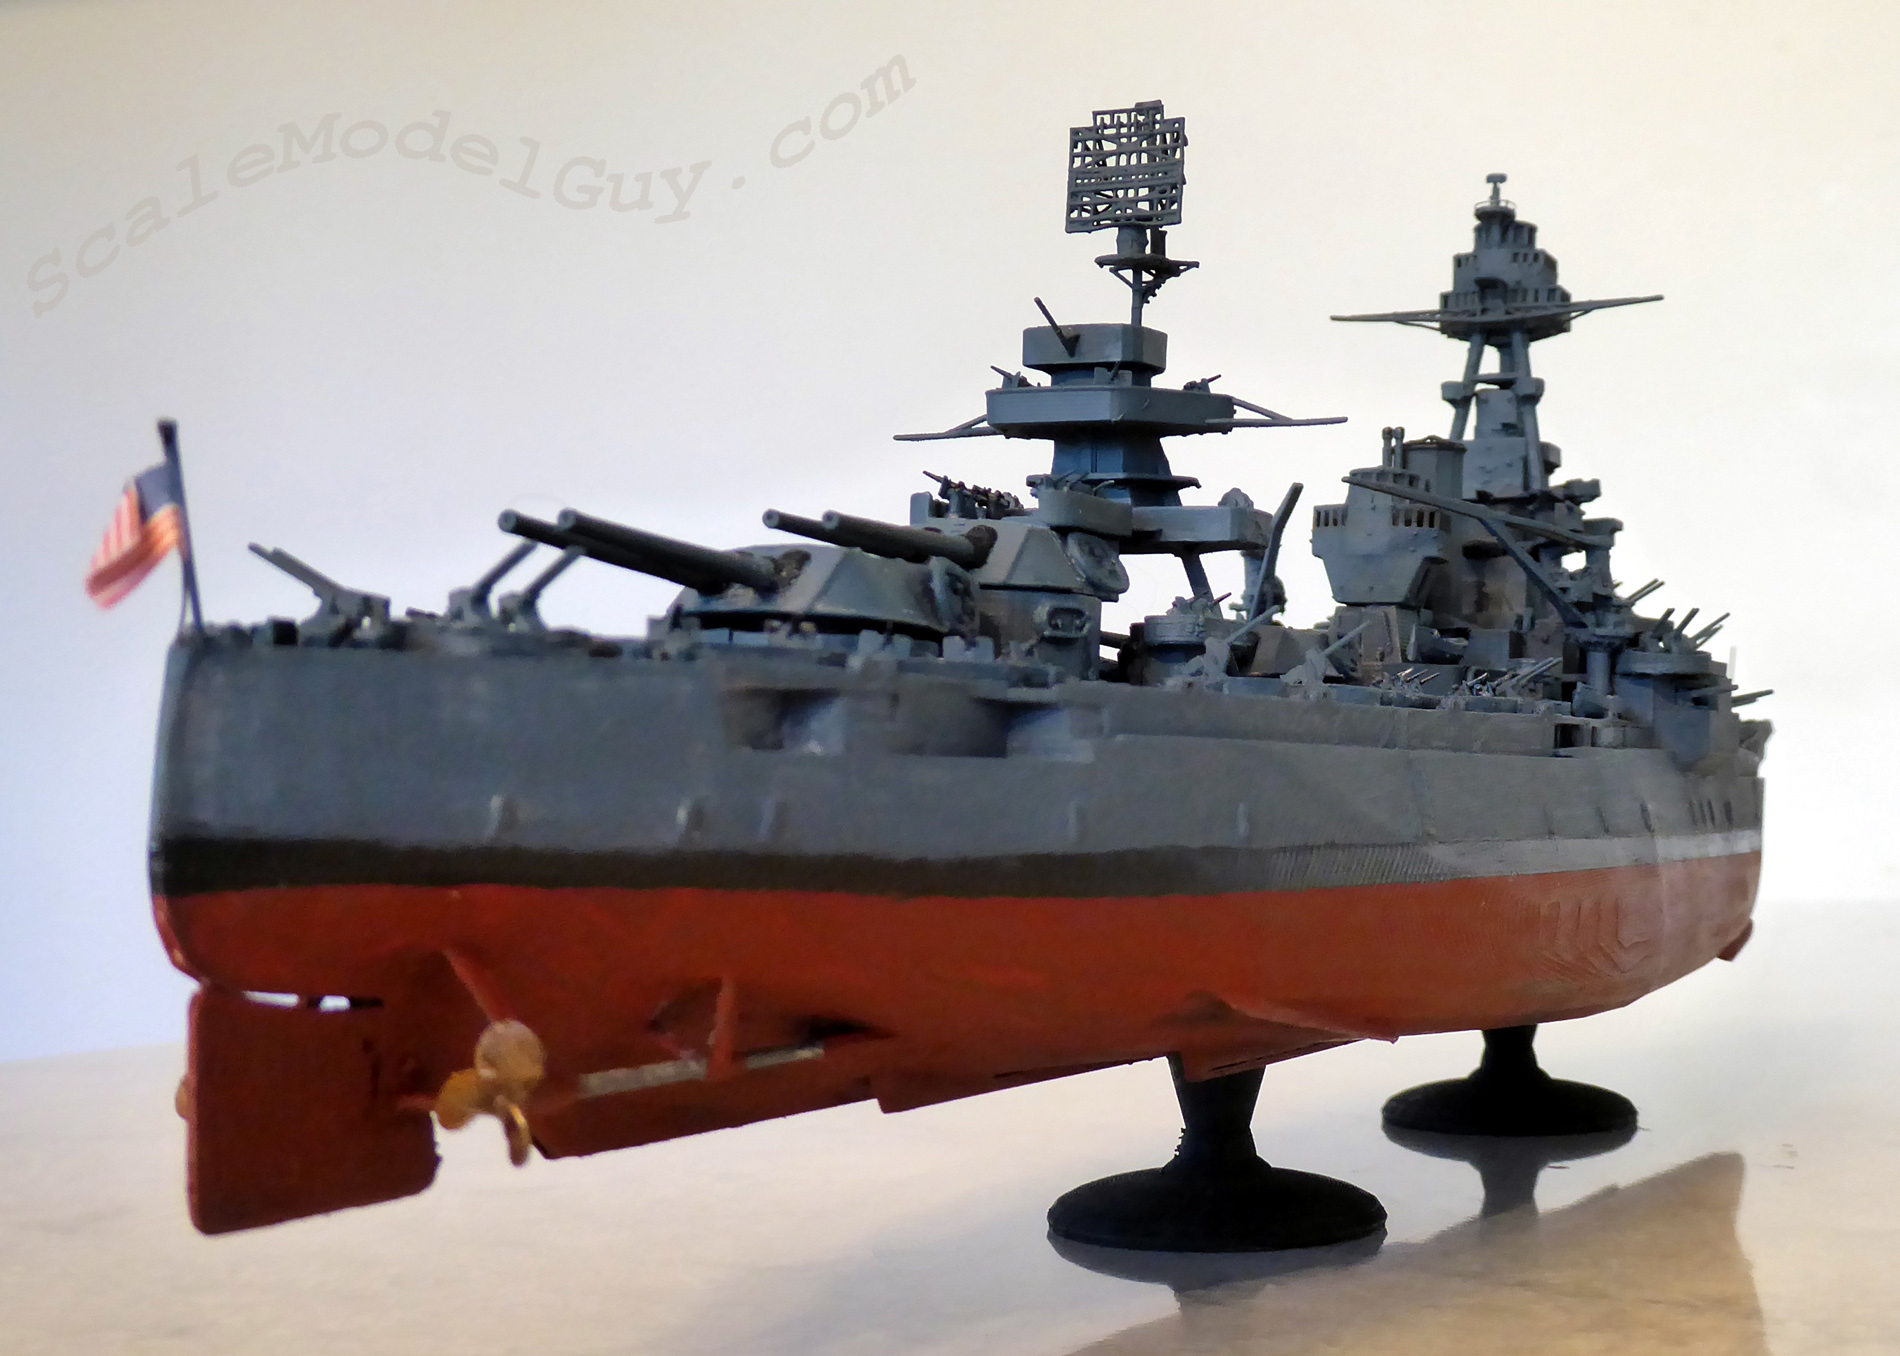
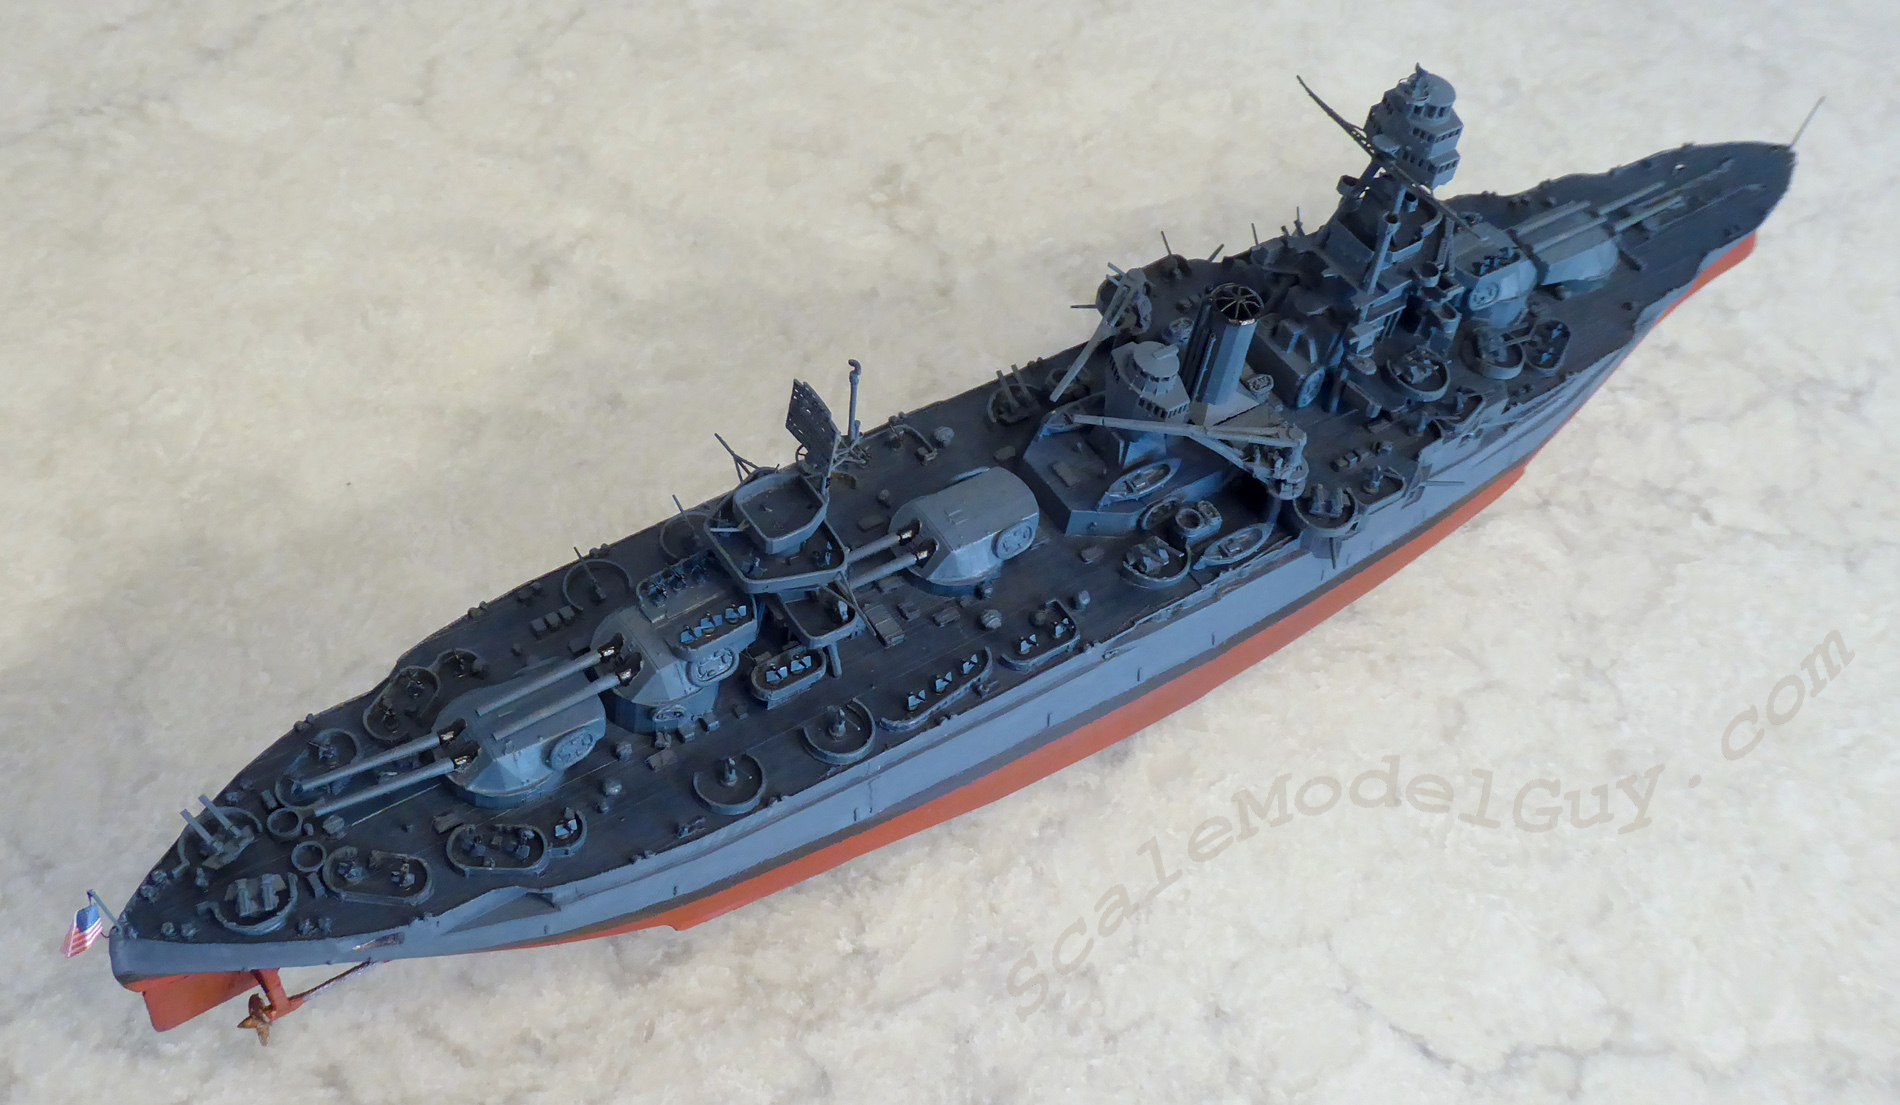
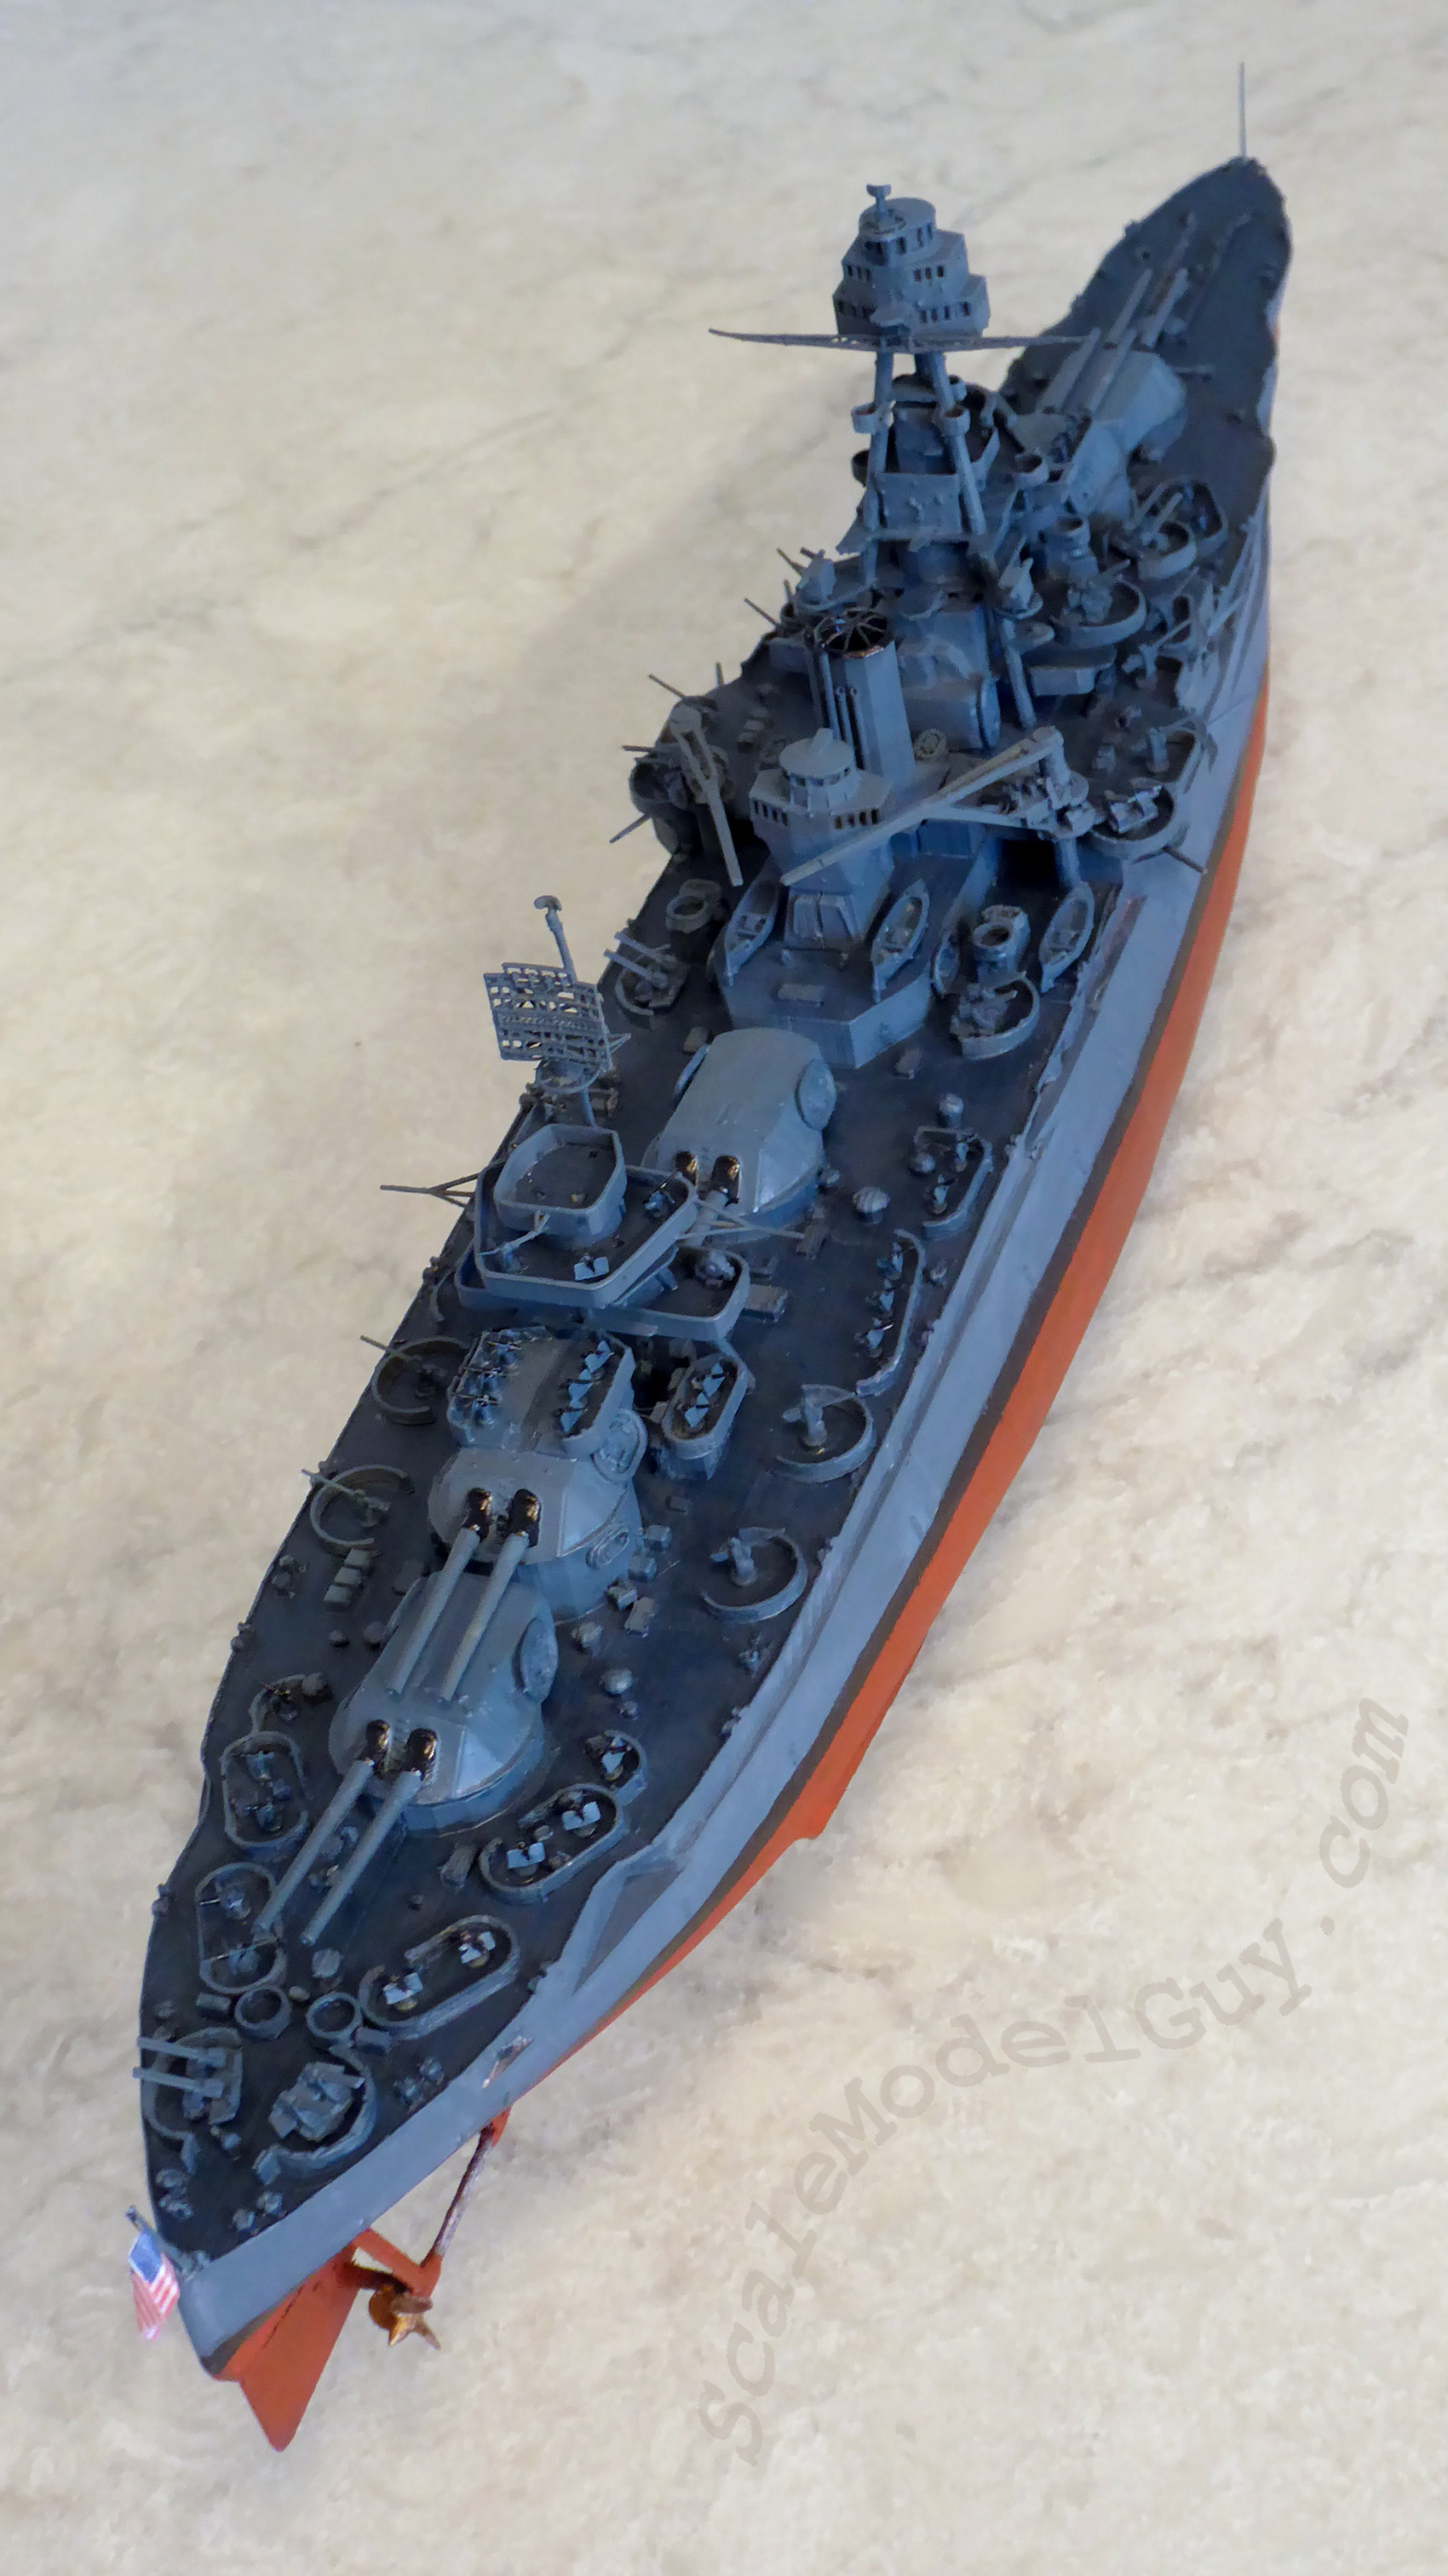
The rest of this project actually went pretty smoothly. I finally got TX2 assembled and painted and took some pictures. While editing them, I noticed the layer stepping on the hull and how much it contrasted with the smooth LD-002r printed parts. I knew it would be all I ever saw…
Anything worth doing is worth doing twice
But this time I didn’t screw the whole thing up trying to fix it!
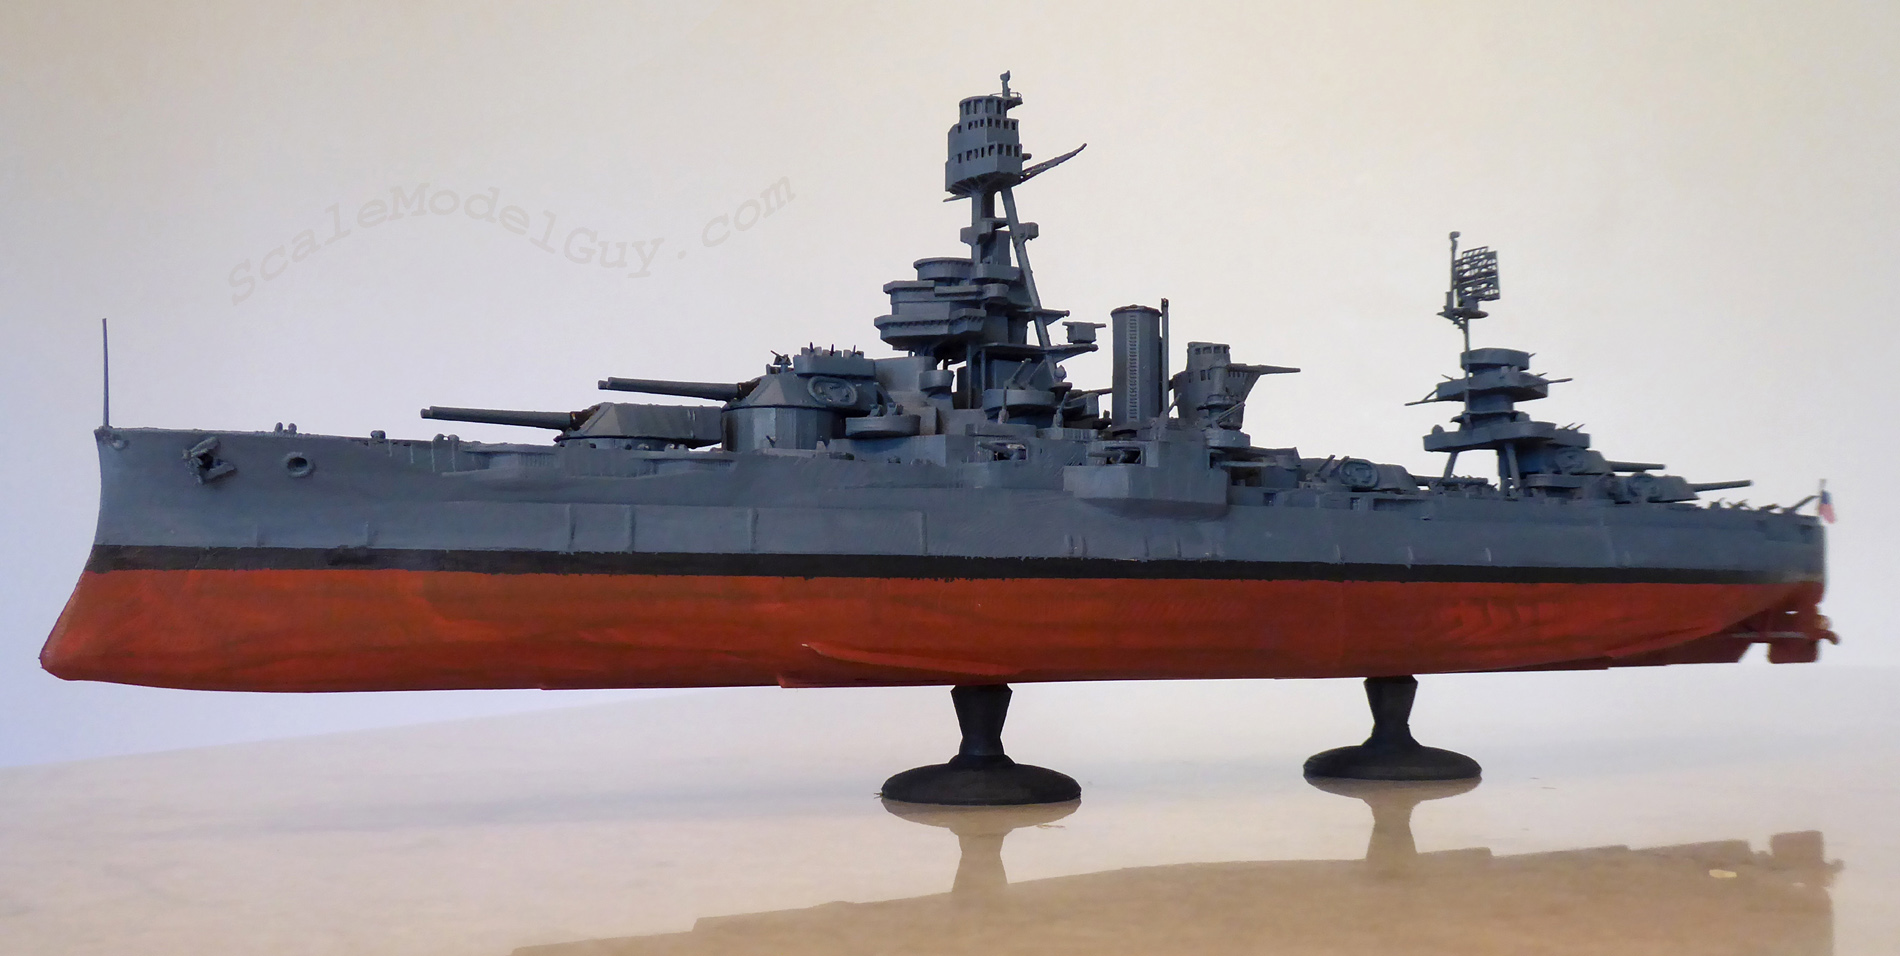
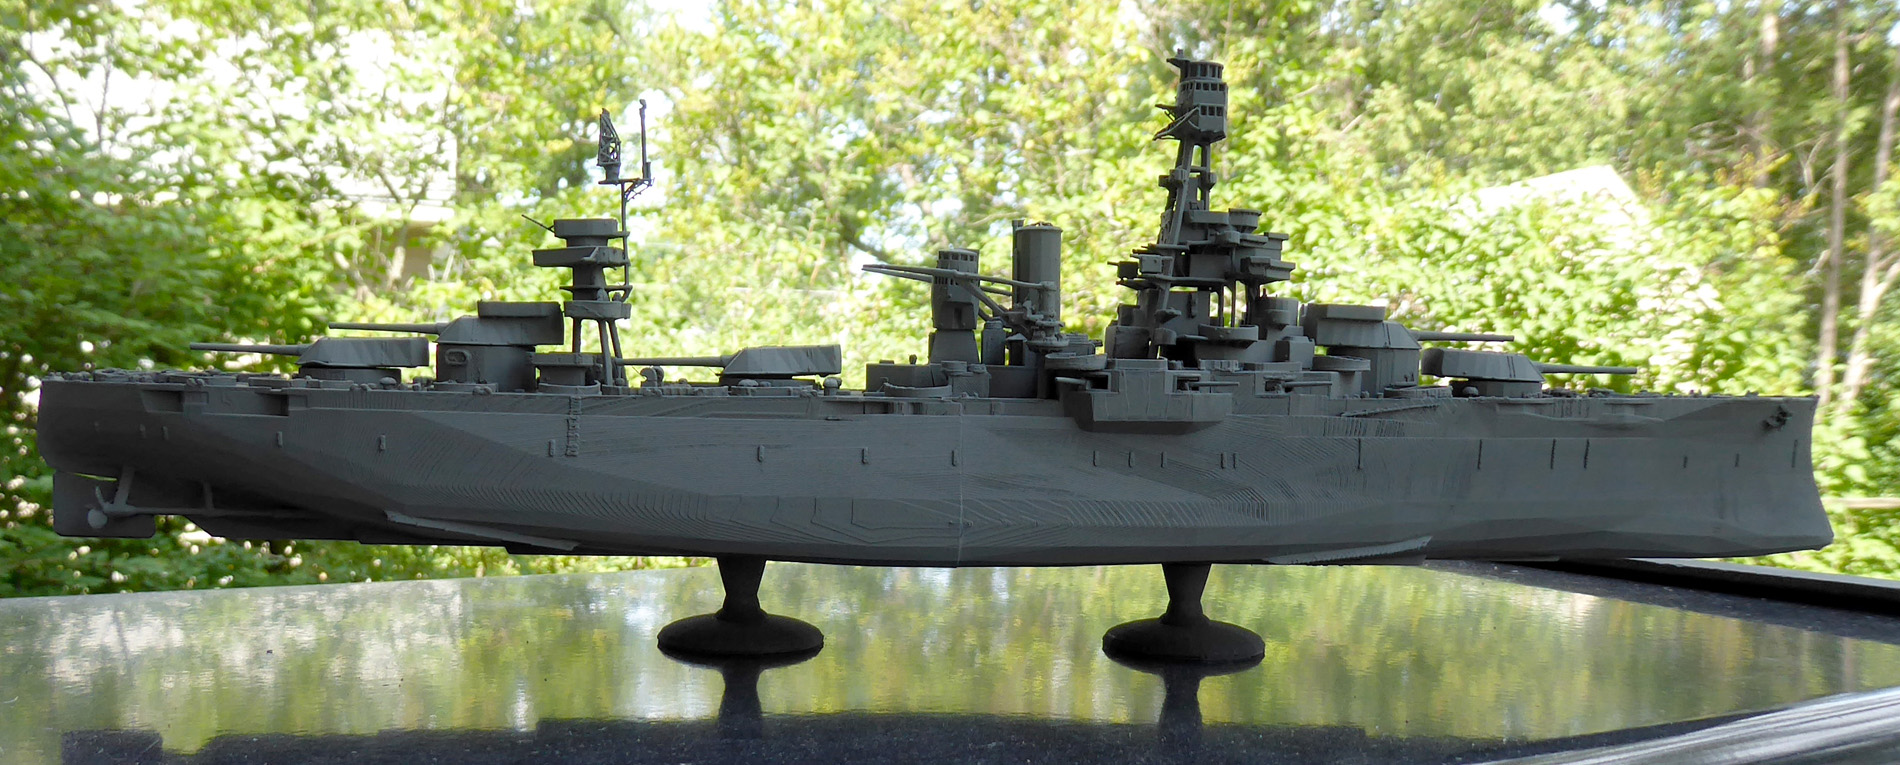
I attempted something that had been kicking around in the back of my head for a while. I took the water soluble Elmer’s wood filler I had and thinned it with water to the consistency of honey. Then with a stiff paintbrush I “painted” the sides of USS Texas with it. I applied my Elmer’s slurry as thinly and smoothly as possible, then left it to dry. Next I used an X-acto knife and sandpaper to remove excess filler from around the details. I then smoothed things as much as possible. When done USS Texas looked as shown below.
I used water and clean paint brushes to dissolve and mop-up any remaining unwanted filler. I then had to repaint the hull, touch up the deck and repair handling damage (It was surprisingly minor!). The process took an additional 6 hours or so. I wish I had done it way earlier in the building process but it was totally worth it and TX2 was finally complete!
For now…
Creality LD-002r print example, LD-002r print sample, 3D print printed, 1/450 scale ship model, US WWI super dreadnought battleship, American WWII WW2 battleship, USS Texas, warship, Creality Ender 3 Pro
Link to great drone footage of USS Texas’s current 2022 dry dock overhaul https://www.youtube.com/watch?v=nzAzoOc9N2w