


Original Post: July 4, 2018
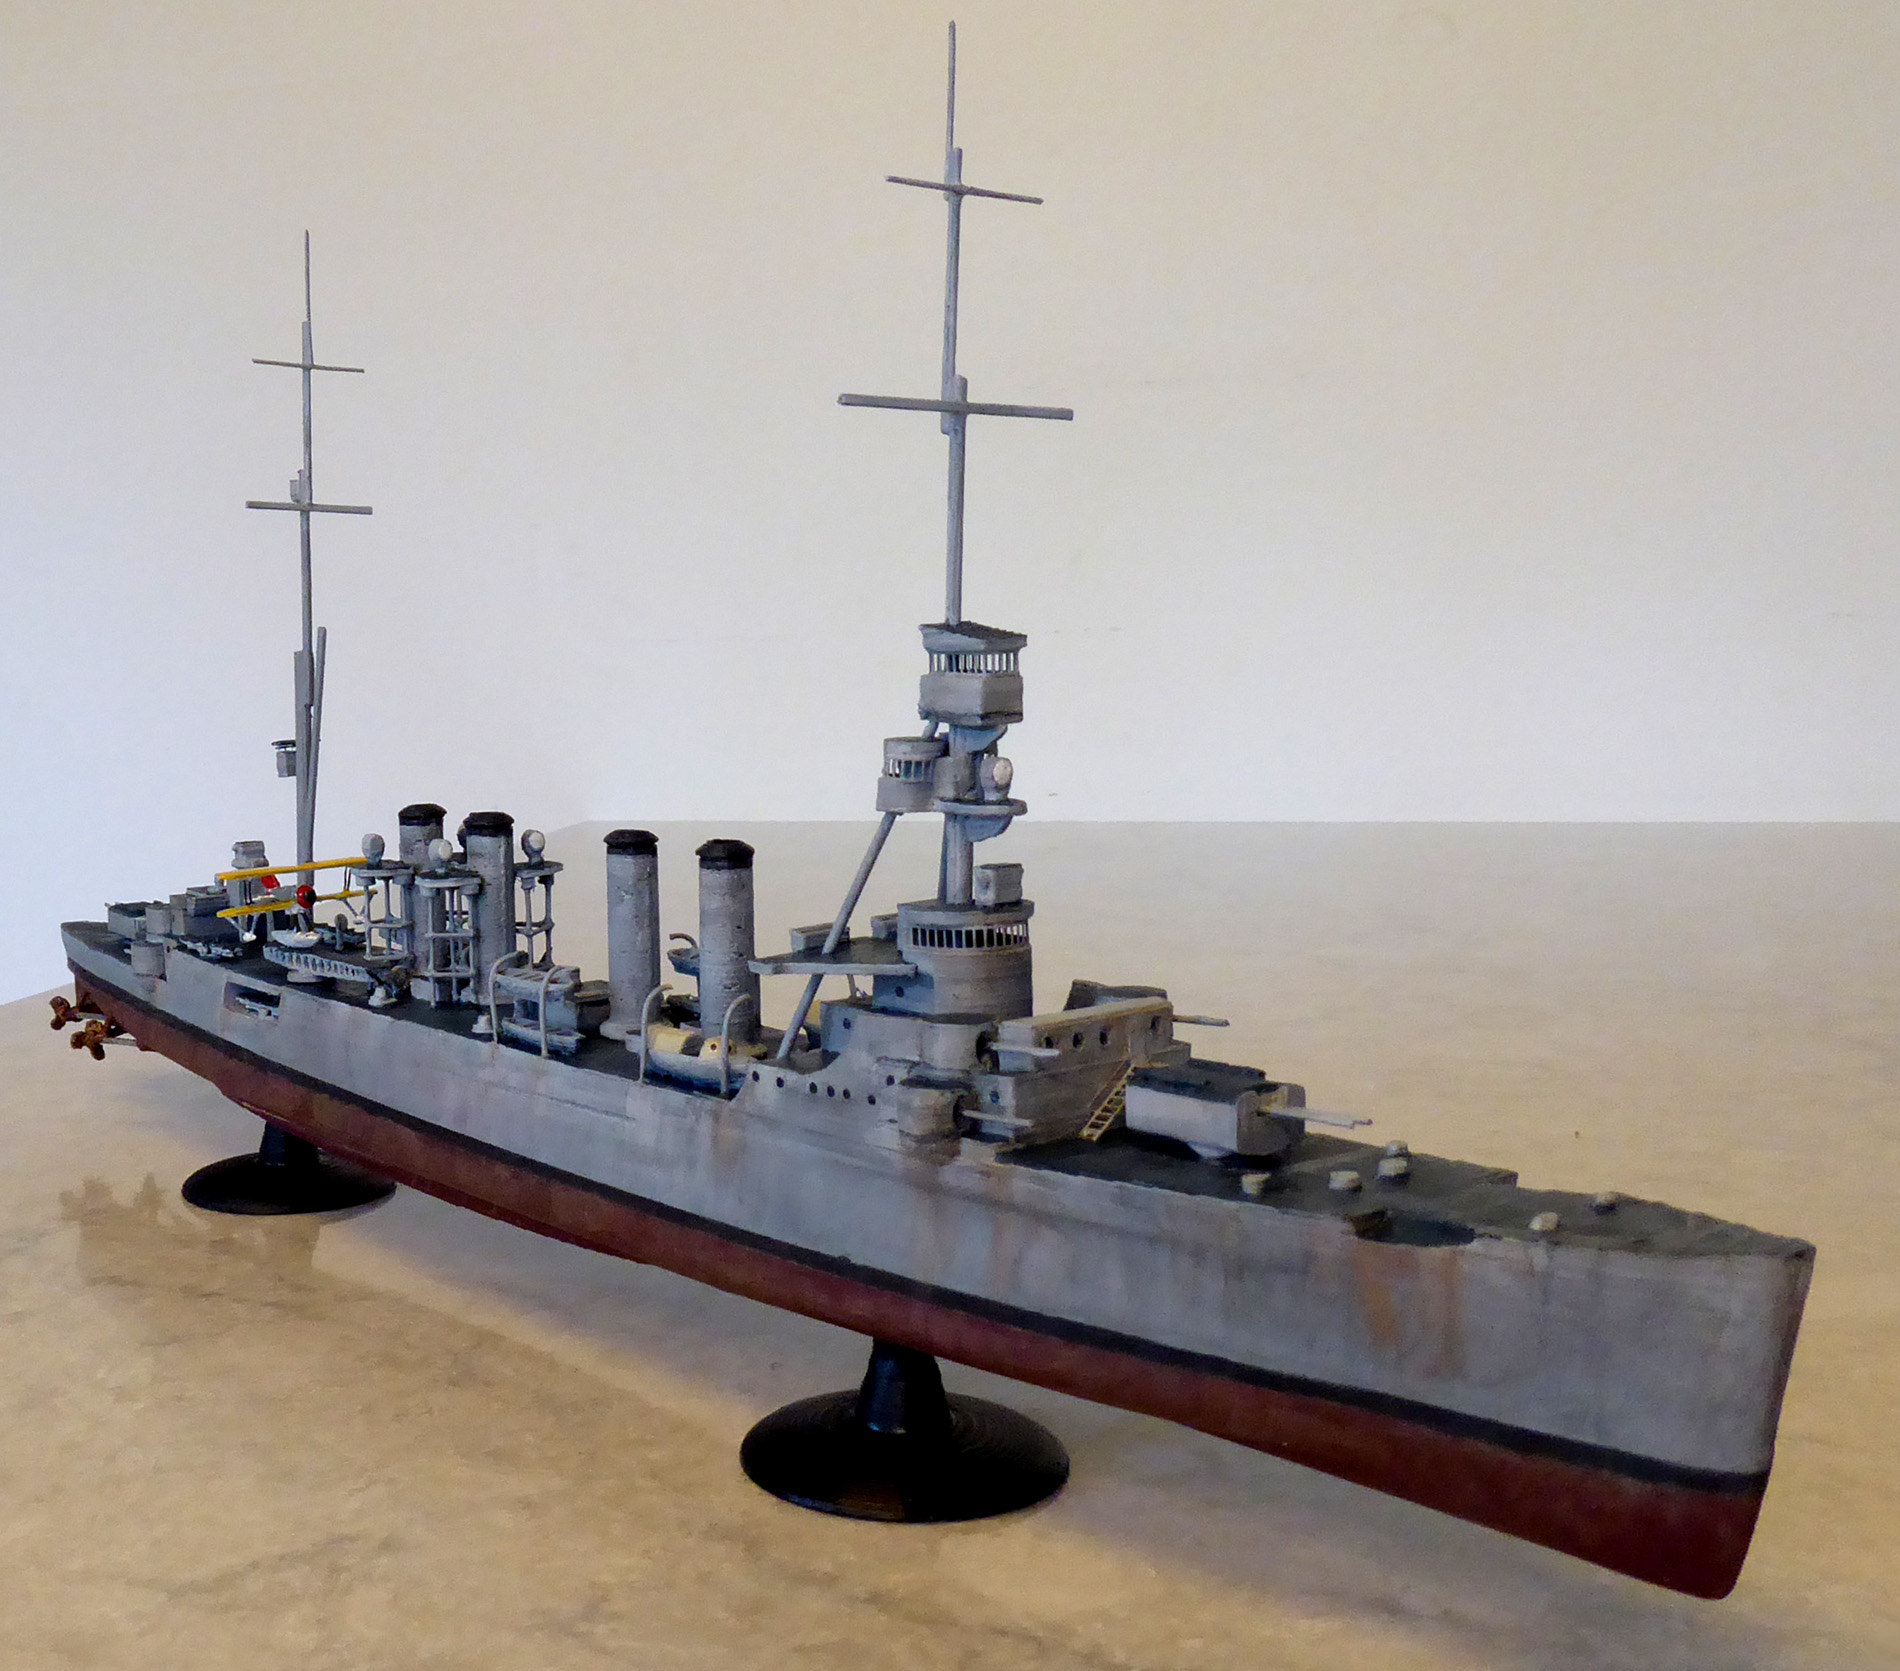
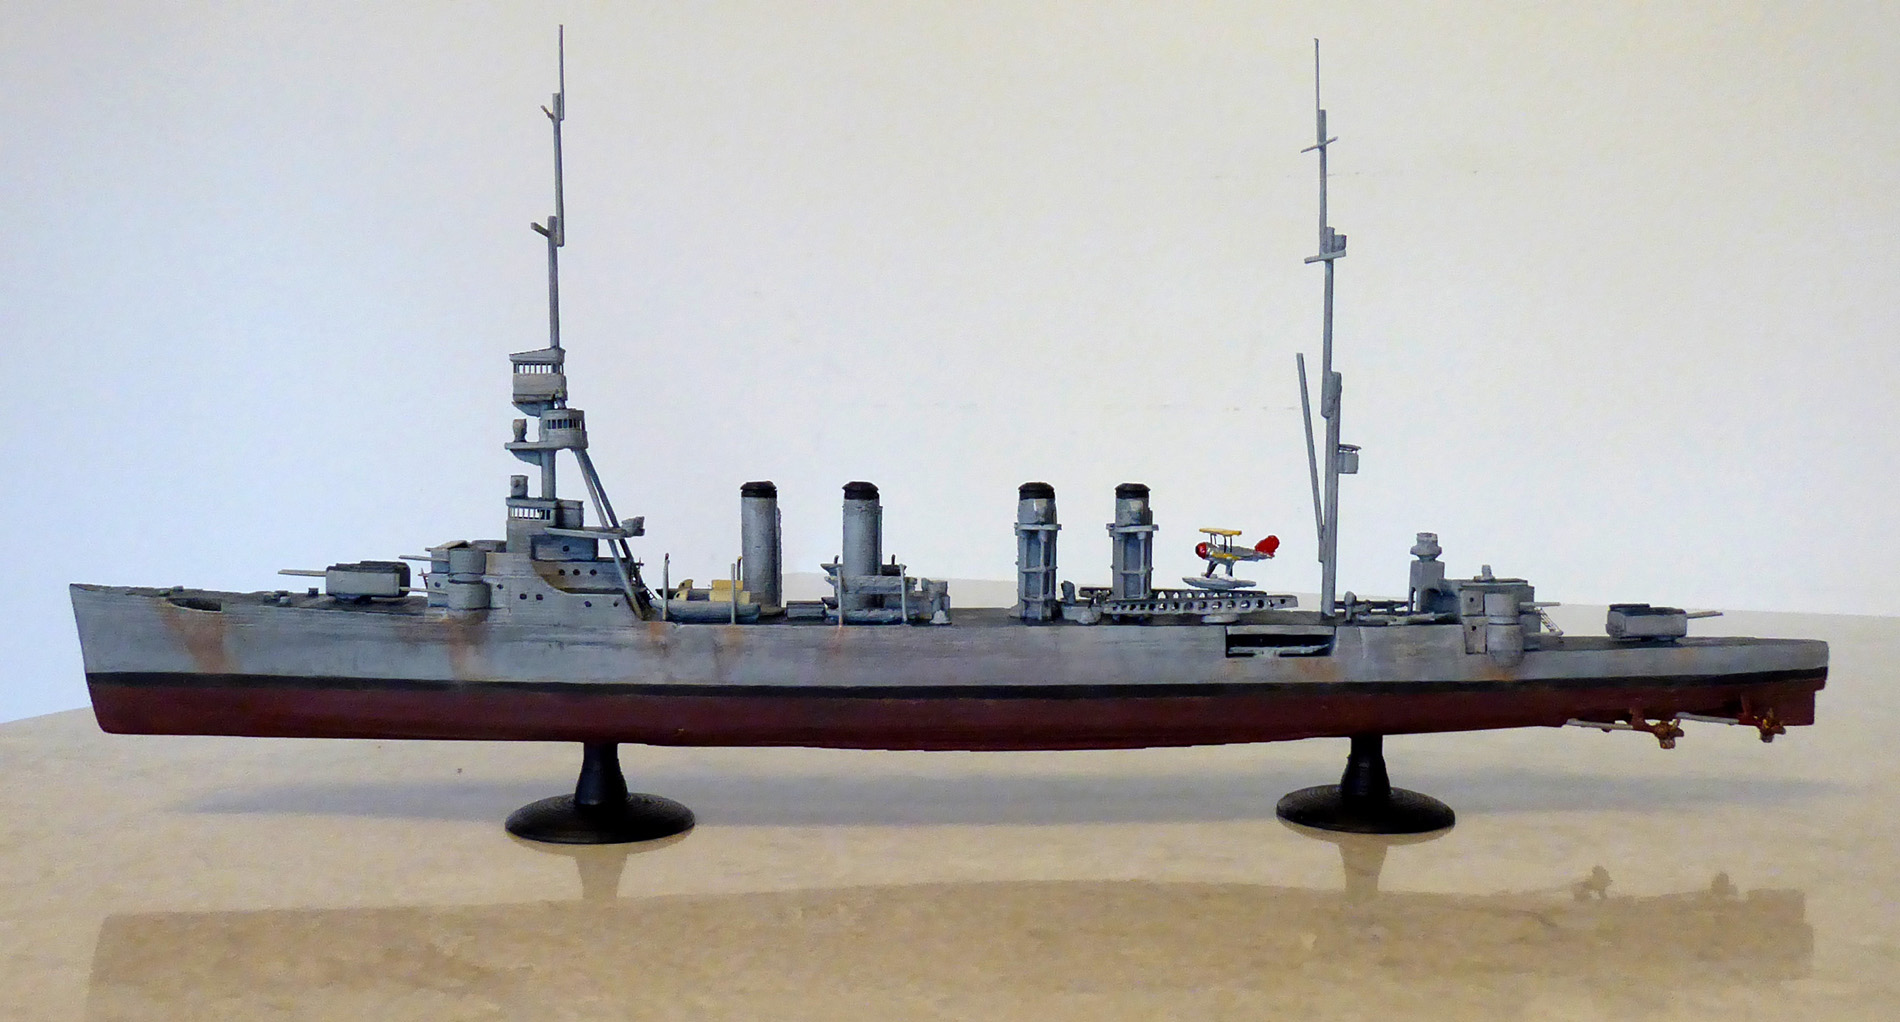
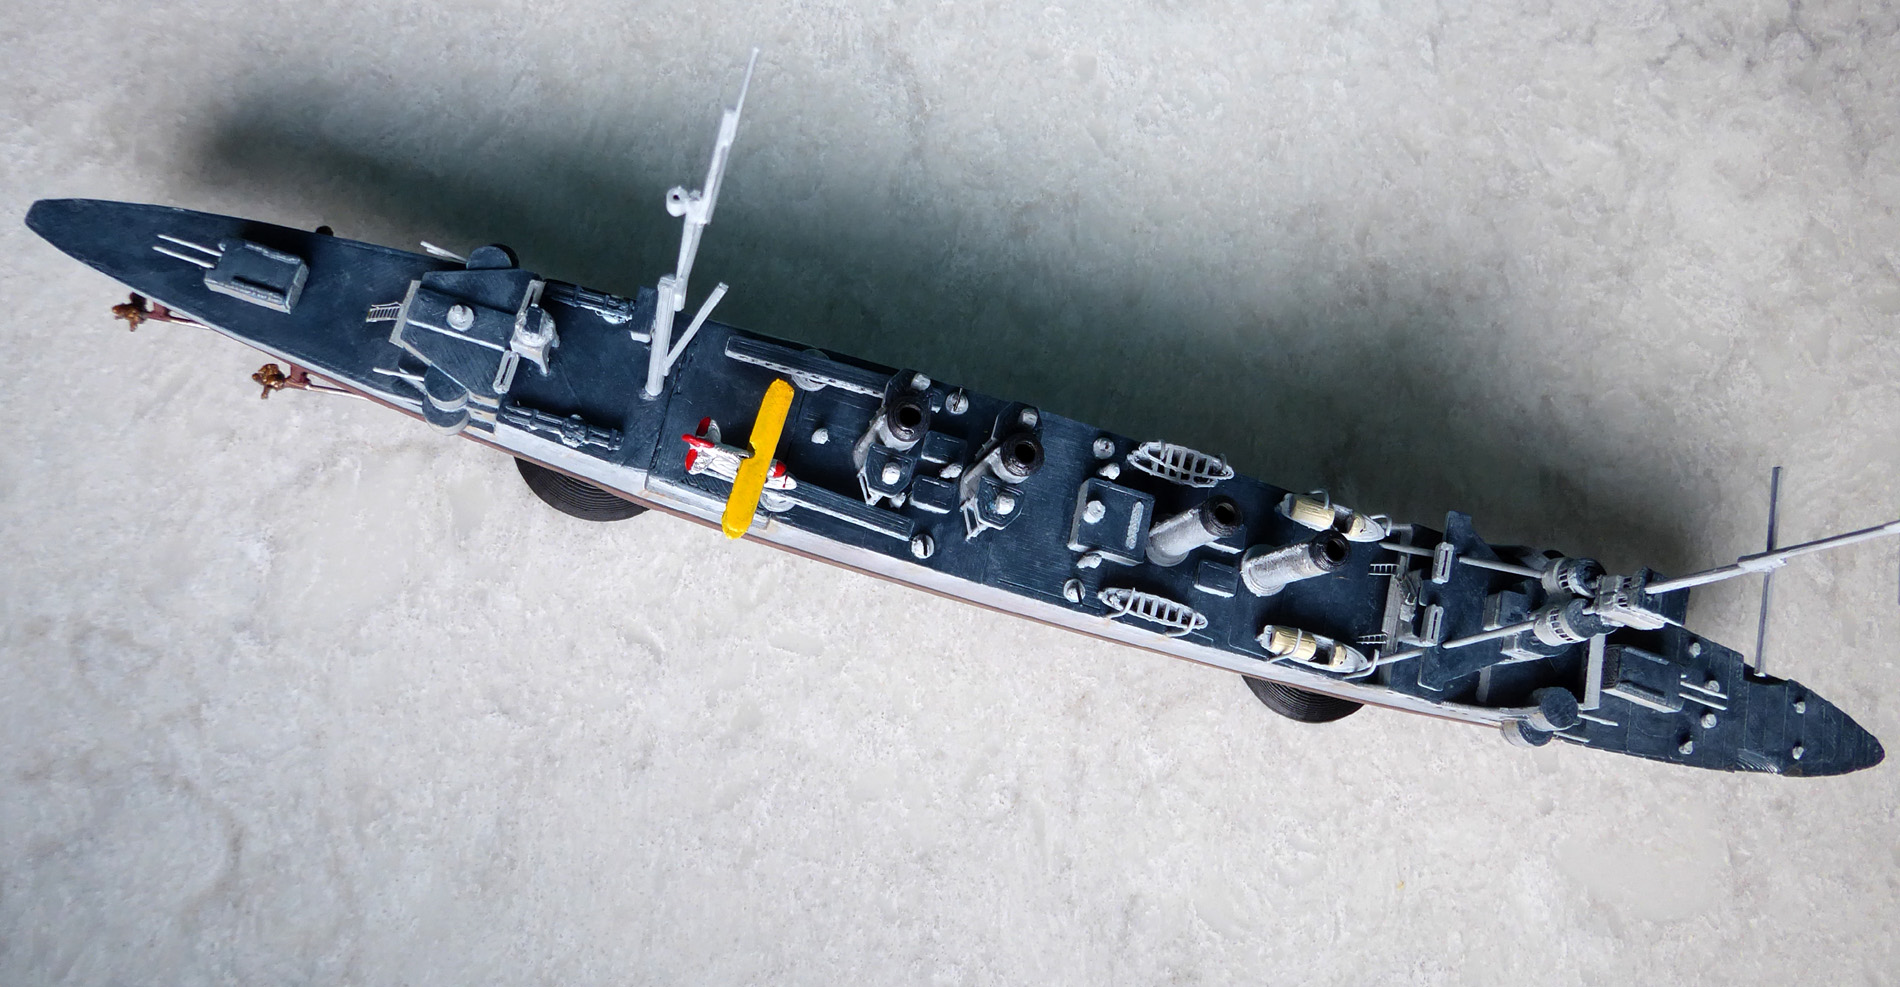
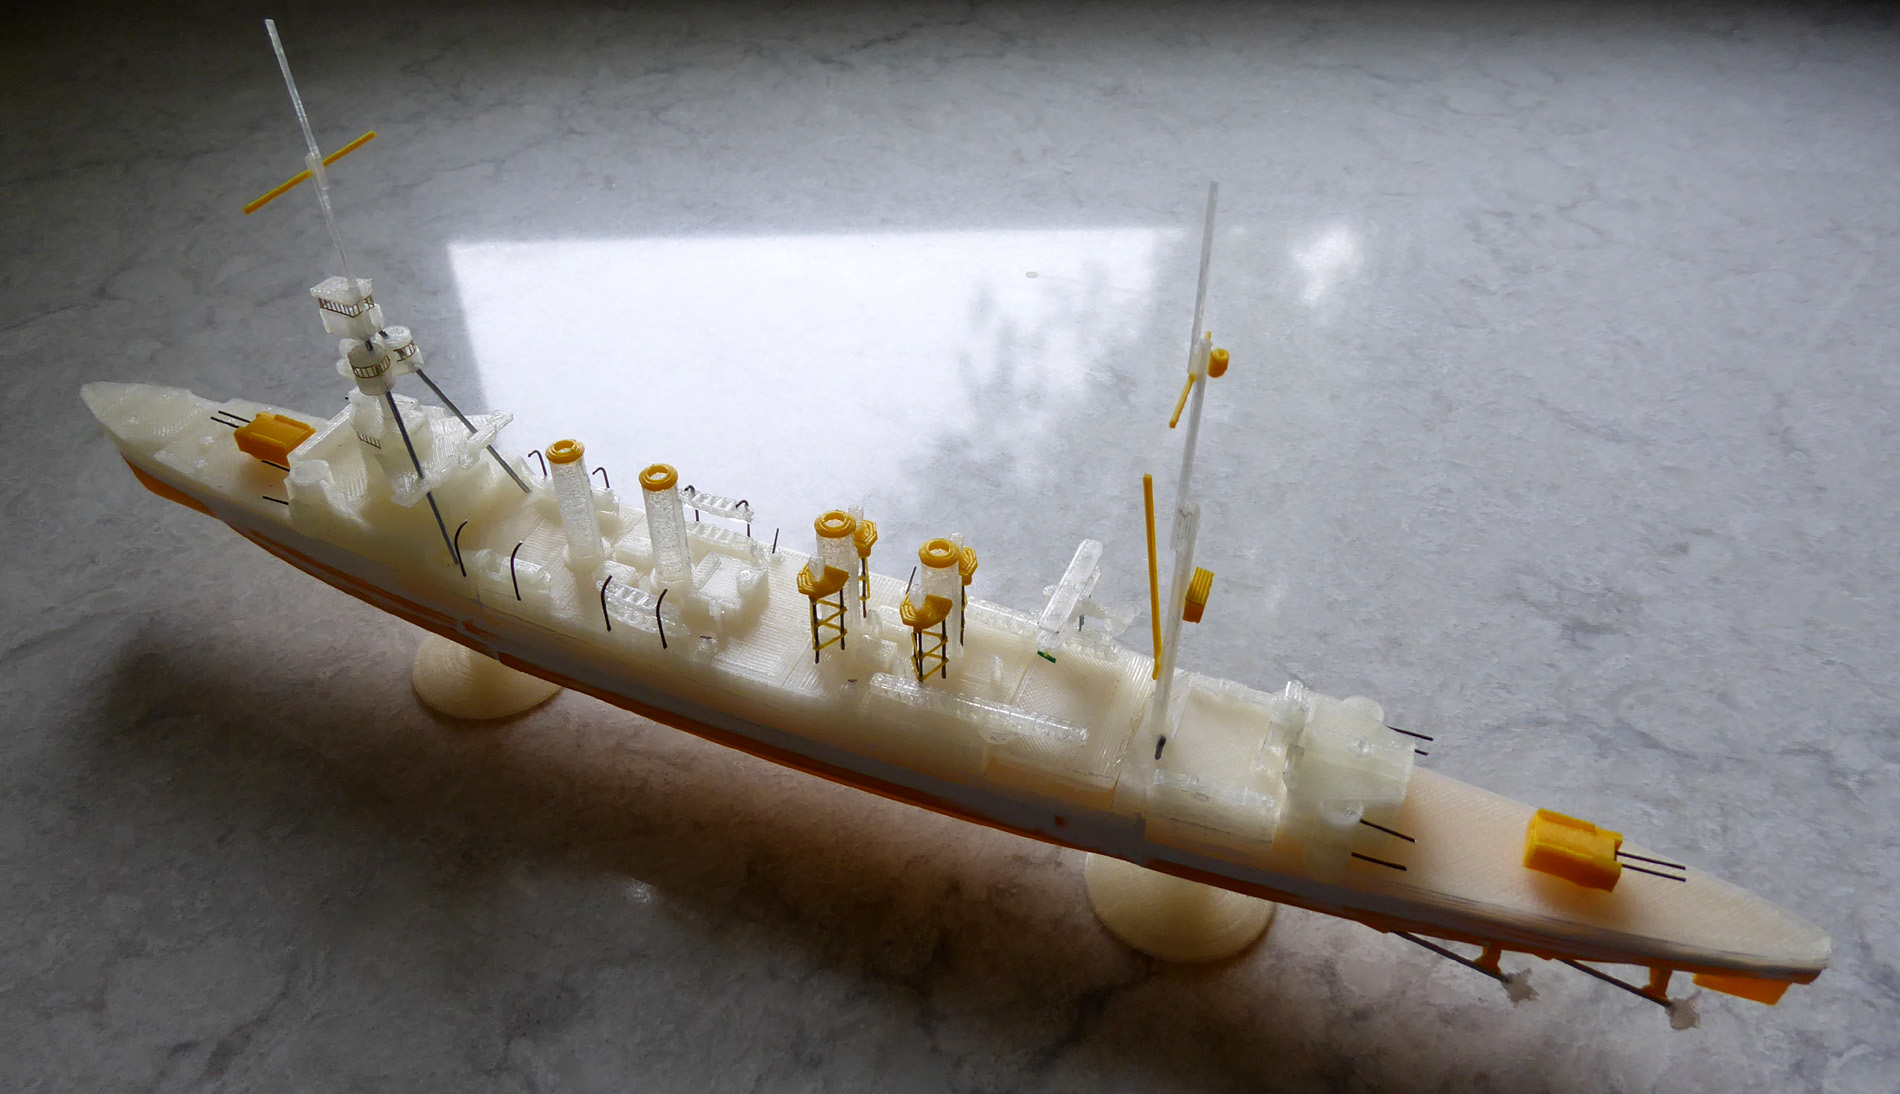
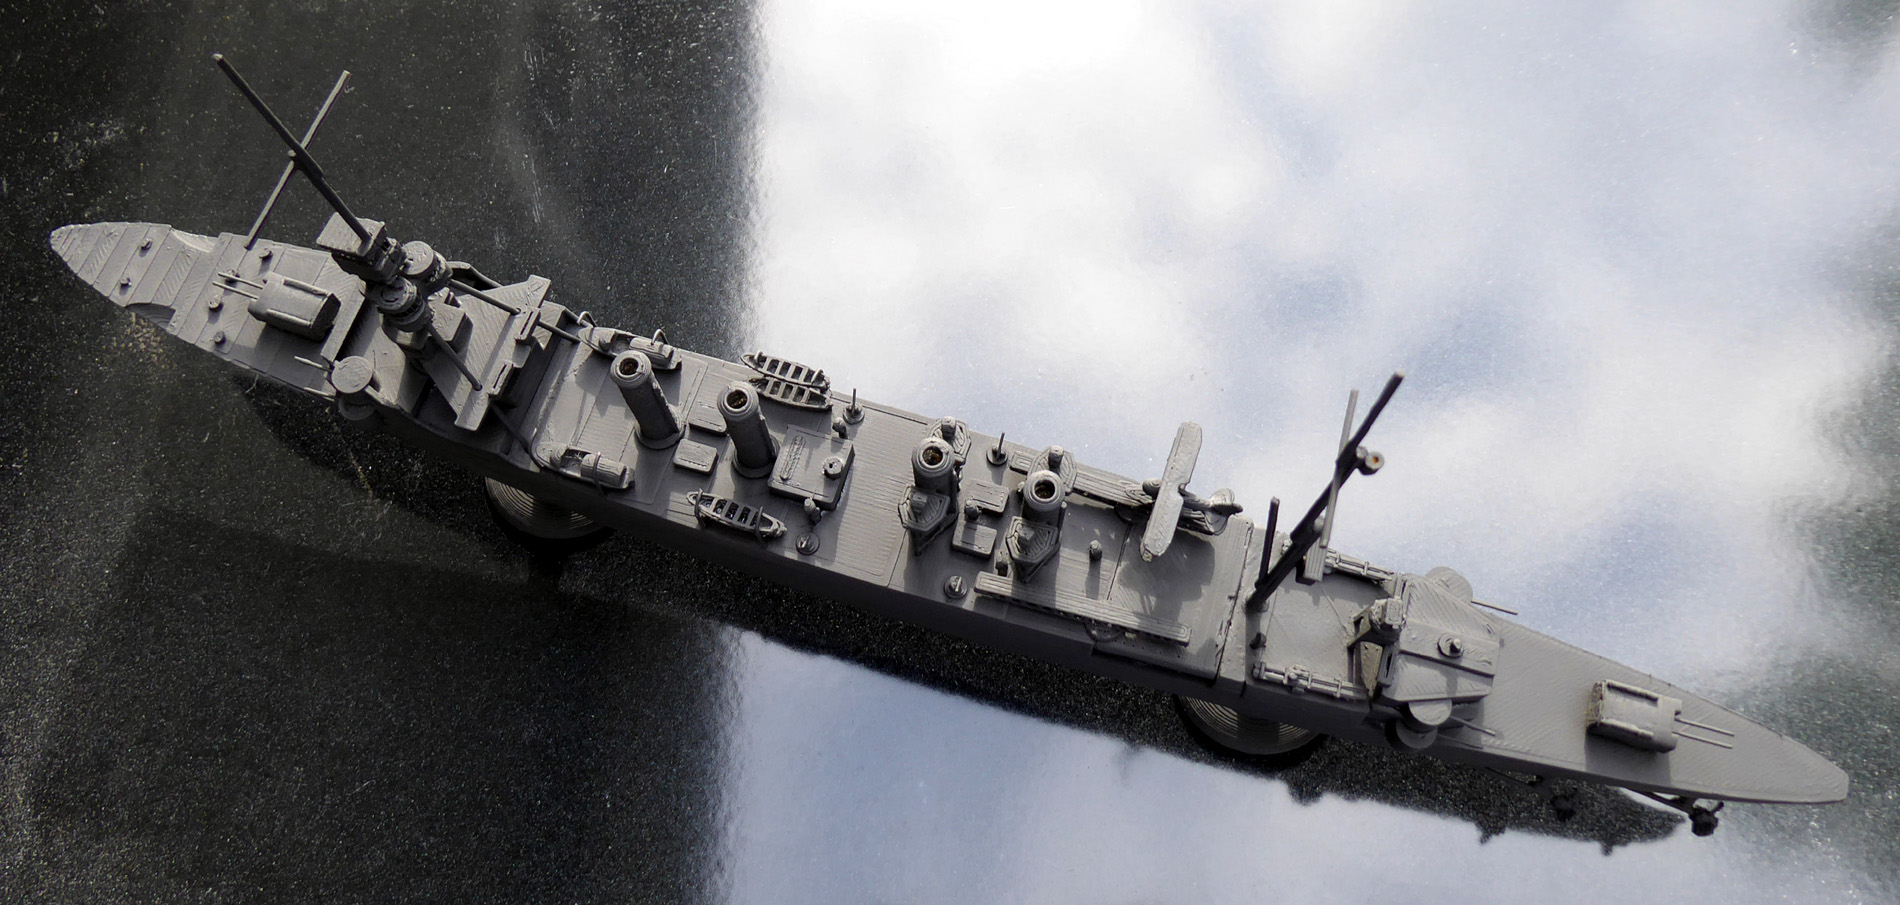
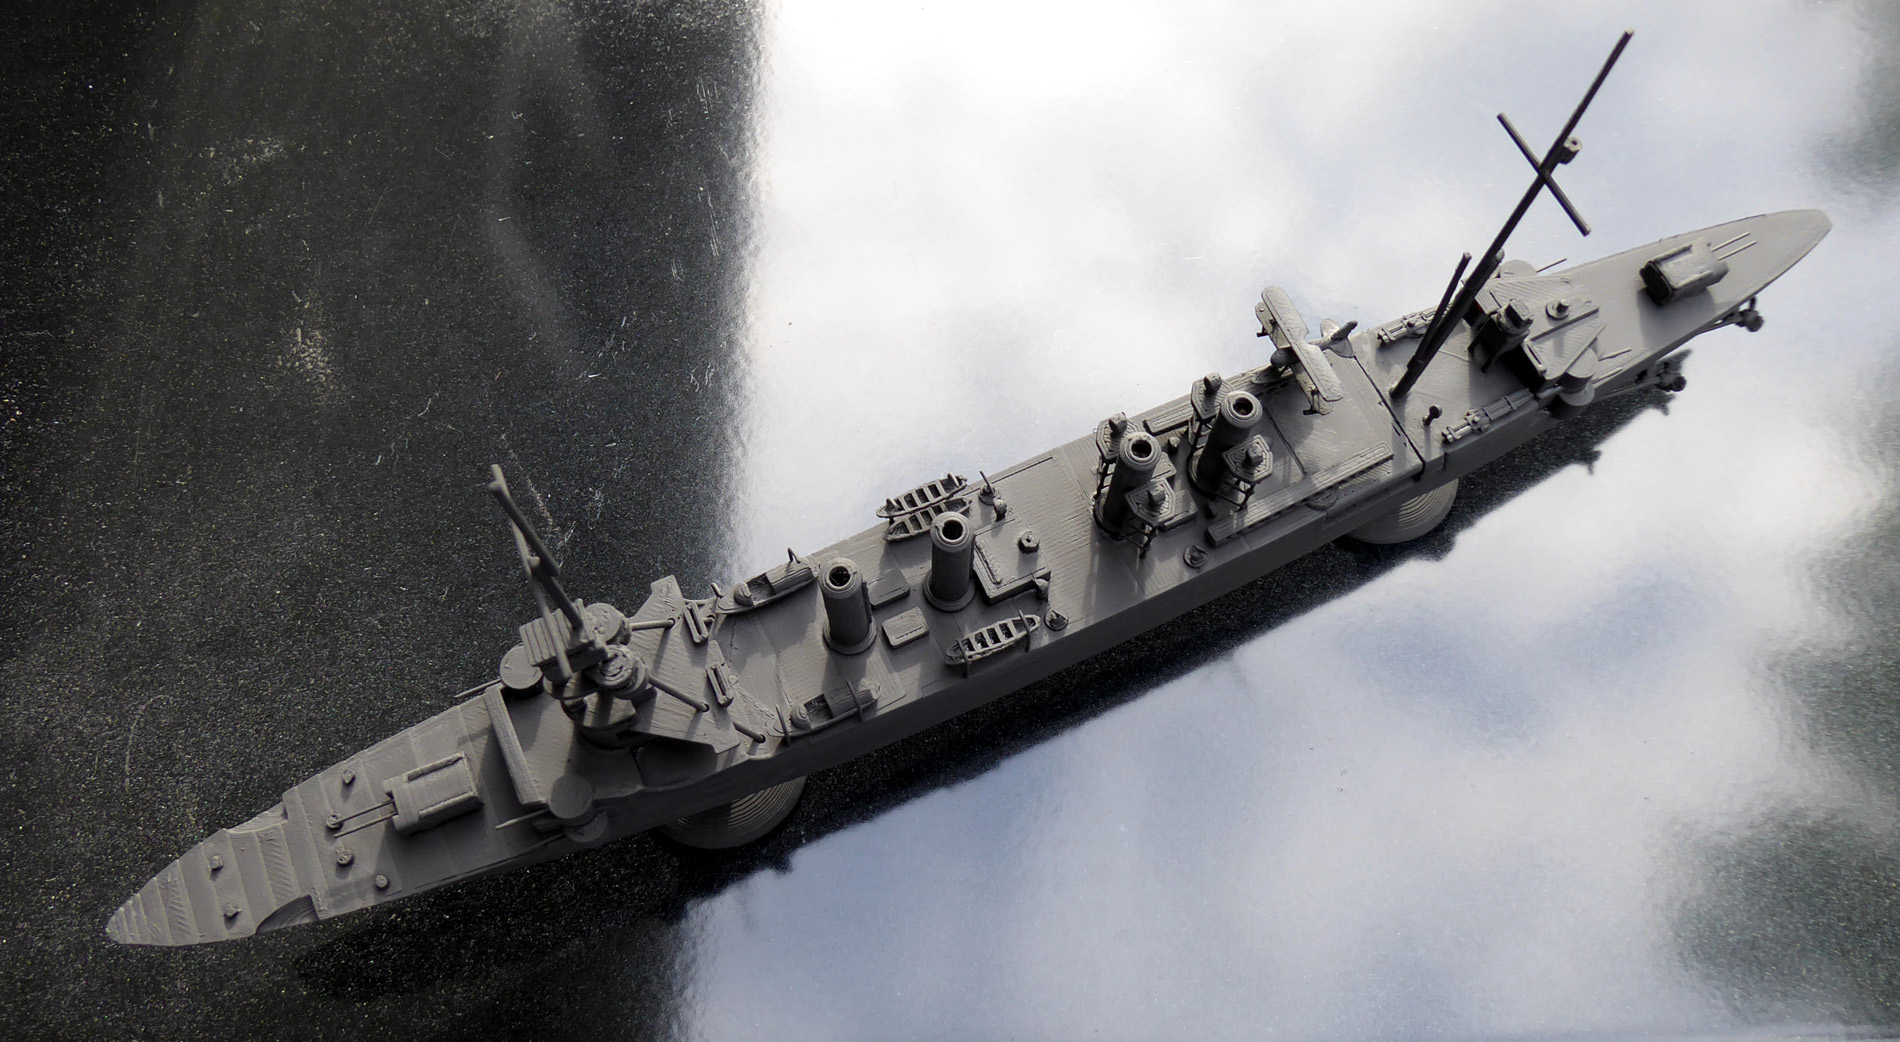
This is my 3D printed USS Omaha CL4.
I designed and built her in a state prior to her finale WWII configuration. She still has the crazy tall masts and uncluttered fore and aft supper-structures.
USS Omaha is one of my favorite ships to play in the online game: World of Warships and this model of Omaha is heavily influenced by the WOW version.
I printed Omaha in 1/450 scale to fit in with the rest of my 1/450 WWII ship fleet. She is the largest ship I’ve created with my XYZprinting Da Vinci Mini 3D printer and was definitely the hardest to pull off. This was mostly due to a seemingly arbitrary limitation in the otherwise excellent (2022 Edit: for beginers) XYZmaker software. The USS Omaha was 555′ 6″ in length, converted to metric and scaled to 1/450 that comes out to: 375.26mm. For some reason XYZmaker will only allow you to create designs of 350mm or less along the X, Y or Z axis. So with Omaha I designed her in 1/500 scale (making her length under 350mm) and when done I rotated her 45 degrees and rescaled her to 1/450. This was very inconvenient as you’re never really ‘done’ when you think you are, so I needed to either edit my design on the very awkward diagonal or go back to my save before the rotate and rescale, edit that design, then rotate and rescale again. I get that the Da Vinci Mini can only print things smaller than 150mm x 150mm x 150mm but obviously you can cut your final designs into pieces that fit into the print area, and only allowing a design to be slightly larger than twice what you can print is unnecessarily limiting and annoying to work around. I know I can always use a more robust tool like Blender but XYZmaker is far easier to master and my edits in it go considerably faster than my efforts in Blender.
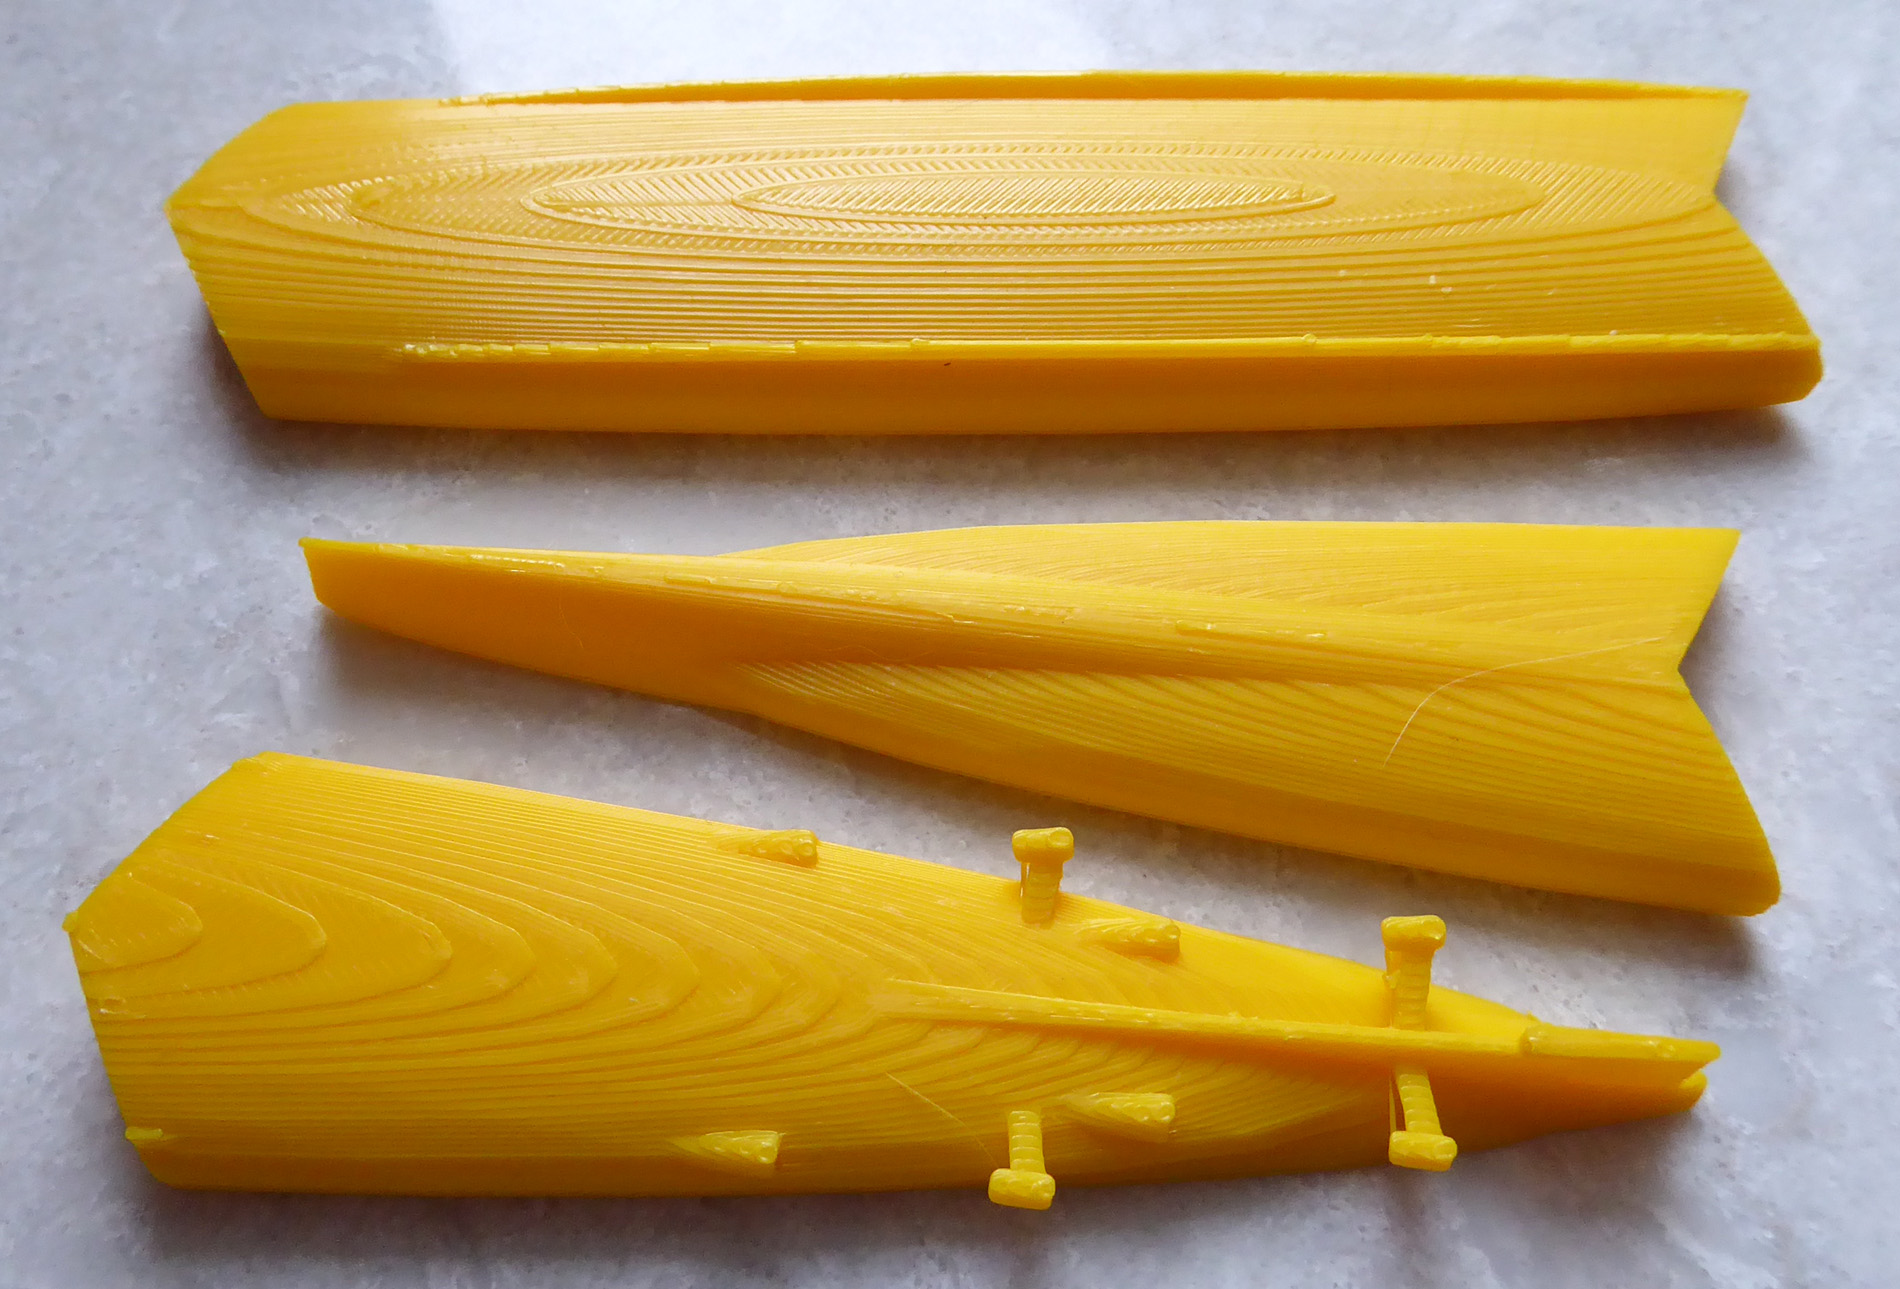
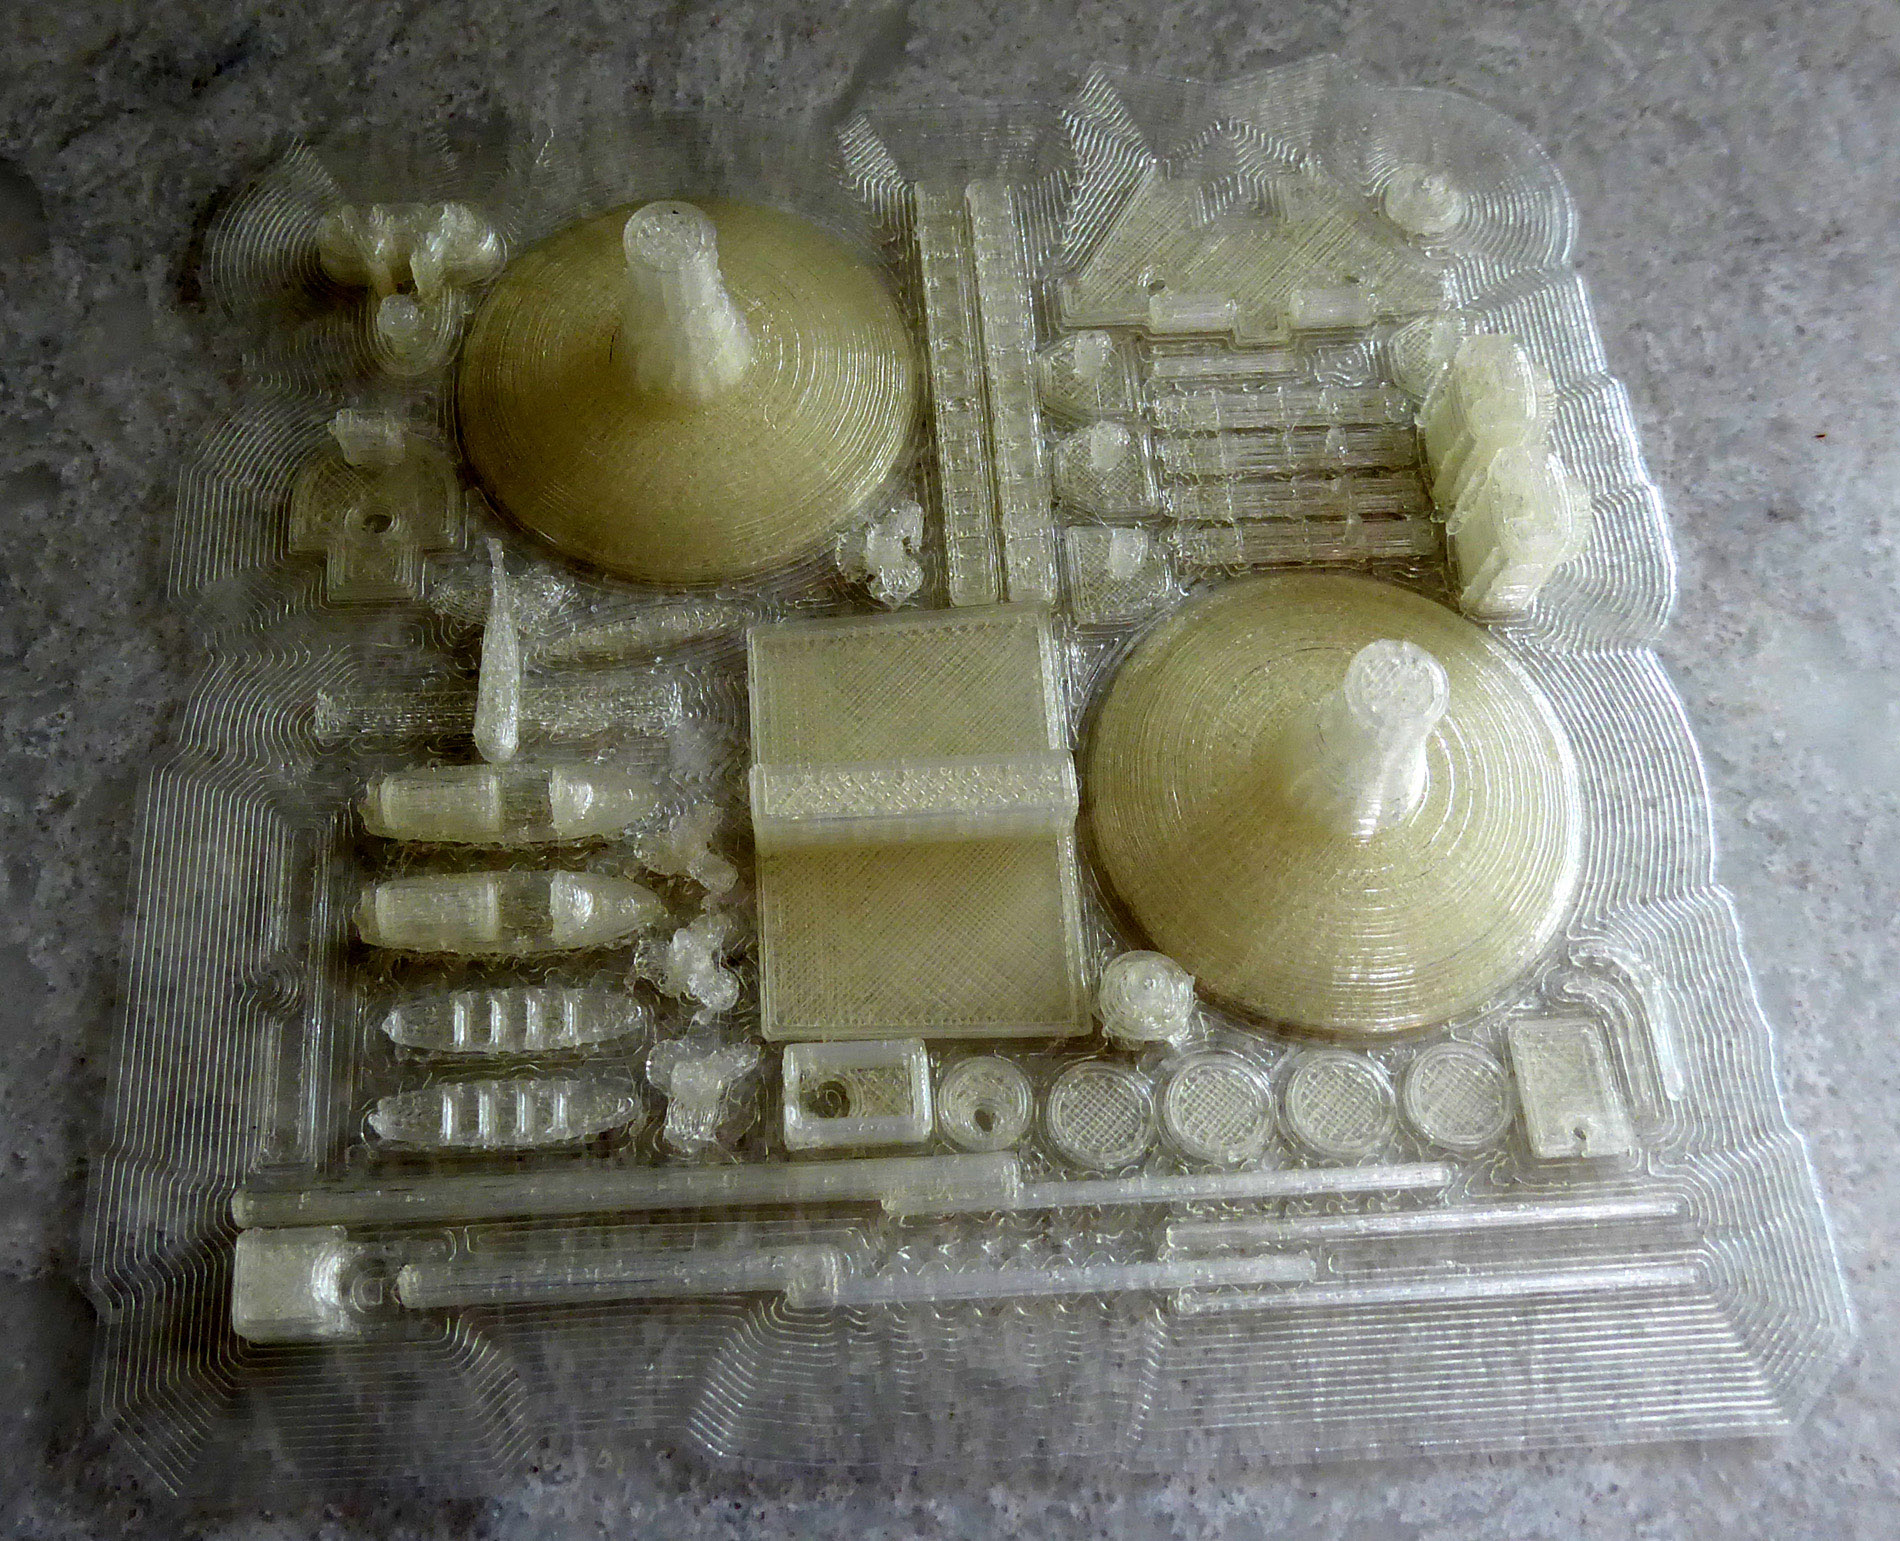
The printed parts and XYZmaker design.
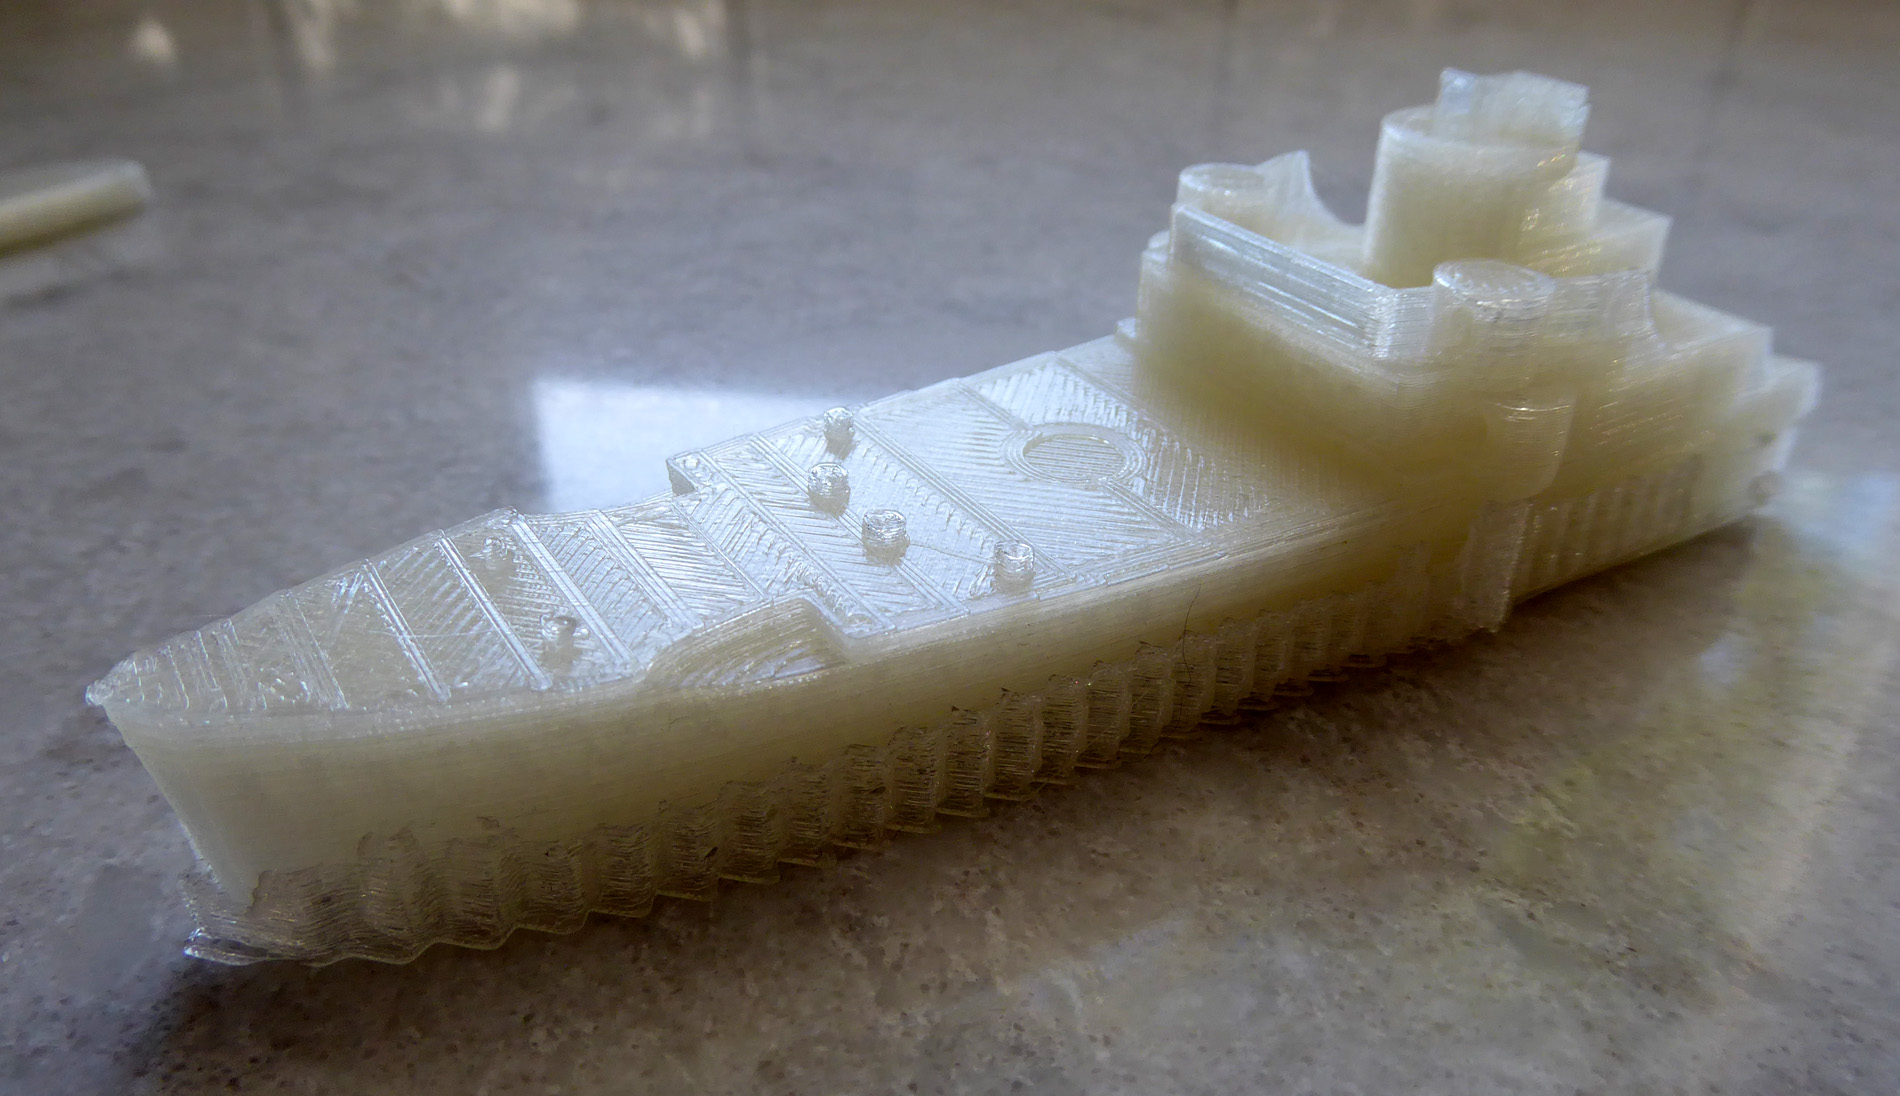
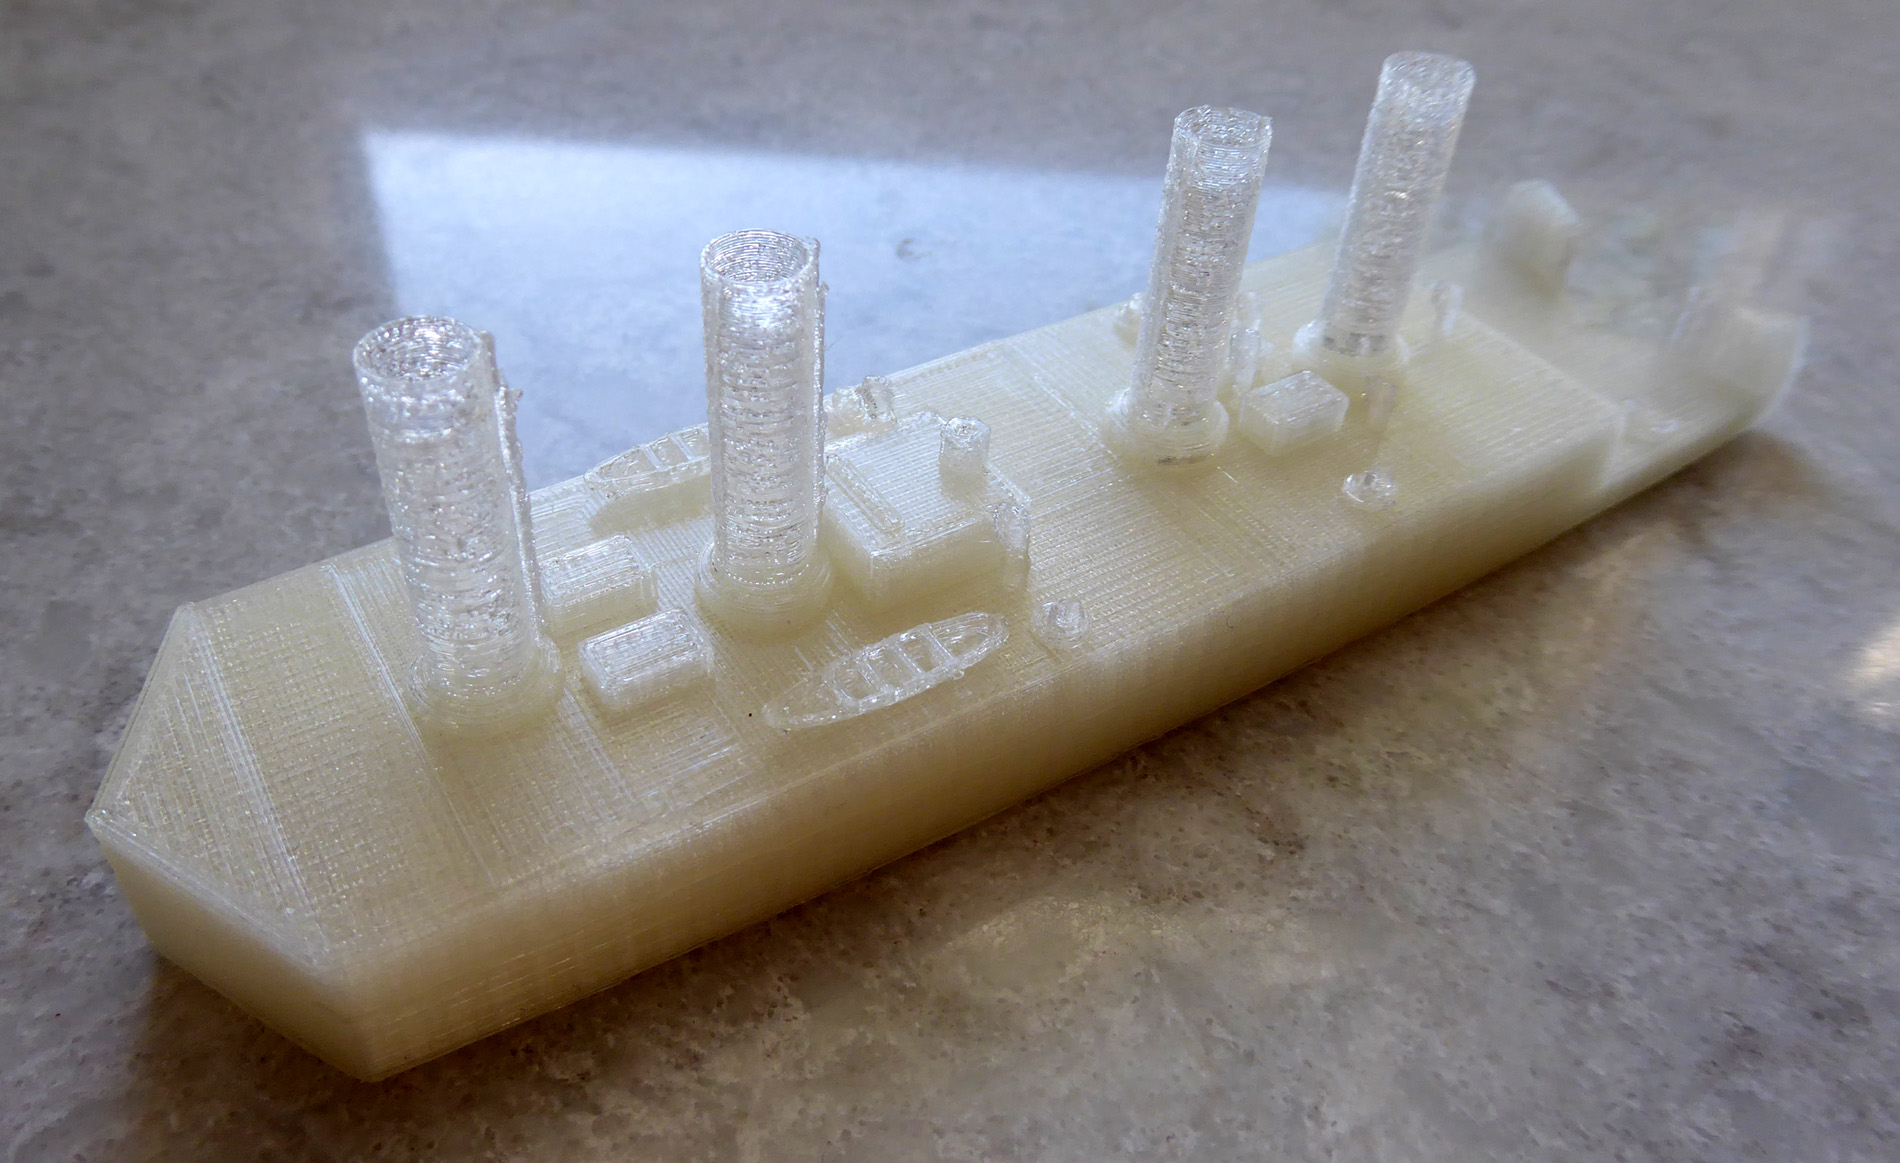
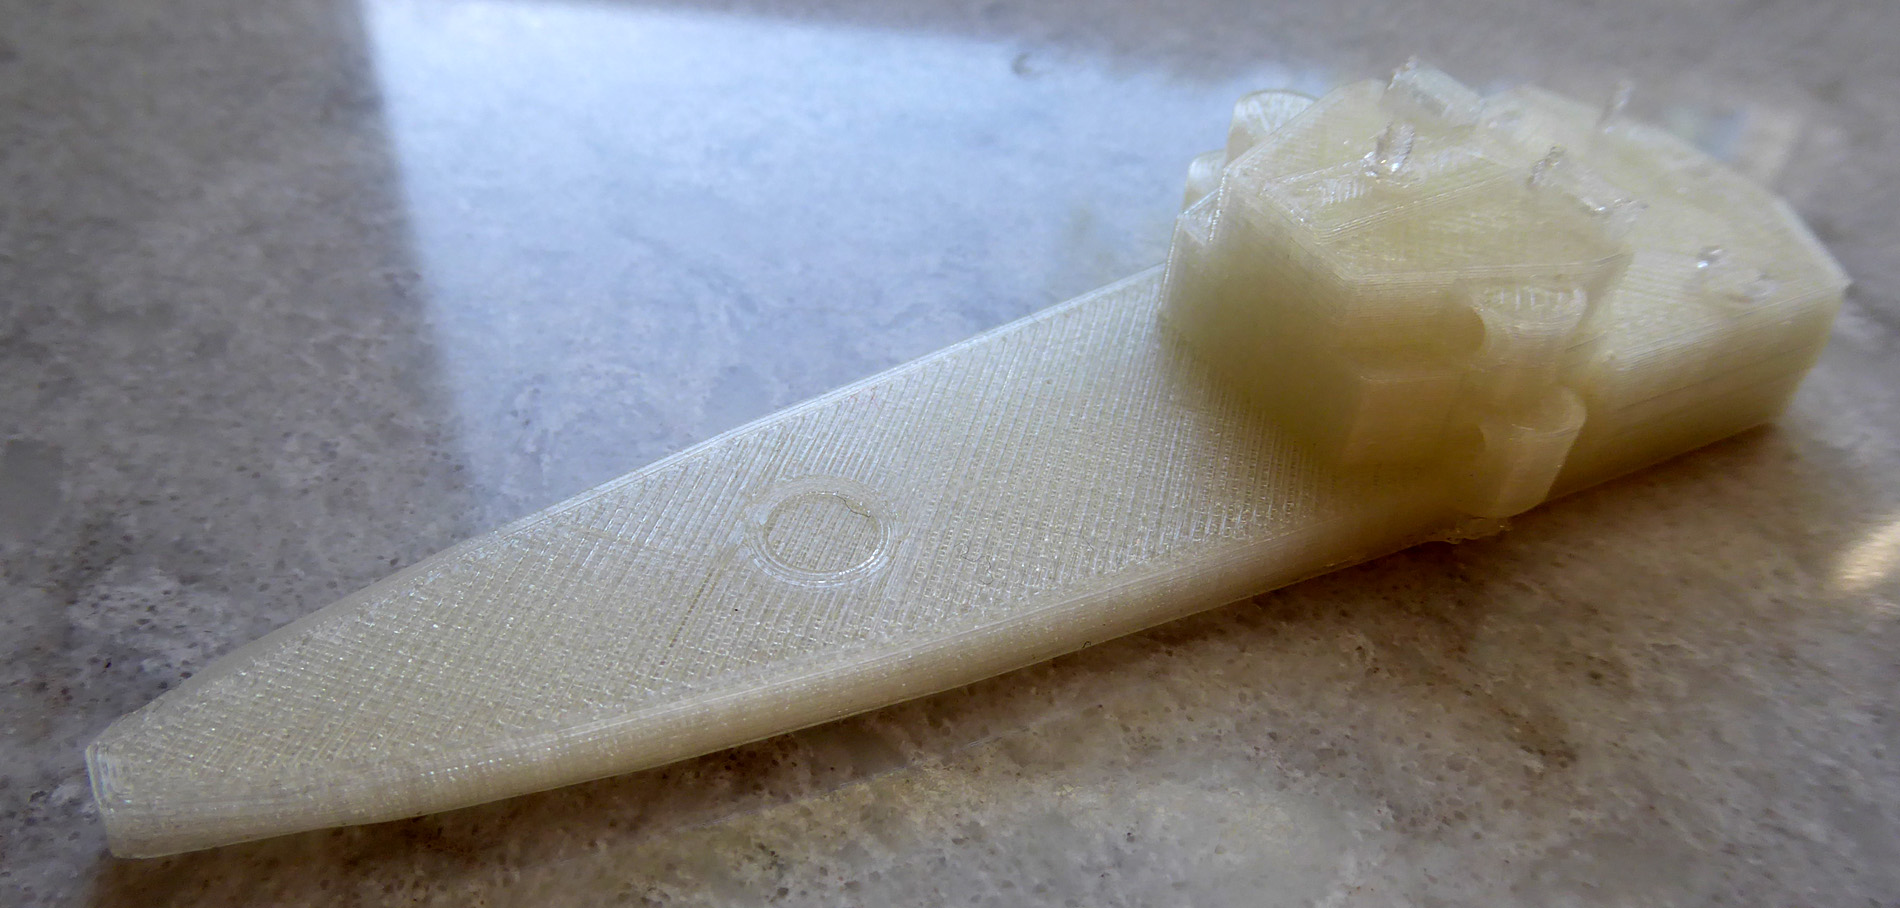
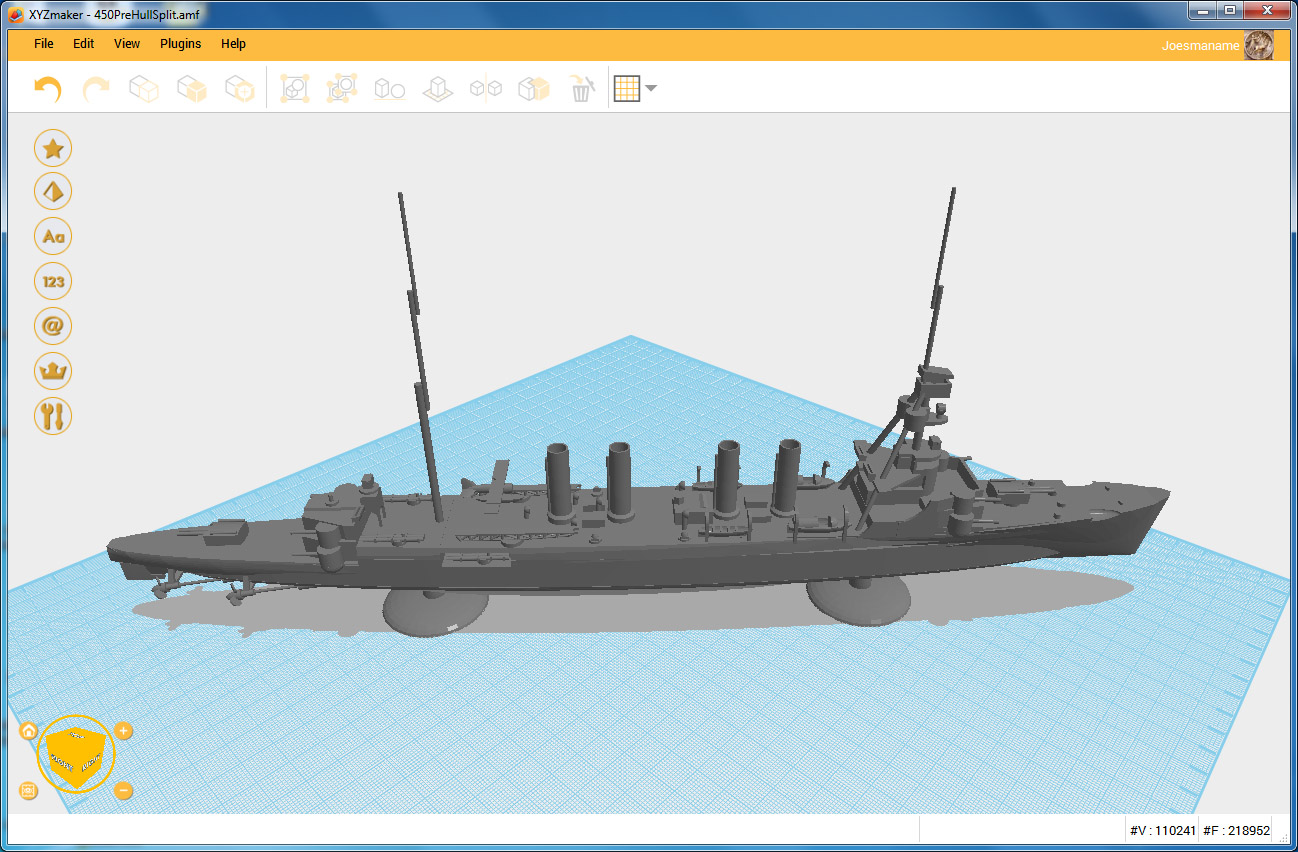
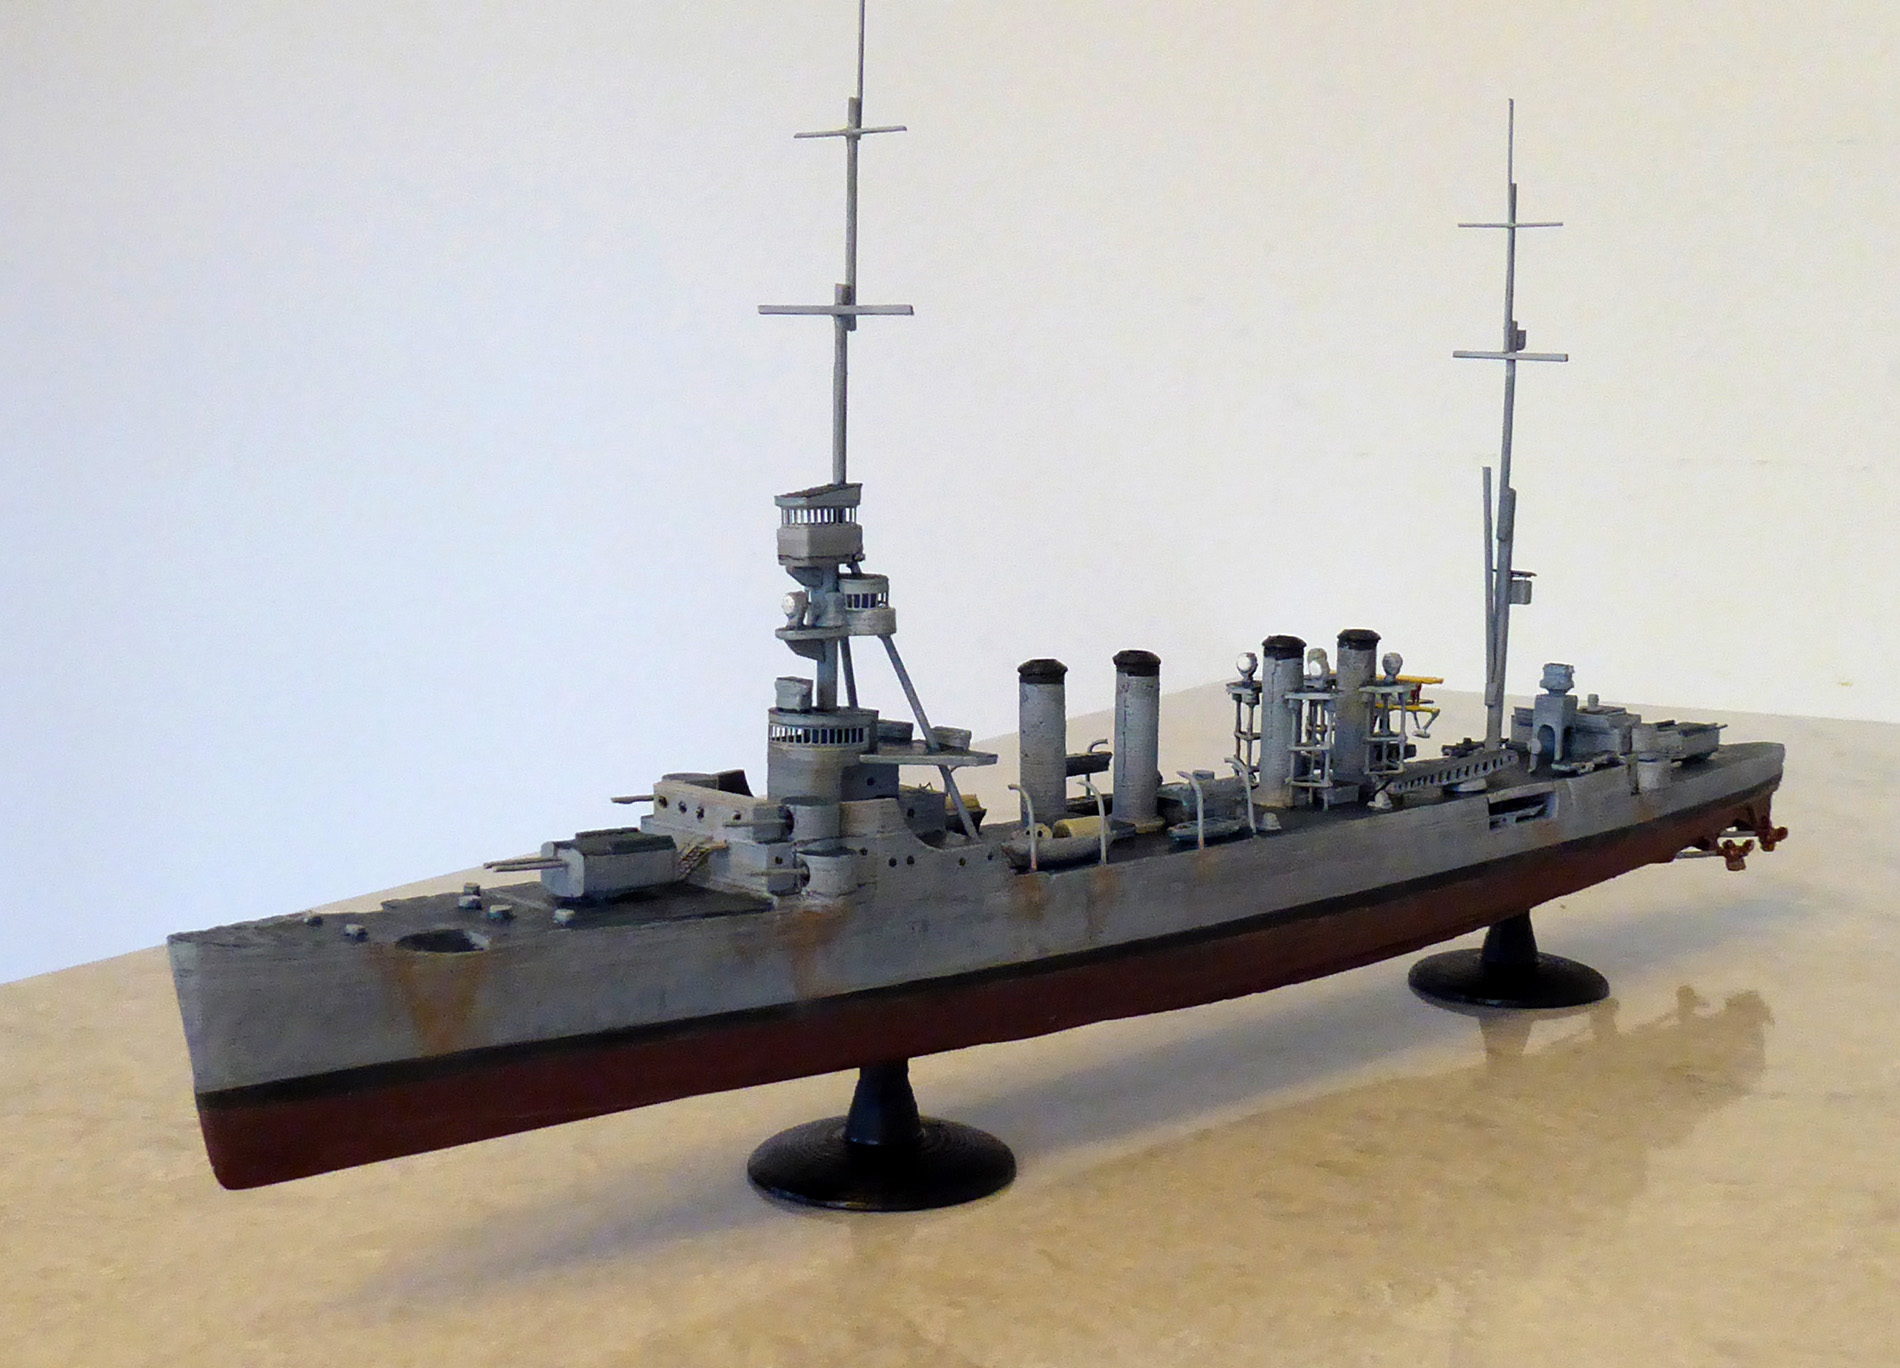
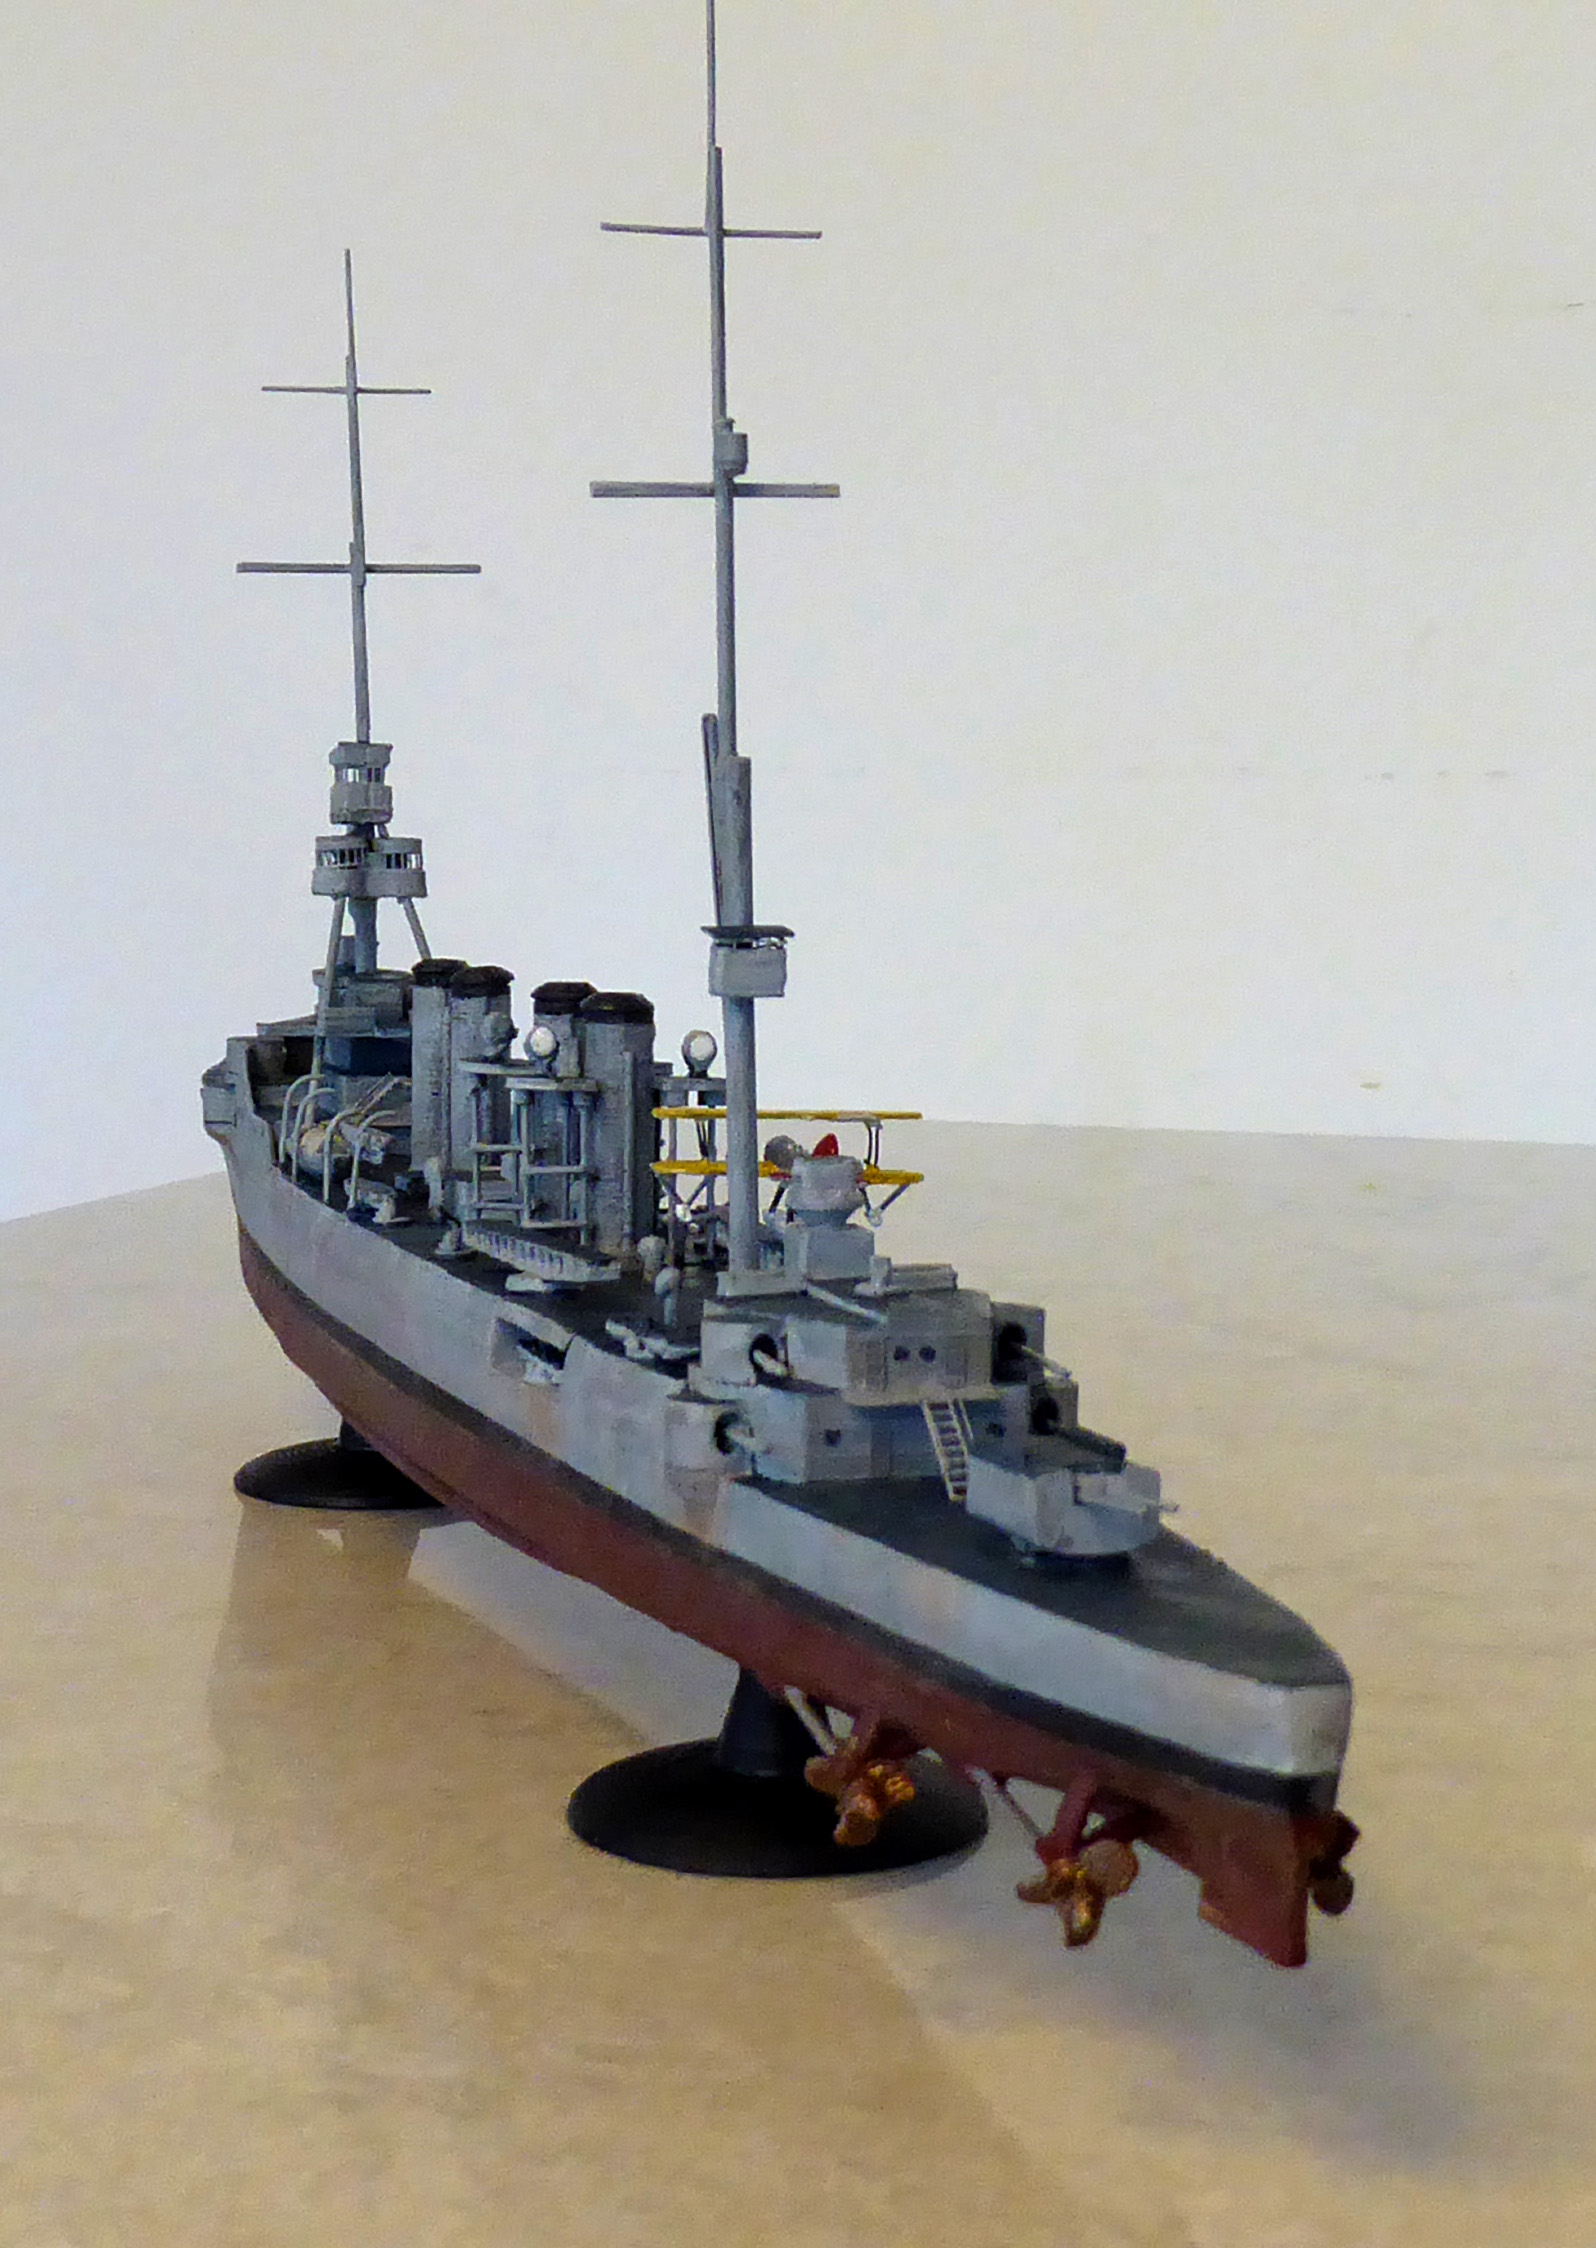
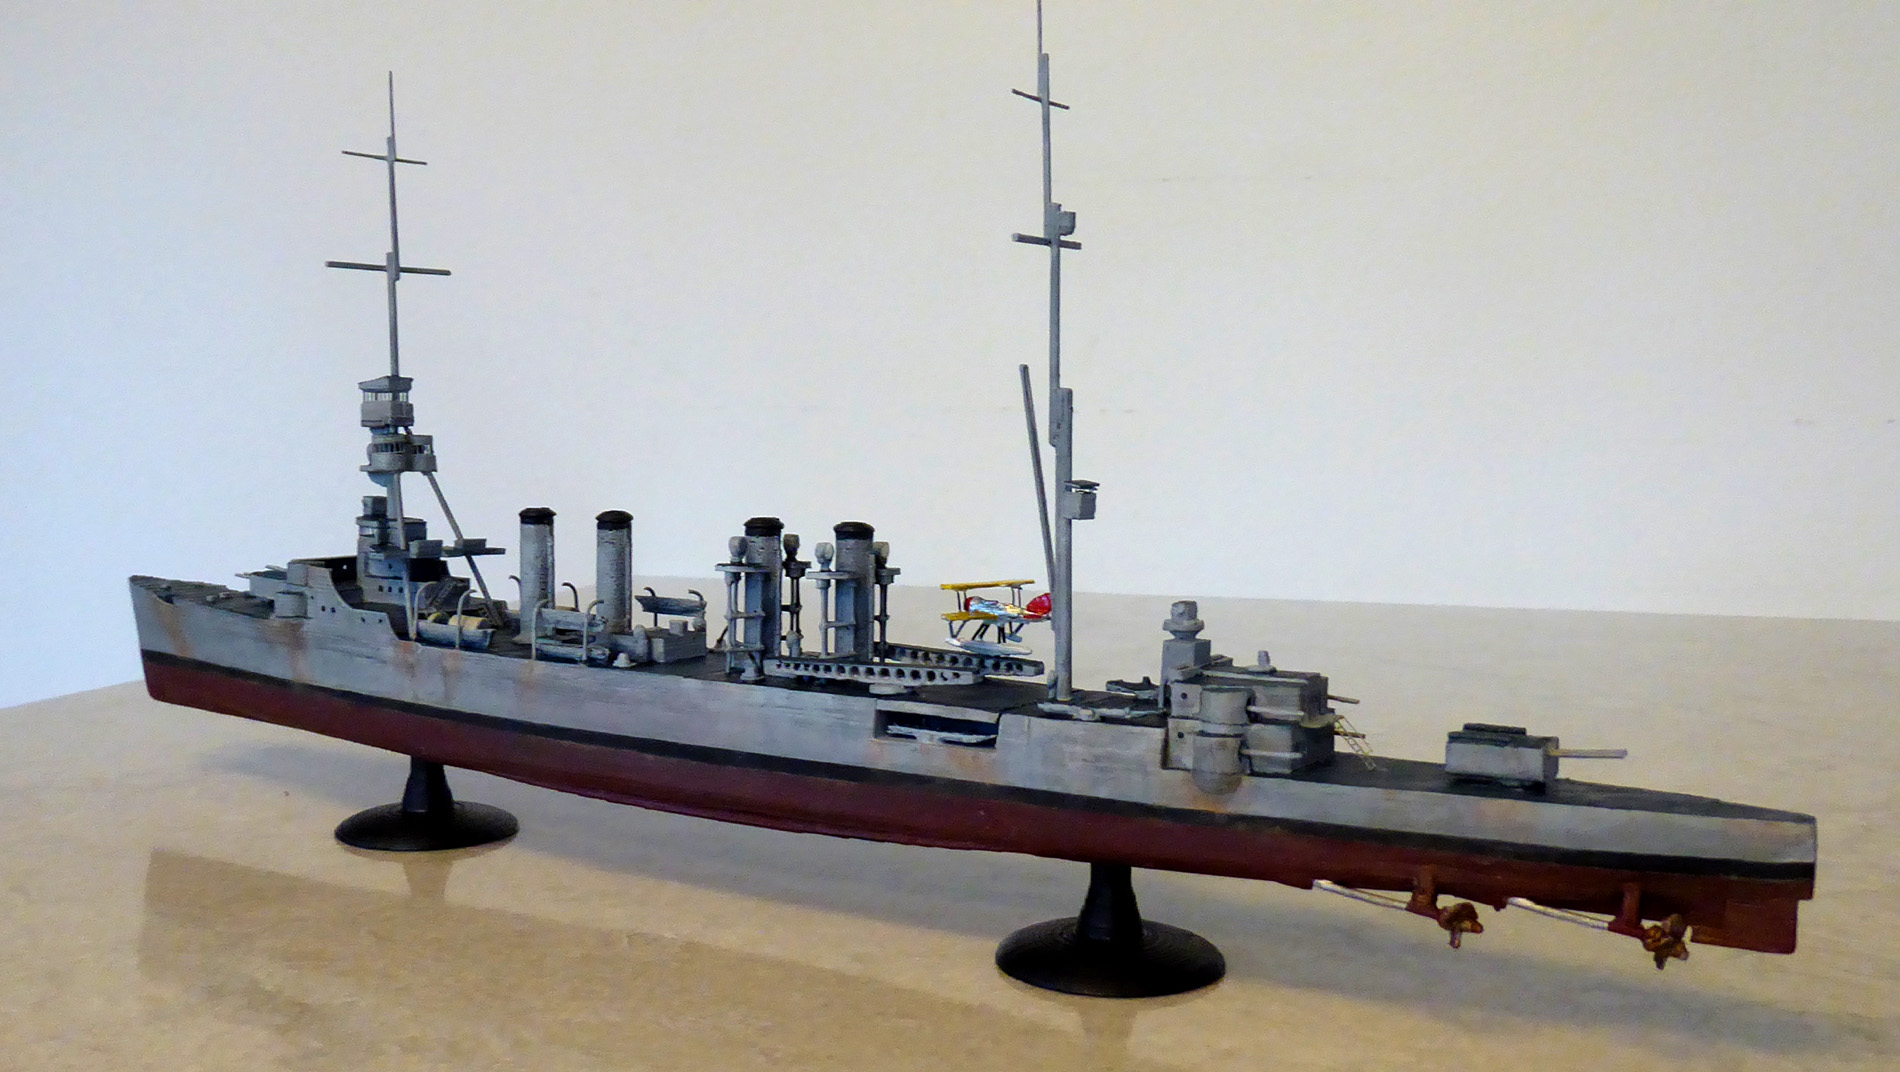
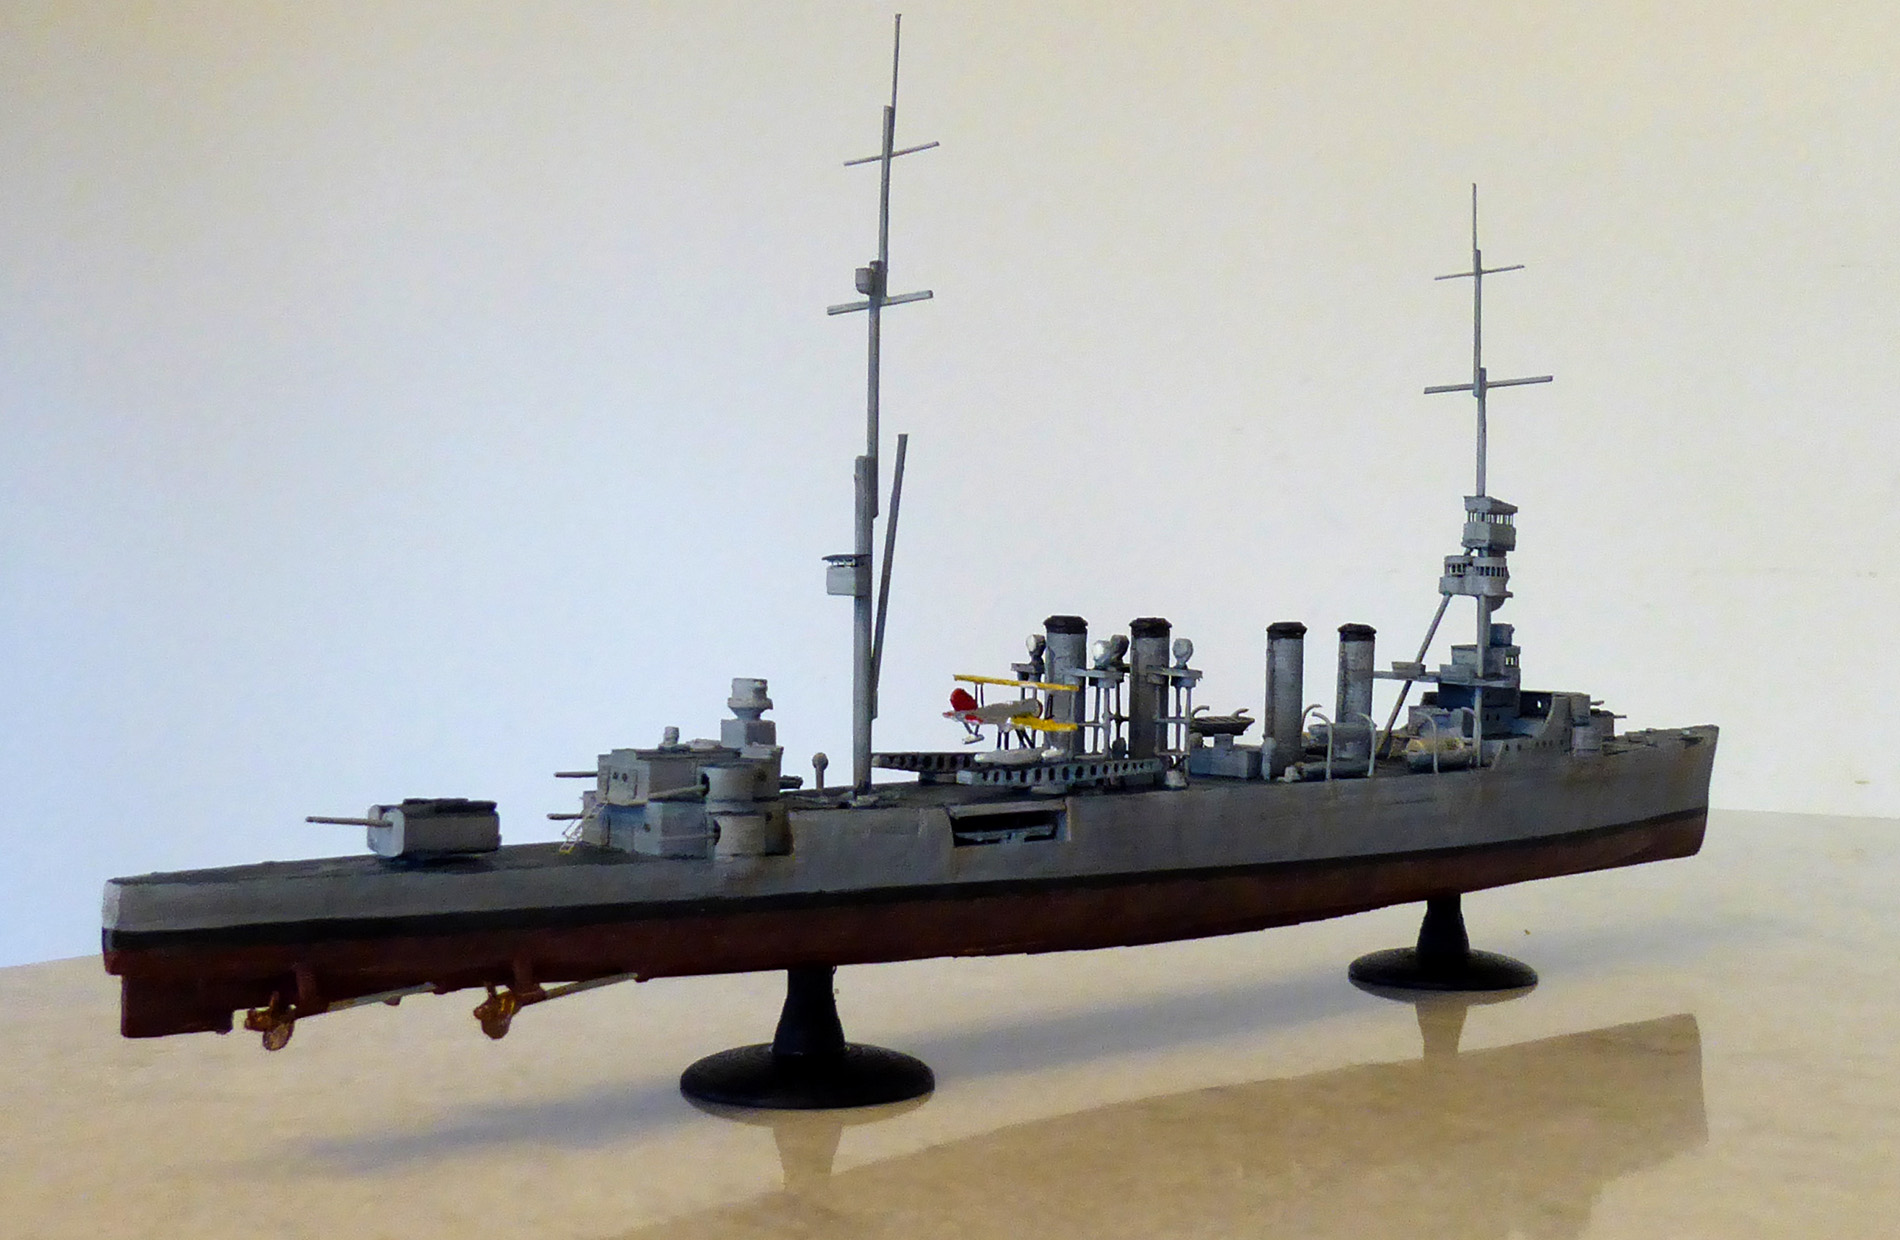
After the design was finished to the point where it was cut into pieces that I could print, came my next big challenge (no, not printing them – that was the easiest part!). Gluing the hull sections together was a bear! I got a little cocky with the success of the IJN Sendai project and didn’t pay close attention on how I was splitting Omaha’s hull sections up. The top and bottom halves were subdivided at almost the exact same spots instead of staggering them. This made it harder to keep them aligned while gluing and mummy wrapping them. Also the hull sections were too big to allow a brim when printing and this may have added slightly more warp-age than usual… All the above added up to a hull that when glued together was slightly bowed. At first, I thought it was mostly in my head and that it was a minor defect I could live with. But I knew that in the end, no matter how good the rest of this build might turn out – that bow would be all I saw. I bit the bullet and broke the glued hull in half at the offending location (thankfully without wrecking it) and re-glued Omaha back together. The hull came out much better after the reset, but did require considerably more of the Elmer’s wood filler than my other projects.
That wraps up the major hurdles building USS Omaha. I did reprint the main turrets as my original prints of them were too short, I also added caps to the stacks, an extra pair of long boats and changed the searchlight platforms a bit. Basically all the yellow bits (other then the lower hull) were reprints or additions to the initial design.
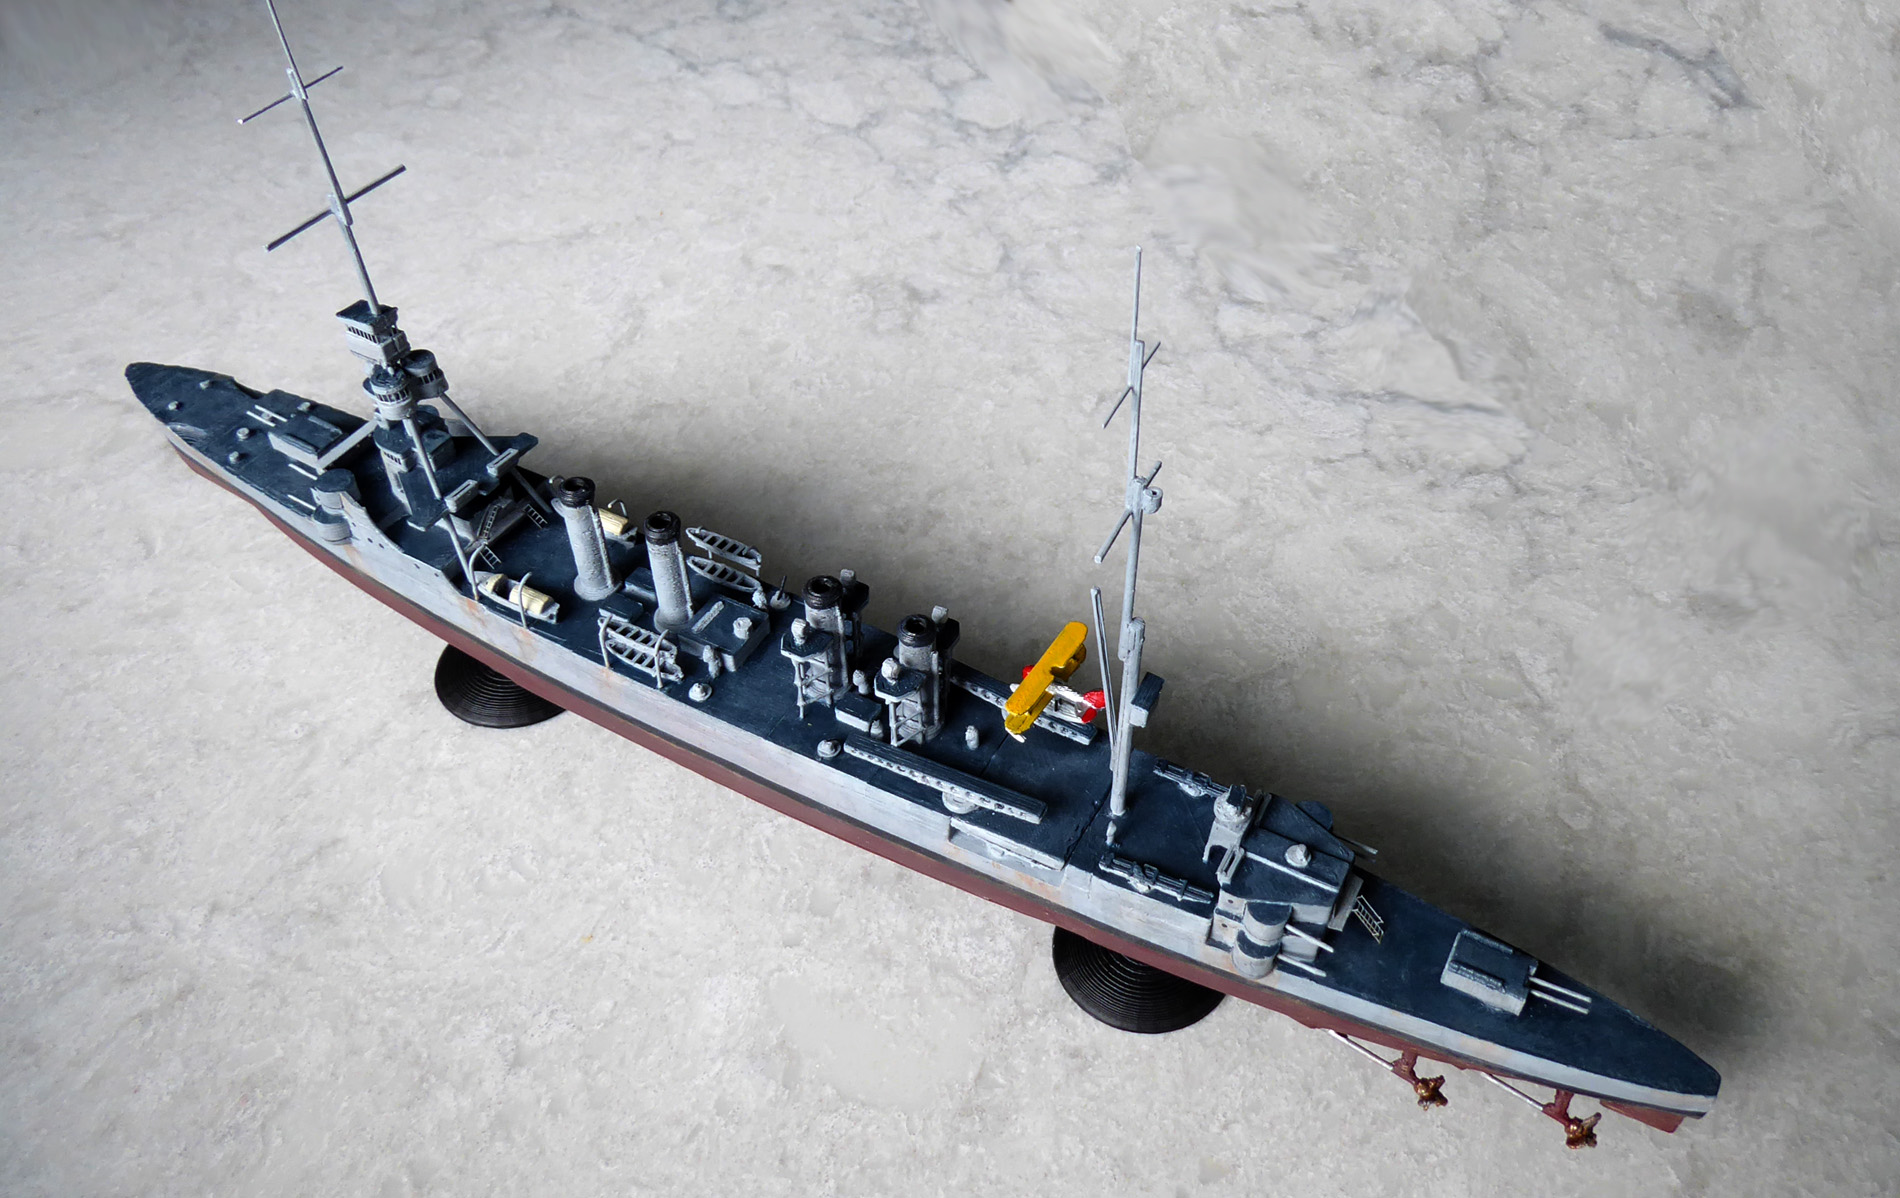
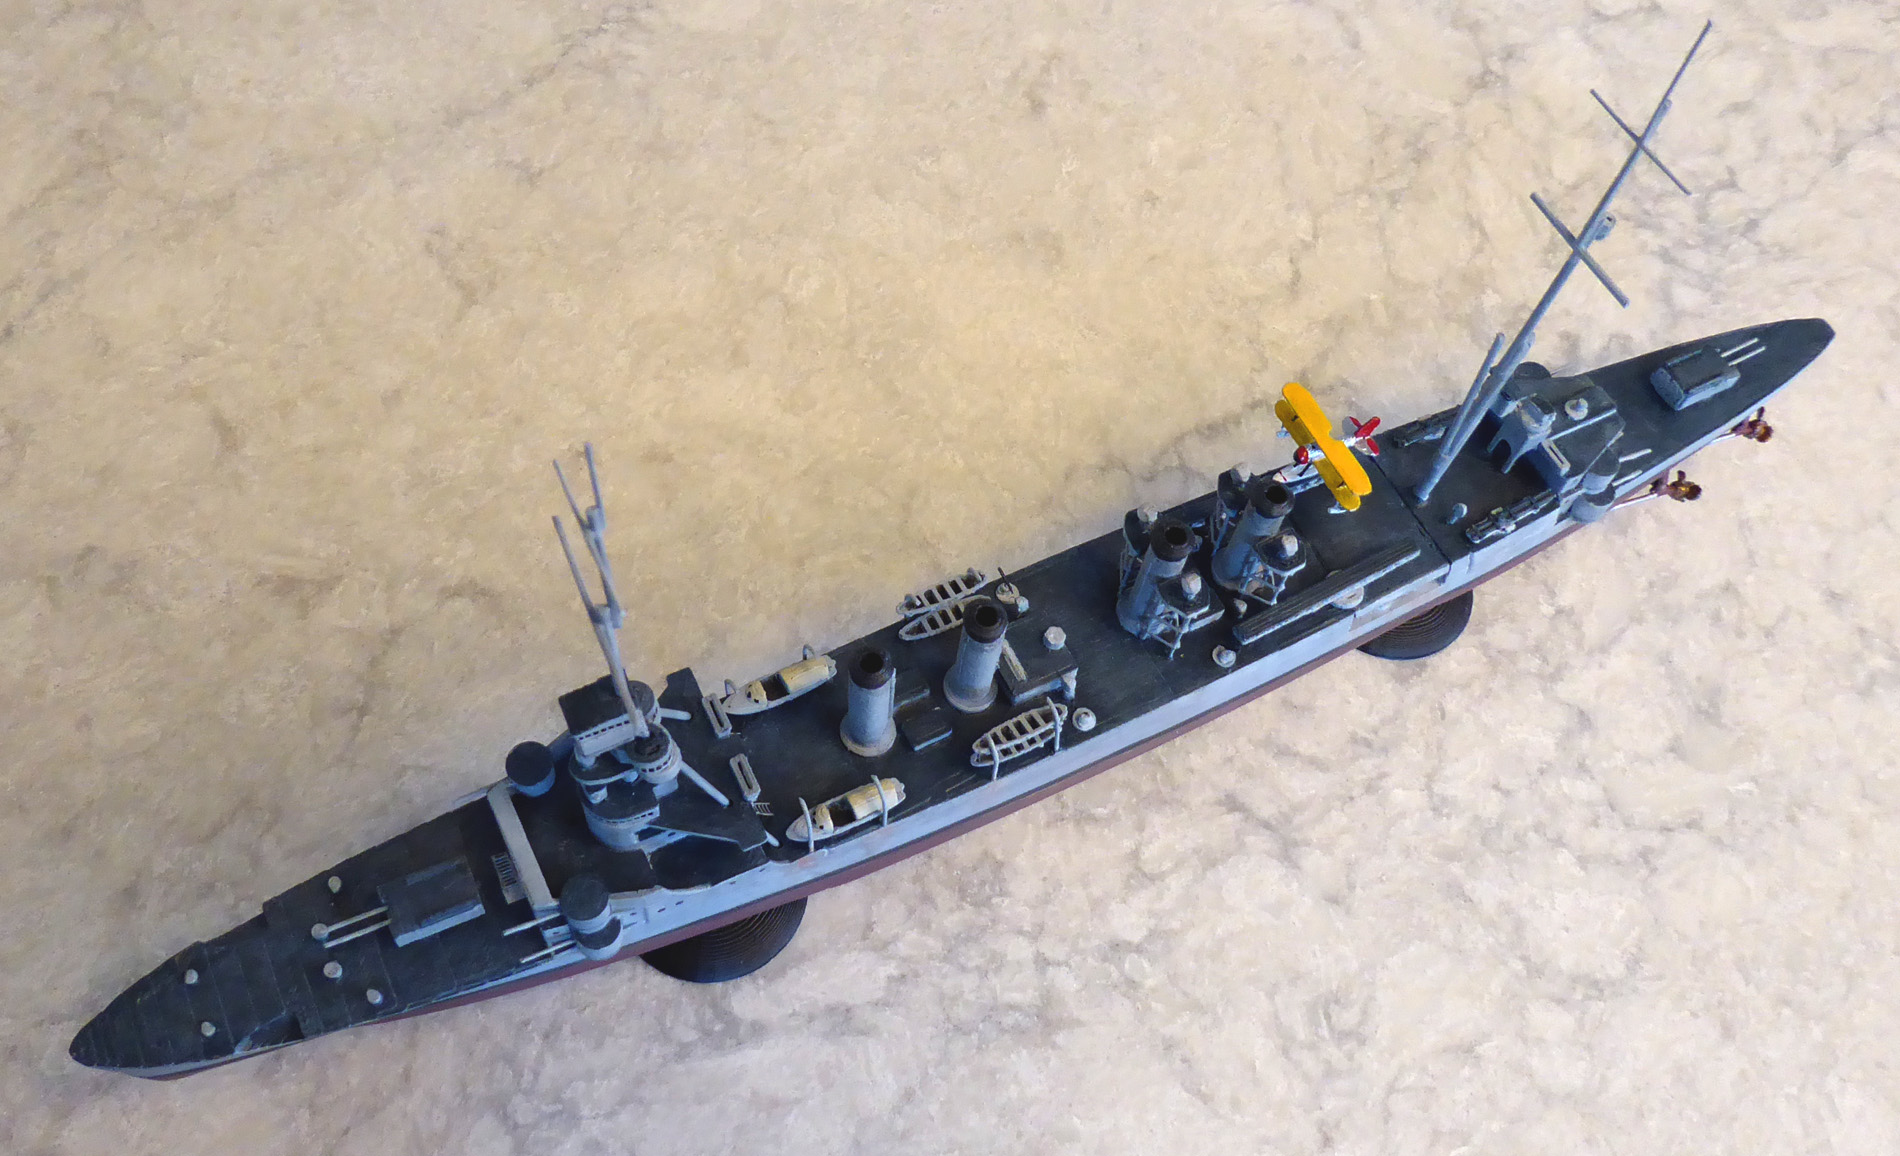
Like my last three 3D printed warships, I’ve decided not to put rigging and full photo etch on Omaha, so she’s done
for now…
Joe how can i get a 3d omaha or stl file to buy ?
Hello Gabriel,
I looked for an Omaha 3d design on Sketchfab.com and quickly on Google, nothing even close.
and unfortunately I’m not ready to do anything with my Omaha design yet.
It’s very crude, one of my earliest designs made with XYZmaker.
I’m in the process of Blenderizing all my XYZmaker designs and hope to be selling them on Sketchfab in a year or so.