3d printed tank models
Posted: January 1, 2021
Happy New Year everybody!
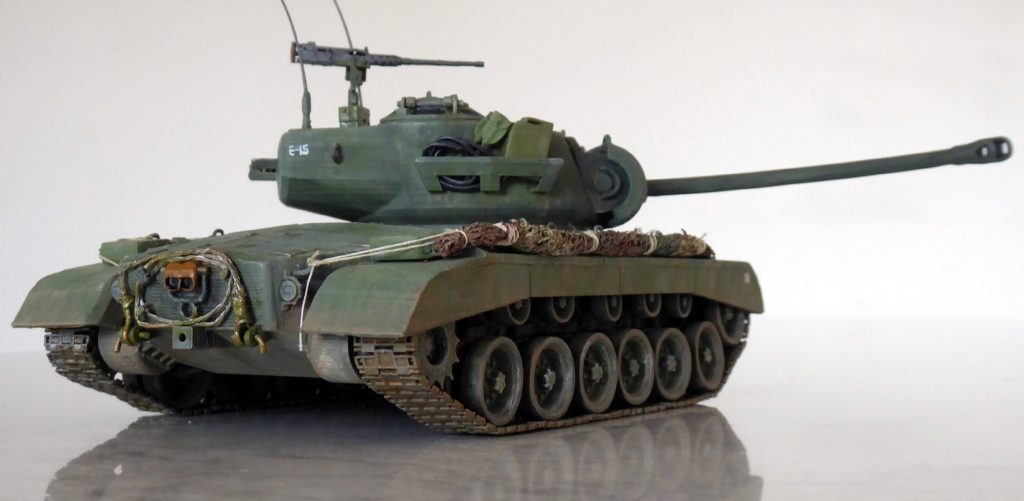
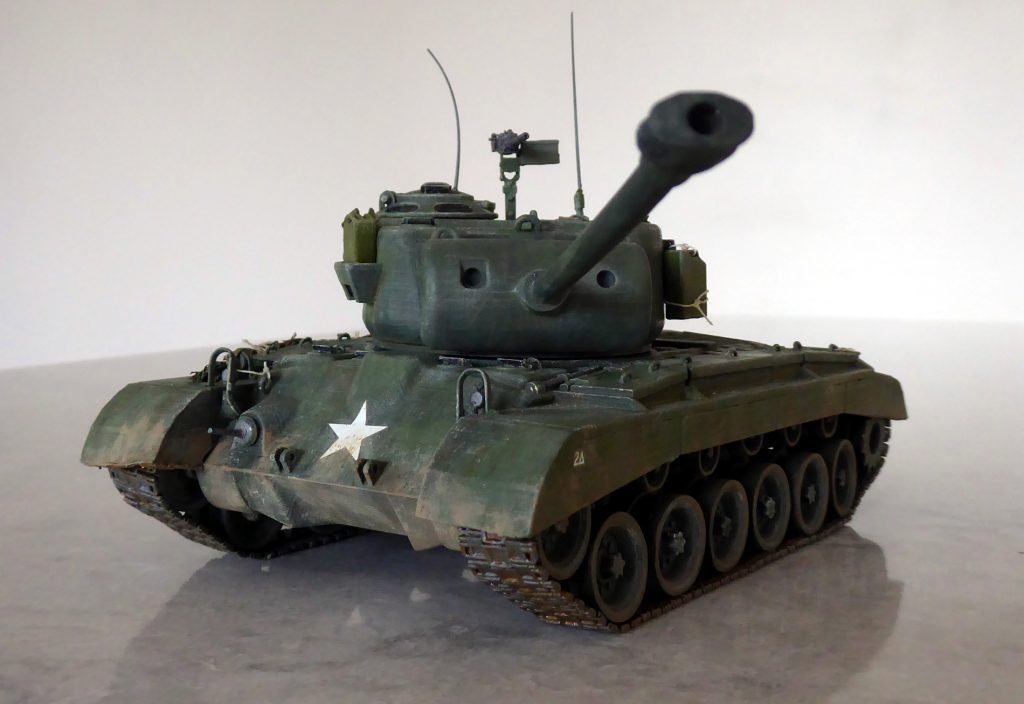
My WW2 US m26 Pershing heavy tank project is complete!
I’d been working on my M26 Perching design off and on since I’d finished my King Tiger project in June. The Tiger needed a foe and I’d found an excellent ‘view only’ example of a Pershing on Sketchfab.com. My Blender design relied heavily on it and I’d never have been able to do the undercarriage justice without it. Even with a guide, I managed to miss some details and get others wrong. I felt I’d finished the design several times, only to find another picture online that told me it wasn’t. The design incarnation I pulled the trigger on and actually printed, while nowhere near perfect, is one I can live with.
Armor = larger scale & more detail
In general I find working in the larger armor scales requires more precision than the smaller ship scales I’ve done most of my Blender work in. Small detail omissions, errors and intentional design simplifications are hardly noticeable in 1/450 scale but seem glaringly obvious in 1/35.
As with my latest ship models, I used both my Ender 3 Pro and LD-002r printers on this project. You’ve probably figured this out but in the pictures below, the black parts were printed on the Ender 3 Pro, while the gray parts were printed on the LD-002r.
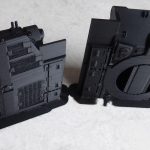
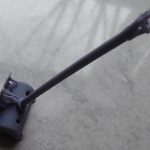
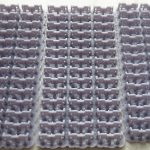
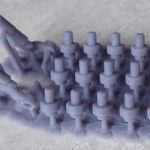
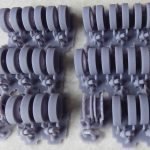
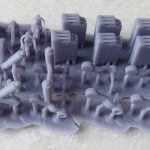
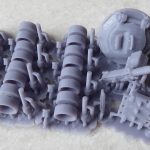
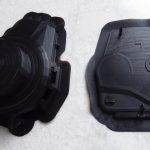
The Ld-002r did a great job of adding the finer detail parts, in hind sight I wish I had used it more.
Printing and assembly
Printing for this project went surprisingly well. Even though I printed the LD-002r bits in an unheated shed with temps only in the high to mid 30s, I still had no trouble with the printers.
Once started the actual assembly went pretty smooth. Though if I ever build this model again I’ll definitely make some design changes. I missed a flaring of the rear fenders and the treads and wheels were a pain to assemble. They were designed to be functional but I couldn’t pull it off. I ended up just gluing them all together. In a larger scale – it totally would have worked!
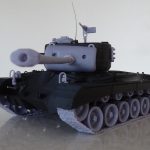
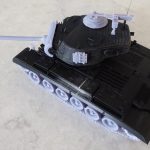
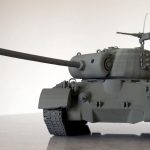
Finish work
With the design, printing and initial assembly complete the hard parts were done. After applying a quick primer coat, I got ready for my favorite parts: adding fine details, finish painting and weathering.
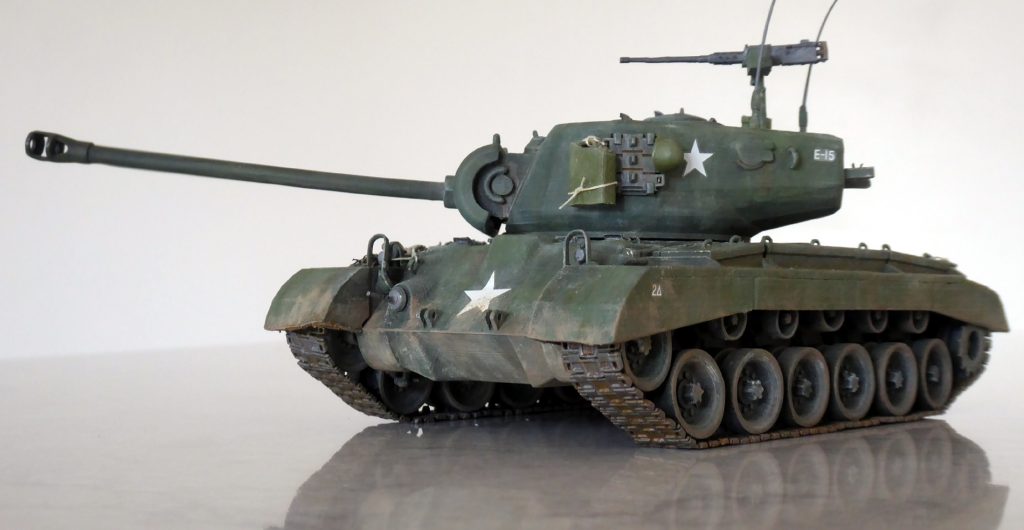
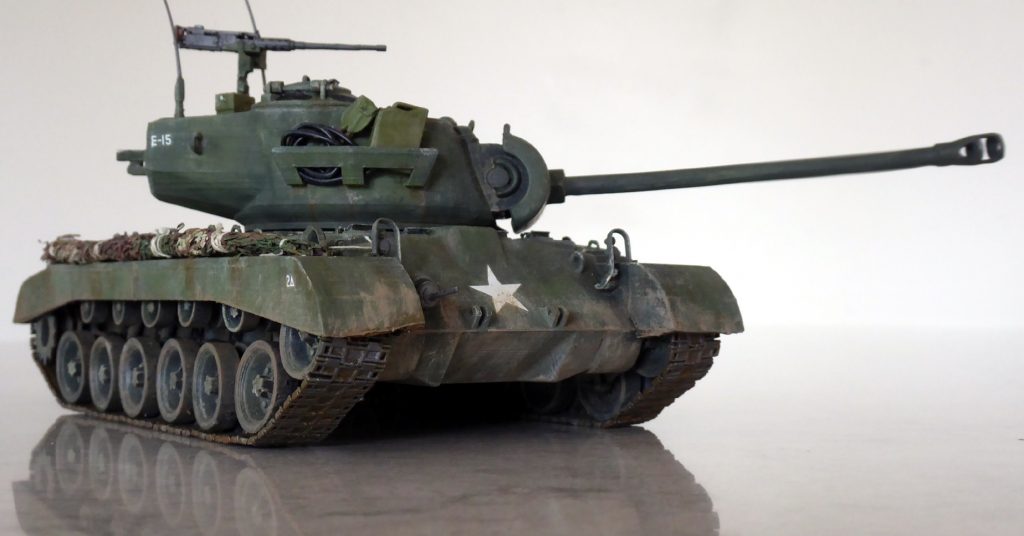
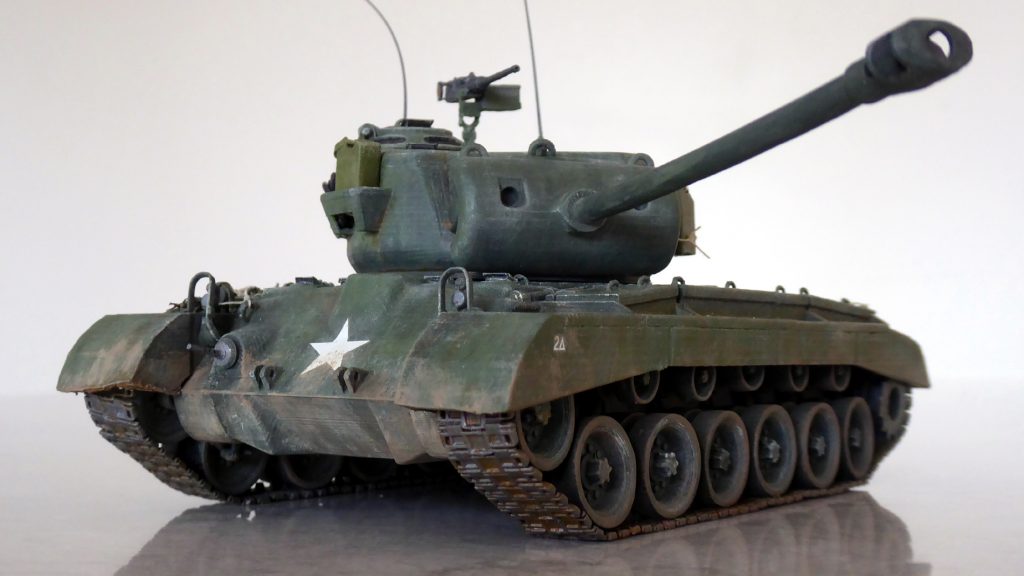
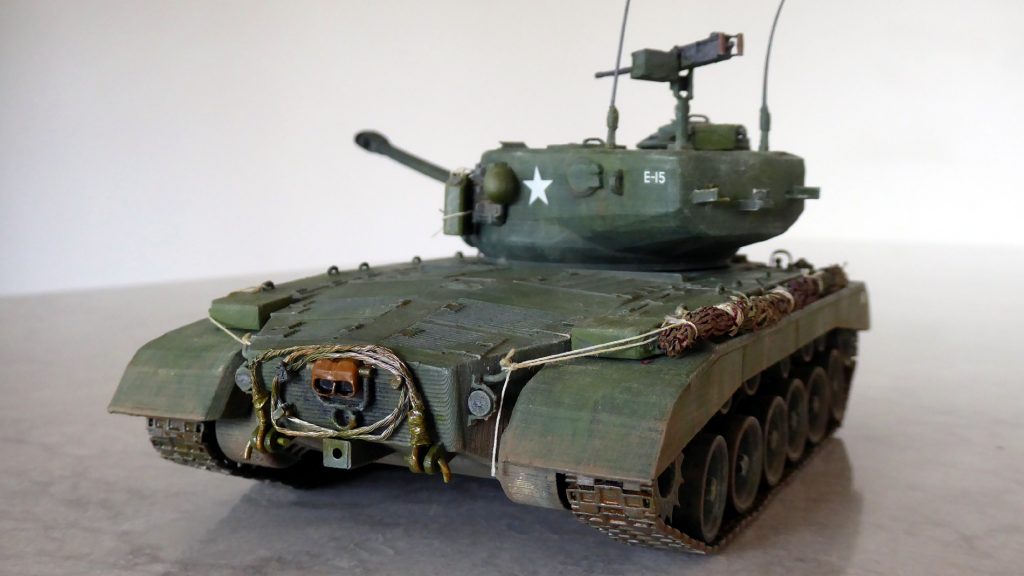
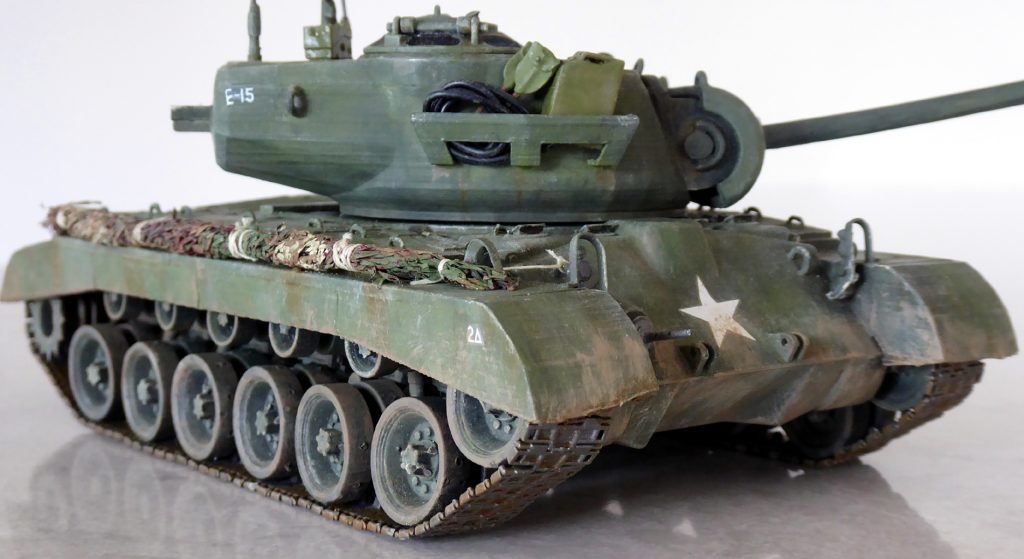
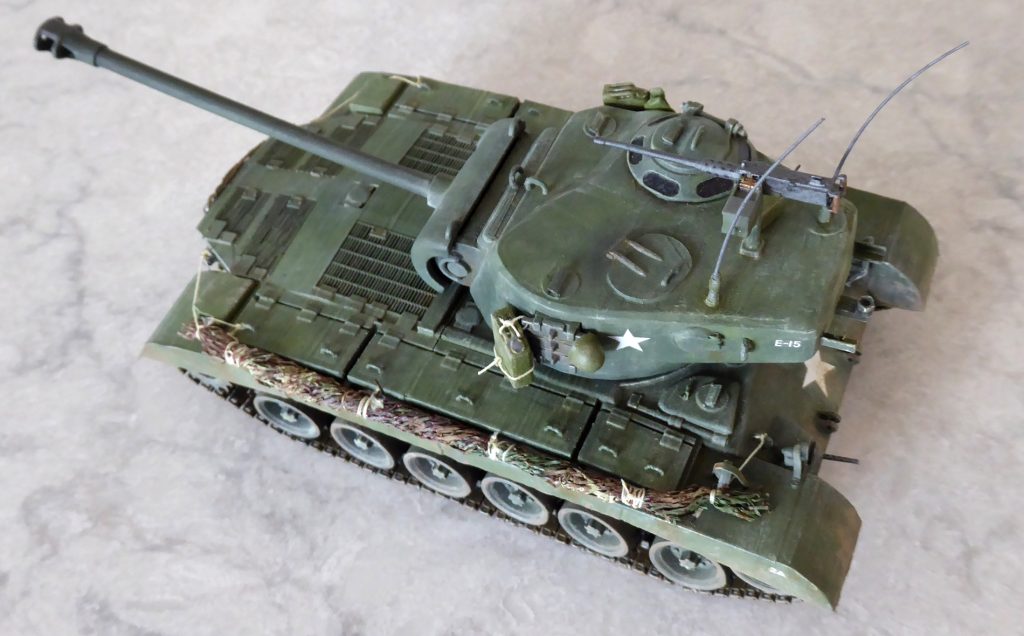
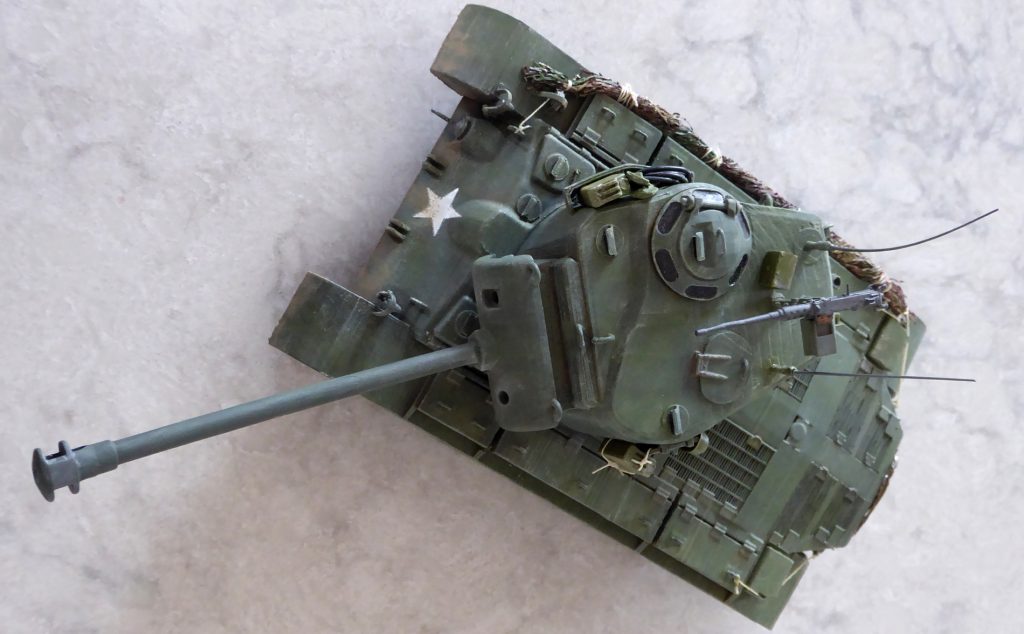
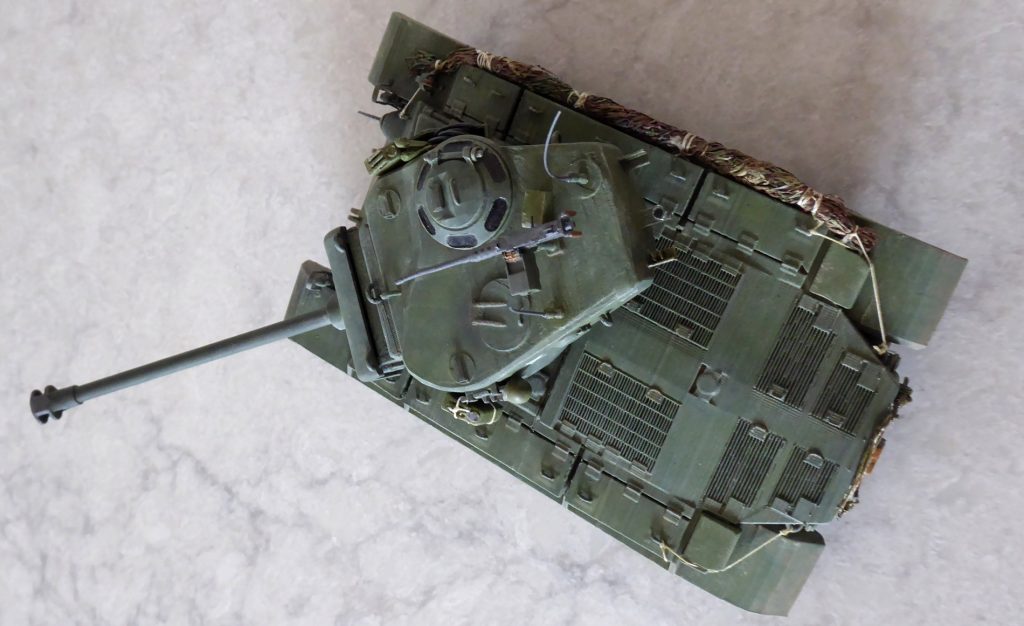
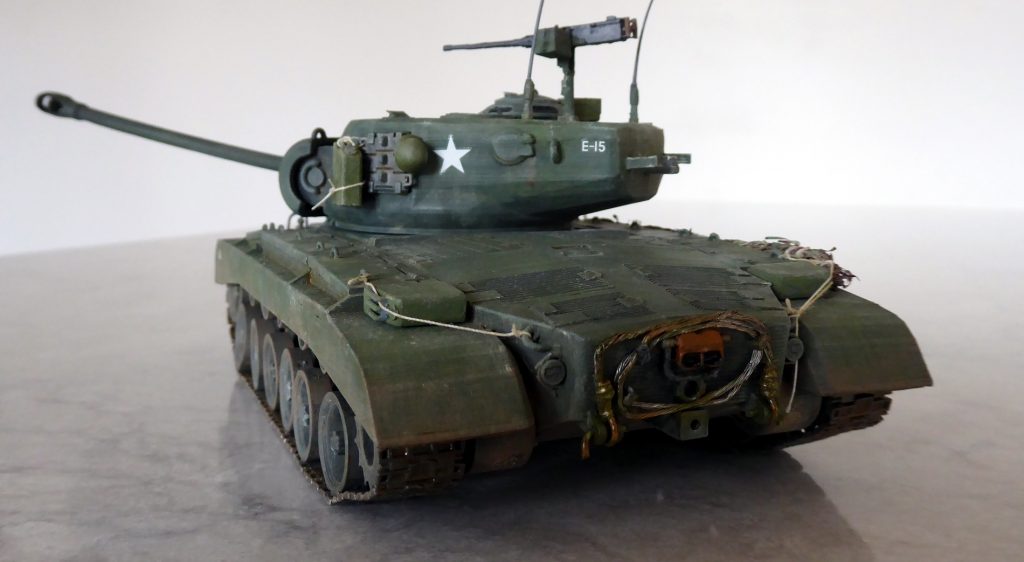
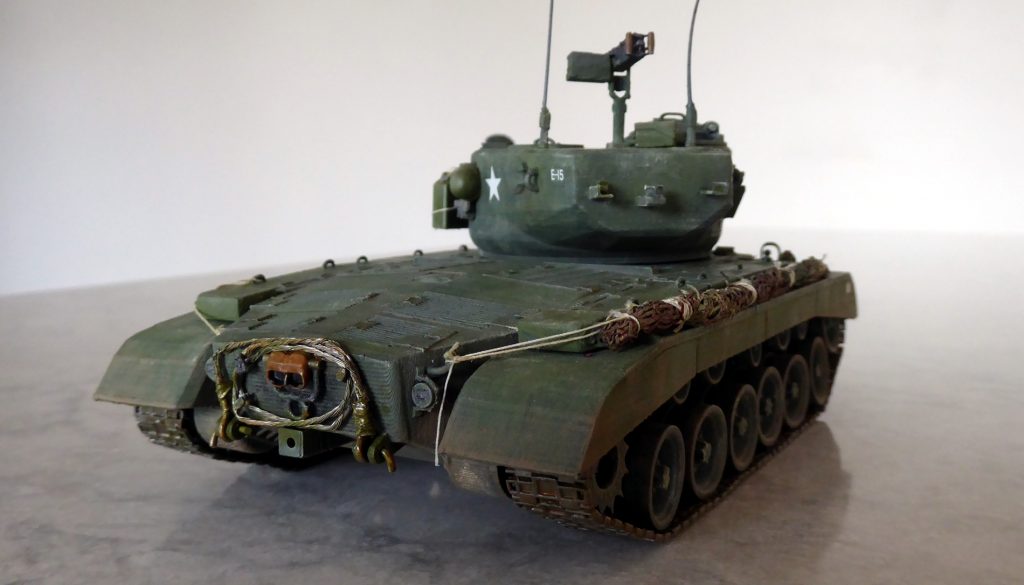
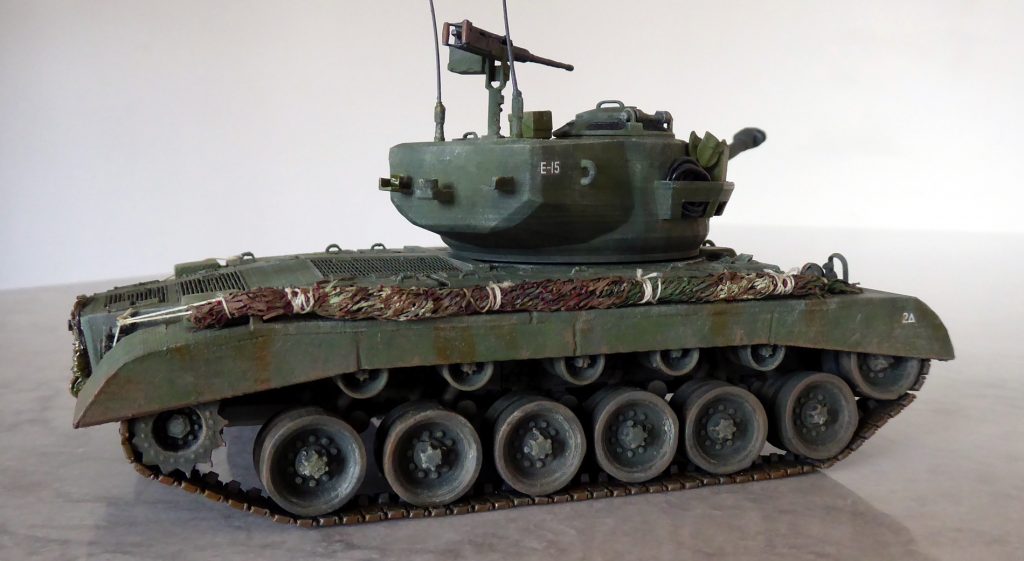
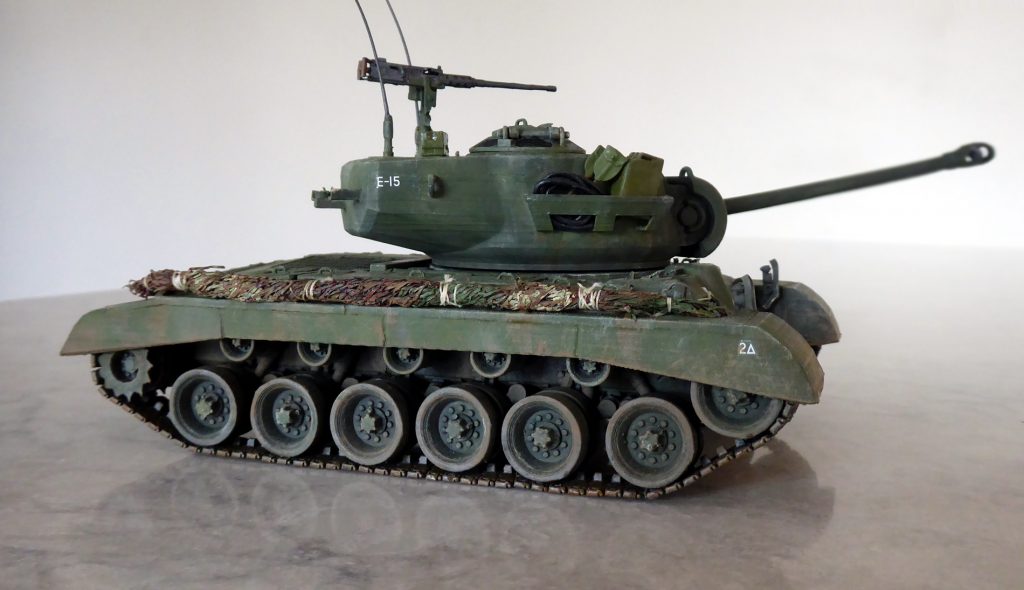
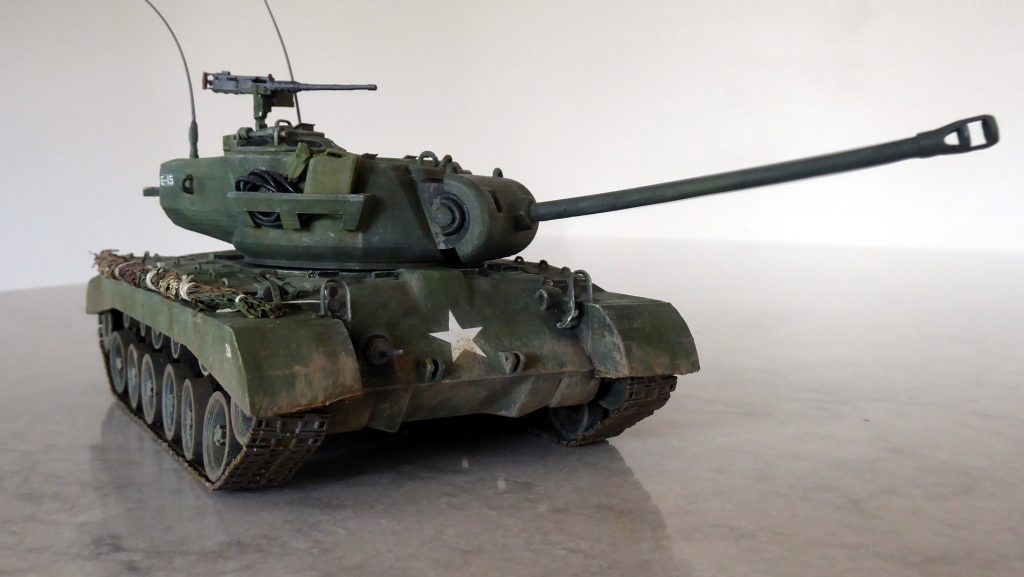
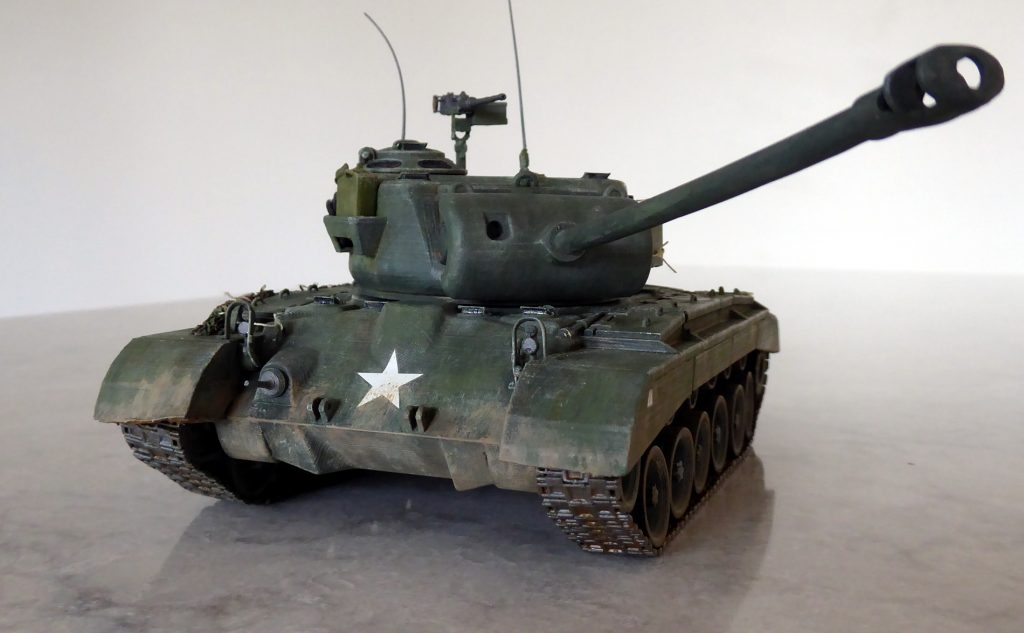
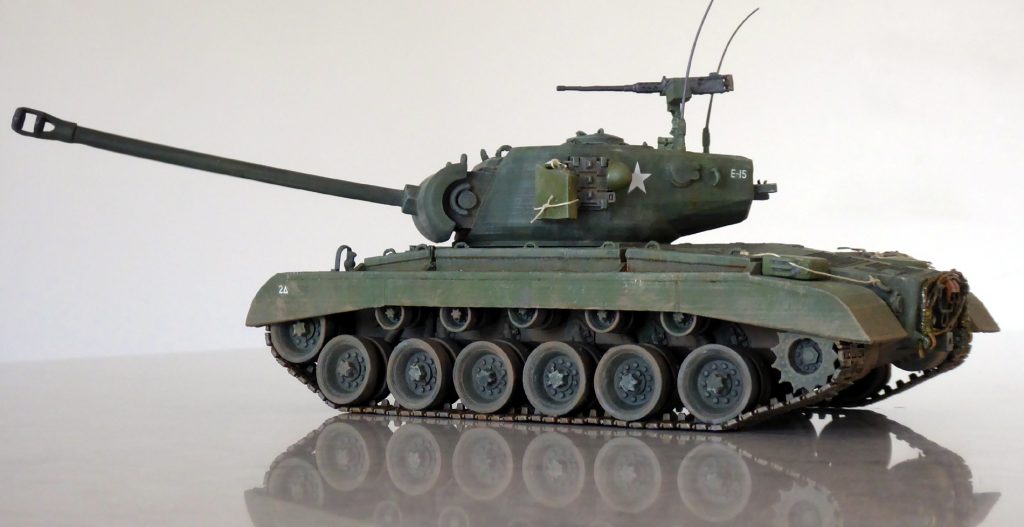
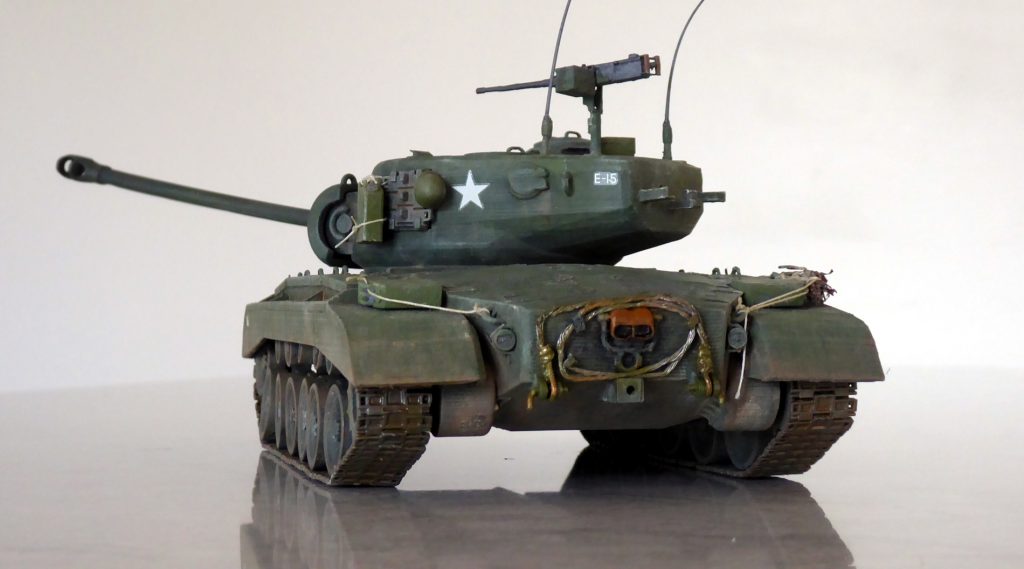
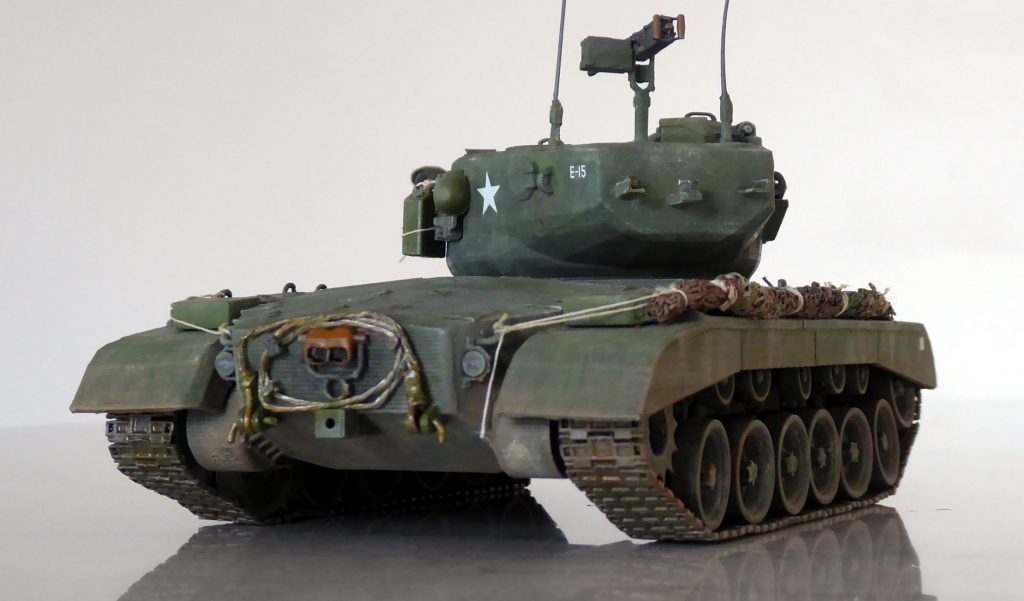
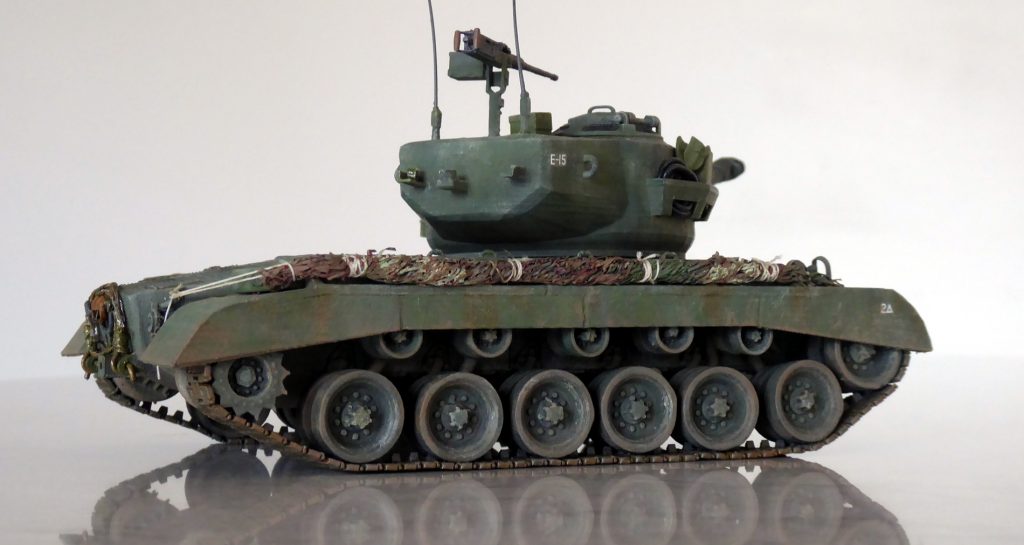
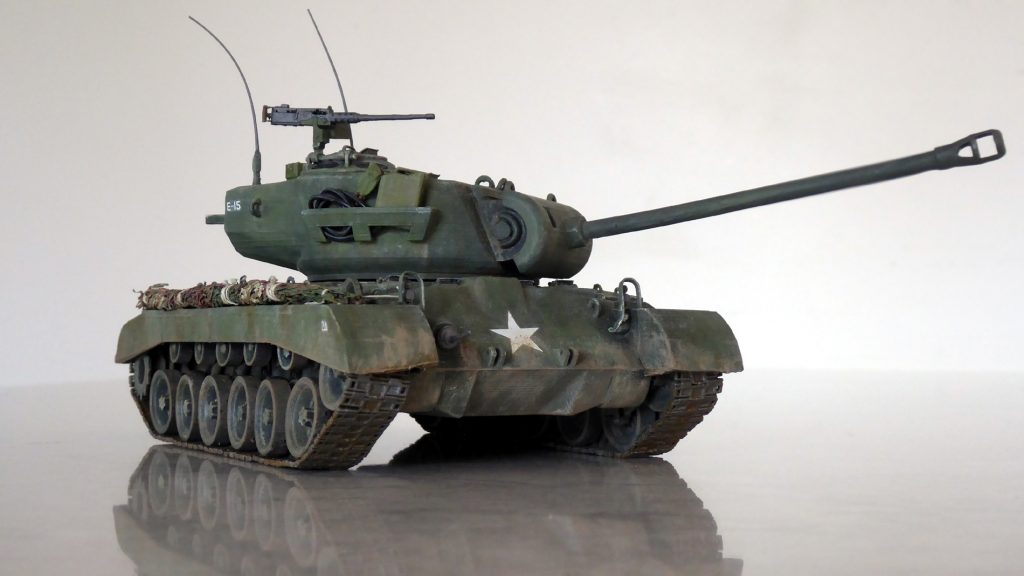
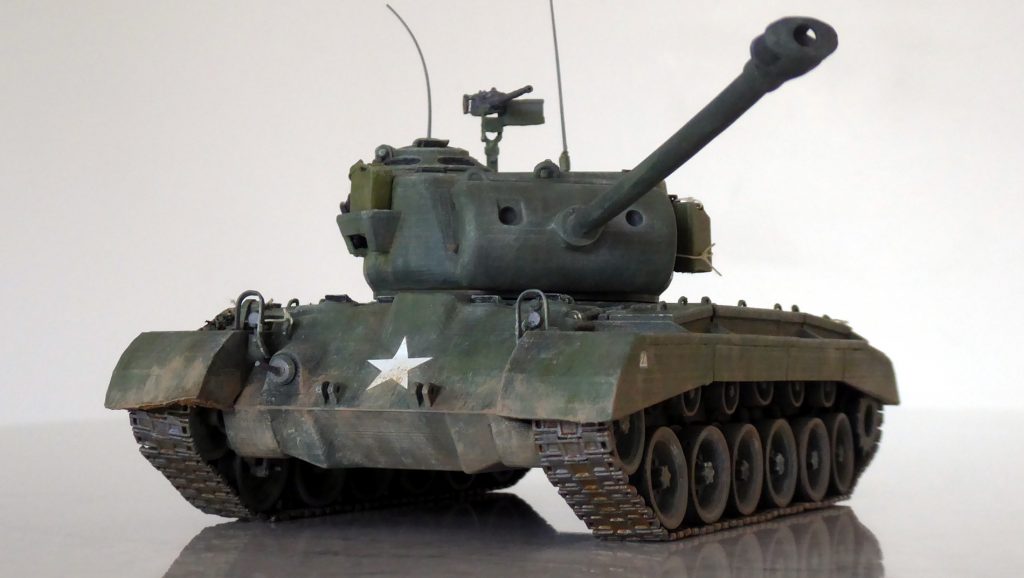
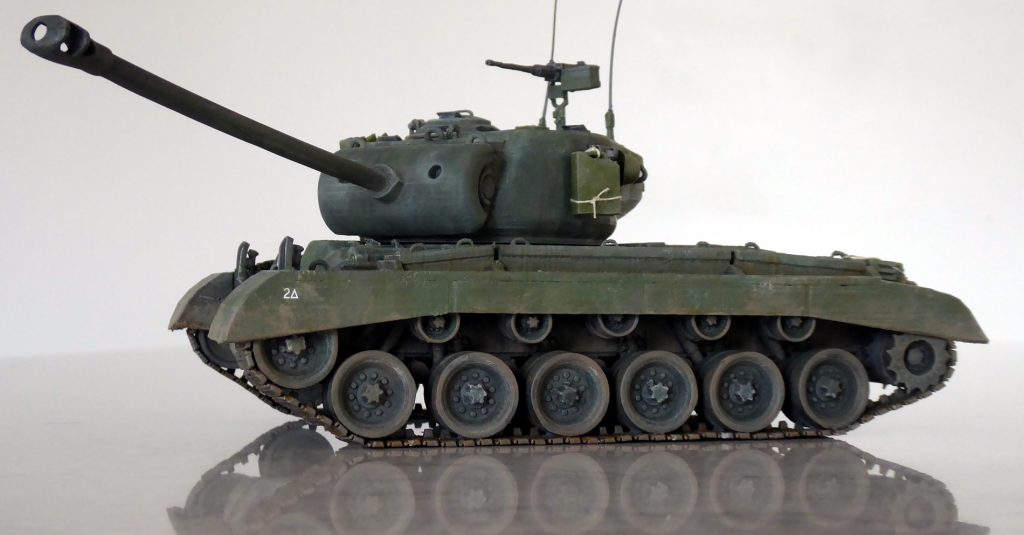
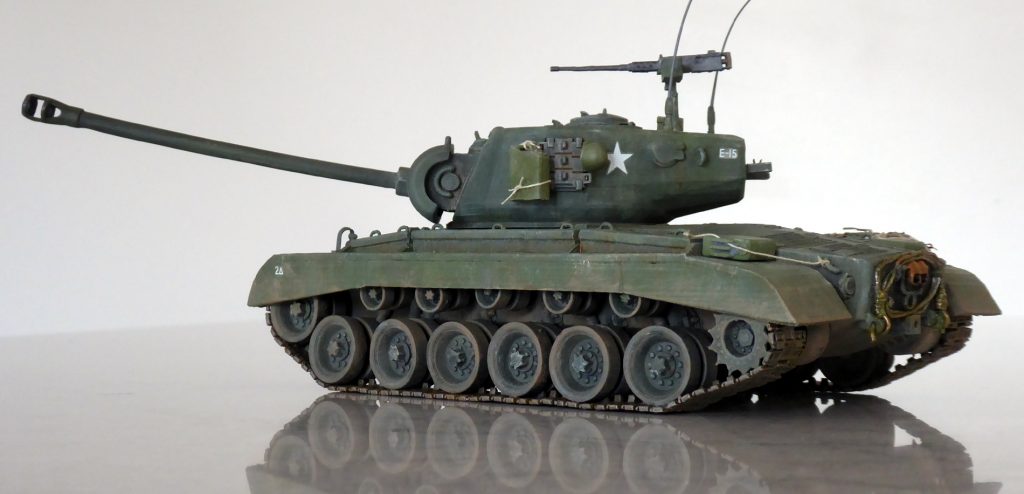

The tow cable mounted on the rear required a bit of innovation (and about 6 inches of shielded coax cable and a soldering iron). Long story short: I twisted the fine weave of silver colored insulating wires for my tow cable and soldered two end loops (made from the coax cable’s inner copper wire) onto the ends.
Conclusion
I couldn’t be happier with the outcome of this project. The Blender design work, printing, assembly and painting all went extremely well. And tricking the Pershing out with decals, weathering and a scratch built tow cable was a blast.
I’m totally remembering why my 15 year old self loved building armor.
I’ve a new favorite 3D printed model.
Update: June 17, 2024
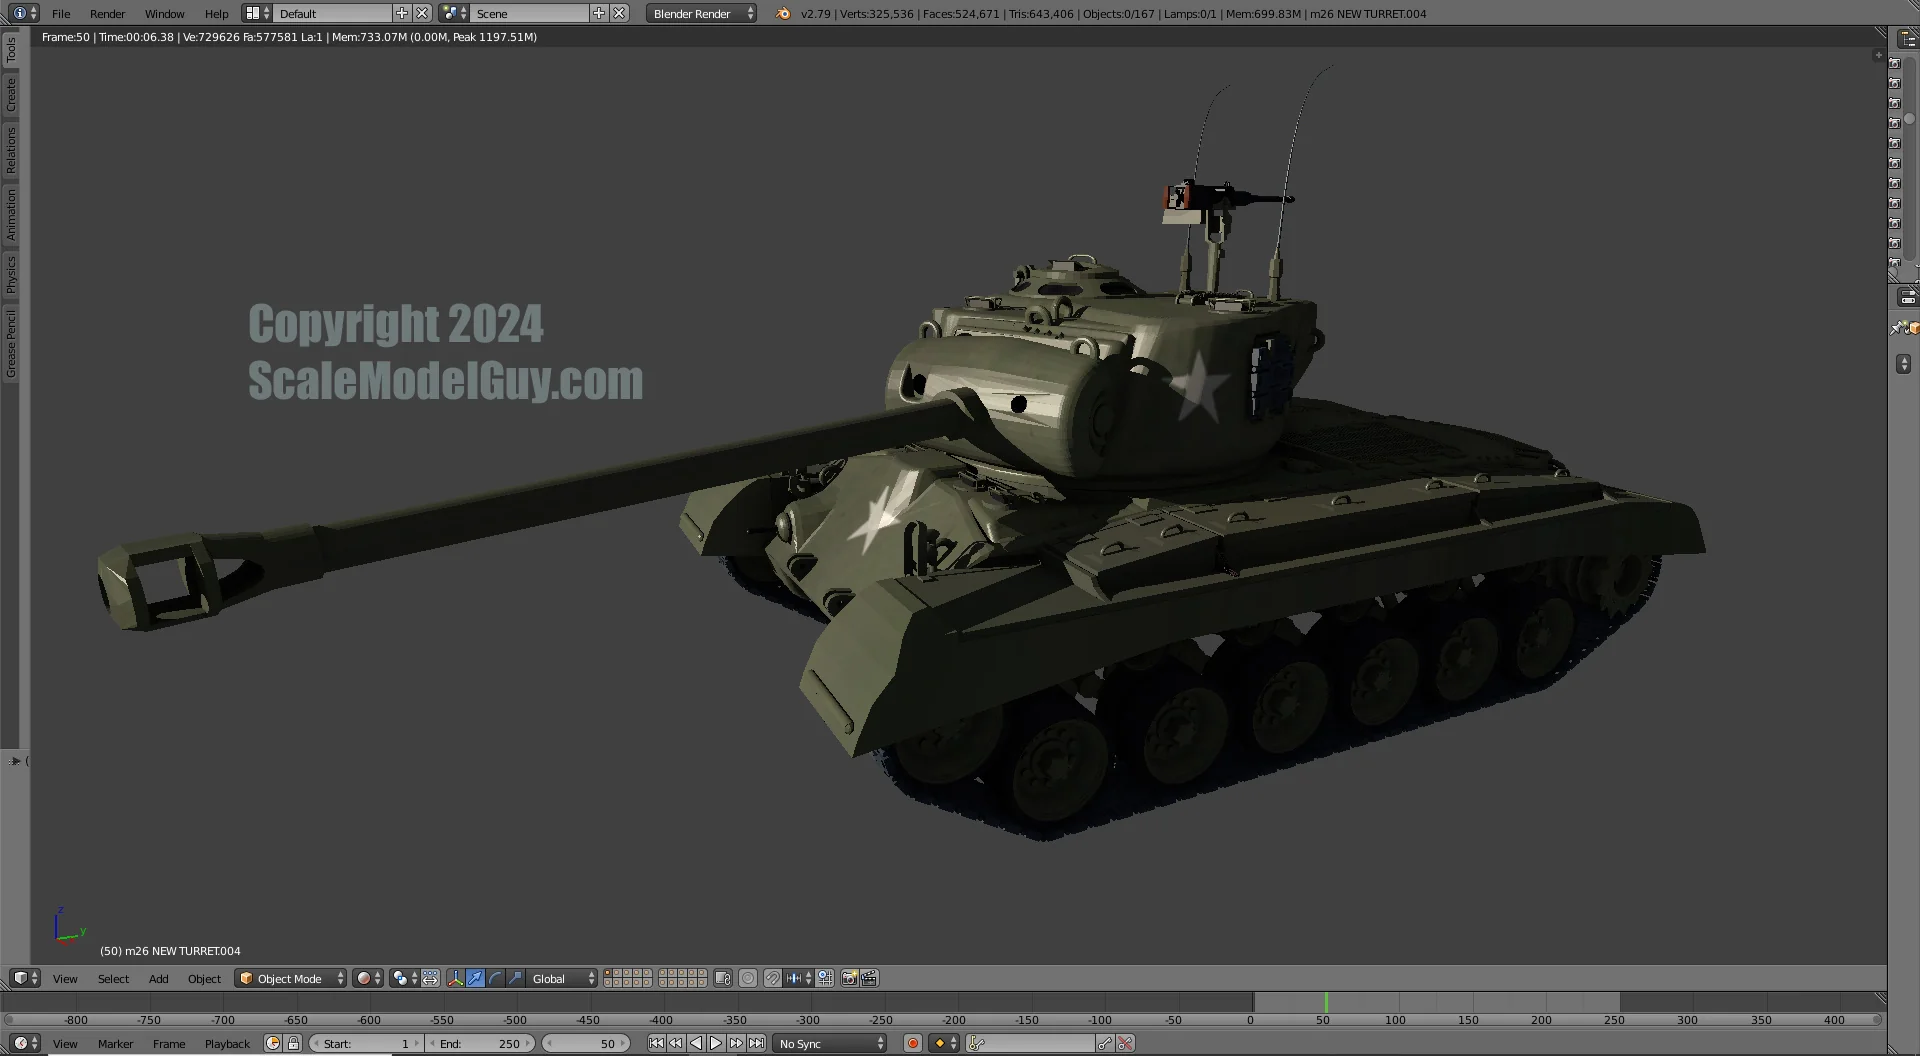
This was one of my favorite projects and even after calling the Blender design good enough, printing and building it, I continued to putz with it’s design as I became a better Blender user. The render below is it’s current and hopefully final state, but like my other do-overs, I’ve know clue as to when I’ll actually have the time to re-print and build it.
Is it possible to upload the model onto mediafire? I want to print a few for a war movie.
Thank you for your interest but I hope to sell this Pershing model (and others) at some time in the future, likely on Sketchfab.com. Unfortunately I currently don’t have the time and more honestly, the motivation to due so.
I am excited to hear that you plan on selling the files for these models. Do you have any idea of when we should be able to expect to be able to purchase these?
Unfortunately not too soon… The state of my models when I’m done with them, is not one suitable for sale. Typically they are 80%-90% completed as one model, then I start breaking them into segments that are printable, the individual model segments are then tweaked and completed separately then printed. Till now I’ve had no reason to put Humpty back together into one sell-able model. Also some of the best models I’ve built are based on other peoples work and I’d have to contact and negotiate to do anything with them (and I doubt the original owners have any incentive to do so). And it gets worse… Of the models that are all mine, only this Pershing is of a quality I would consider selling. All my earliest models that are also all mine are relatively primitive and the models poorly executed.
Joe –
Thank you for the post. We all think our babies are beautiful, but it’s nice to hear someone agrees! Gaining the ability to design and 3D print your own models is both fantastic and awful. I no longer have excuses for not making that model I’ve always wanted (other than too much work or time… lame) And if I make it and it’s not great I can’t blame the manufacturer or the kit!
PS – You wouldn’t be Anton from the forums of FineScaleModeler would you?
Wow. Just wow. Nicely made man. Nice to see that at home 3d printing, and of course the skills, can accomplish this.