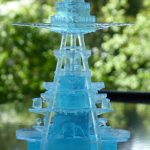
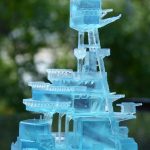
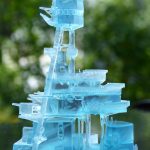
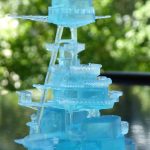
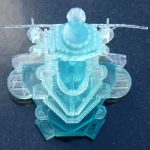
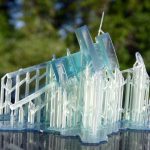
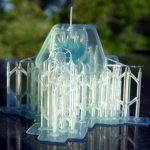
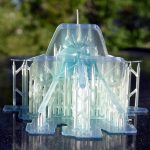
Posted: 7/11/2020
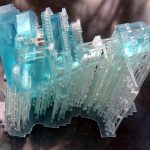
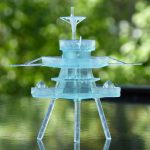
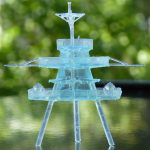
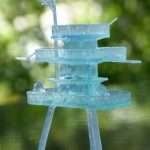
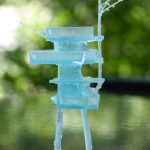
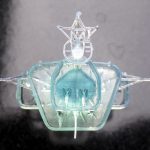
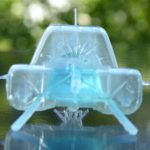
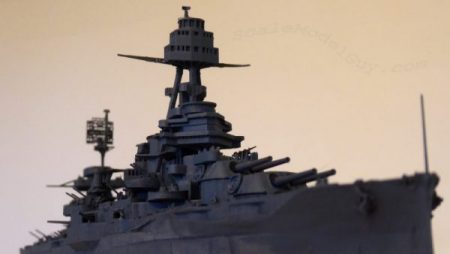
I had recently completed and printed the tower bridges for both my USS Texas and IJN Nagato battleships with my Ender 3 Pro when I ordered my Creality LD-002r printer. While I was quite happy with The Ender’s output I had to print the bridge for USS Texas in multiple figgity parts, clean them up, then carefully assemble them. I was hoping the LD-002r could do a better job and do it in one shot, no assembly required. I was correct!
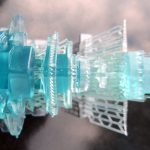
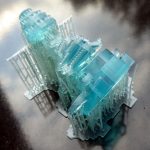
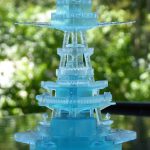
These are the nicest print examples yet from my LD-002r. The main tower bridge piece took 4.5 hrs to print the stern tower a bit over 4. I auto generated the supports (base only) in Chitubox, deleted some supports that looked destructive to the model, then added some back in as needed.
Not one part of these two prints failed or was stuck to the bottom of the resin vat! I printed both back to back without issue. My only gripe is that, again on the backside of the main tower bridge there was a bit of the slag resin buildup I mentioned in my first LD-002r post. not too bad though as I angled the print so no surfaces were parallel to the build plate (as much as I could) but there is still a muddiness noticeable. The backside detail is definitely not as crisp as the front
The hardest part was pruning the multitude of supports away from some of the more delicate structures without breaking them. Once the majority of the supports were gone, cleaning up the tiny nubs where they had attached to the model was also tricky and time consuming. Still the end product is a vast improvement over the Ender 3 Pro’s output, both in level of detail and time needed for post processing.
I had originally planed to replace the towers on my current USS Texas project with the new LD-002r parts. I now want to totally redesign and construct a new USS Texas from scratch, printing as much detail as possible with the LD-002r and using the finest settings on the Ender 3 Pro for the remaining large hull pieces.
We’ll see…
I’m struggling to get really crisp details on my LD-002R with the same resin you mention here. Would be willing to share your print settings before you slice in chitubox?
Sure, with the clear blue ELEGOO water washable UV resin shown, I used the following Chitubox settings:
Layer Height: 0.05mm
Bottom Layer Count: 8s
Exposure Time: 7s (6 if there are a lot of filigree design elements)
Bottom Exposure Time: 50s
Light-Off Delay: 0s
Bottom Light-Off Delay: 0s
Bottom Lift Distance: 5mm
Lifting Distance: 5mm
Bottom Lift Speed: 65mm/min
Lifting Speed: 65mm/min
Retract Speed: 150mm/min
With the opaque gray resin I only changed Exposure Time: 8s
PS: I tend to get soft/muddy details on the underside of my printed designs, especially if they have flat surfaces parallel to the build plate. I try to angle them to the build plate so they sit like a V and not like an L