
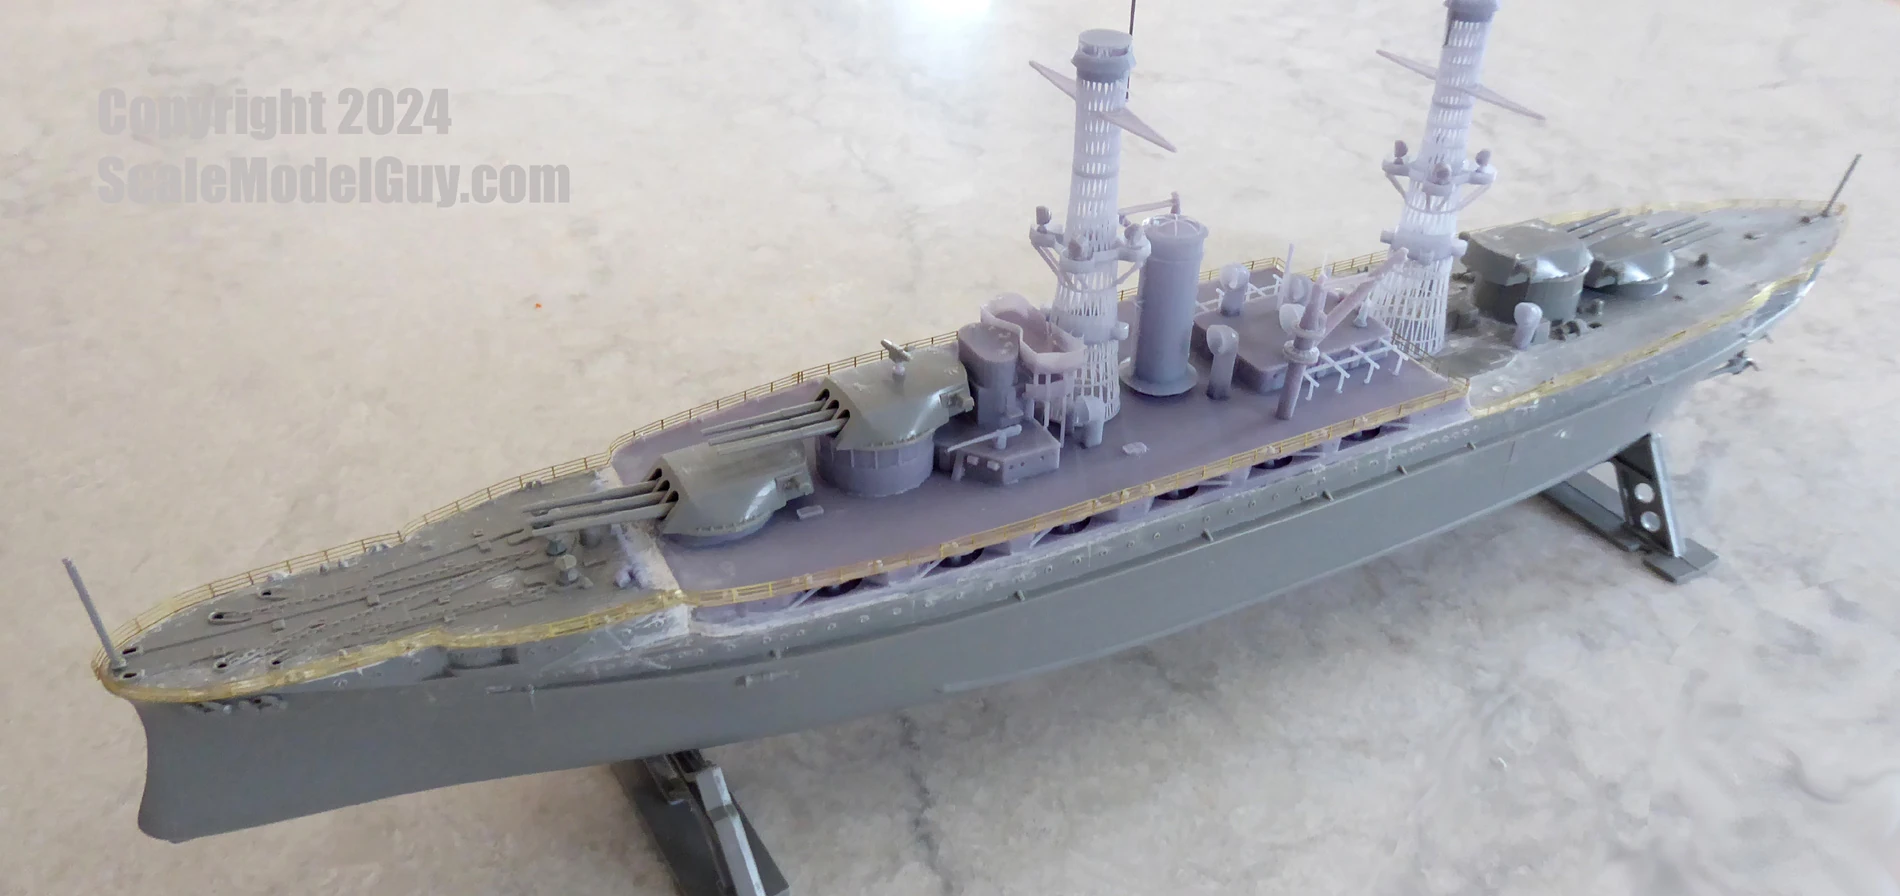
American super dreadnought USS Arizona circa 1917
Update: June 28, 2024
Two forward, One Back
This Revell USS Arizona conversion effort has had more than a few setbacks, and I need to credit a poster on the Fine Scale Modeler forums, ddp59 (aka: Dave) for being brutally honest and pointing them all out. While his delivery has been downright troll like and never, ever sugar coated, he’s been right every time, and I appreciate the honesty (but please, never, ever, become a doctor). I’ve even proactively fixed a few issues because I was sure he was just queuing them up for the next time I posted that this project was done. Dave, if I could buy you a beer I would, I owe ya.
So at the risk of tempting fate (aka: Dave), apart from the rigging, she’s done – again.


Update: June 16, 2024 (Edited)
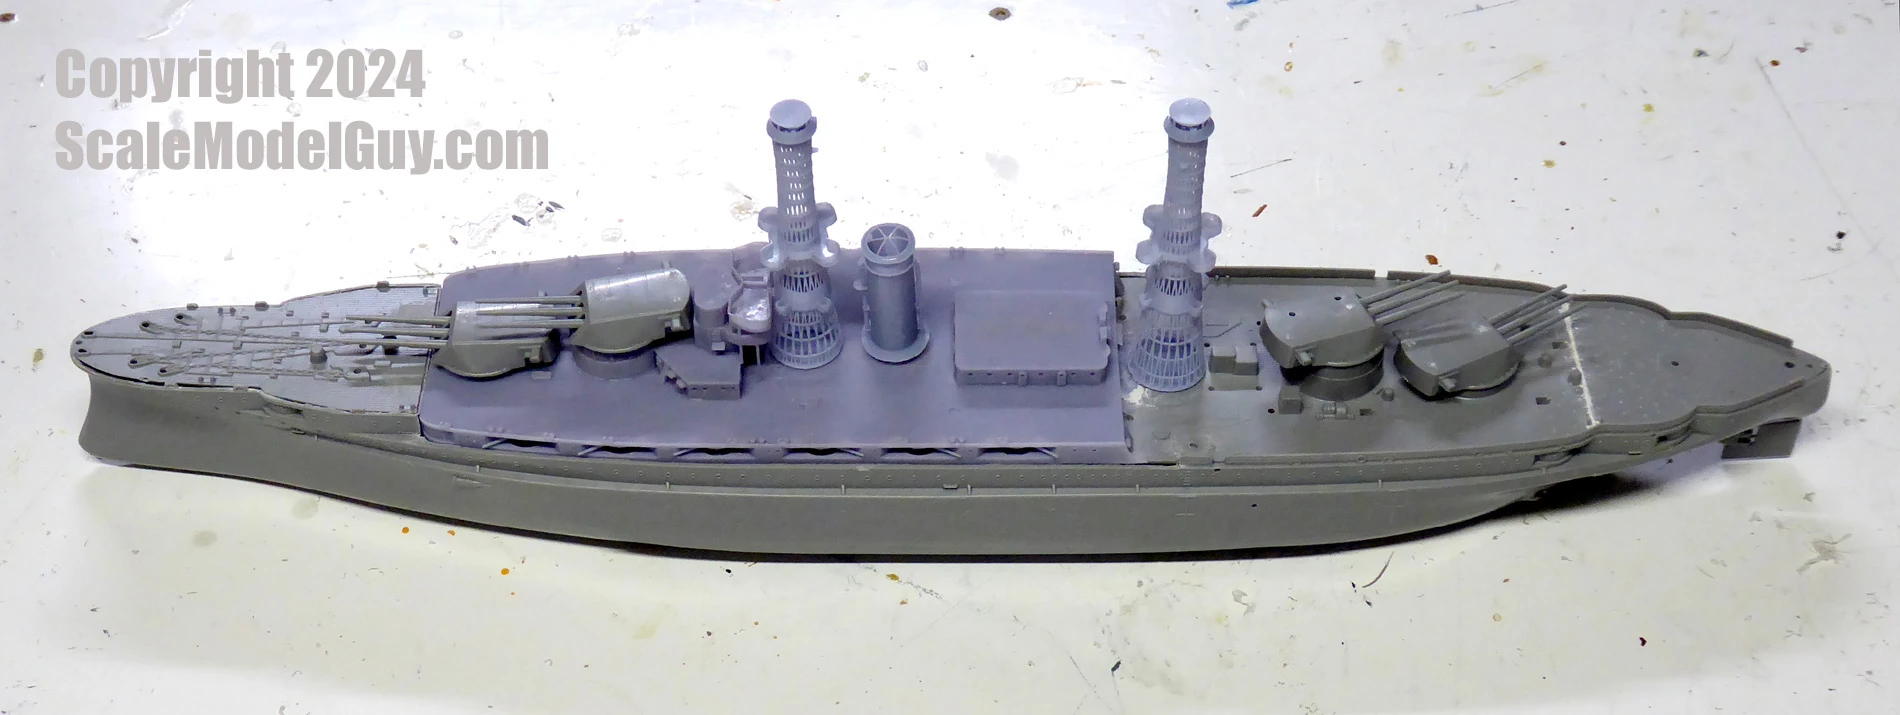
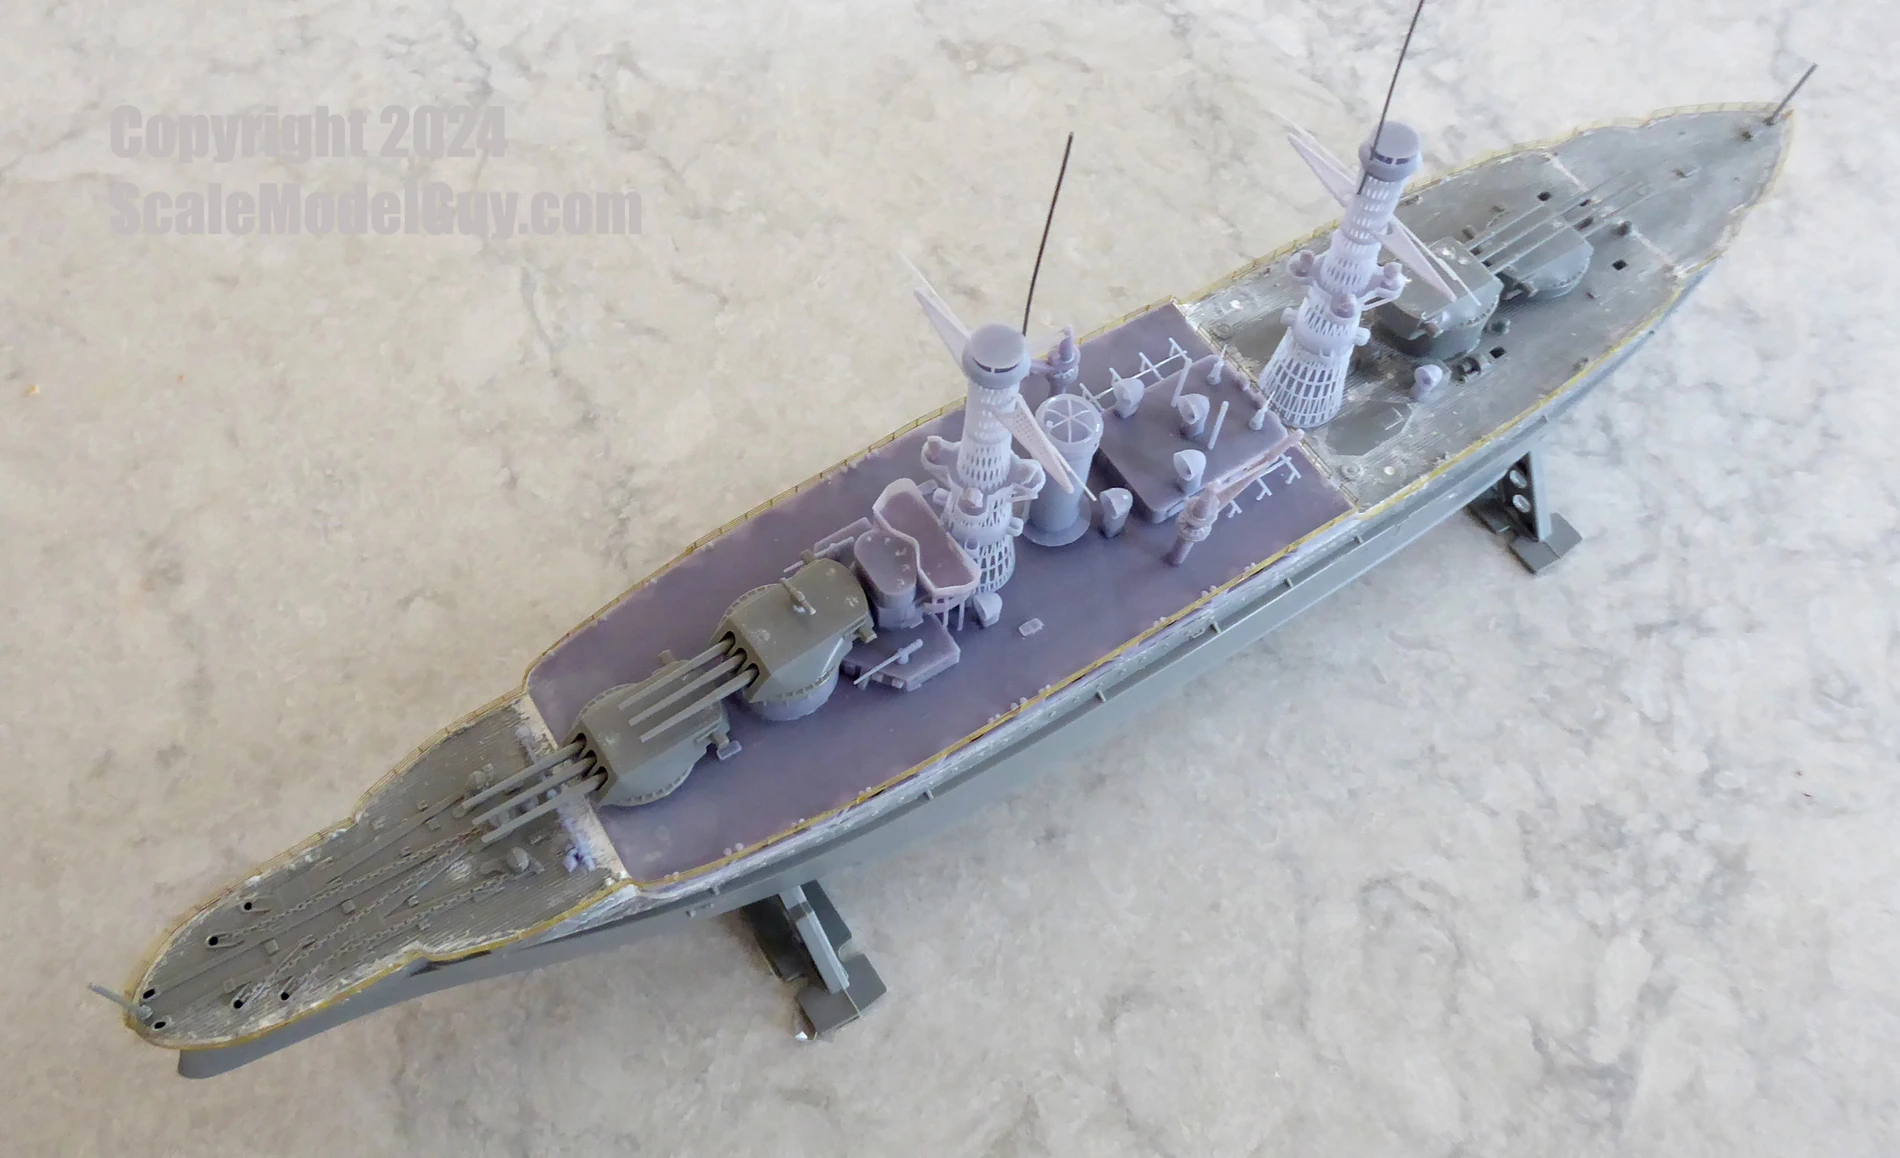
The below comparison pictures were taken the previous time I thought I was done. Before Dave mentioned that the cage mast rods were too thick. They serve as good “before” pictures.
I’ll likely take a break on this project for a bit before tackling the rigging – but you never know.
To finish up, I thought it would be interesting to do a side by side image comparison of the Revell Arizona 1917 conversion to a stock out of box build of the same kit.


Update: June 5th, 2024
Bulk of painting done


Had a chance to do the bulk of the paint job, I still need to do a misc print before construction and painting can be complete. I’d like to get the gun platform and AA guns on the super-firing stern turret and a pair of davits and boats flanking it. I also want to add a few life preservers to the PE rails and a few other miscellaneous bits – then on to the dreaded rigging.
First post: May 30th, 2024
Since I was a 13 year old kid, I’ve wanted a WW1 dreadnought version of the Revell 1/426 scale USS Arizona. I thought it’d be awesome to mod that kit into Arizona’s original 1917 super dreadnought form. But when I thought about scratch building the cage masts and adding back the casemate guns to the hull I’d quickly lose my enthusiasm.
Fast forward about 50 years… I’ve finally done it!
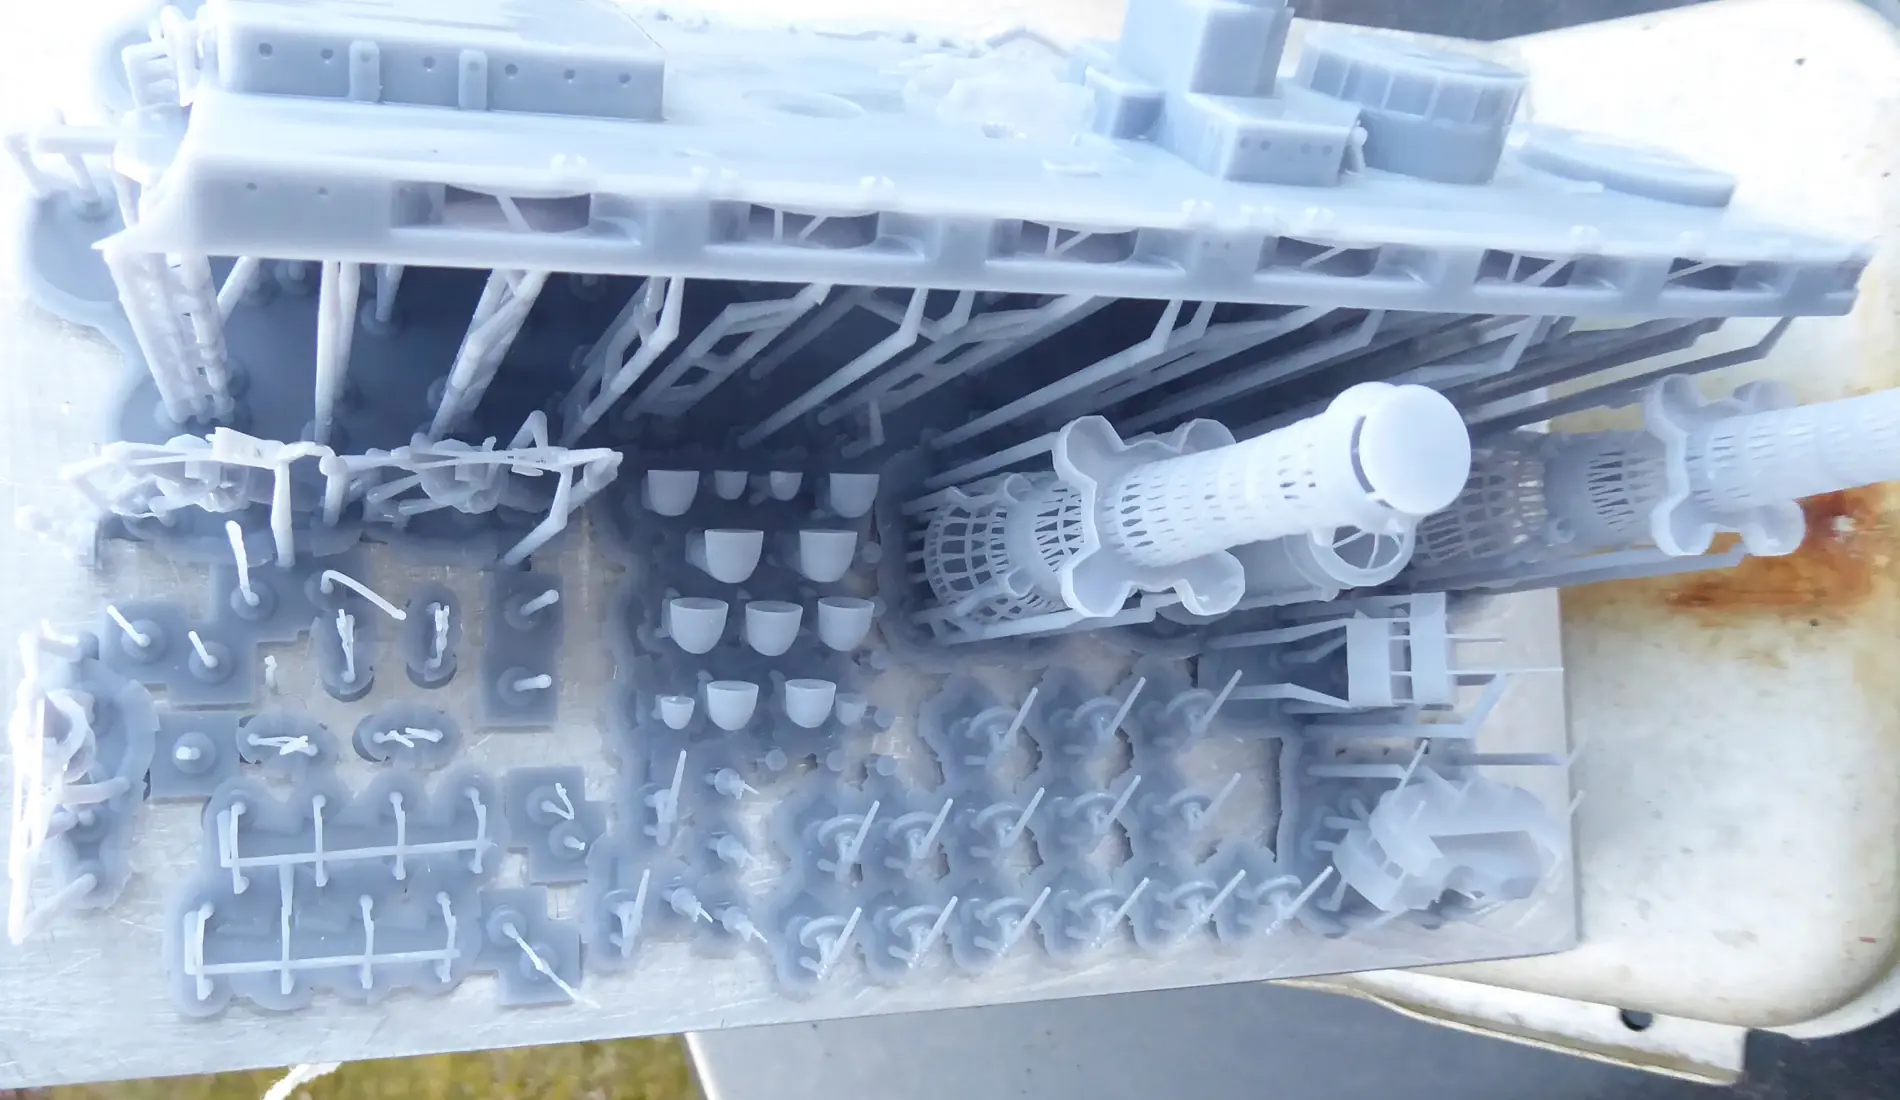
Thanks to the wonders of modern technology, a person with my mediocre scratch building skills can now do what was once thought impossible. Of course that person needed some decent Blender skills and a resin 3D printer, but as luck would have it, he did.


The Blender work went fast and smoothly, I was pretty sure I could fit everything on the Saturn’s build plate, meaning the needed parts could be printed in one shot.

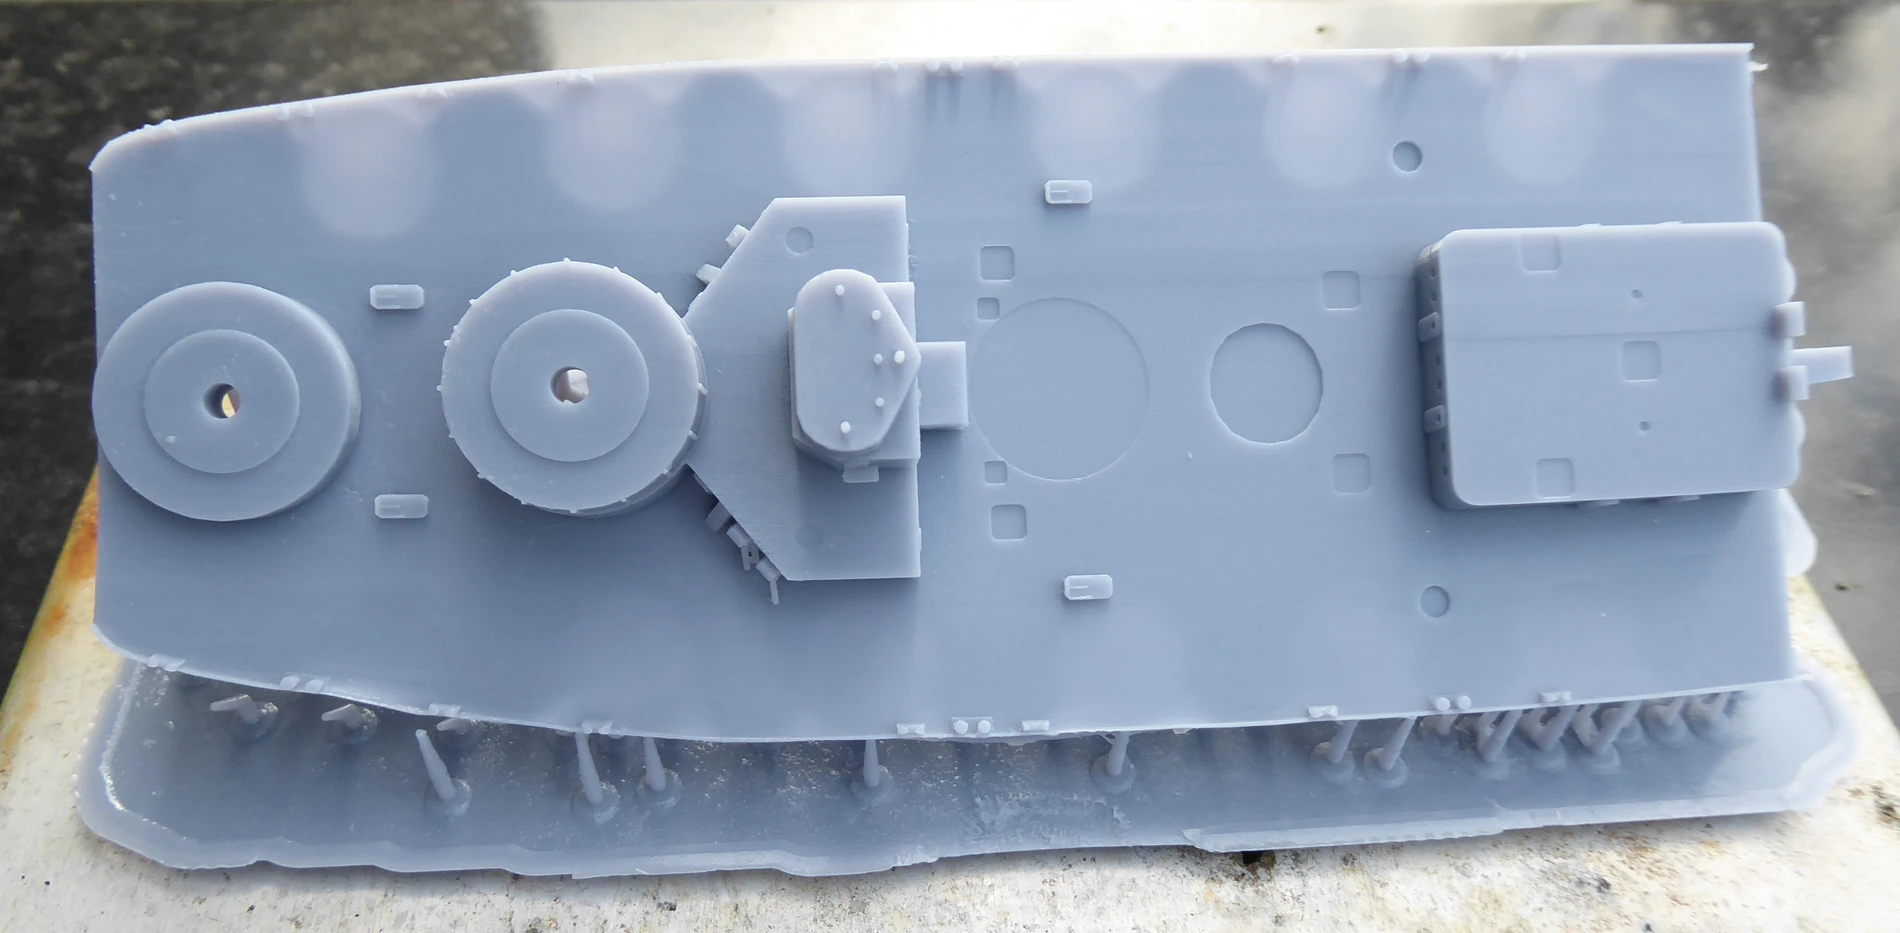
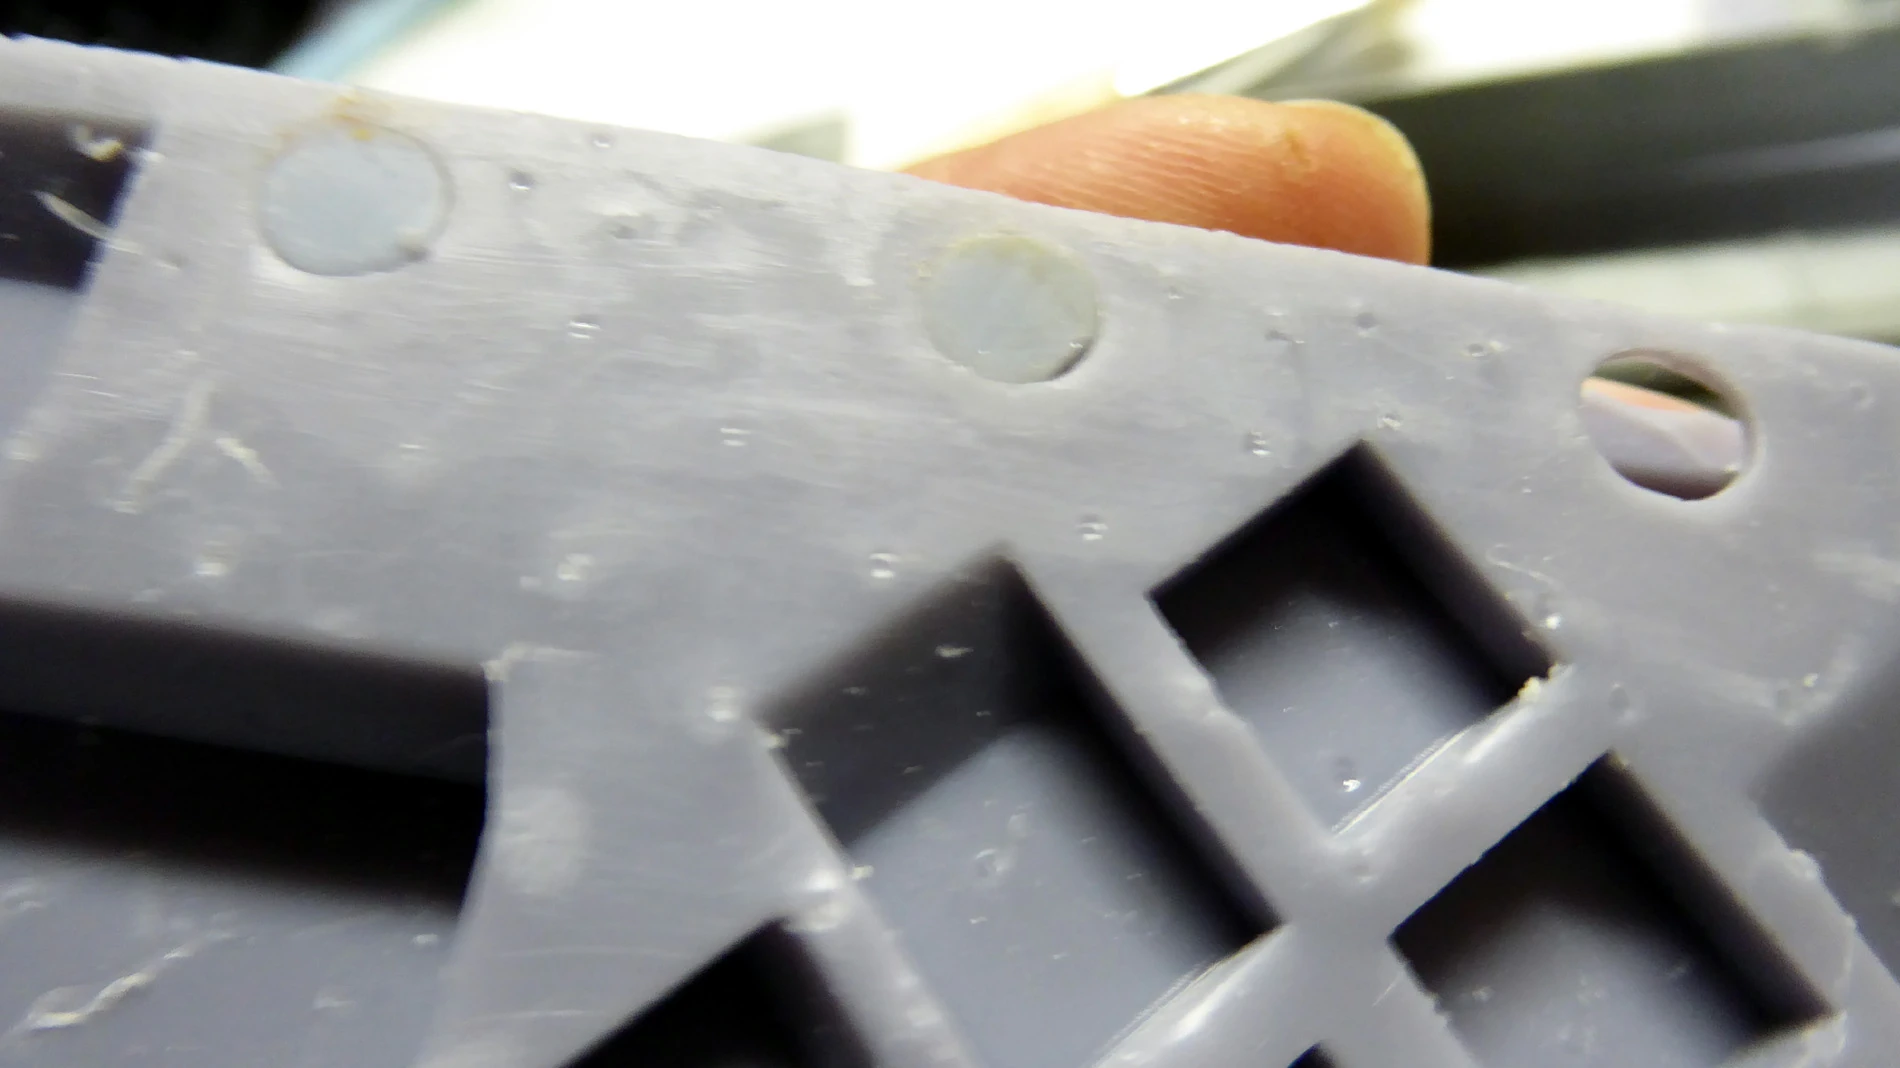
If at first you don’t succeed
Close but not so fast, it may not be obvious in the two shots above but the deck has an unplanned and rather large hole in the center…
OK, so I need to reprint the deck…
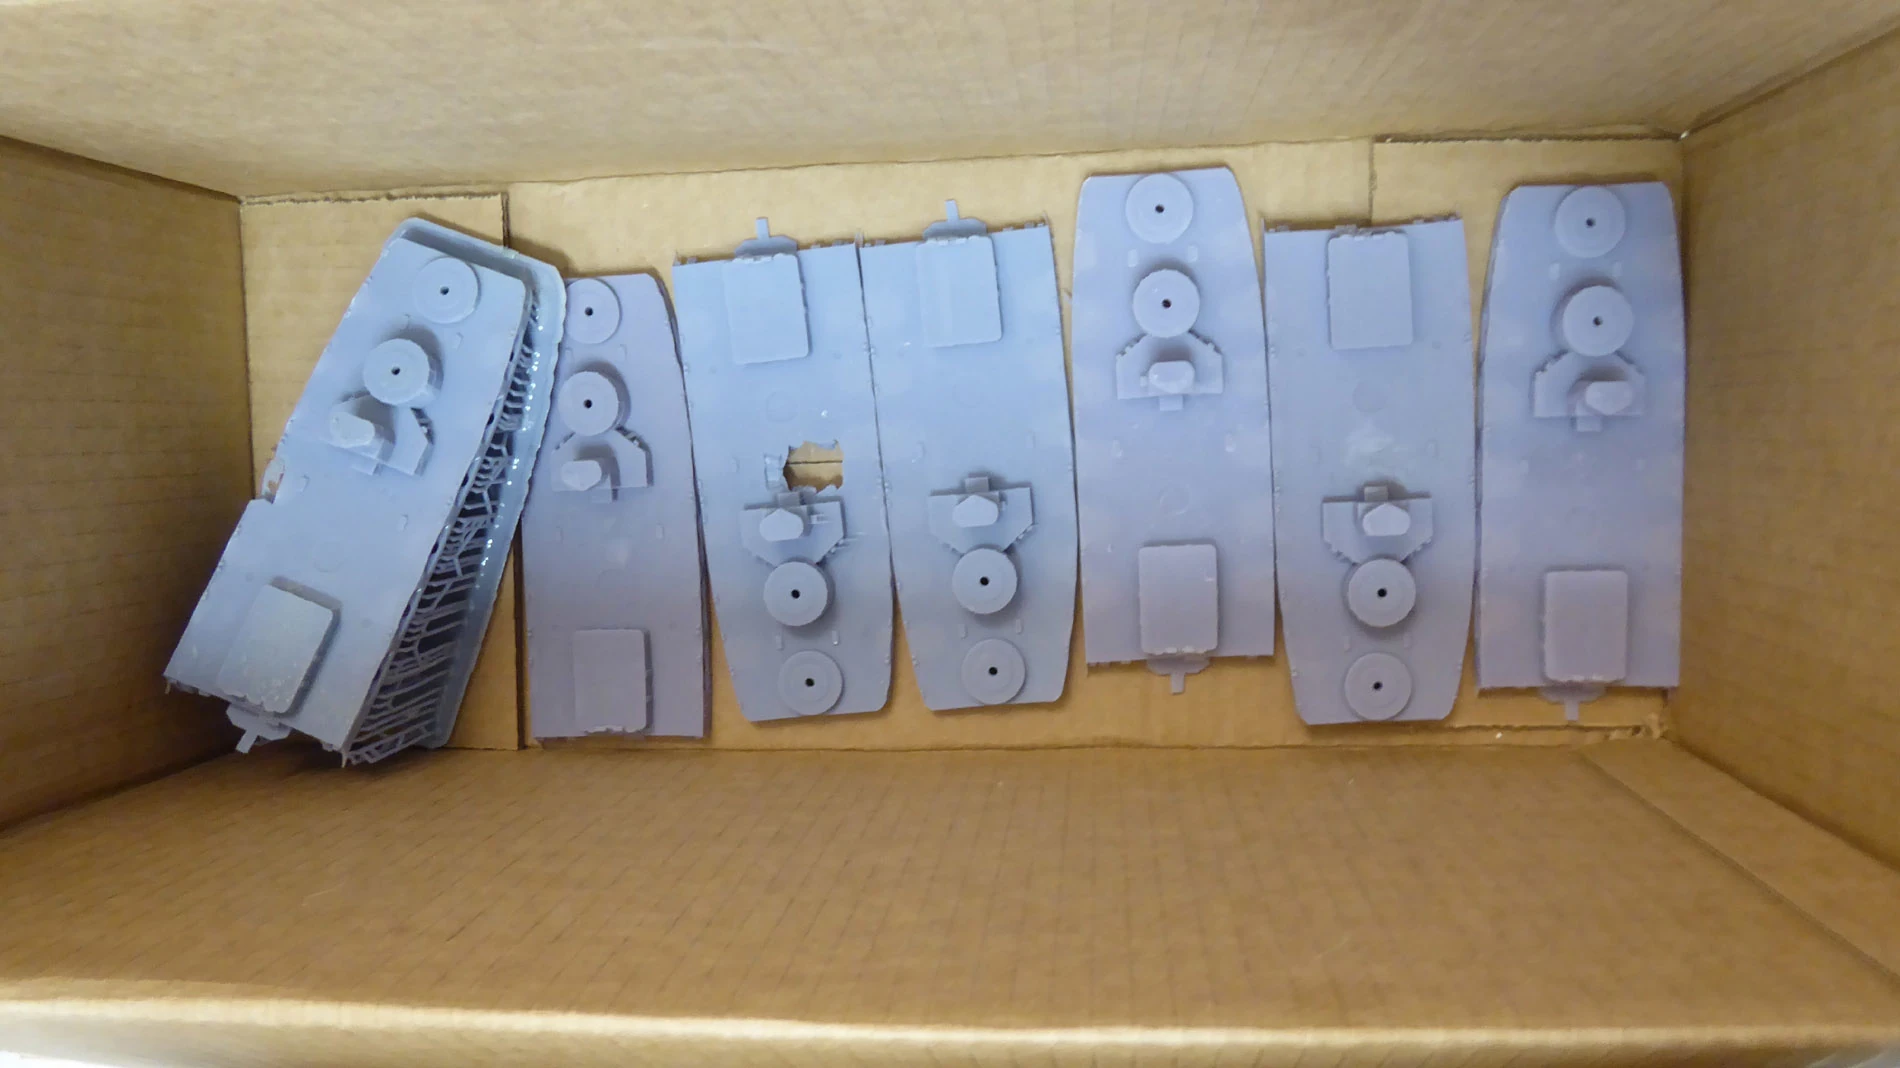
A few more times…
I call that last picture “The box of failure”.
This stupid part has caused me more grief that anything I’ve ever tried printing. A couple failed so bad that there was little more than a big blob on the bottom of the Saturn’s resin vat. Not really sure what the issue was, but I finally got a halfway decent deck part printed, so on with the show!
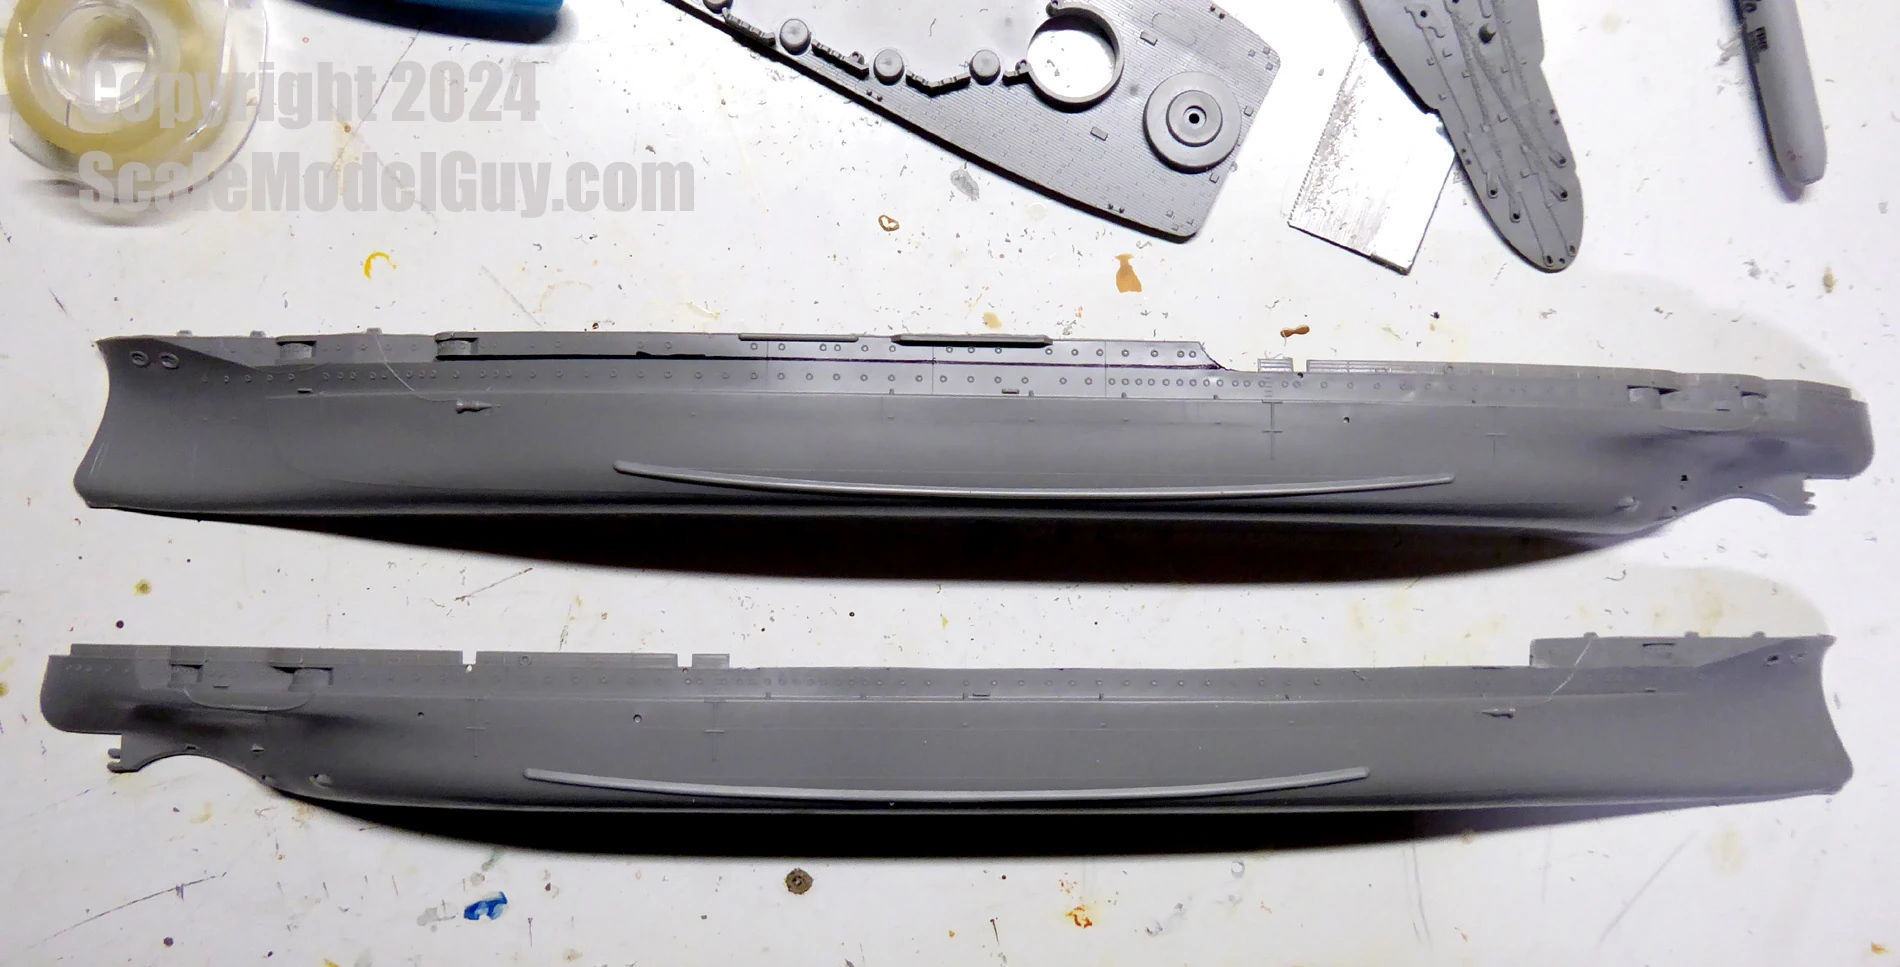
Measure Twice, Cut Once
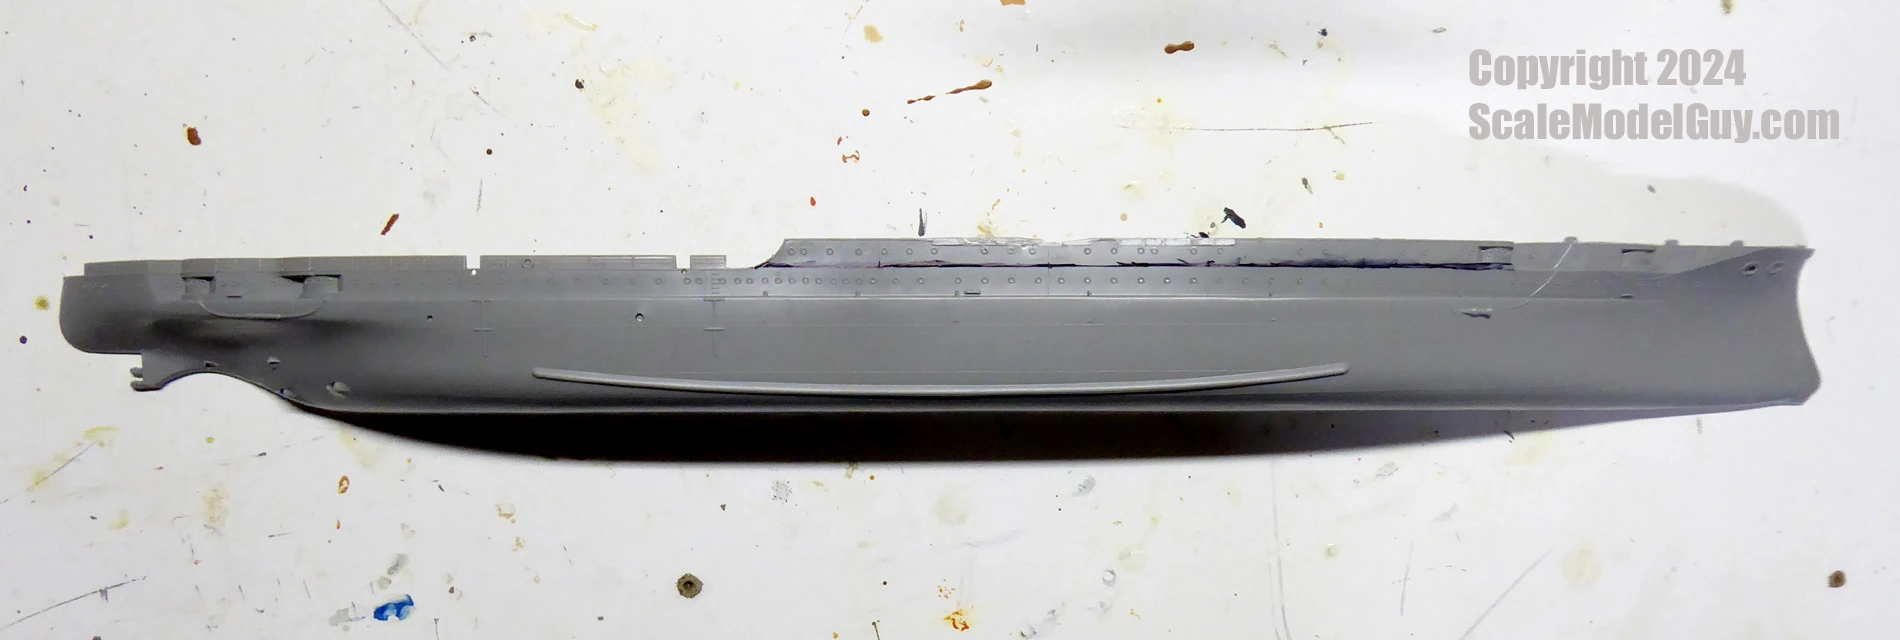


The three pictures above show the four Revell kit parts that required the bulk of needed modifications. (both port & starboard hull parts makes 4)
I first wanted to cut away the railings and then measure and mark the hull section that needed to be removed to accommodate the pesky casemate deck part.

Next the Revel decks needed to be modified.
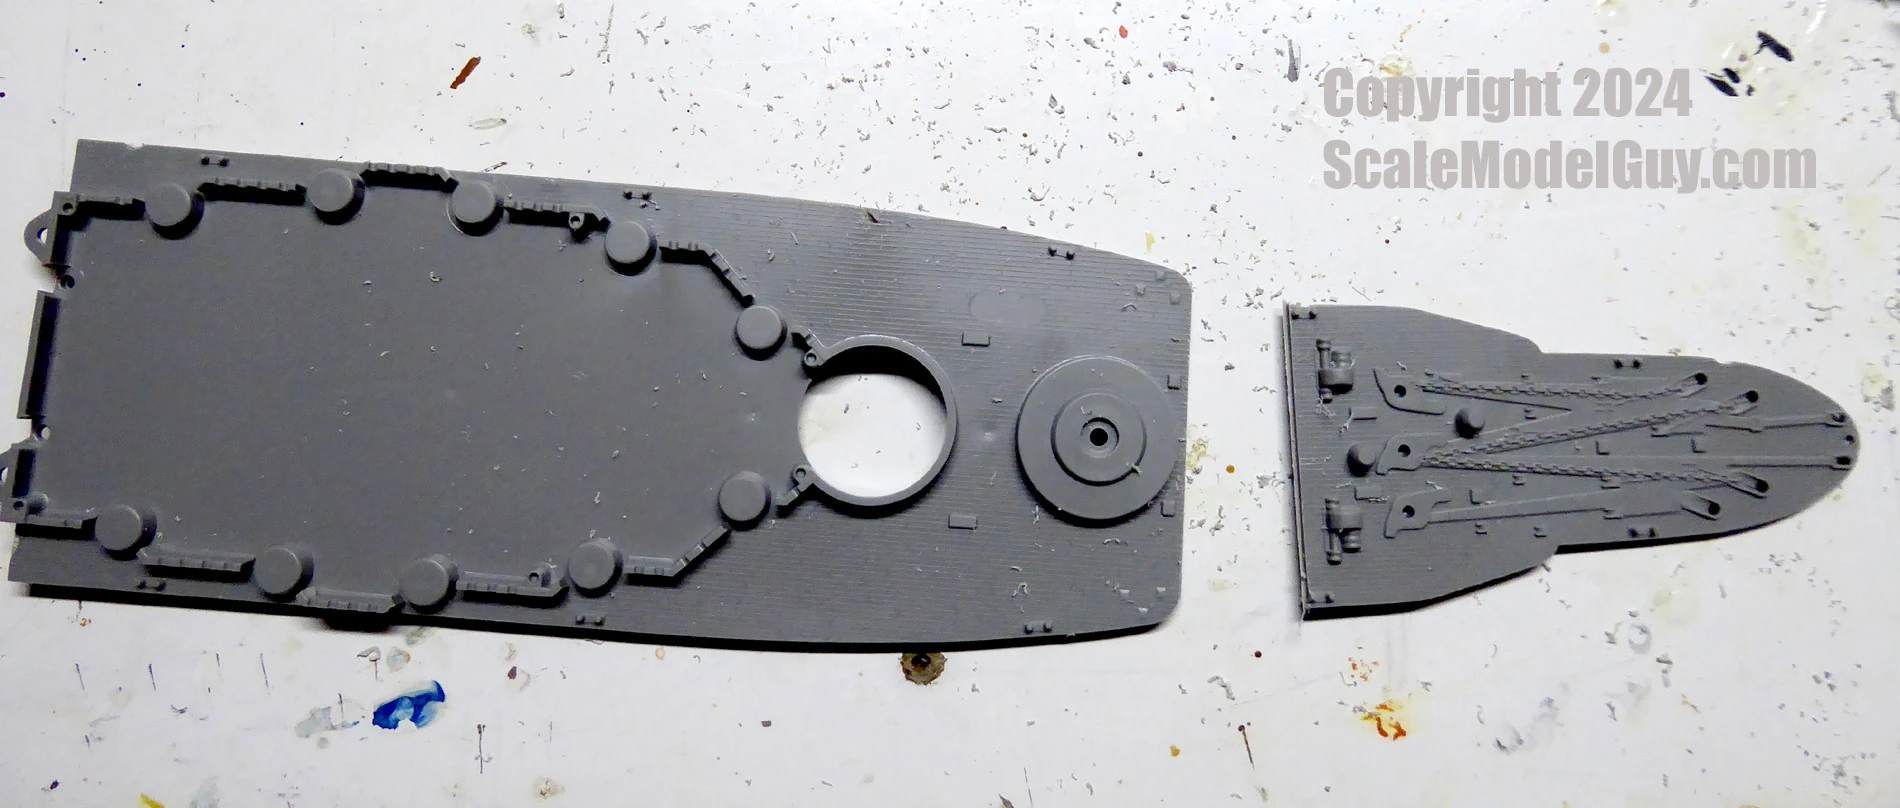
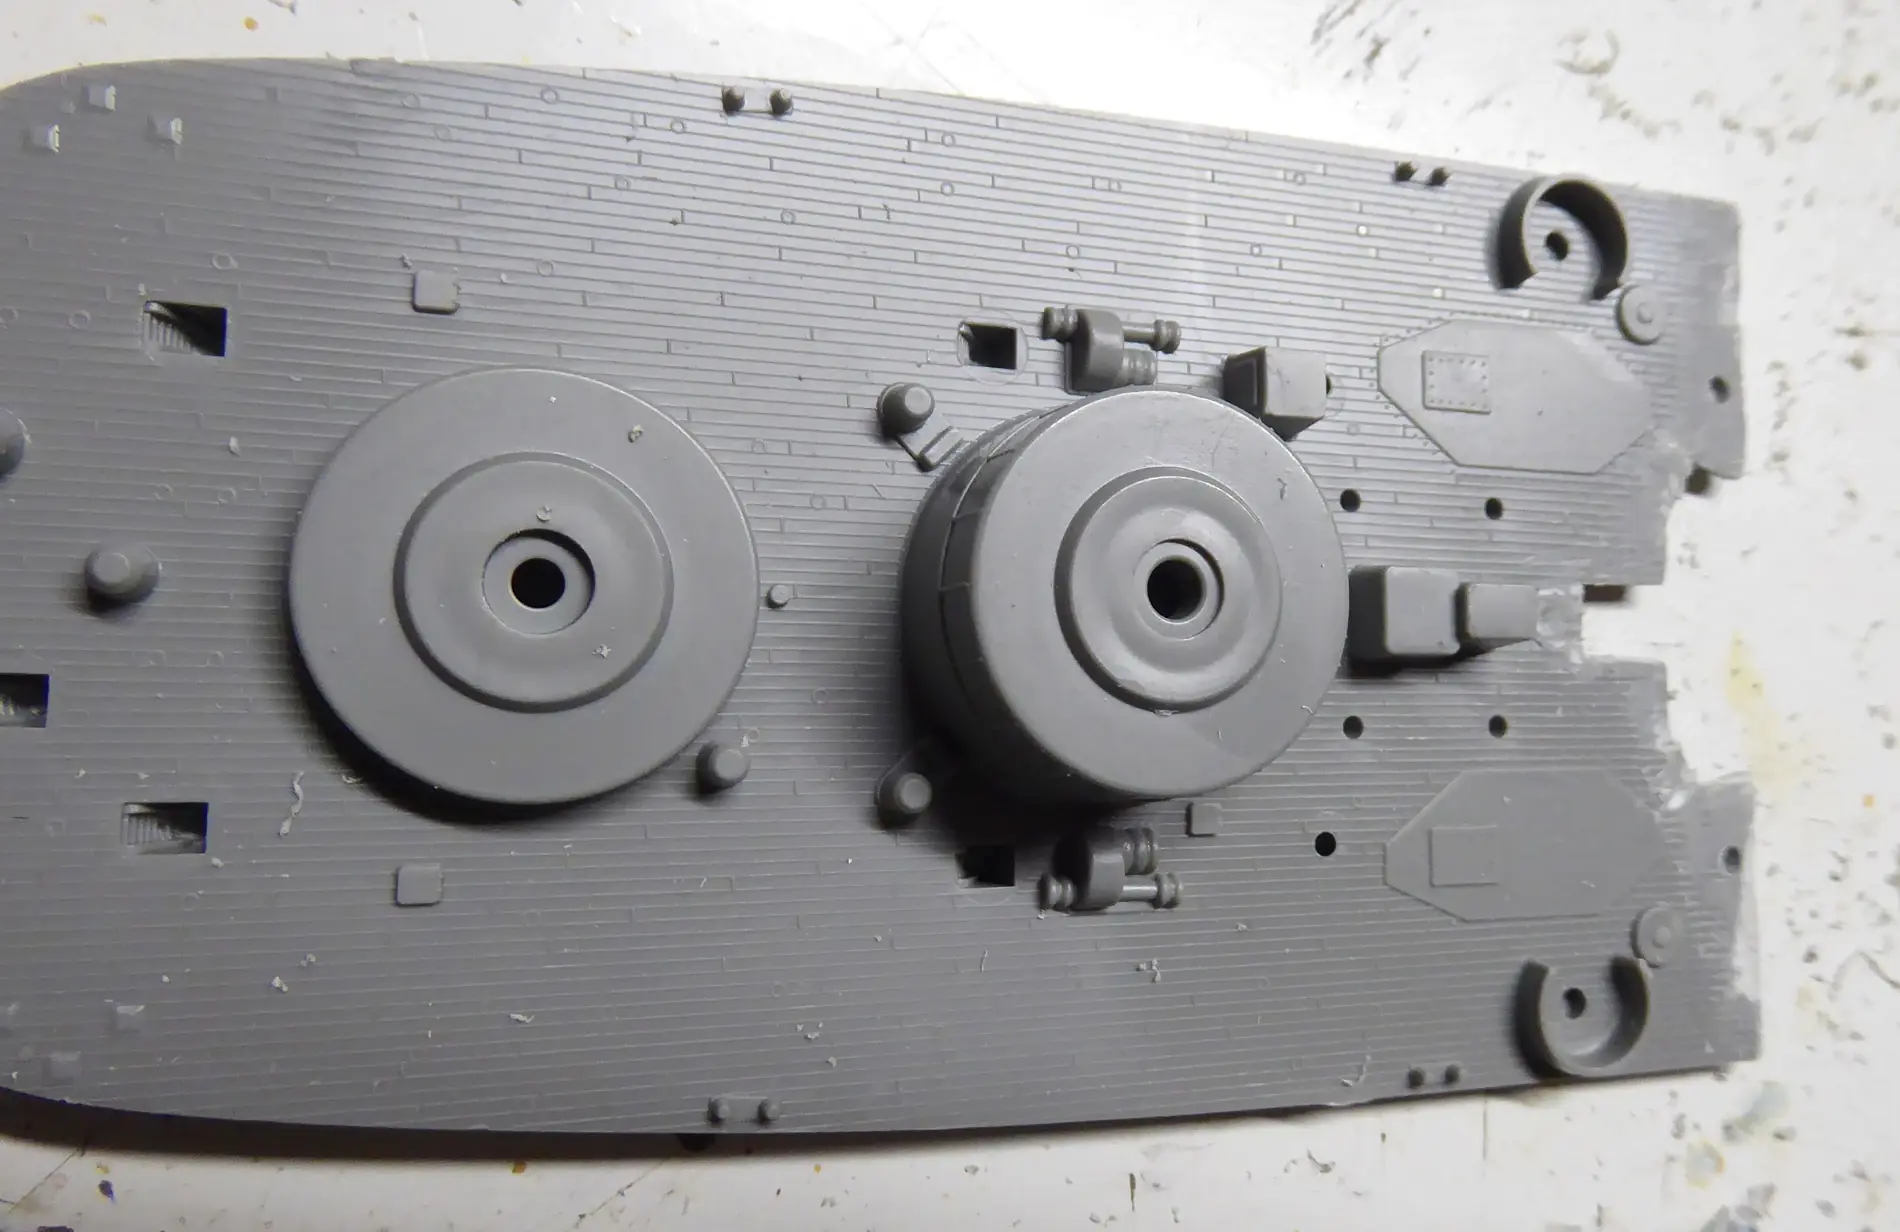
You may have notice in the last picture above, the Revell stern deck part was cut. Don’t do that! So in addition to measuring twice before a cut, make sure the part is the correct one…

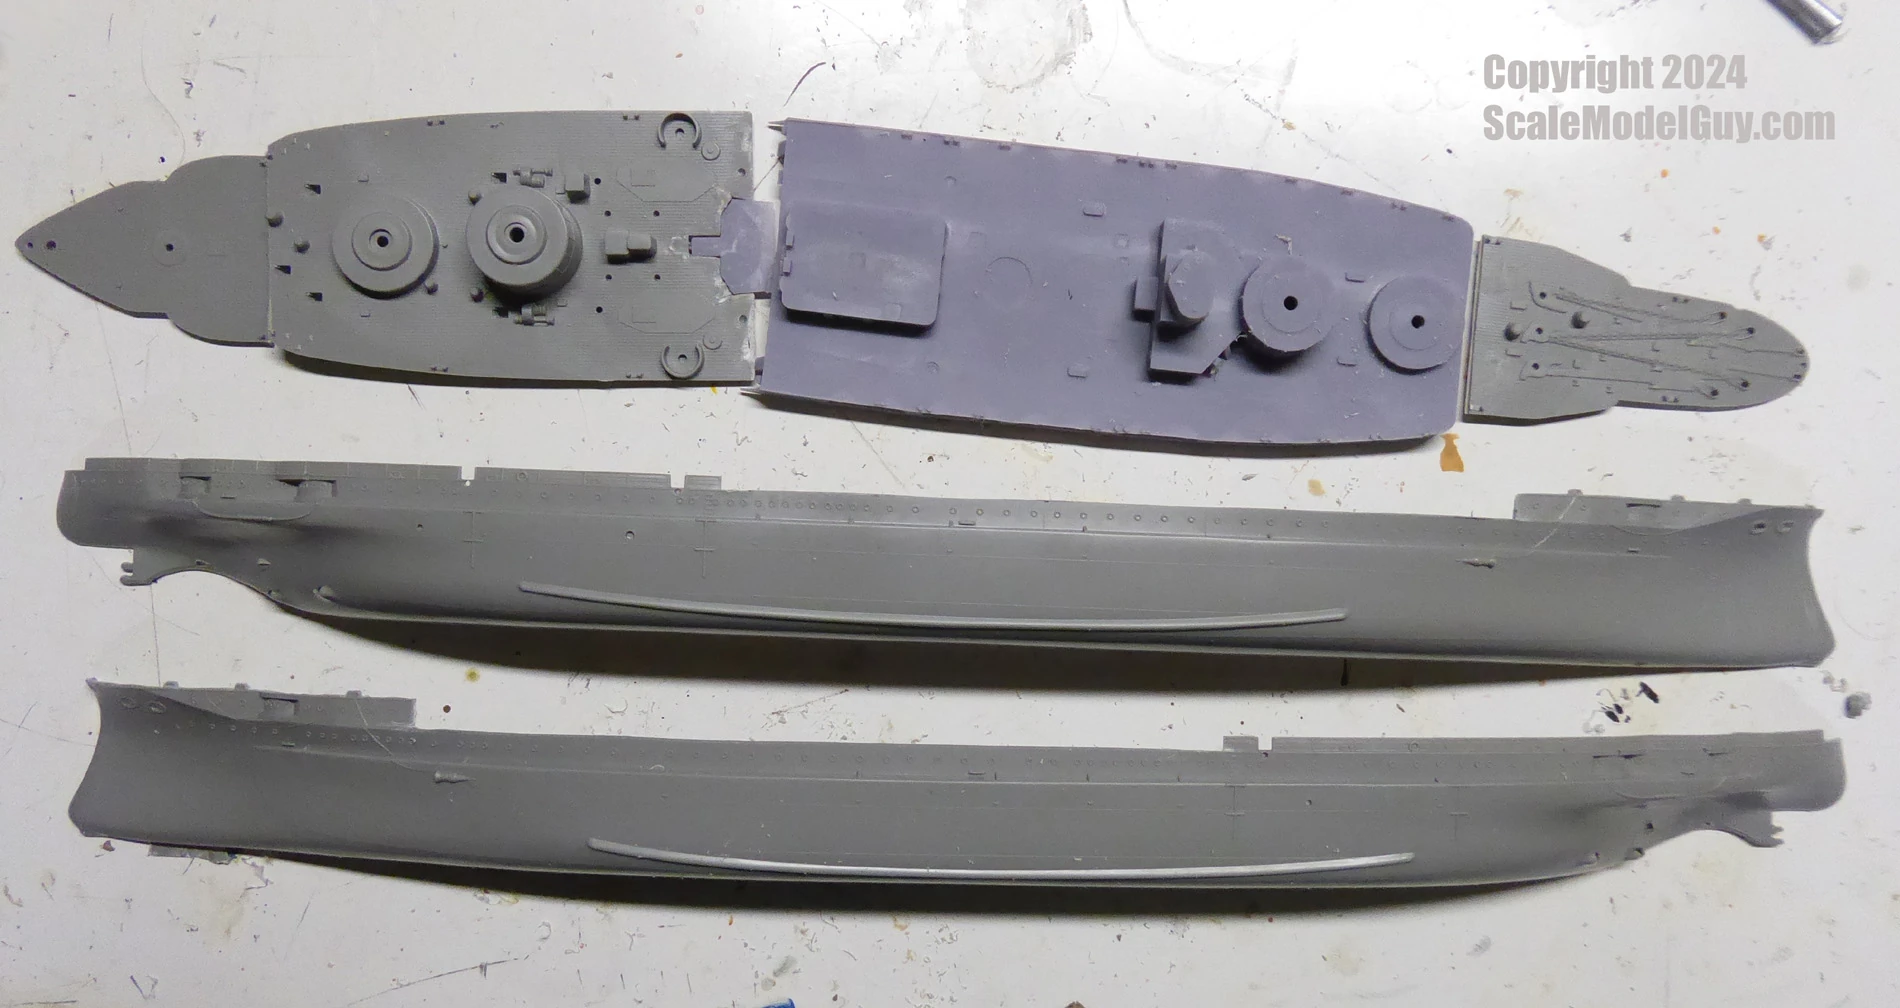
Next I glued the hull halves together (don’t forget the rudder), then did a dry run on the fit of the deck parts, to the cutaway and glued hull. To my relief, there were no surprises. I then glued the casemate guns into place, as they need to be inserted through the bottom of the printed deck part (I’ll likely change this if I ever print this again). Lastly the main guns were secured and then one last fit test before gluing all the deck parts down.
We need filler, lots of filler
Happy with the results, I went ahead and snipped the stern railings off and got down to the gluing and filling. I then added the bulk of the parts, both Revell and 3D printed and lastly added some PE rails.
Once reasonably happy, it was time for the primer coat.


And that is the current state of my Revell Arizona 1917 dreadnought conversion, I’d said in the initial 1917 Arizona Blender post, that if things went well I’d create a project page, and here it is. Could it have gone better? No doubt. Is it perfect? not a chance. If I were to do it again, would I do things differently? absolutely. Do I think it went well? Hell yeah!
So far I like her, warts and all. I’m looking forward to the painting and even the rigging.
Stay tuned.